
AMT 1.25TH Setup Guide
|
Contents
0) Introduction 0b) What You Need 1) Powering 2) Cooling 3) Case 4) Configuration 5) Troubleshooting |
|
0) Introduction
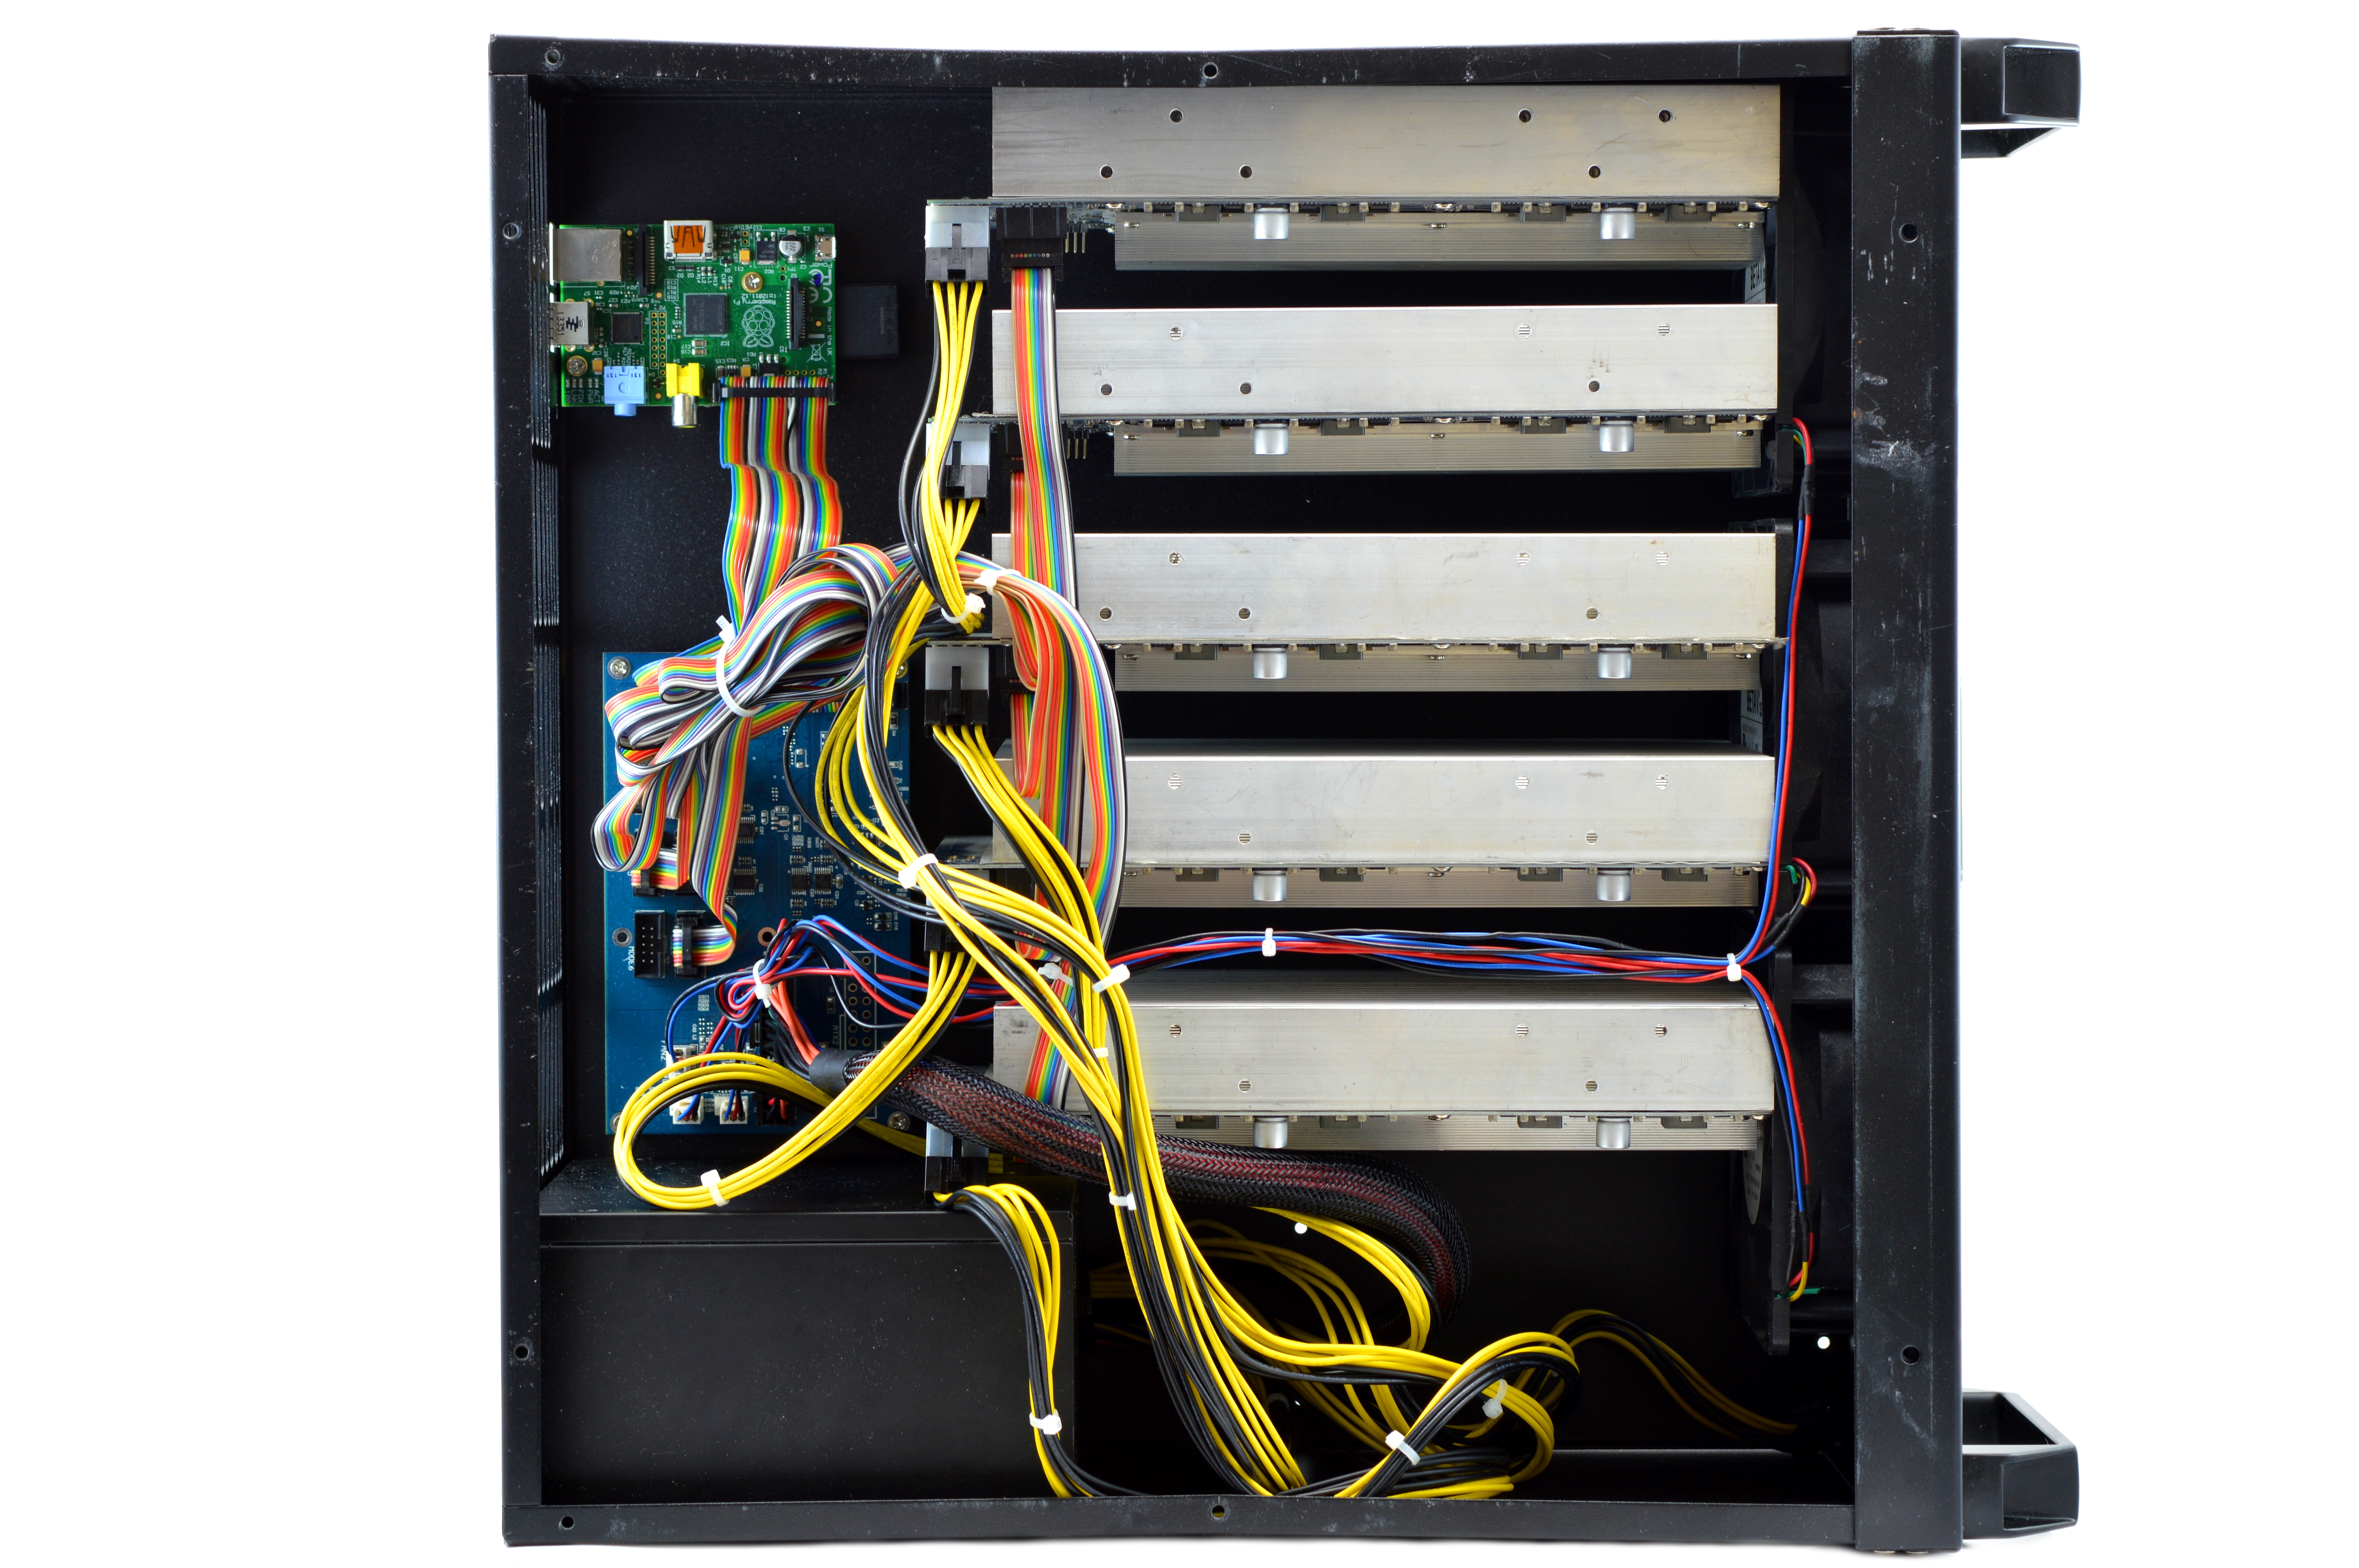
AMT's 1.25TH 4U miner is designed to be rackmounted and is based off Bitmine's CoinCraft A1 chip. 5 modules are controlled by a Raspberry Pi, allowing the unit to be standalone. I was unable to achieve the rated 1.25TH speed on many different firmware versions, however I was unable to find the cause of the missing speed. There are certainly enough chips and power to achieve 1.25TH, however every pool tested rejected the equivalent shares when attempting to speed the unit up past ~1TH.
AMT's 1.25TH 4U miner is designed to be rackmounted and is based off Bitmine's CoinCraft A1 chip. 5 modules are controlled by a Raspberry Pi, allowing the unit to be standalone. I was unable to achieve the rated 1.25TH speed on many different firmware versions, however I was unable to find the cause of the missing speed. There are certainly enough chips and power to achieve 1.25TH, however every pool tested rejected the equivalent shares when attempting to speed the unit up past ~1TH.
|
Process Node
Rated Hash Rate Rated Voltage Rated Current Power Consumption |
- 28 nm
- 1000-1100GH - 12V - 83-100A - 1000-1200W |
|

|
0b) What You Need
You will need a few accessories and a power supply to get started.
You will need a few accessories and a power supply to get started.
Click your flag to find everything you need to get started at Amazon!


|


|


|
1) Powering
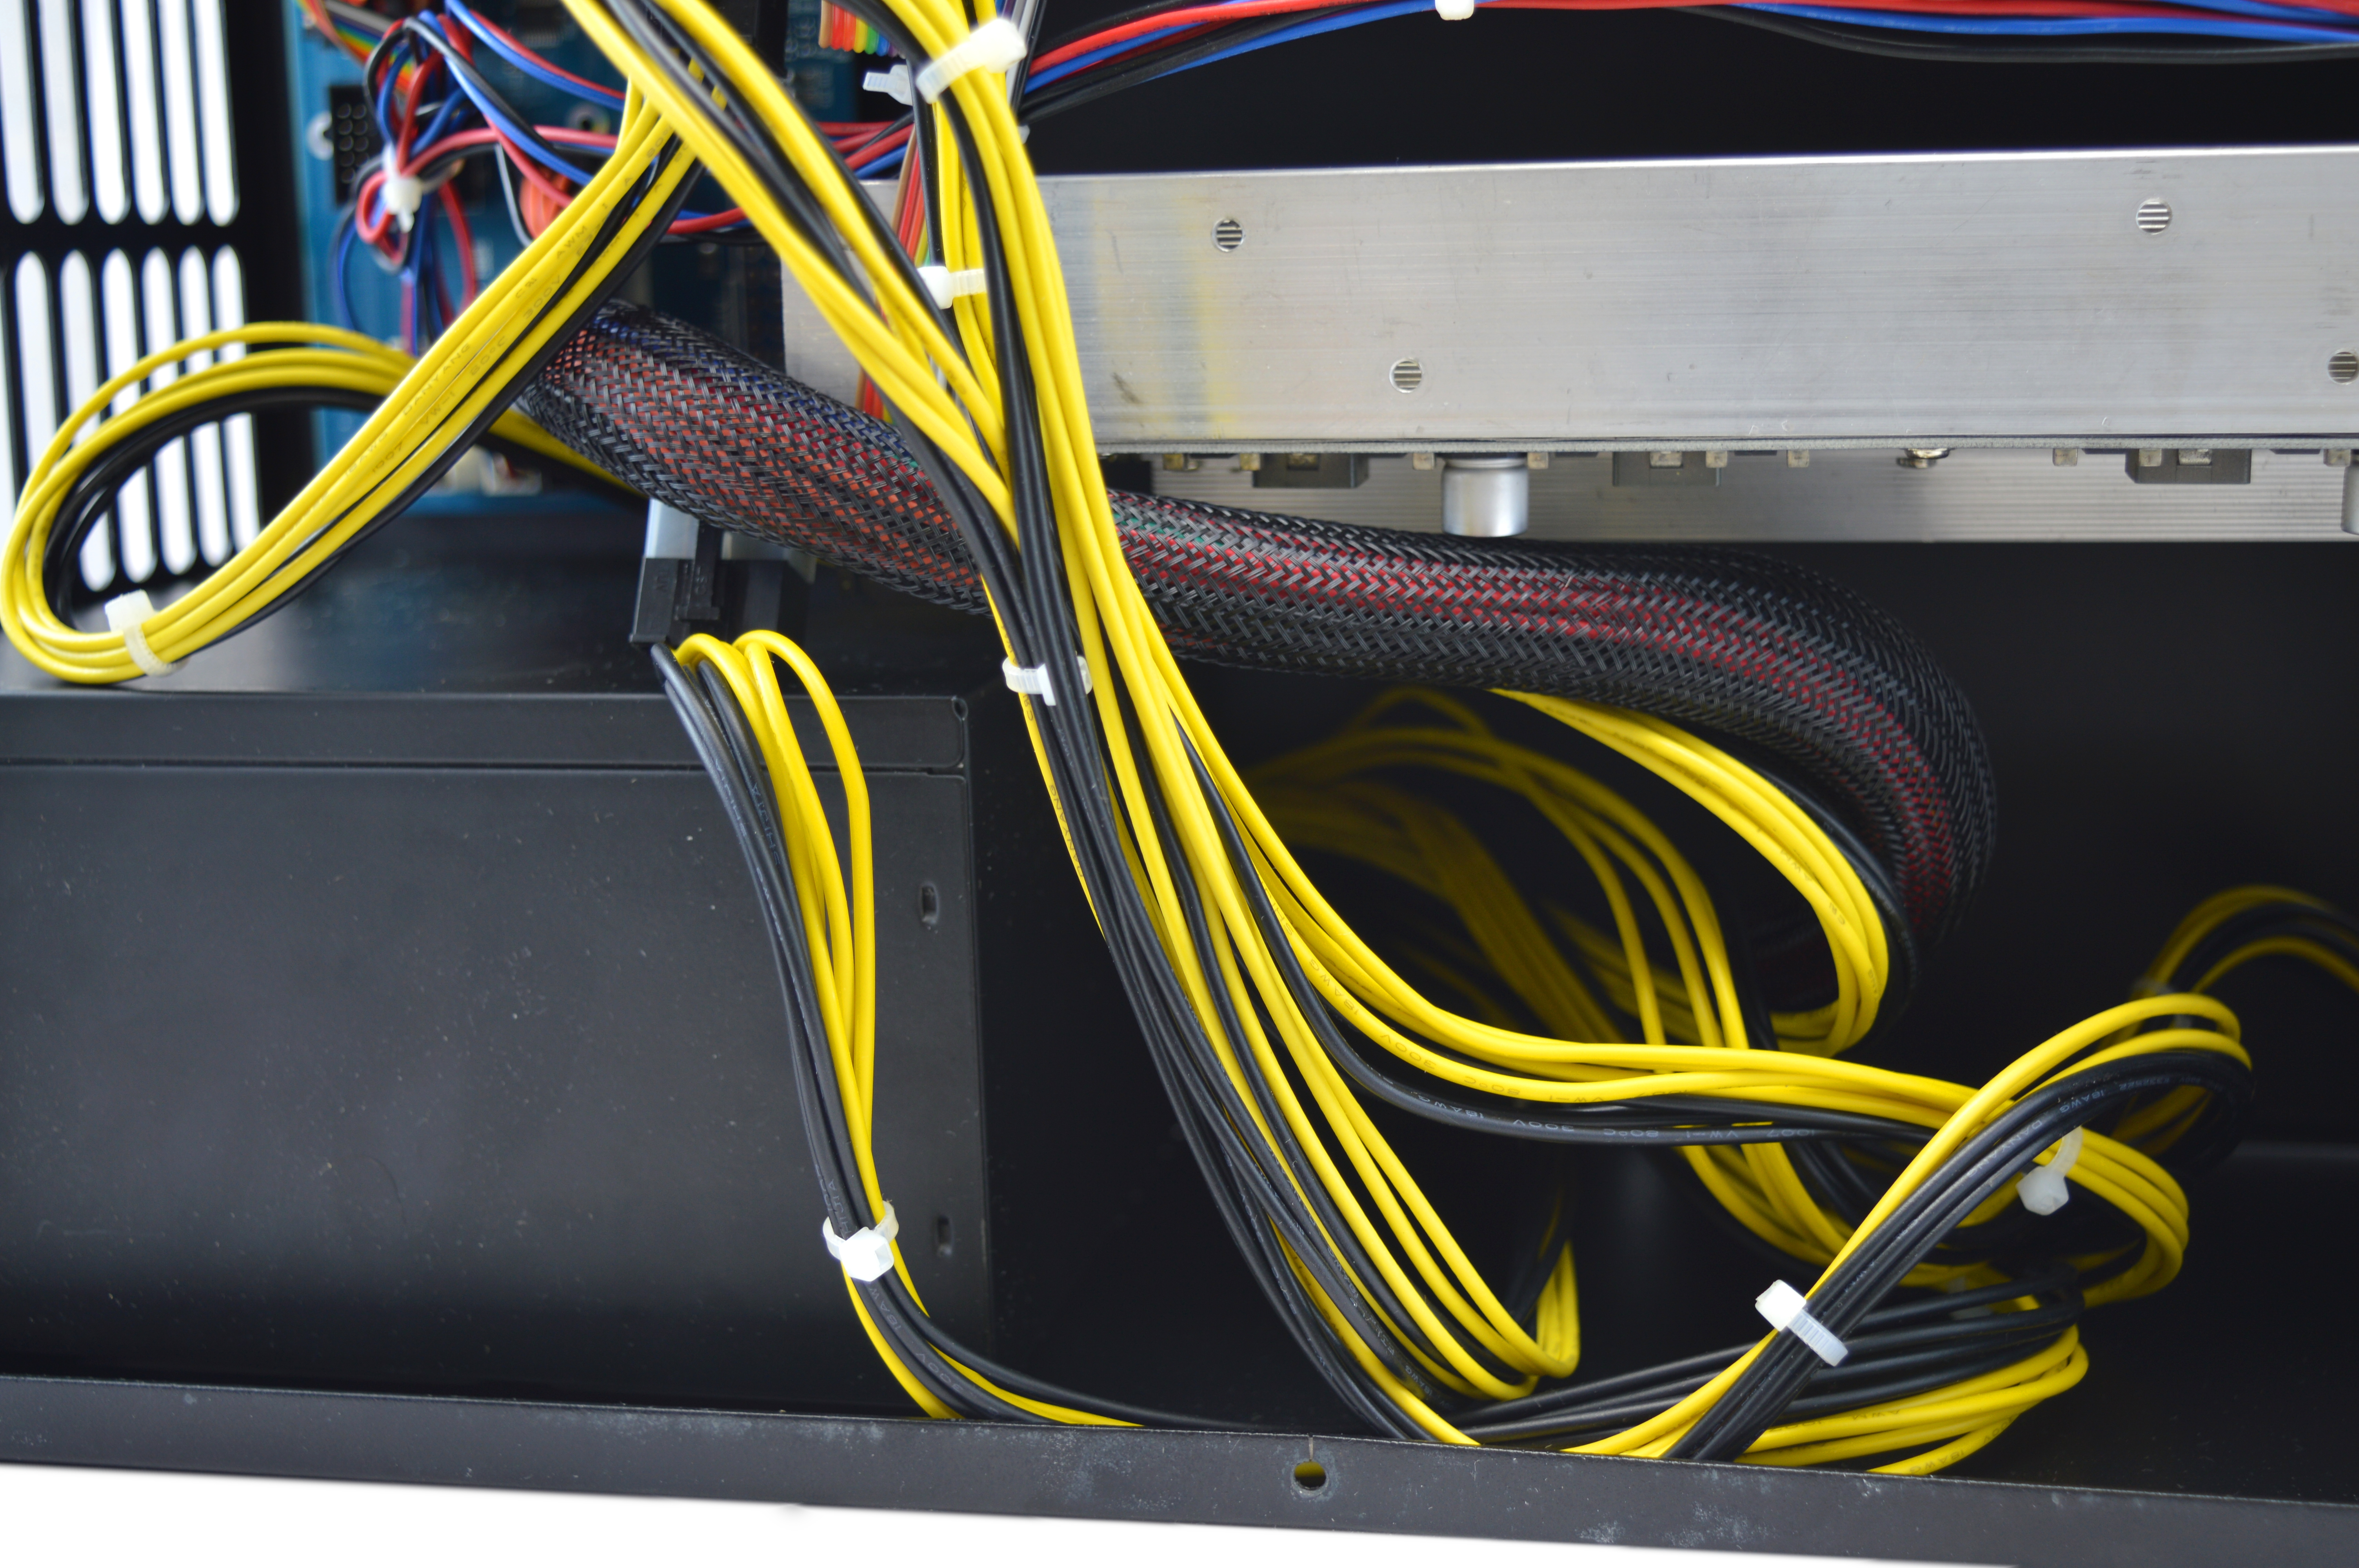
1.25Th's come with an internal OEM power supply. The unit is unmarked however its believed to be a 1300W model.
1.25Th's come with an internal OEM power supply. The unit is unmarked however its believed to be a 1300W model.
|

|
2) Cooling
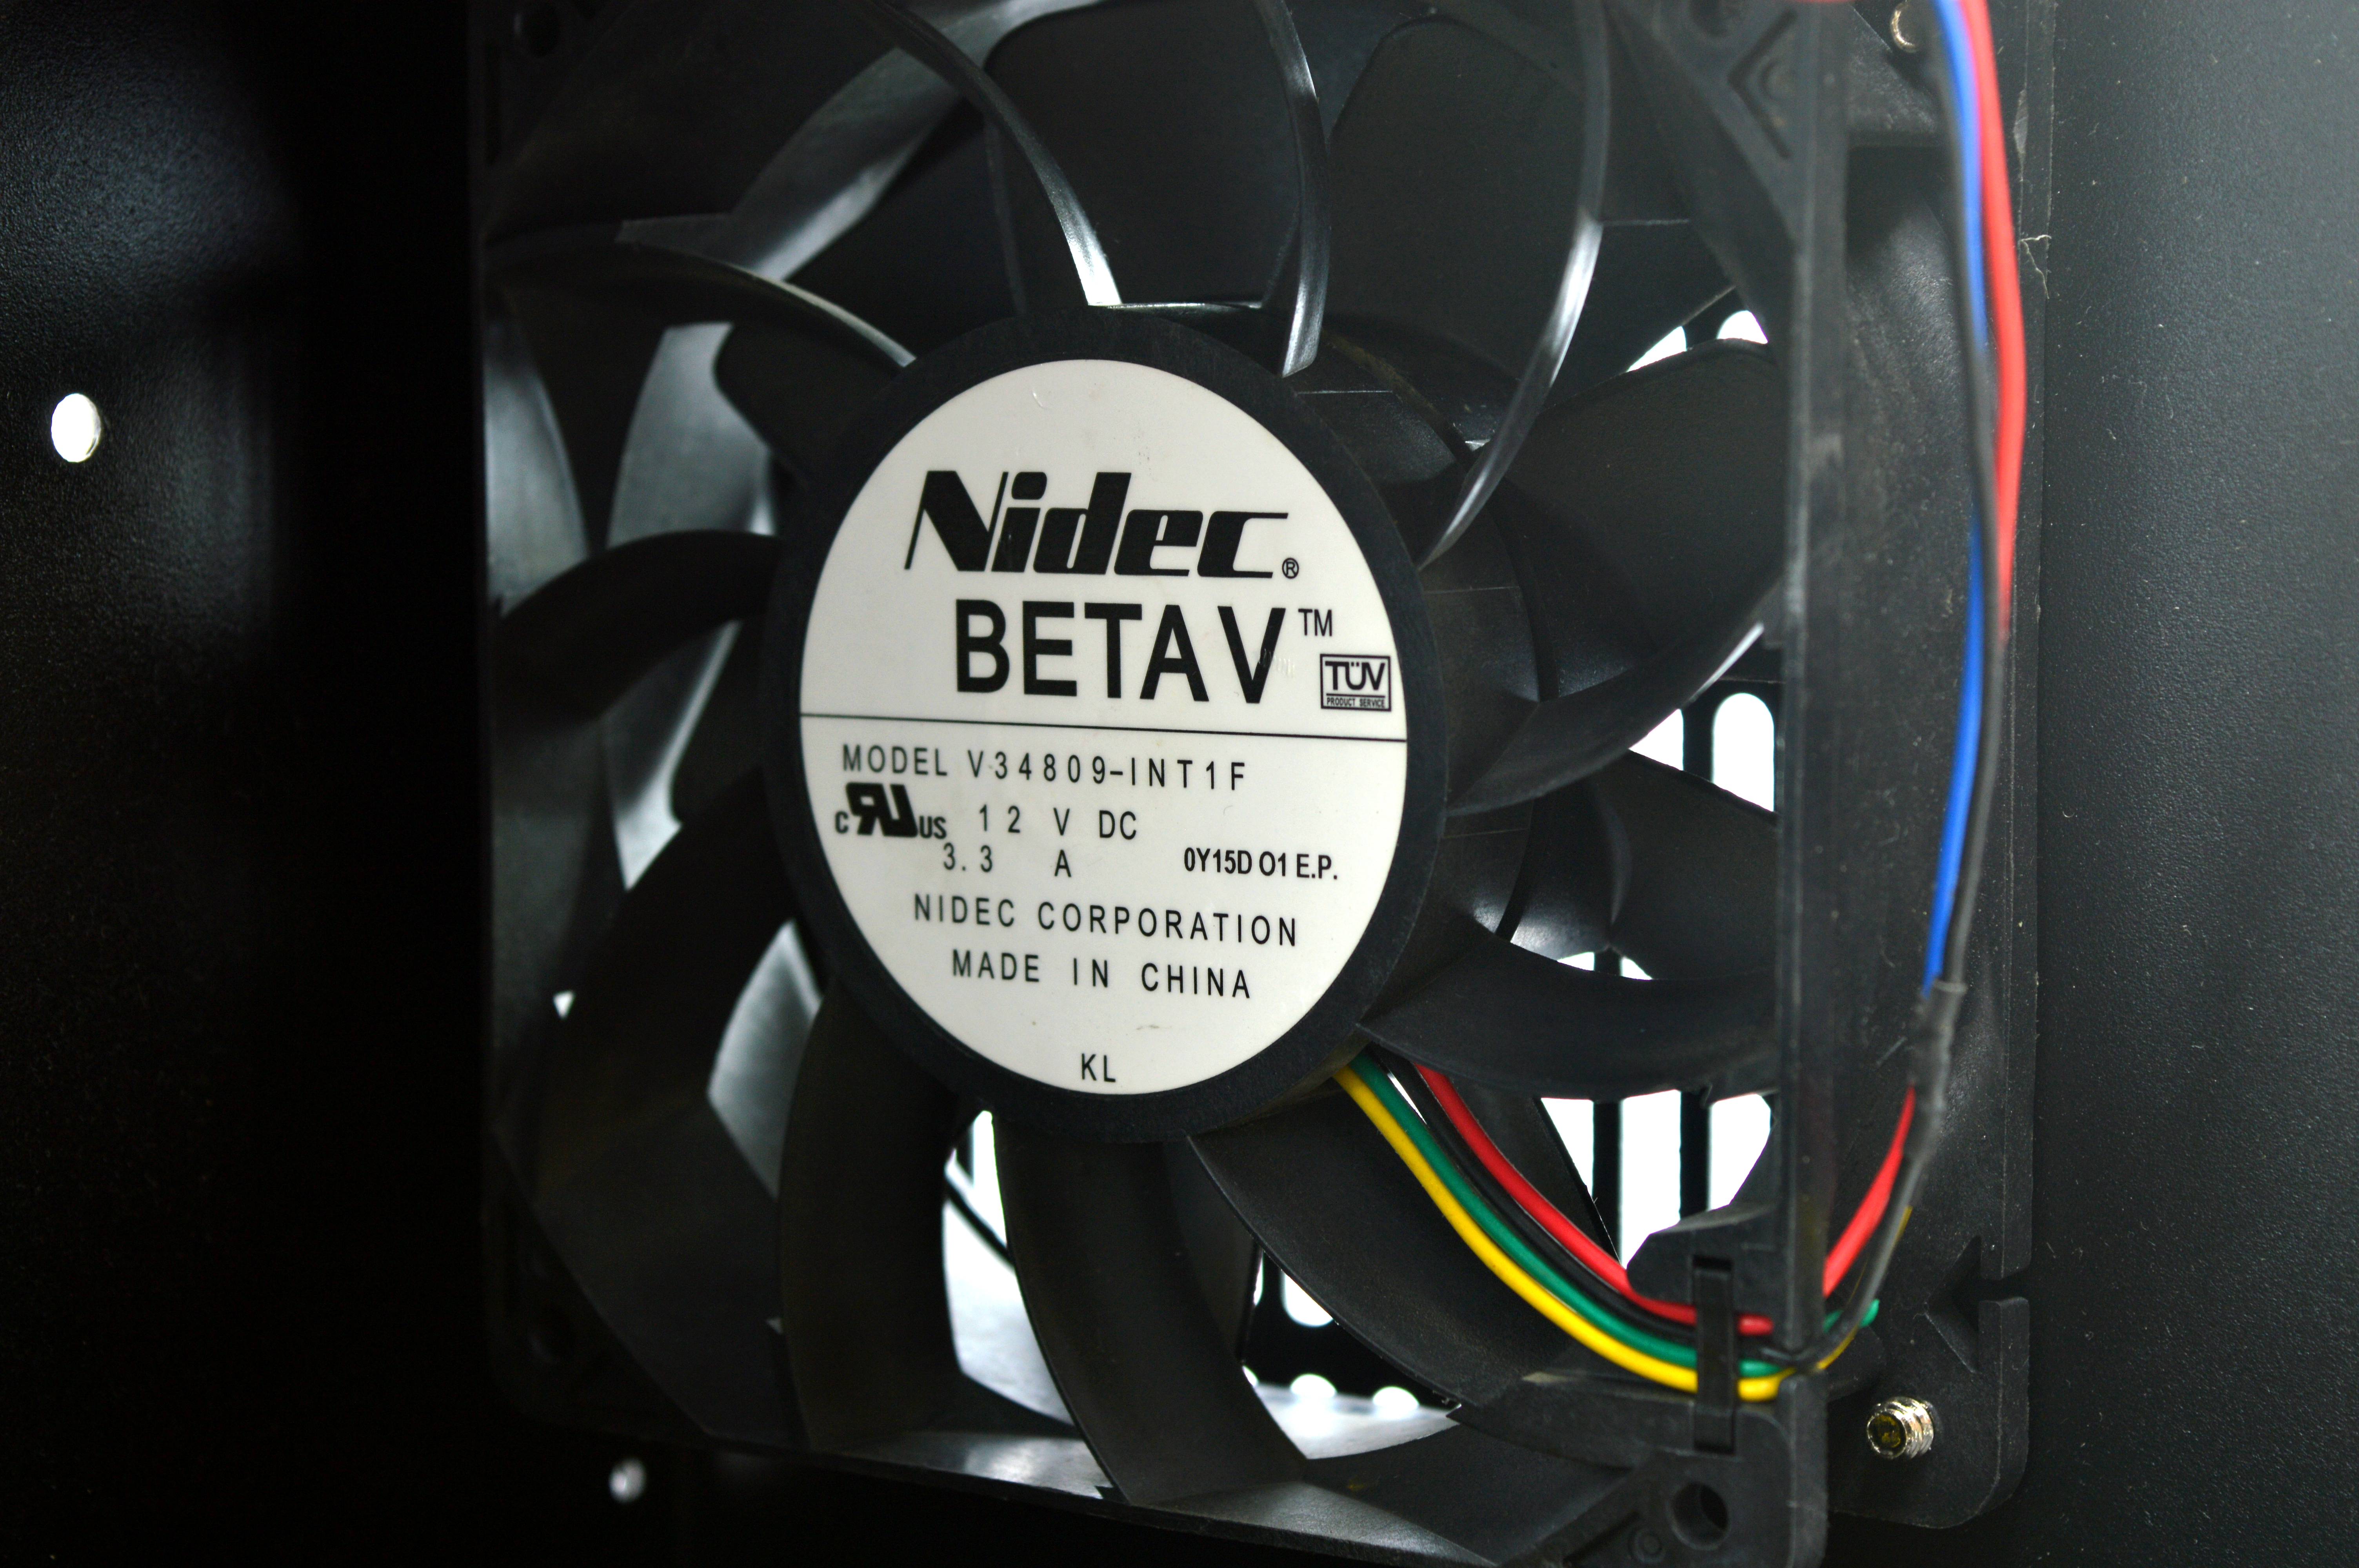
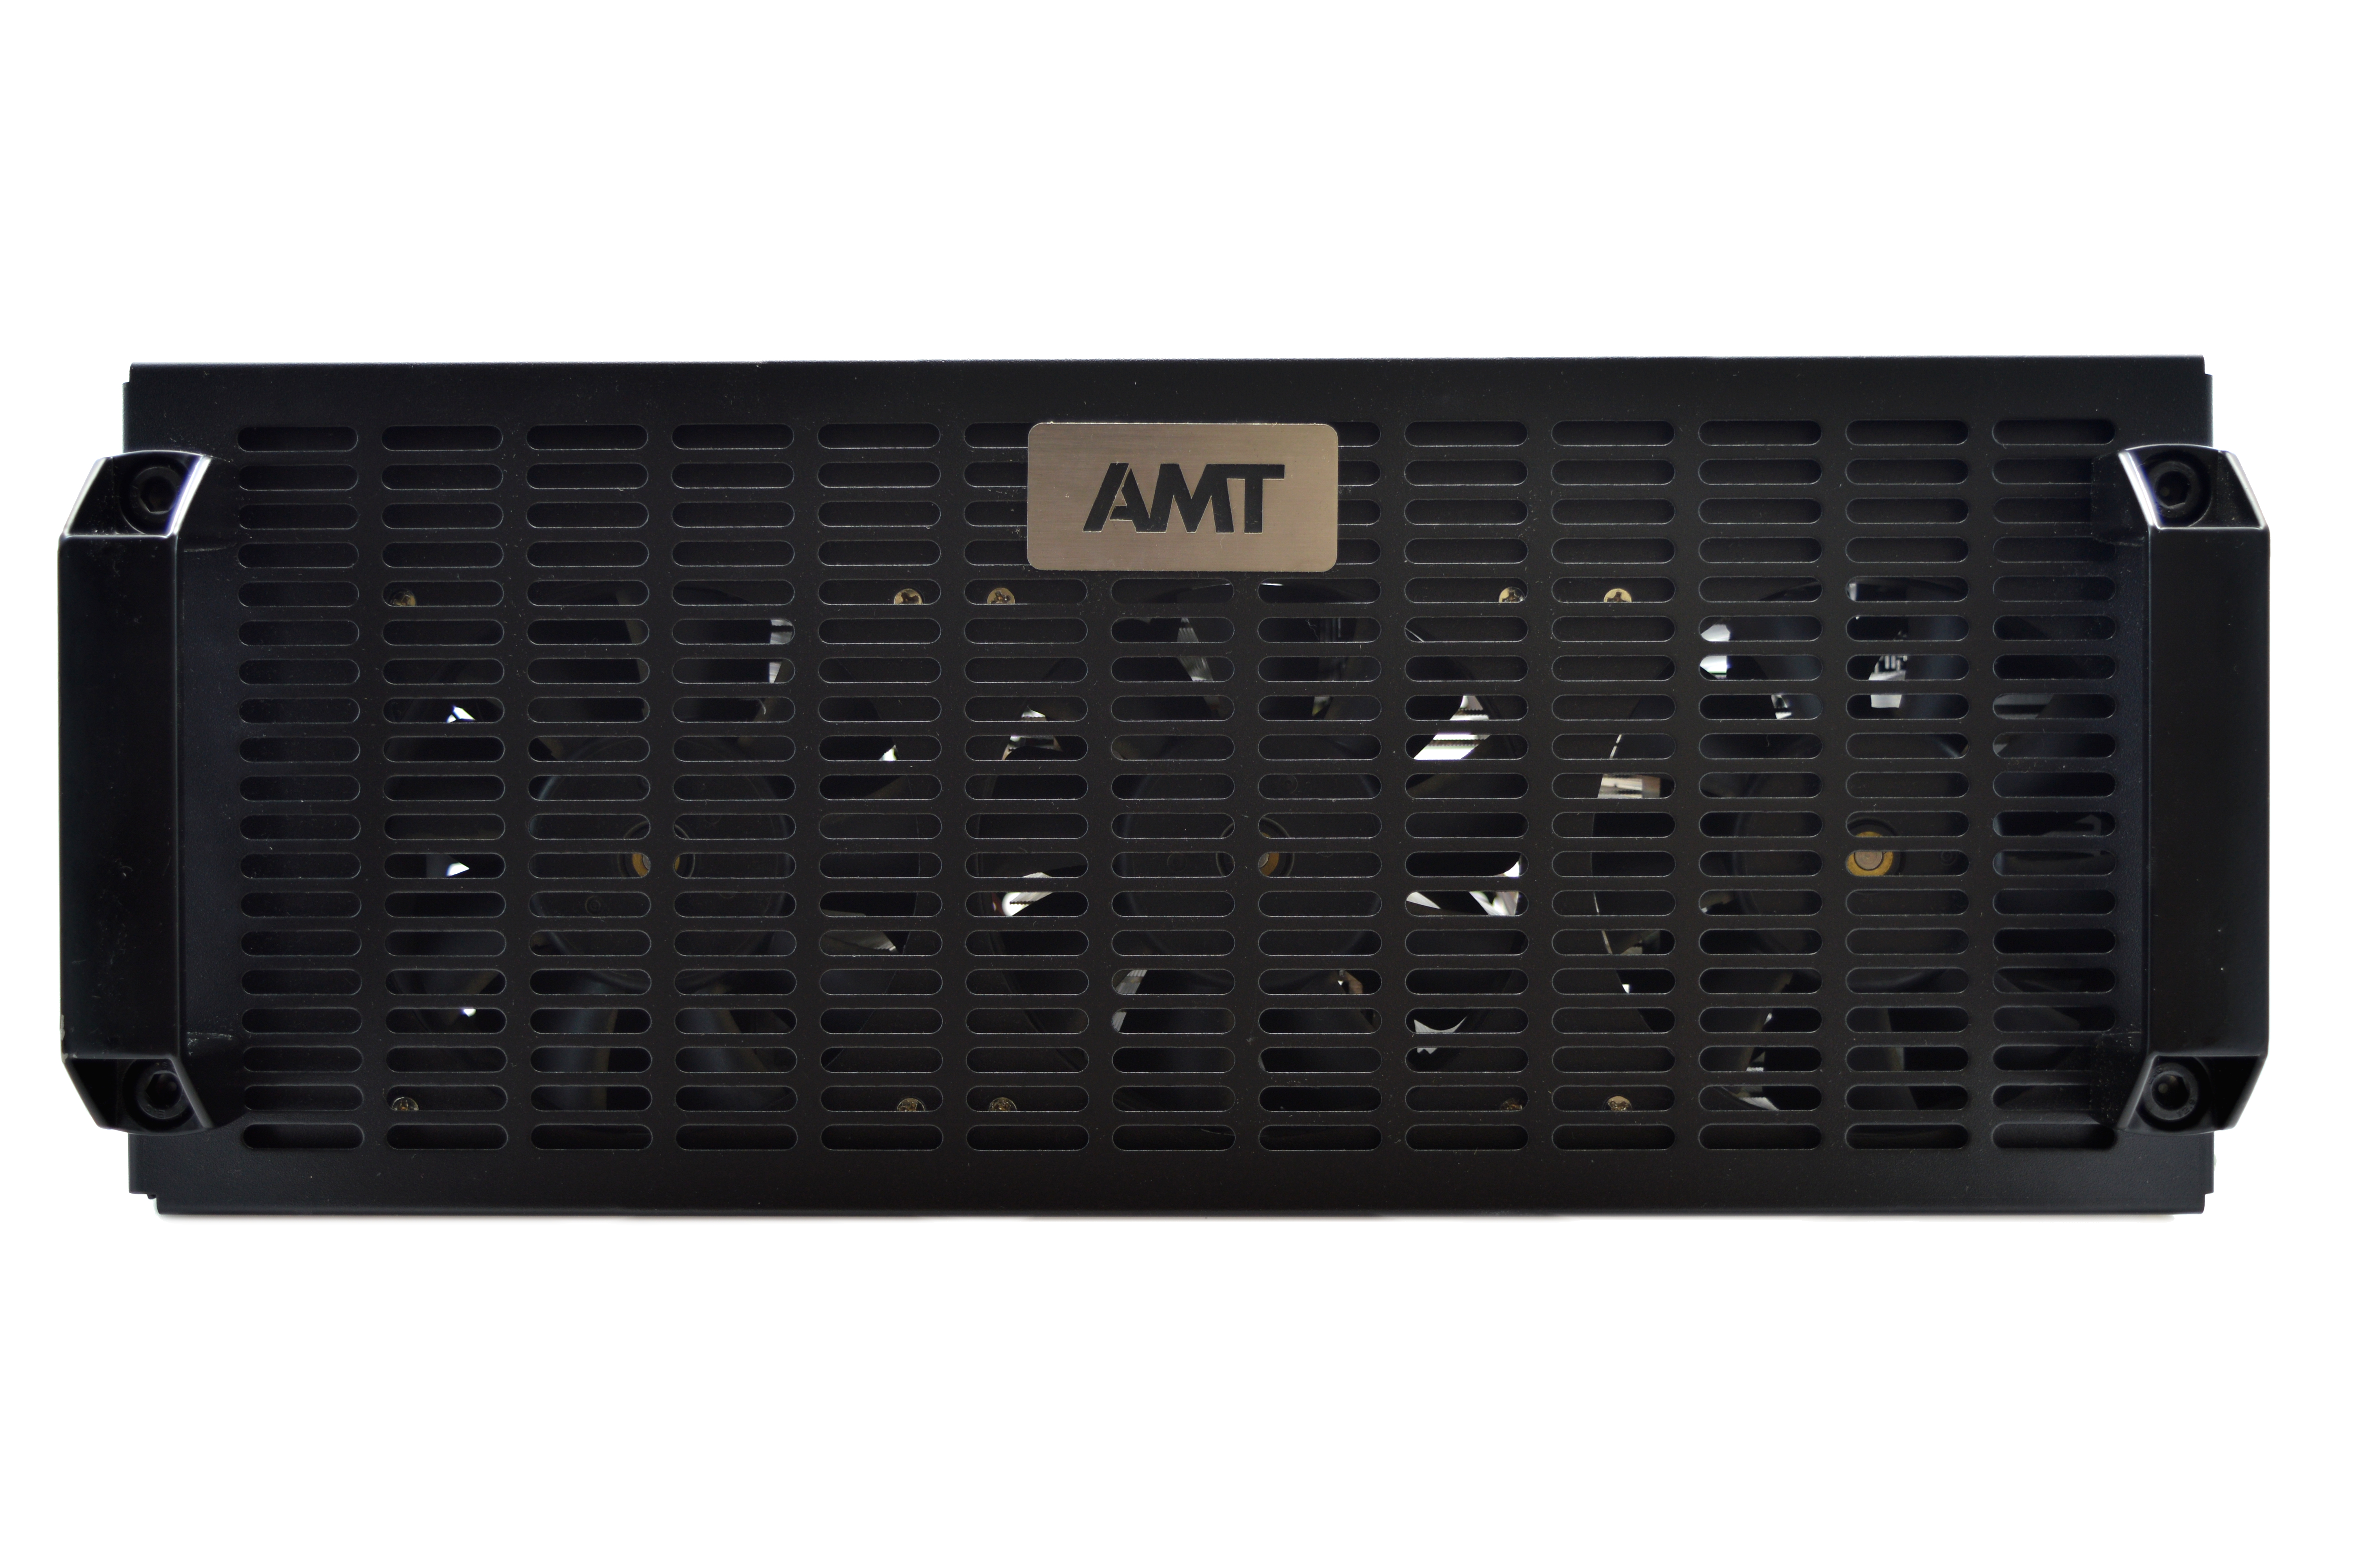
The three stock 120mm Nidec BetaV V34809-INT1F fans the 1.2T ships with are absolutely insane and will need to be replaced. They run at 5300 RPM and are easily 85 dBA. I would recommend Corsair SP120 High Performance fans to replace them, which will work fine up to about a 35C ambient.
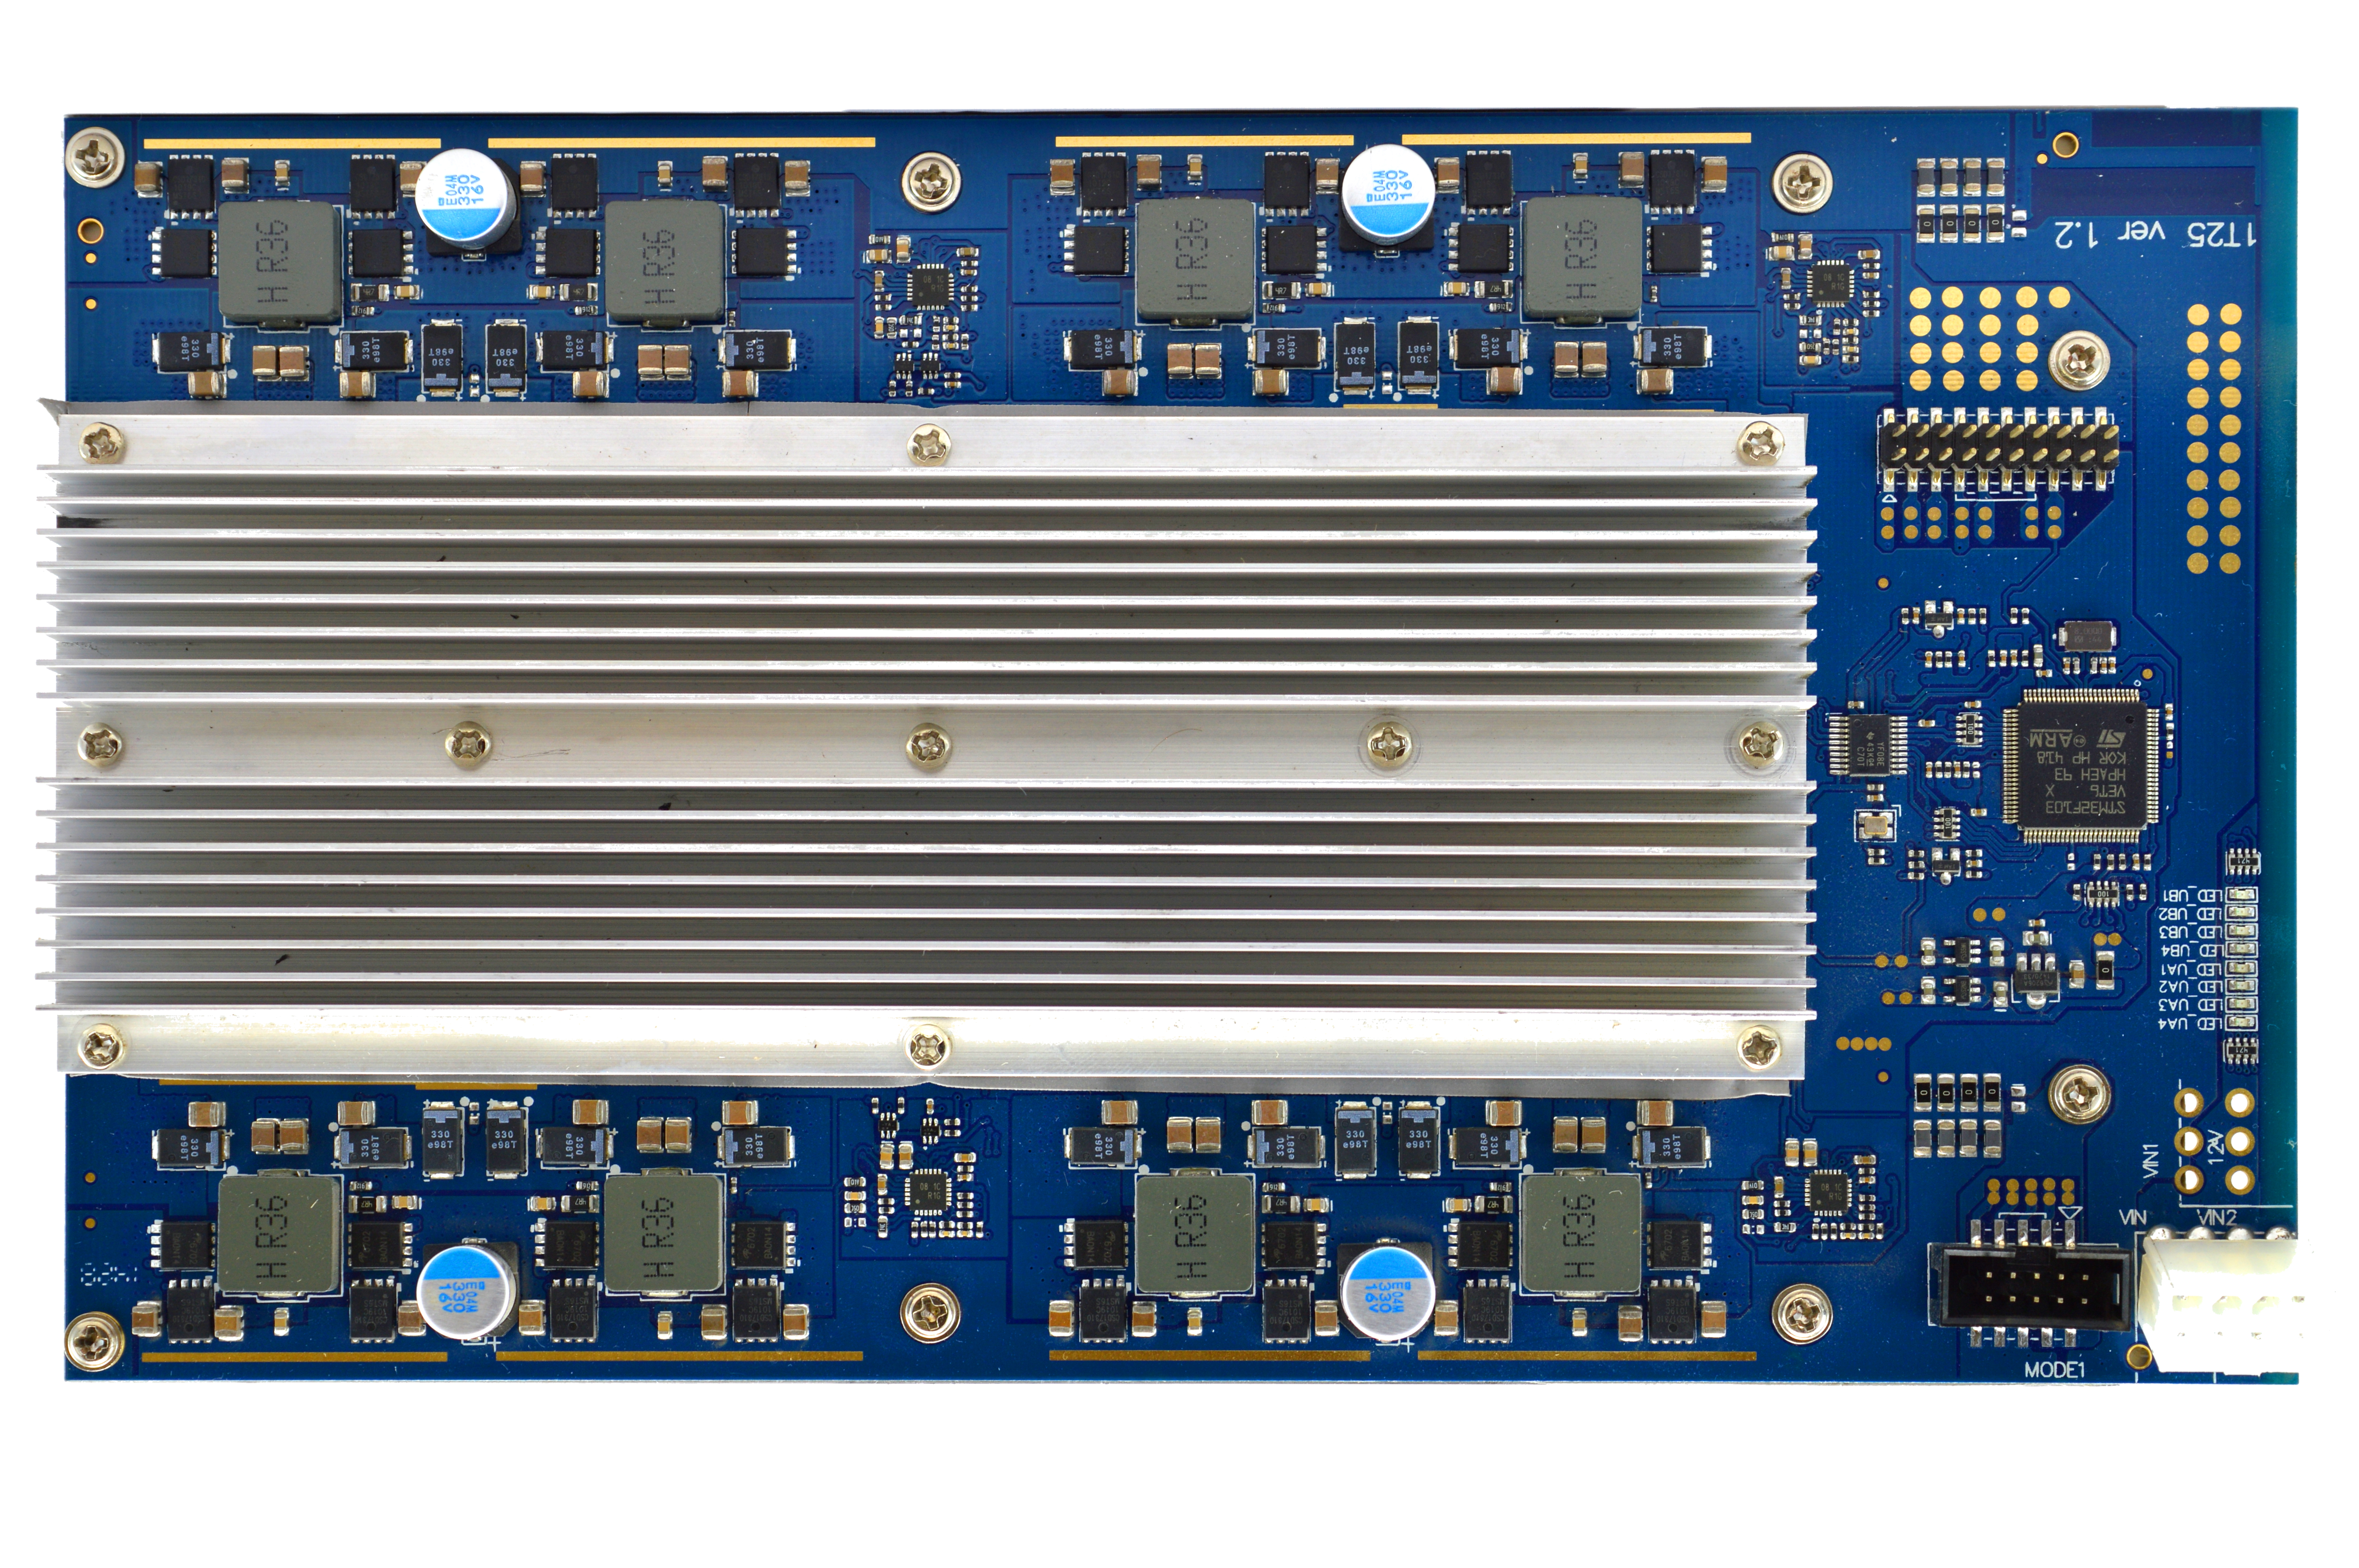
Each module has a full cover aluminium heatsink covering the back, and a smaller aluminium heatsink on the top of the chips.
The three stock 120mm Nidec BetaV V34809-INT1F fans the 1.2T ships with are absolutely insane and will need to be replaced. They run at 5300 RPM and are easily 85 dBA. I would recommend Corsair SP120 High Performance fans to replace them, which will work fine up to about a 35C ambient.
Each module has a full cover aluminium heatsink covering the back, and a smaller aluminium heatsink on the top of the chips.
|
|
|
|
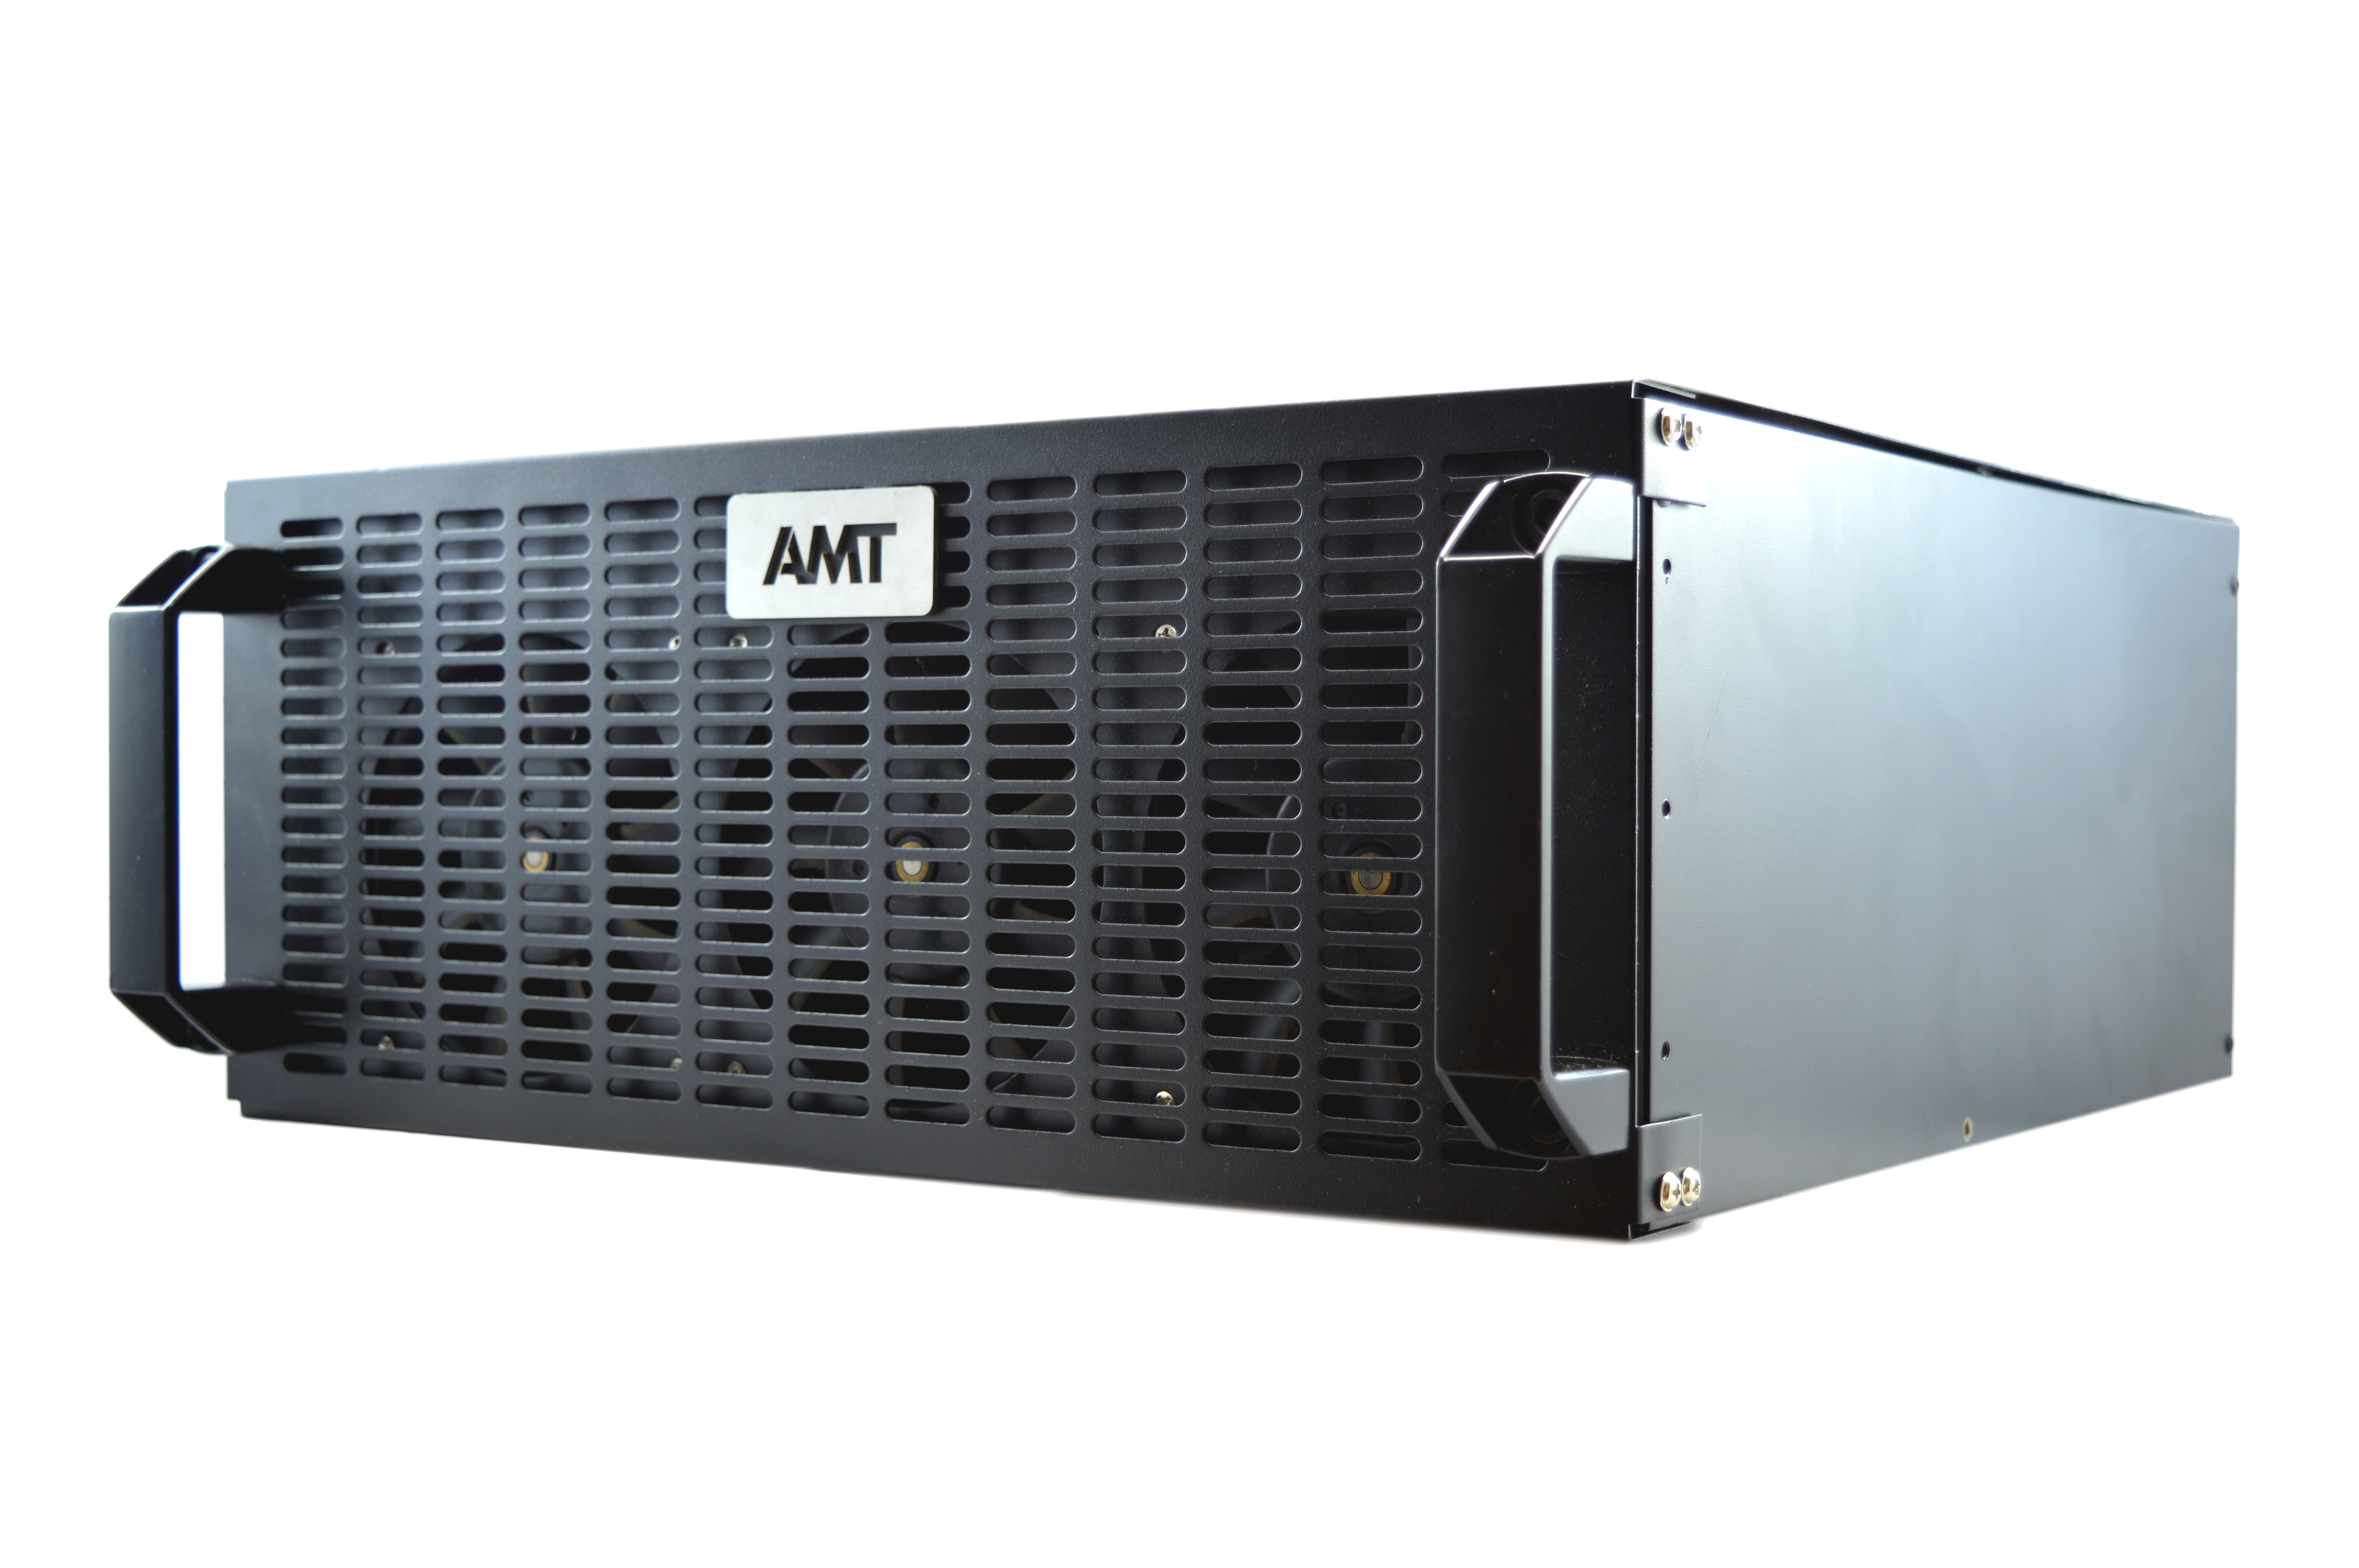
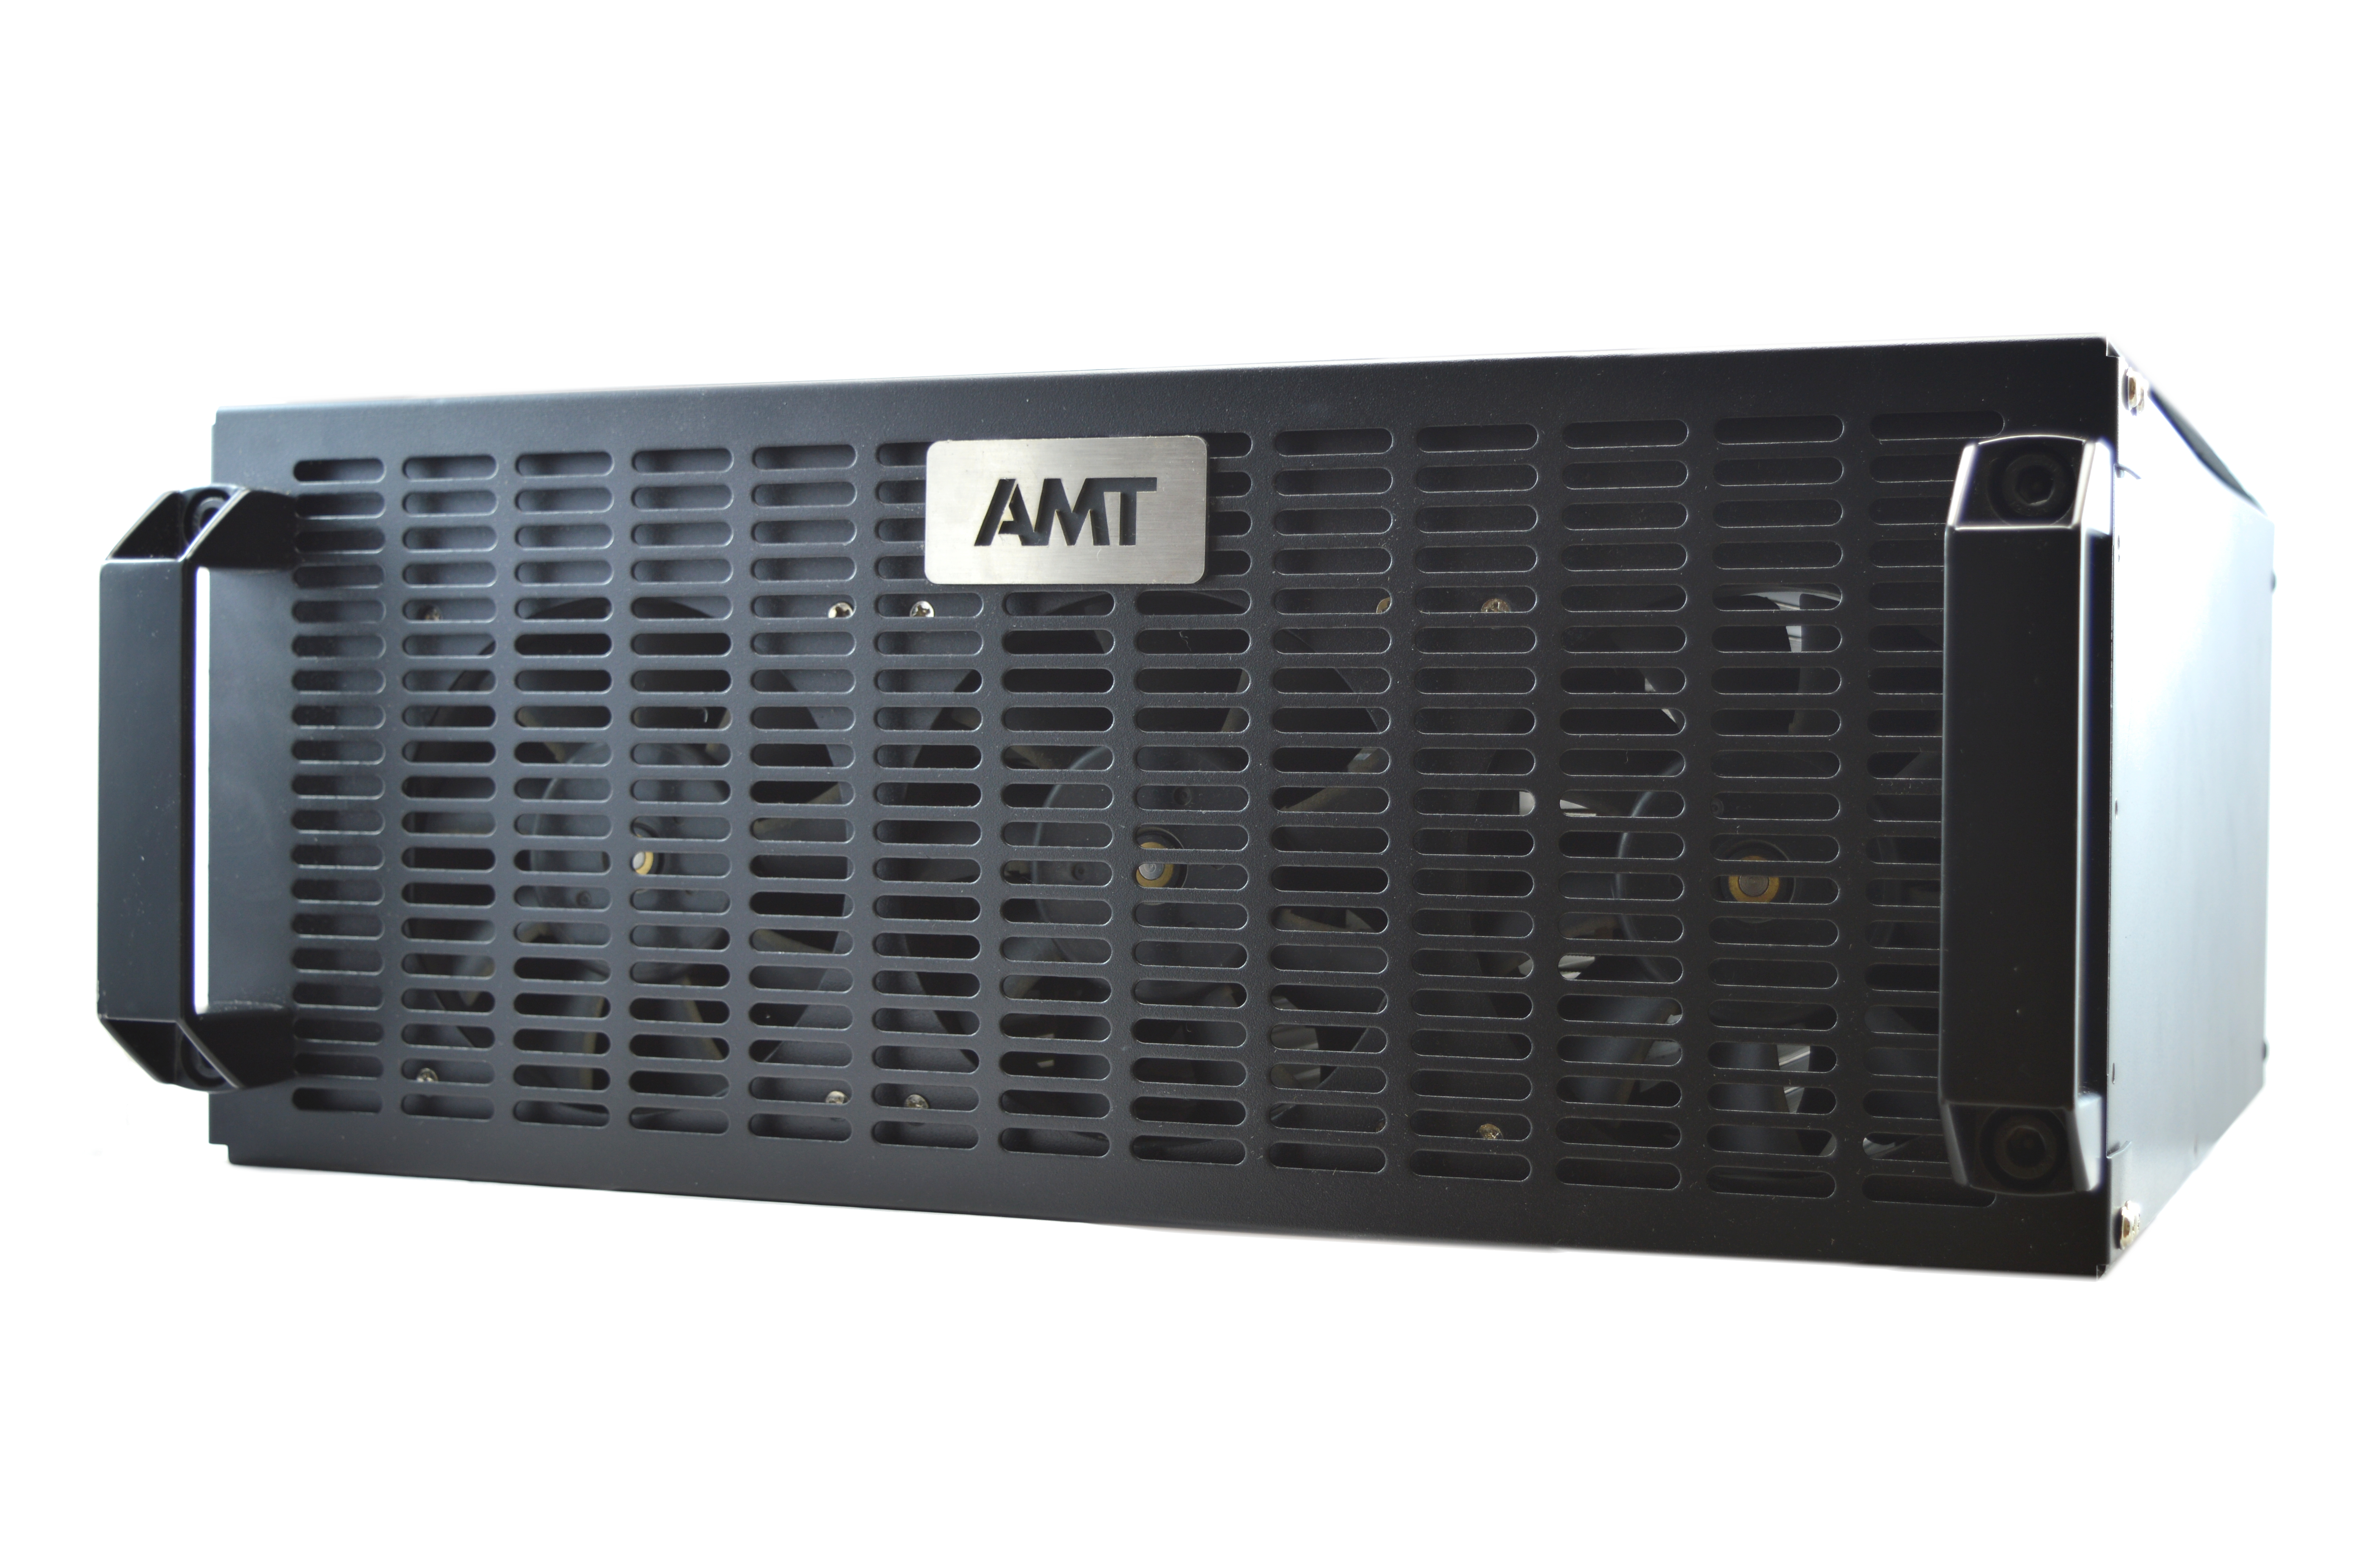
3) Case
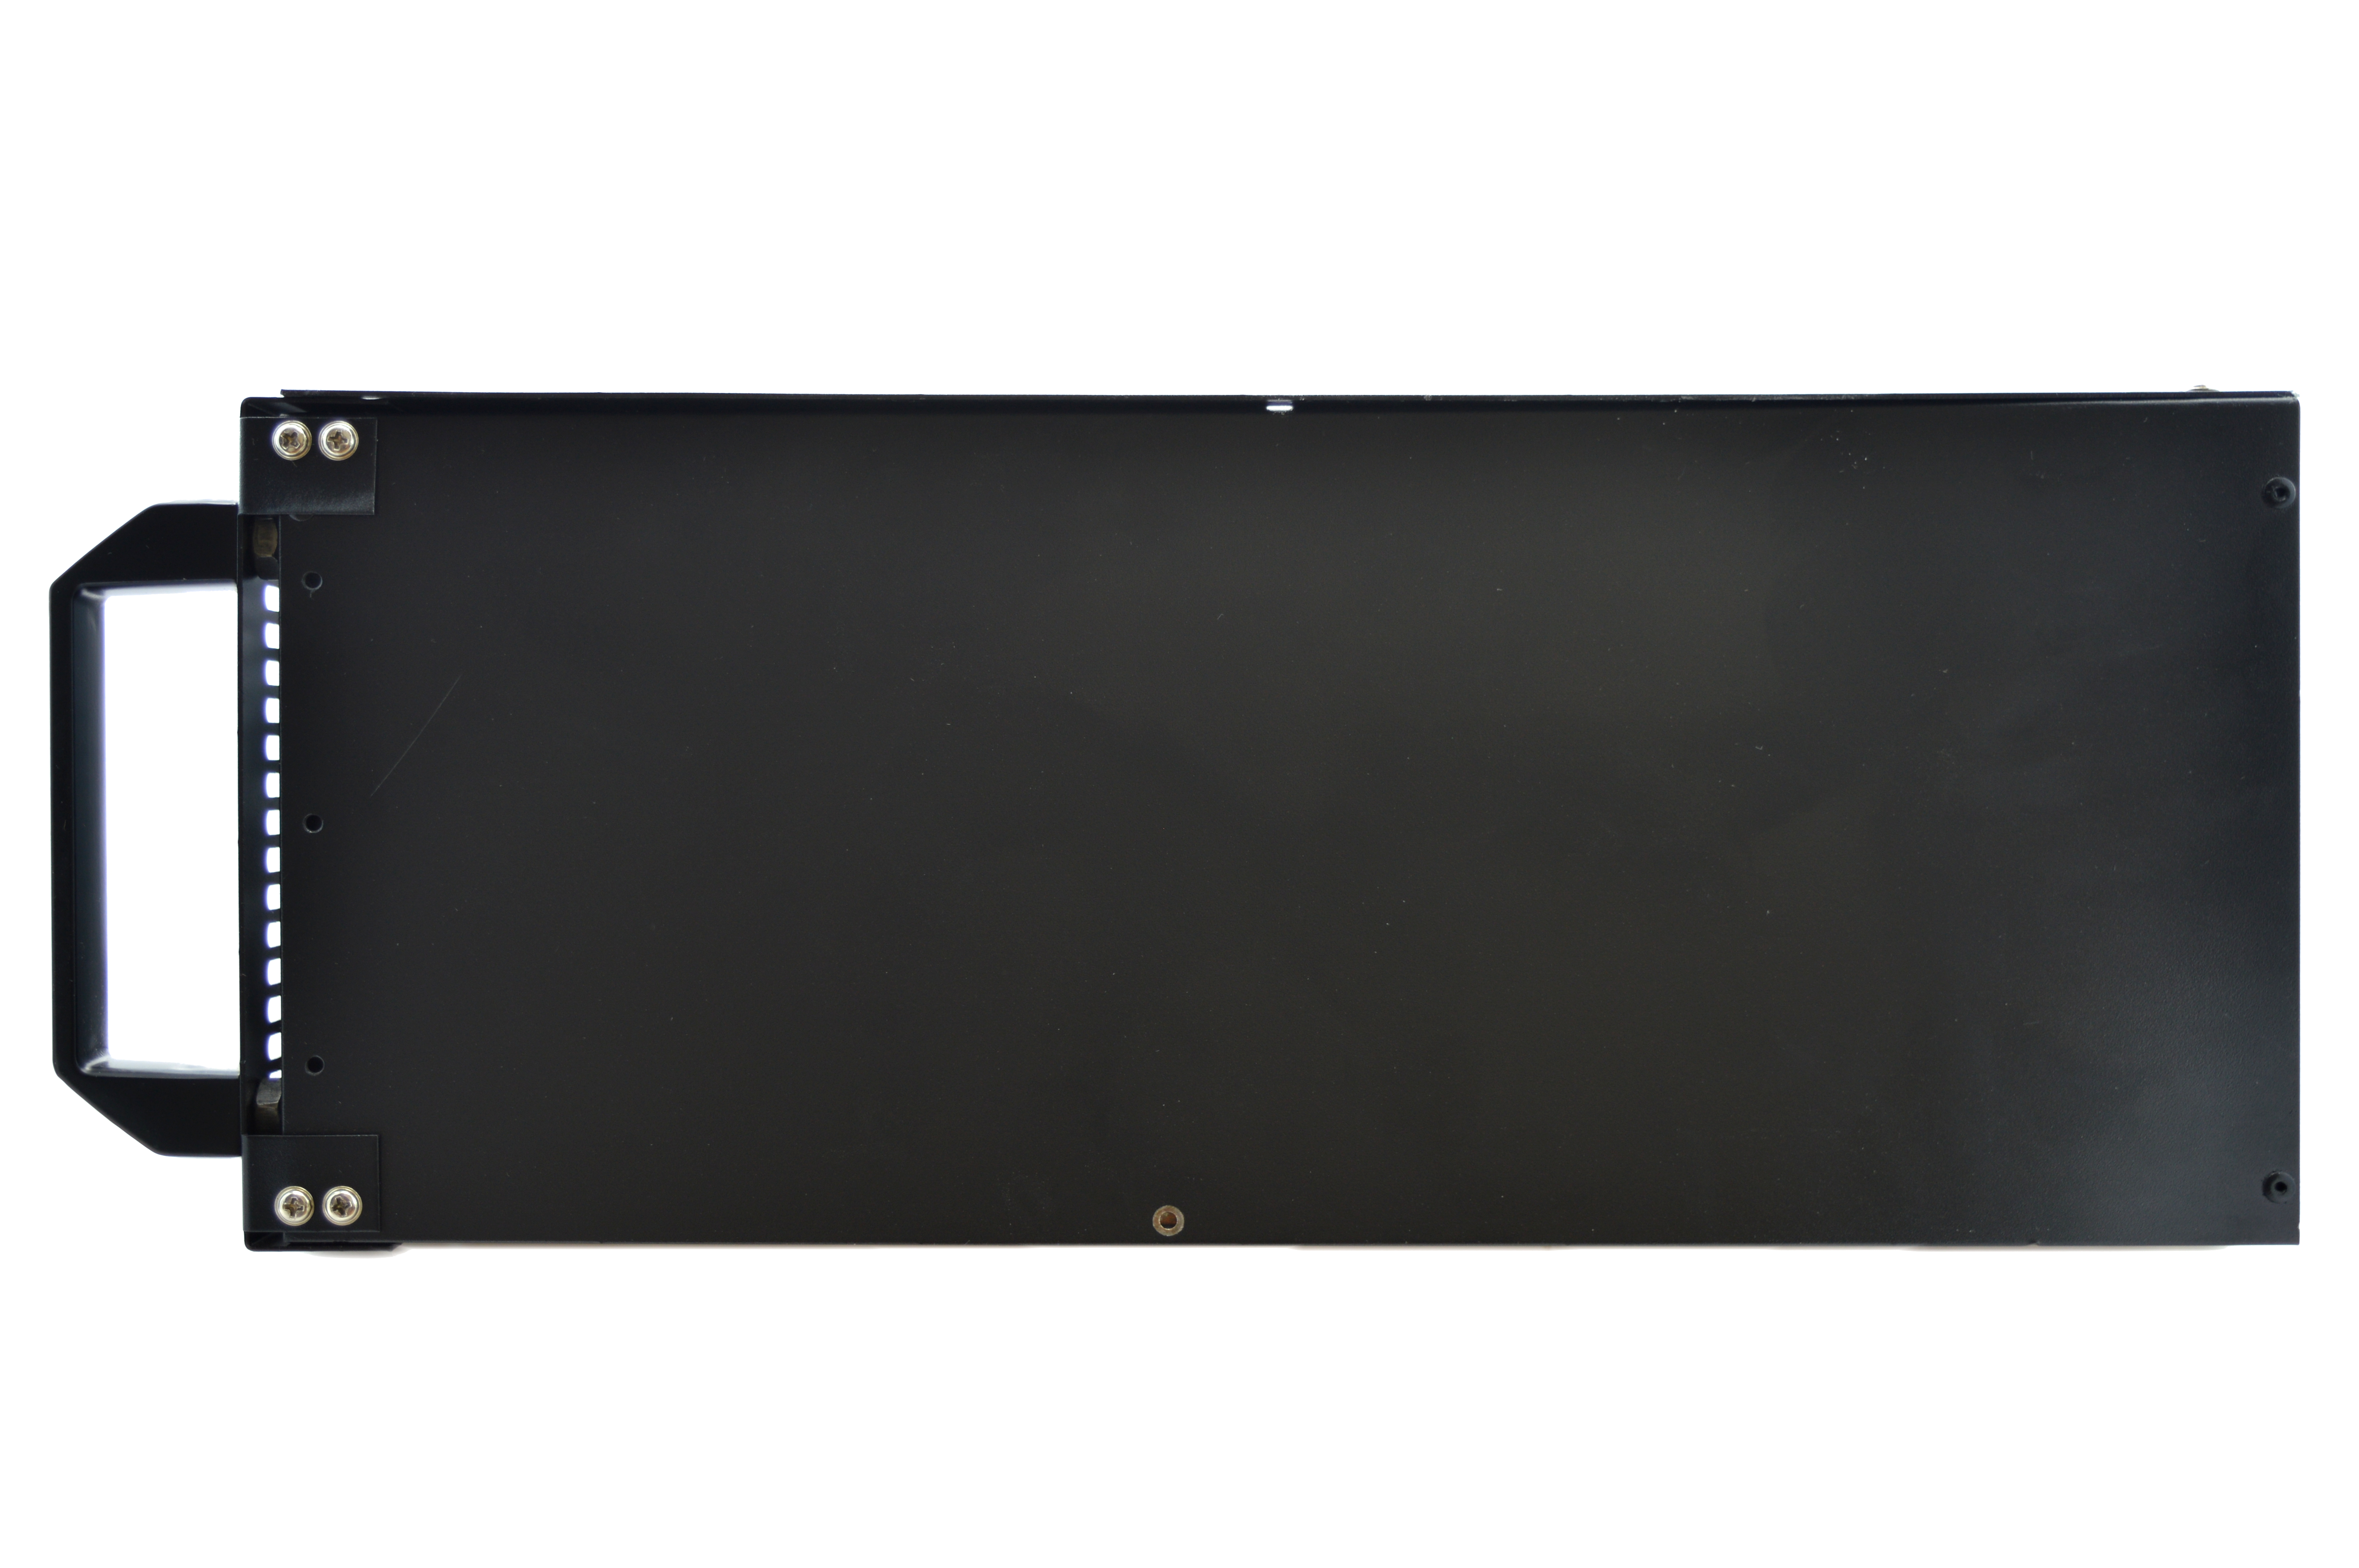
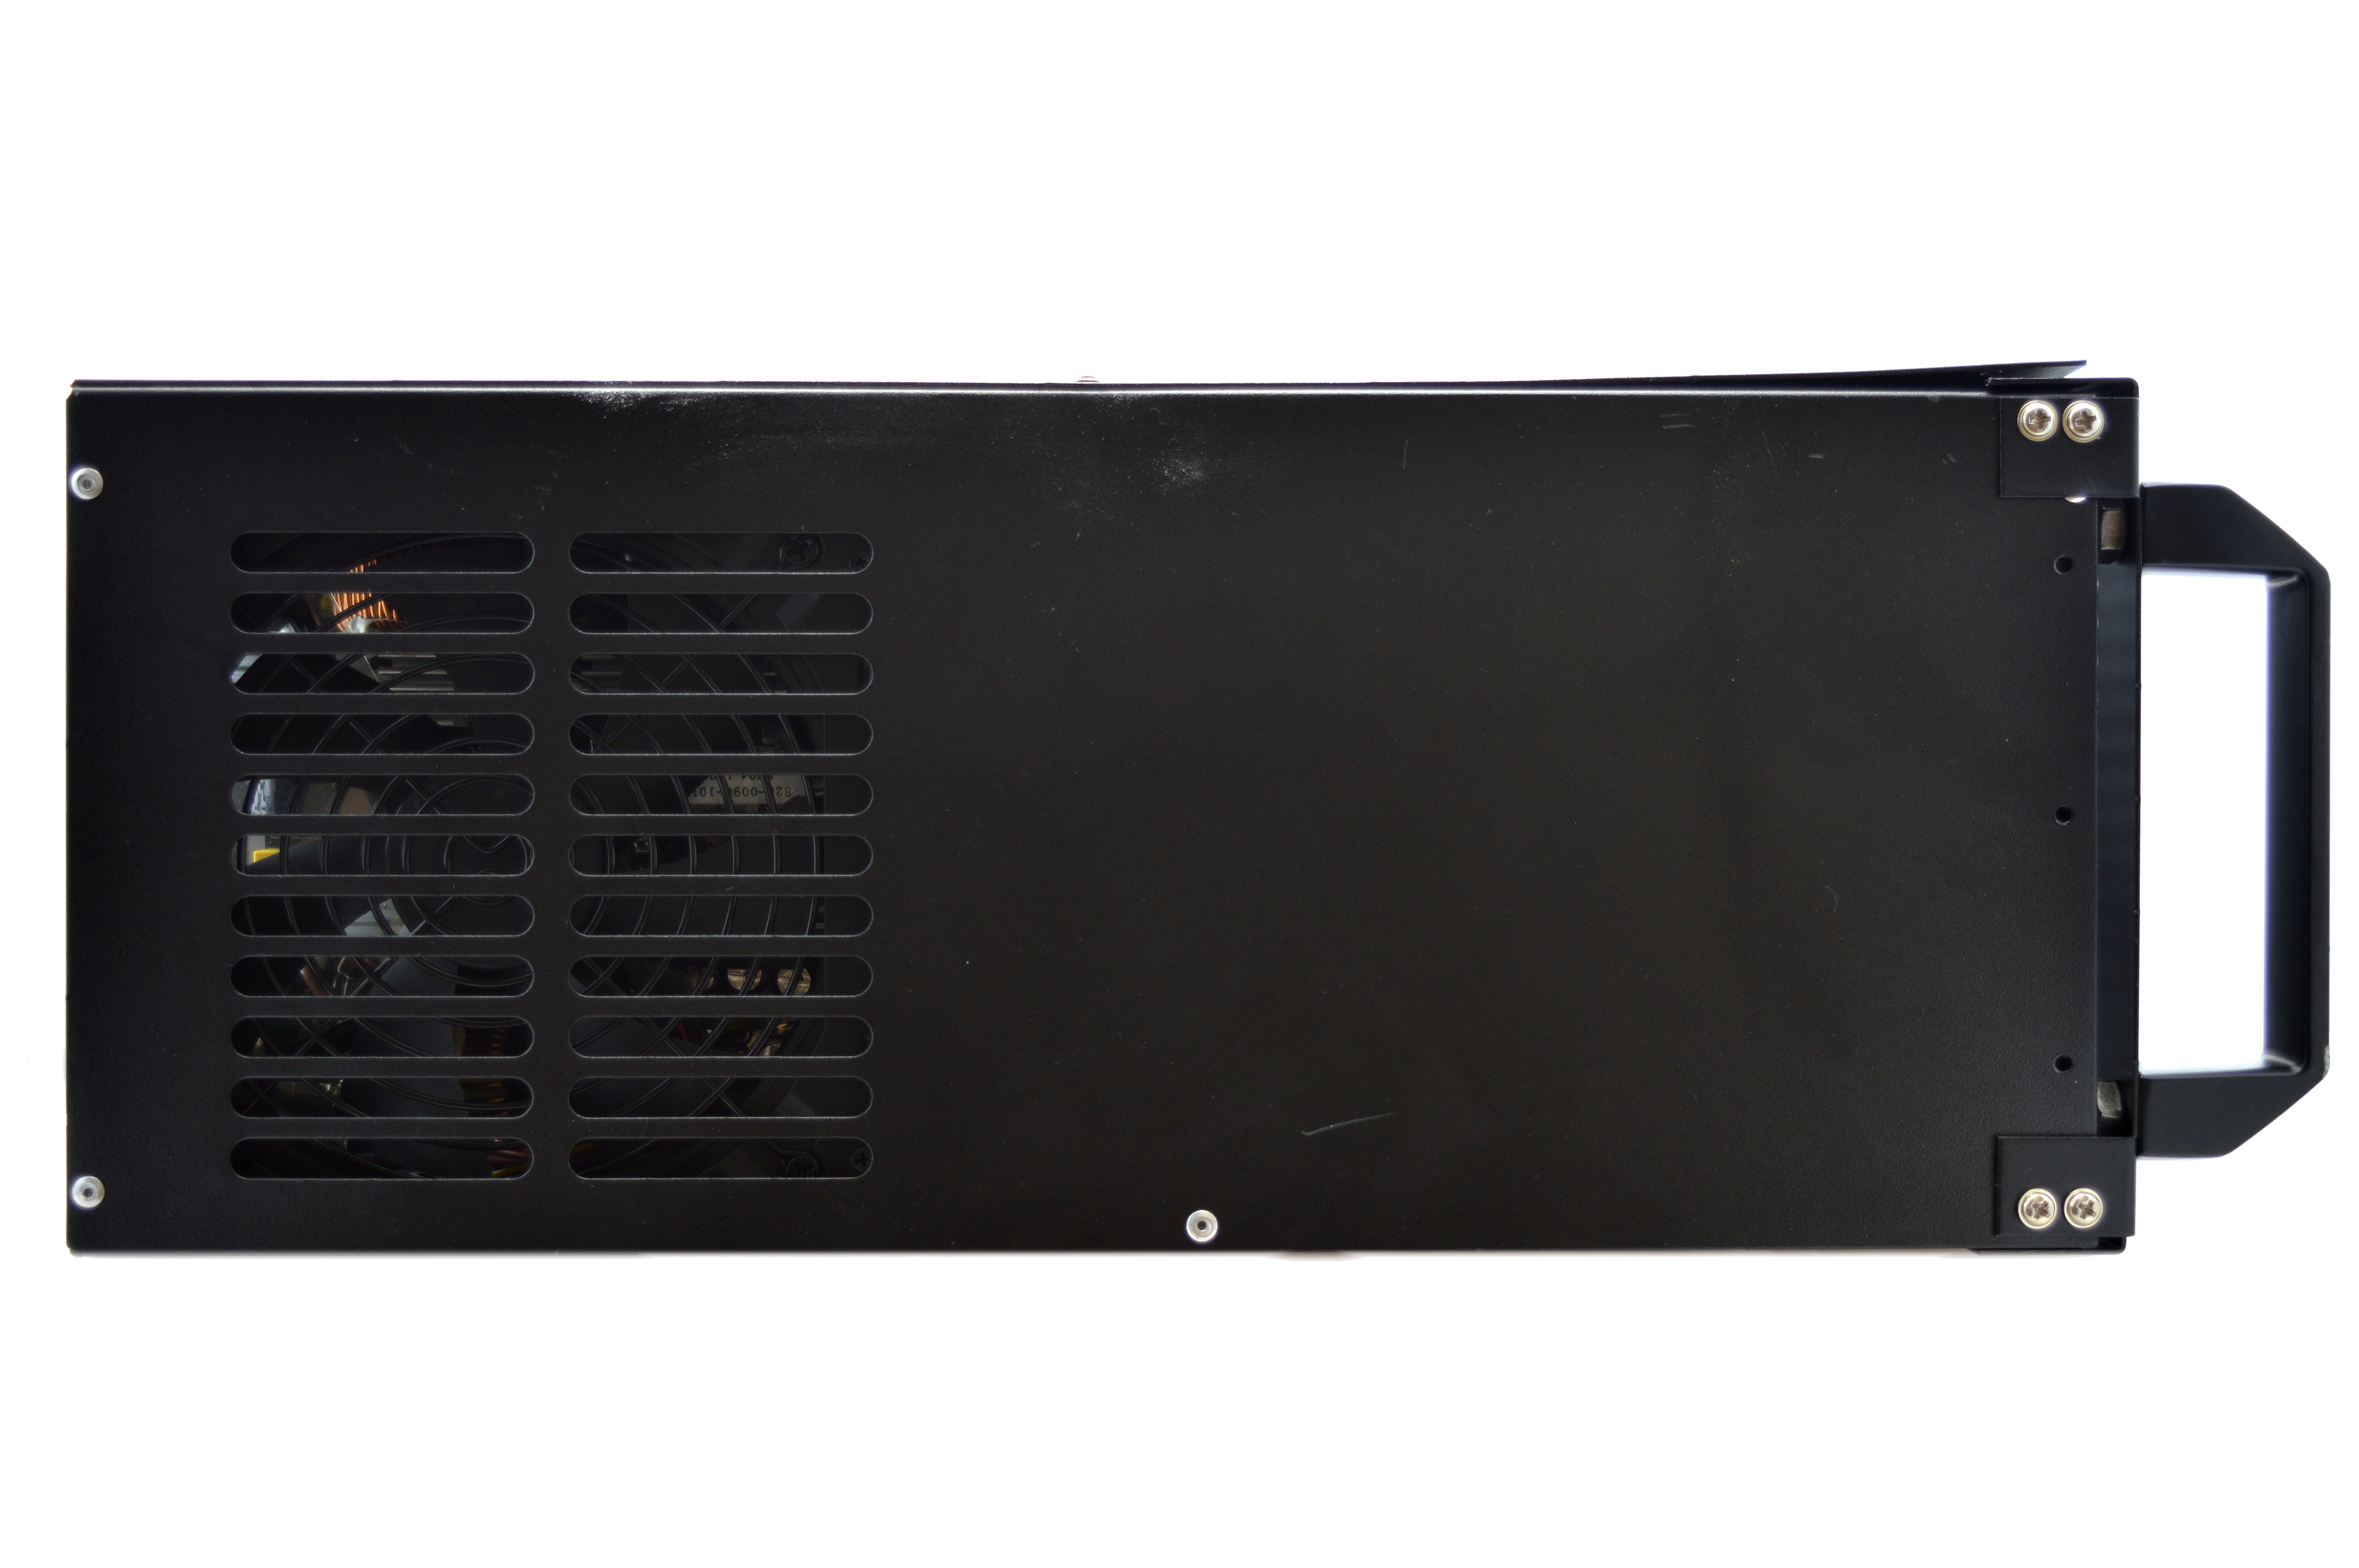
The 1.25TH's case is rather substantial and is designed to be rack mounted. It features two substantial handles to help carry and get it into place and there is plenty of ventilation to air airflow.
The 1.25TH's case is rather substantial and is designed to be rack mounted. It features two substantial handles to help carry and get it into place and there is plenty of ventilation to air airflow.

|
|
4) Configuration
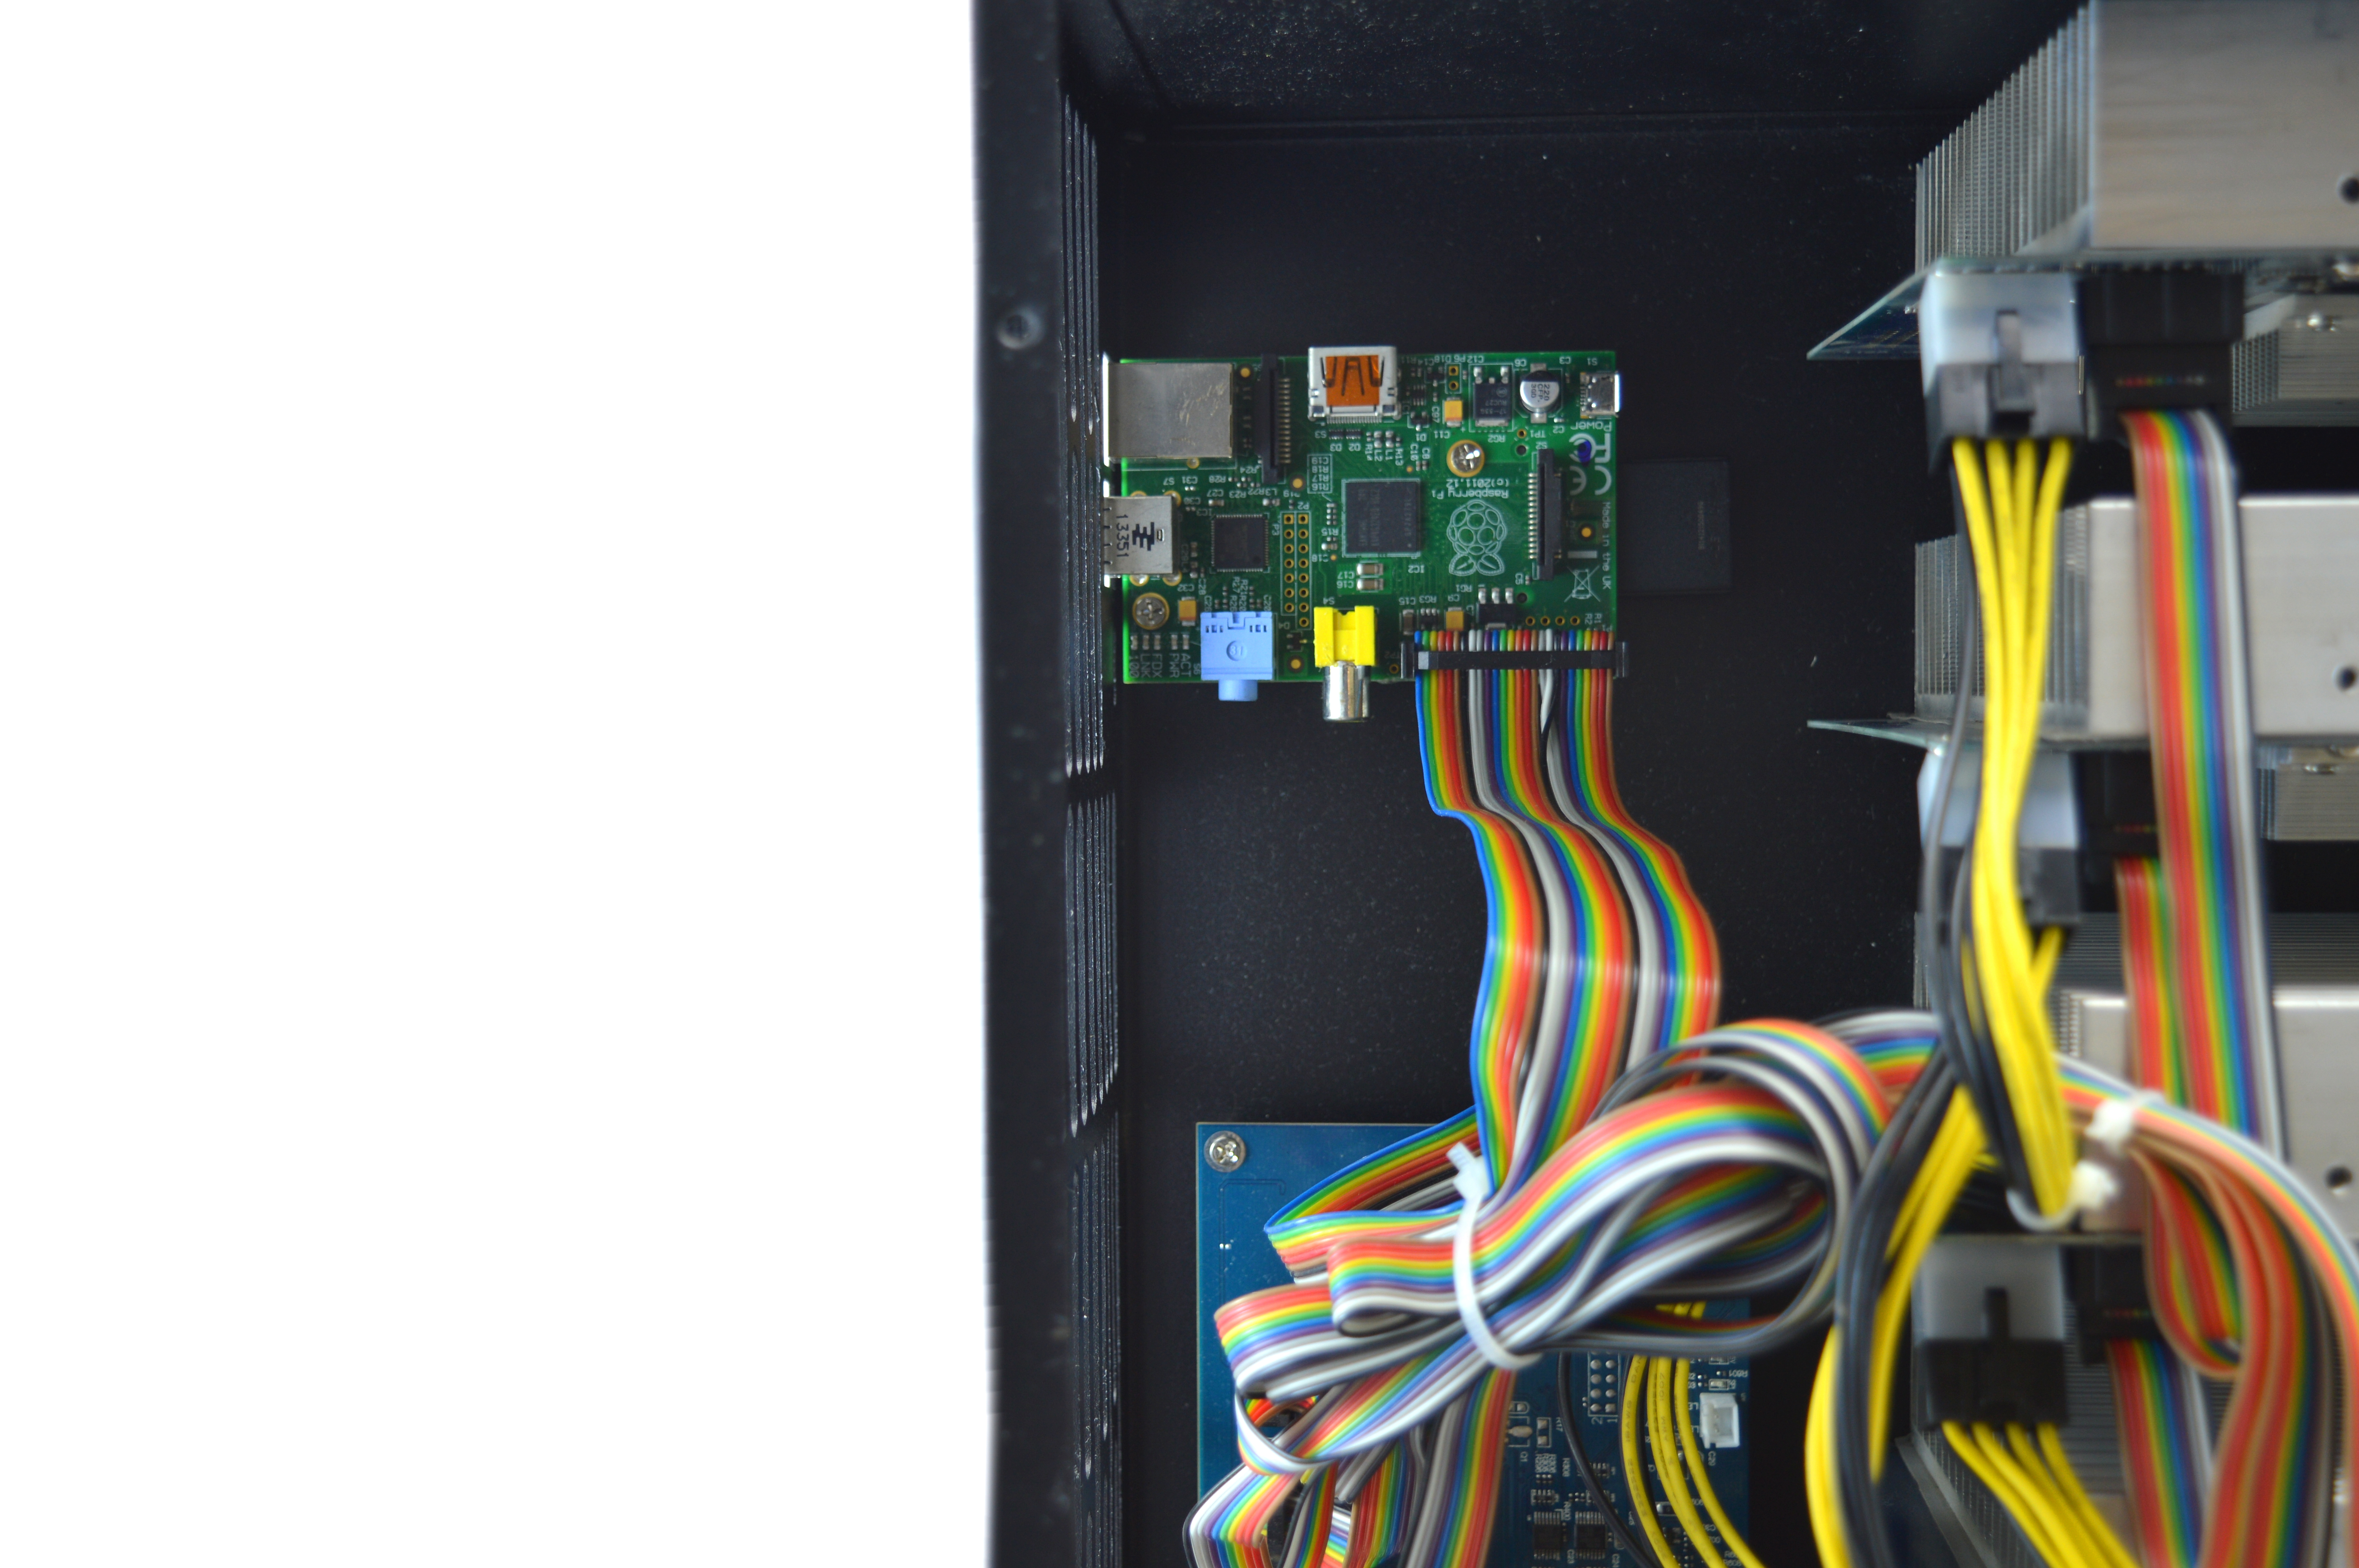
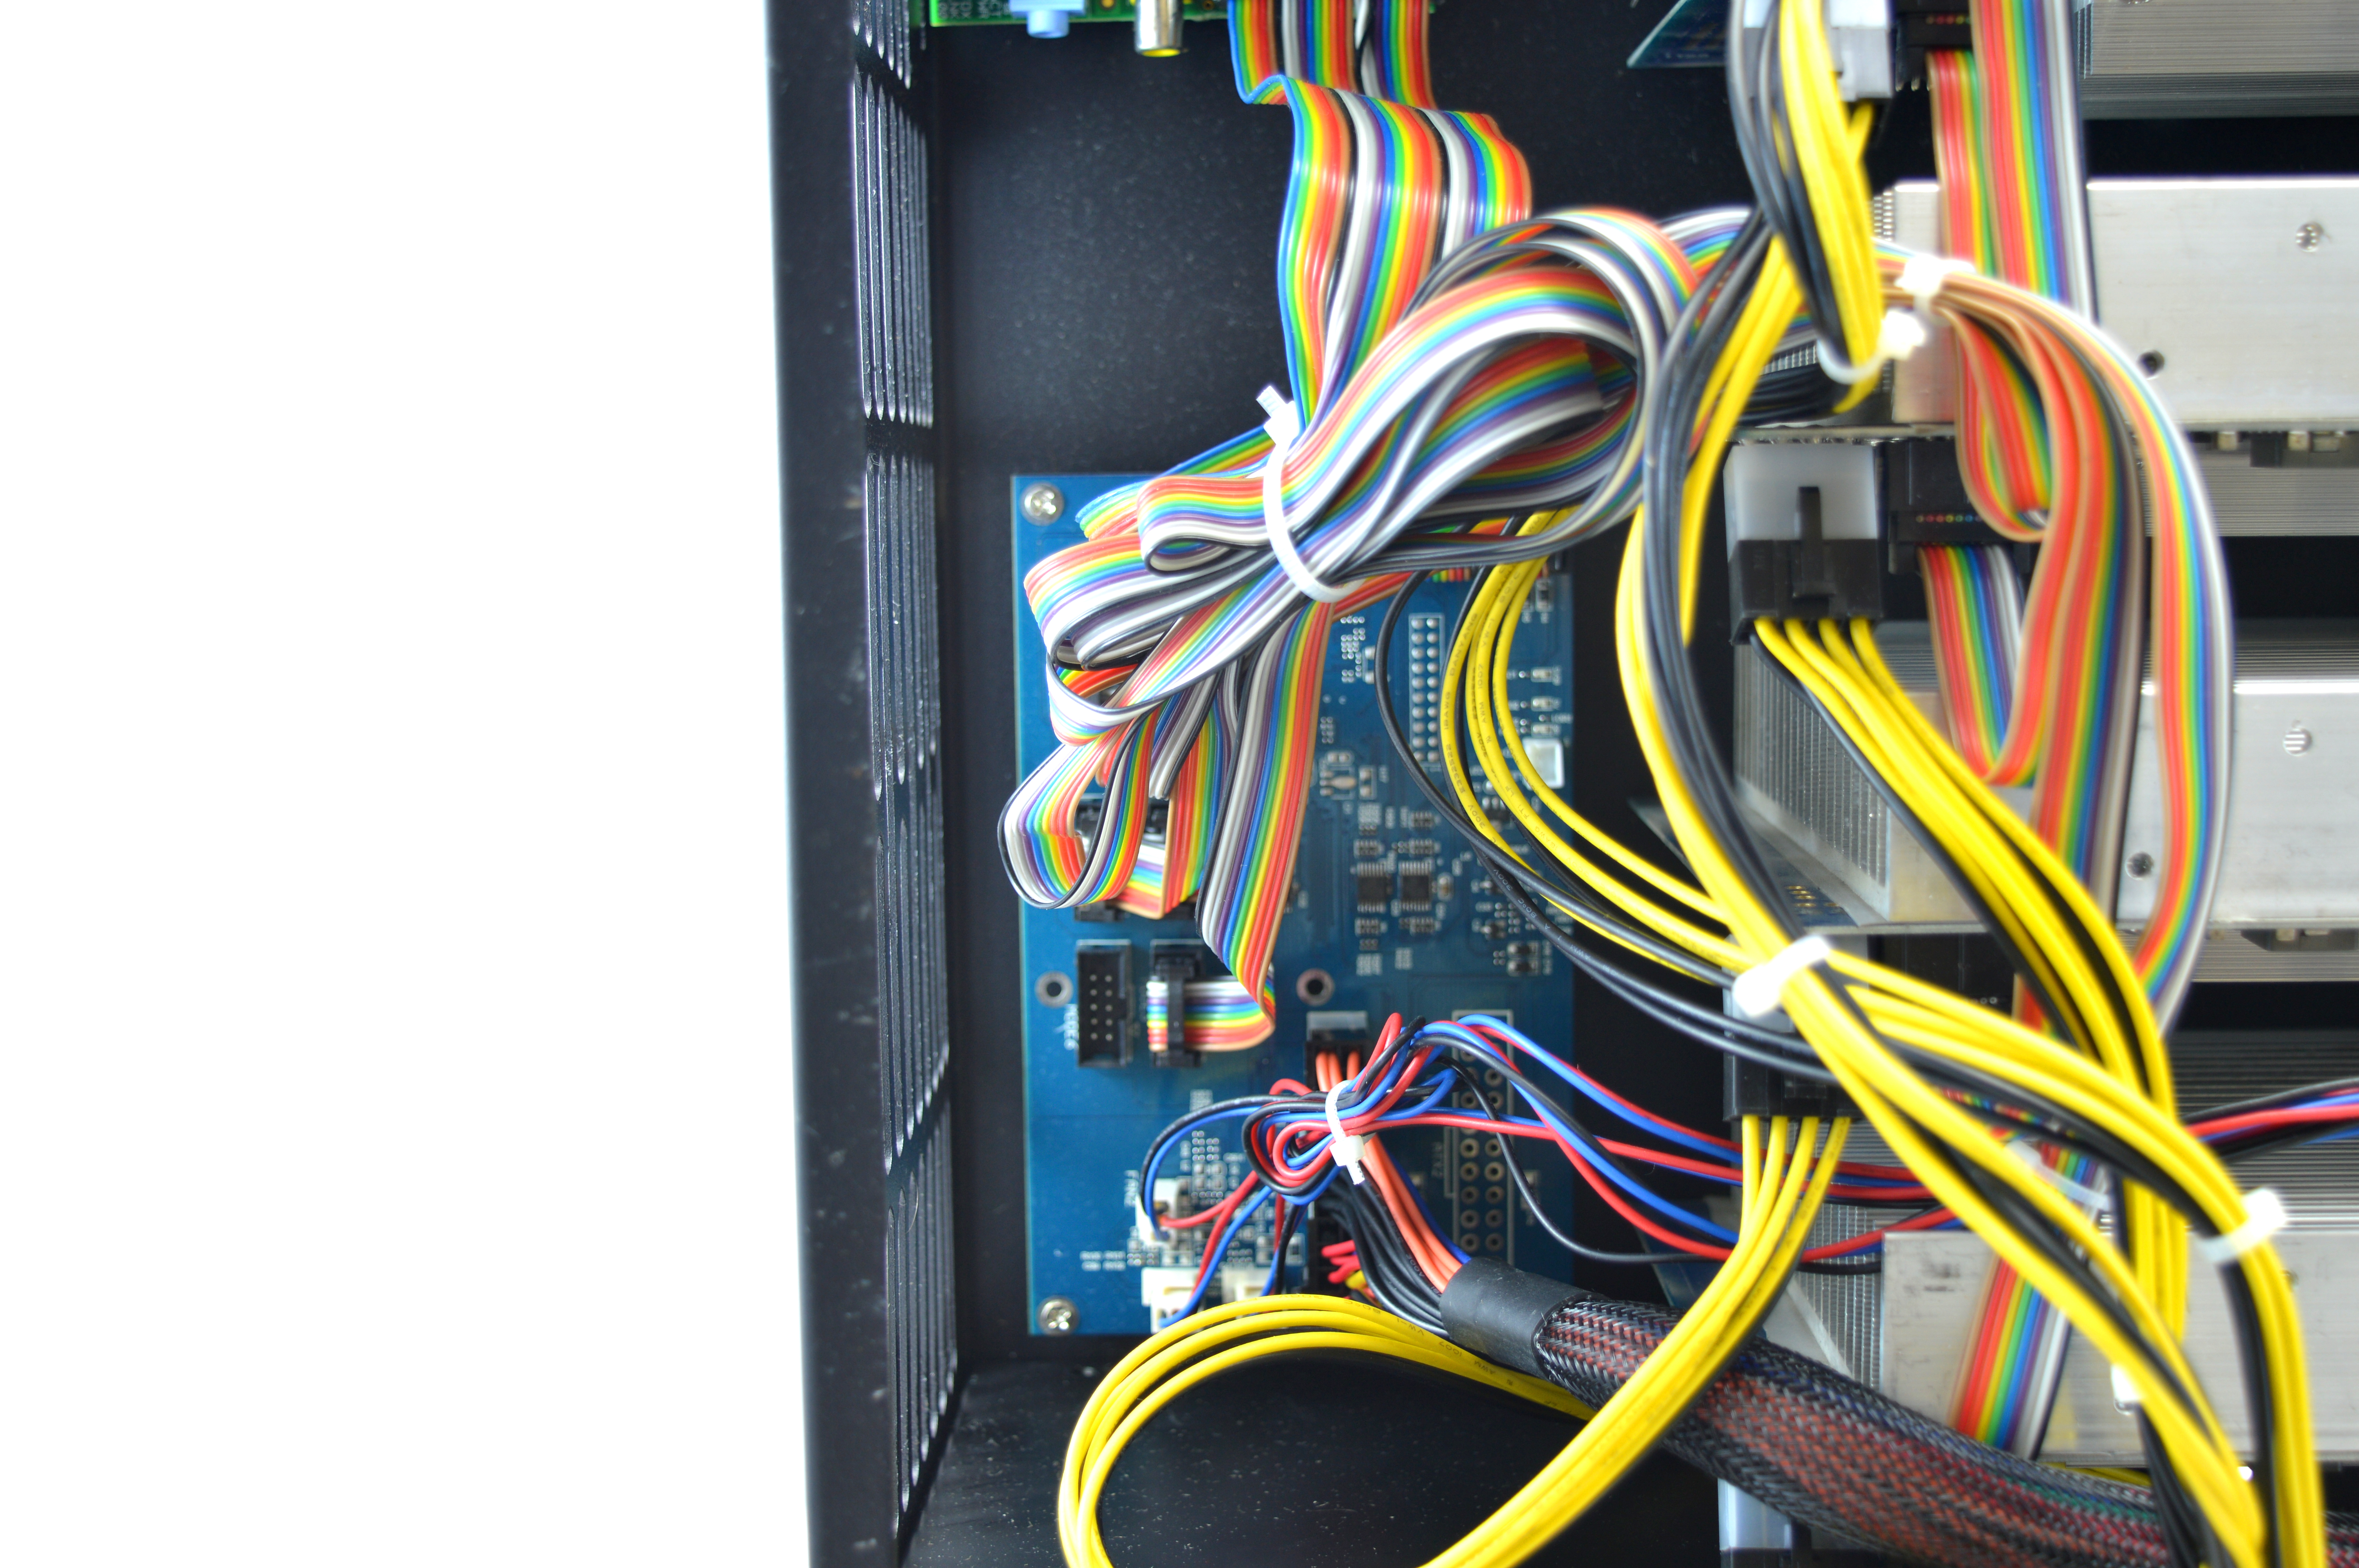
The 1.25TH is standalone and does not require an external controller.
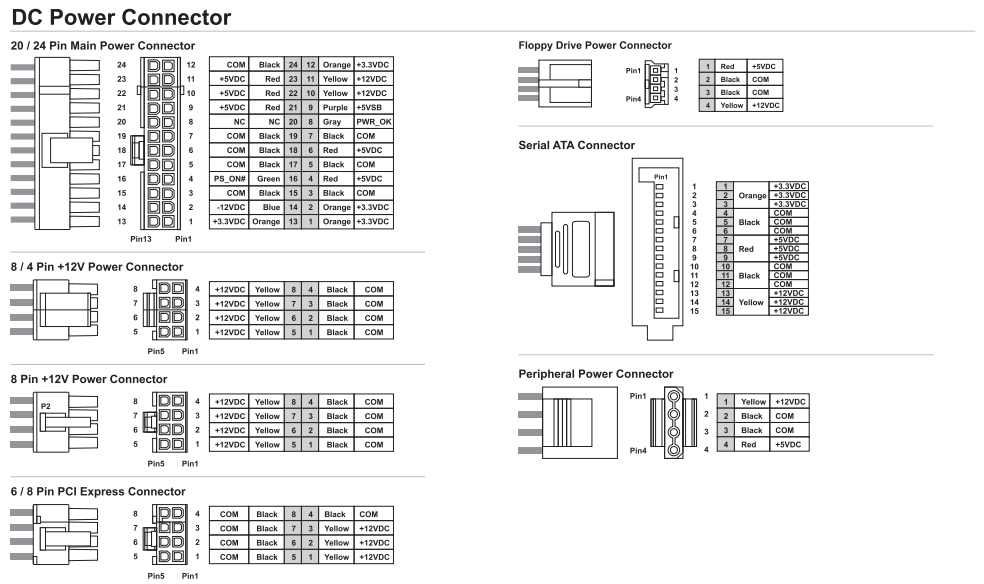
Wiring:
Configuration:
Alternative Subnet Change:
The 1.25TH is standalone and does not require an external controller.
Wiring:
- Plug in an ethernet cable from the 1.25TH to you router.
- Plug in the power cable from the 1.25TH to the mains.
Configuration:
- Power on the power supply using its switch at the back.
- Make sure that your router's subnet is 1, ie 192.168.1.x. If not then change it to 1, this is just temporary. ***If this is not possible, see below***
- Using a browser, navigate to 192.168.1.100 - this goes to the 1.25TH's configuration page.
- Login using "root" as both the username and password.
- Navigate to "Settings".
- Make sure the gateway IP is set to that of your router and click "Network Setting".
- Enter your pool information in the below format.
- Select "Beeper ringing" to "false" and click "Submit" twice.
- Navigate to the page "Dashboard" to check mining has started.You can then change your router subnet back to whatever you are used to using.
Alternative Subnet Change:
- Unplug your computer from all internet sources.
- Plug in an ethernet cable from the 1.25TH to your computer.
- Navigate to Control Panel -> Network and Sharing Centre -> Change Adapter Settings
- Right click on your ethernet adapter -> Properties.
- Click on "Internet Protocol Version 4" and click properties.
- Select "Use the following IP address" and enter the following:
- IP Address: 192.168.1.1, Subnet Mask: 255.255.255.0, Default Gateway: 192.168.1.99.
- Plug in an ethernet cable from the 1.25TH to you router.
- Restart the configuration instructions as above.
stratum+tcp://mint.bitminter.com:3333
stratum+tcp://us1.ghash.io:3333
stratum+tcp://stratum.mining.eligius.st:3334
|
|
5) Troubleshooting
|
TBD as problems arise
|
|
|

|
6) Where to buy


General Safety Tips


|
Do not touch equipment while powered, exposed electrical contacts may shock.
Fans may cause injury or shatter if material is ingested.
|


|
Sharp edges may be cut, especially around any internal casing or heatsinks.
If you are unsure of what to do, STOP and consult an expert.
|
|
|
|
Legal disclaimer: This information is for general guidance and does not constitute expert advice. We are not responsible if you, your property or a third party is injured or damaged as a result of any interaction with this information, and no warranty is provided. All text and images are covered under copyright law, dogiecoin.com.
|