
HexFury USB Setup Guide
Contents:
0) What to Expect?
1a) Powering
1b) Powering - External (optional)
2) Cooling
3a) Configuration
3b) Overclocking (optional)
4) Troubleshooting
5) Where to buy
0) What to Expect?
1a) Powering
1b) Powering - External (optional)
2) Cooling
3a) Configuration
3b) Overclocking (optional)
4) Troubleshooting
5) Where to buy
0) What to Expect?
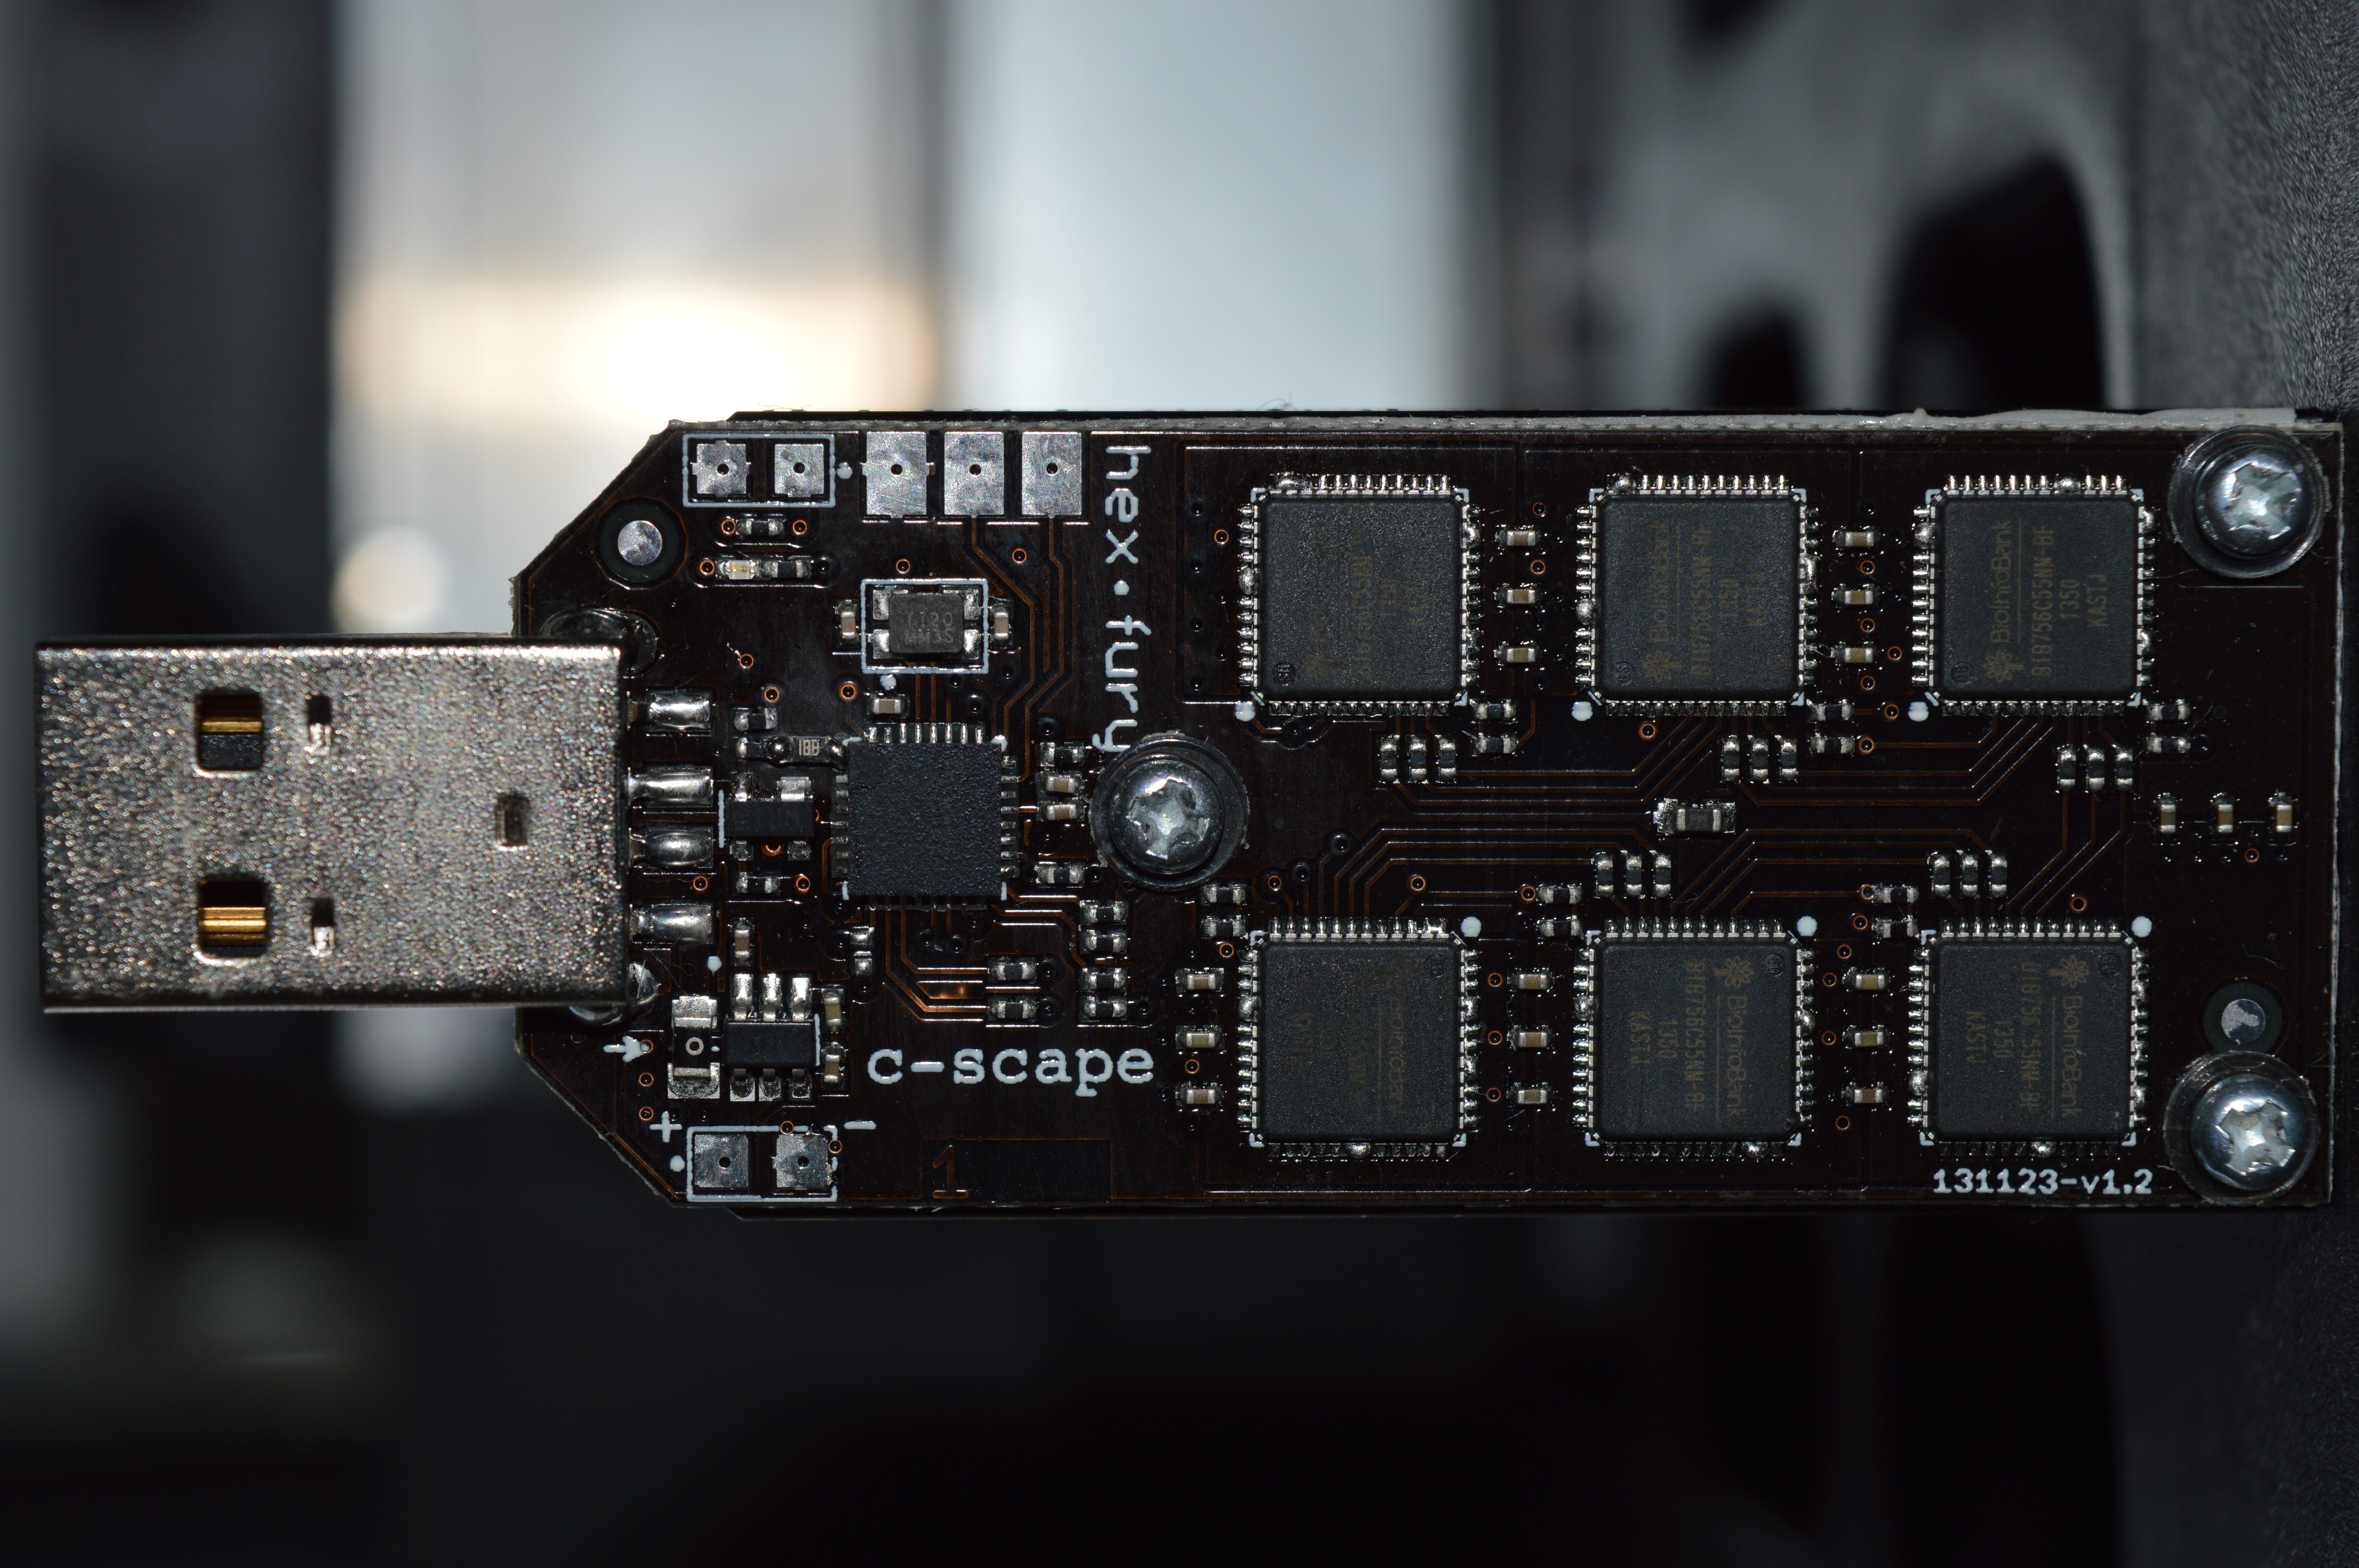
The HexFury board is designed by c-scape and intron, and features 6 Bitfury chips. It ships in a hard plastic case to survive even the most treacherous journeys. It is worth noting that while the stock speed is rating at 11GH, my unit achieves over 13GH without overclocking. Specifications are as follows:
The HexFury board is designed by c-scape and intron, and features 6 Bitfury chips. It ships in a hard plastic case to survive even the most treacherous journeys. It is worth noting that while the stock speed is rating at 11GH, my unit achieves over 13GH without overclocking. Specifications are as follows:
|
Chips
Hash Rate Rated Voltage Rated Current Power Consumption |
- 6x Bitfury gen1
- ~11GH stock, 15GH OC'ed with additional power - 5V - 2-2.5A at stock, up to 4A OC'ed - 10 to 20W |


1a) Powering
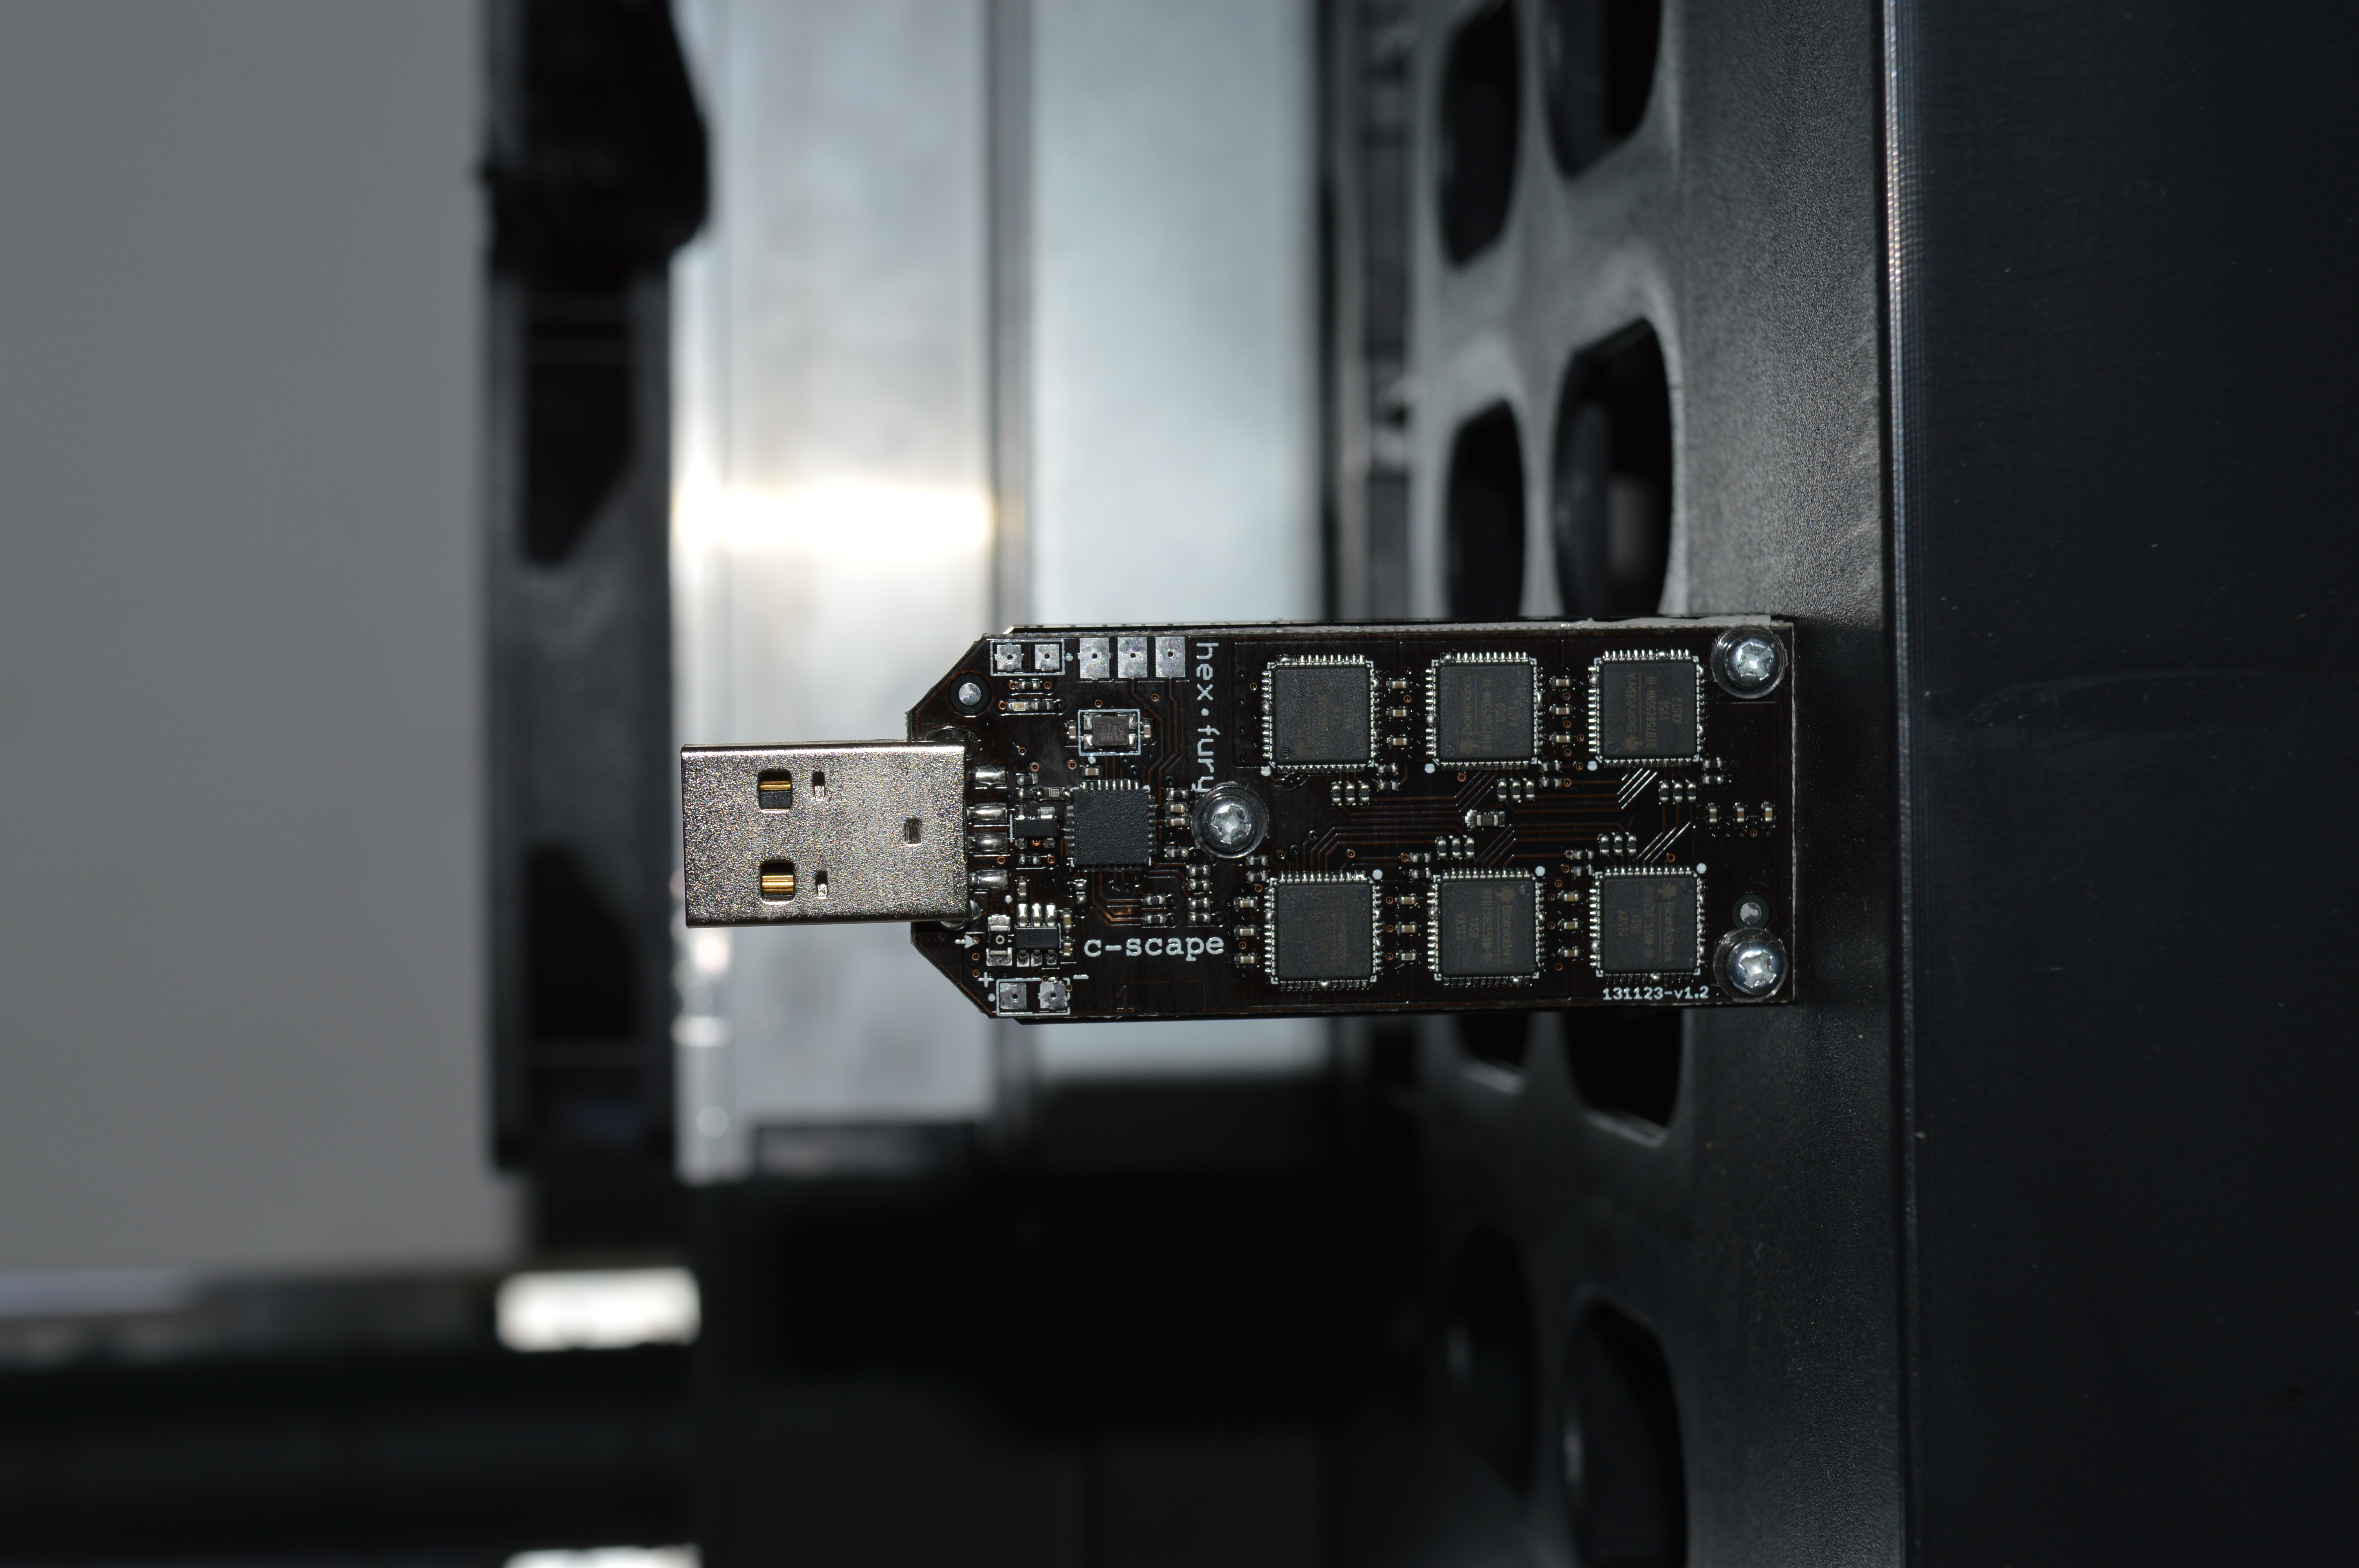
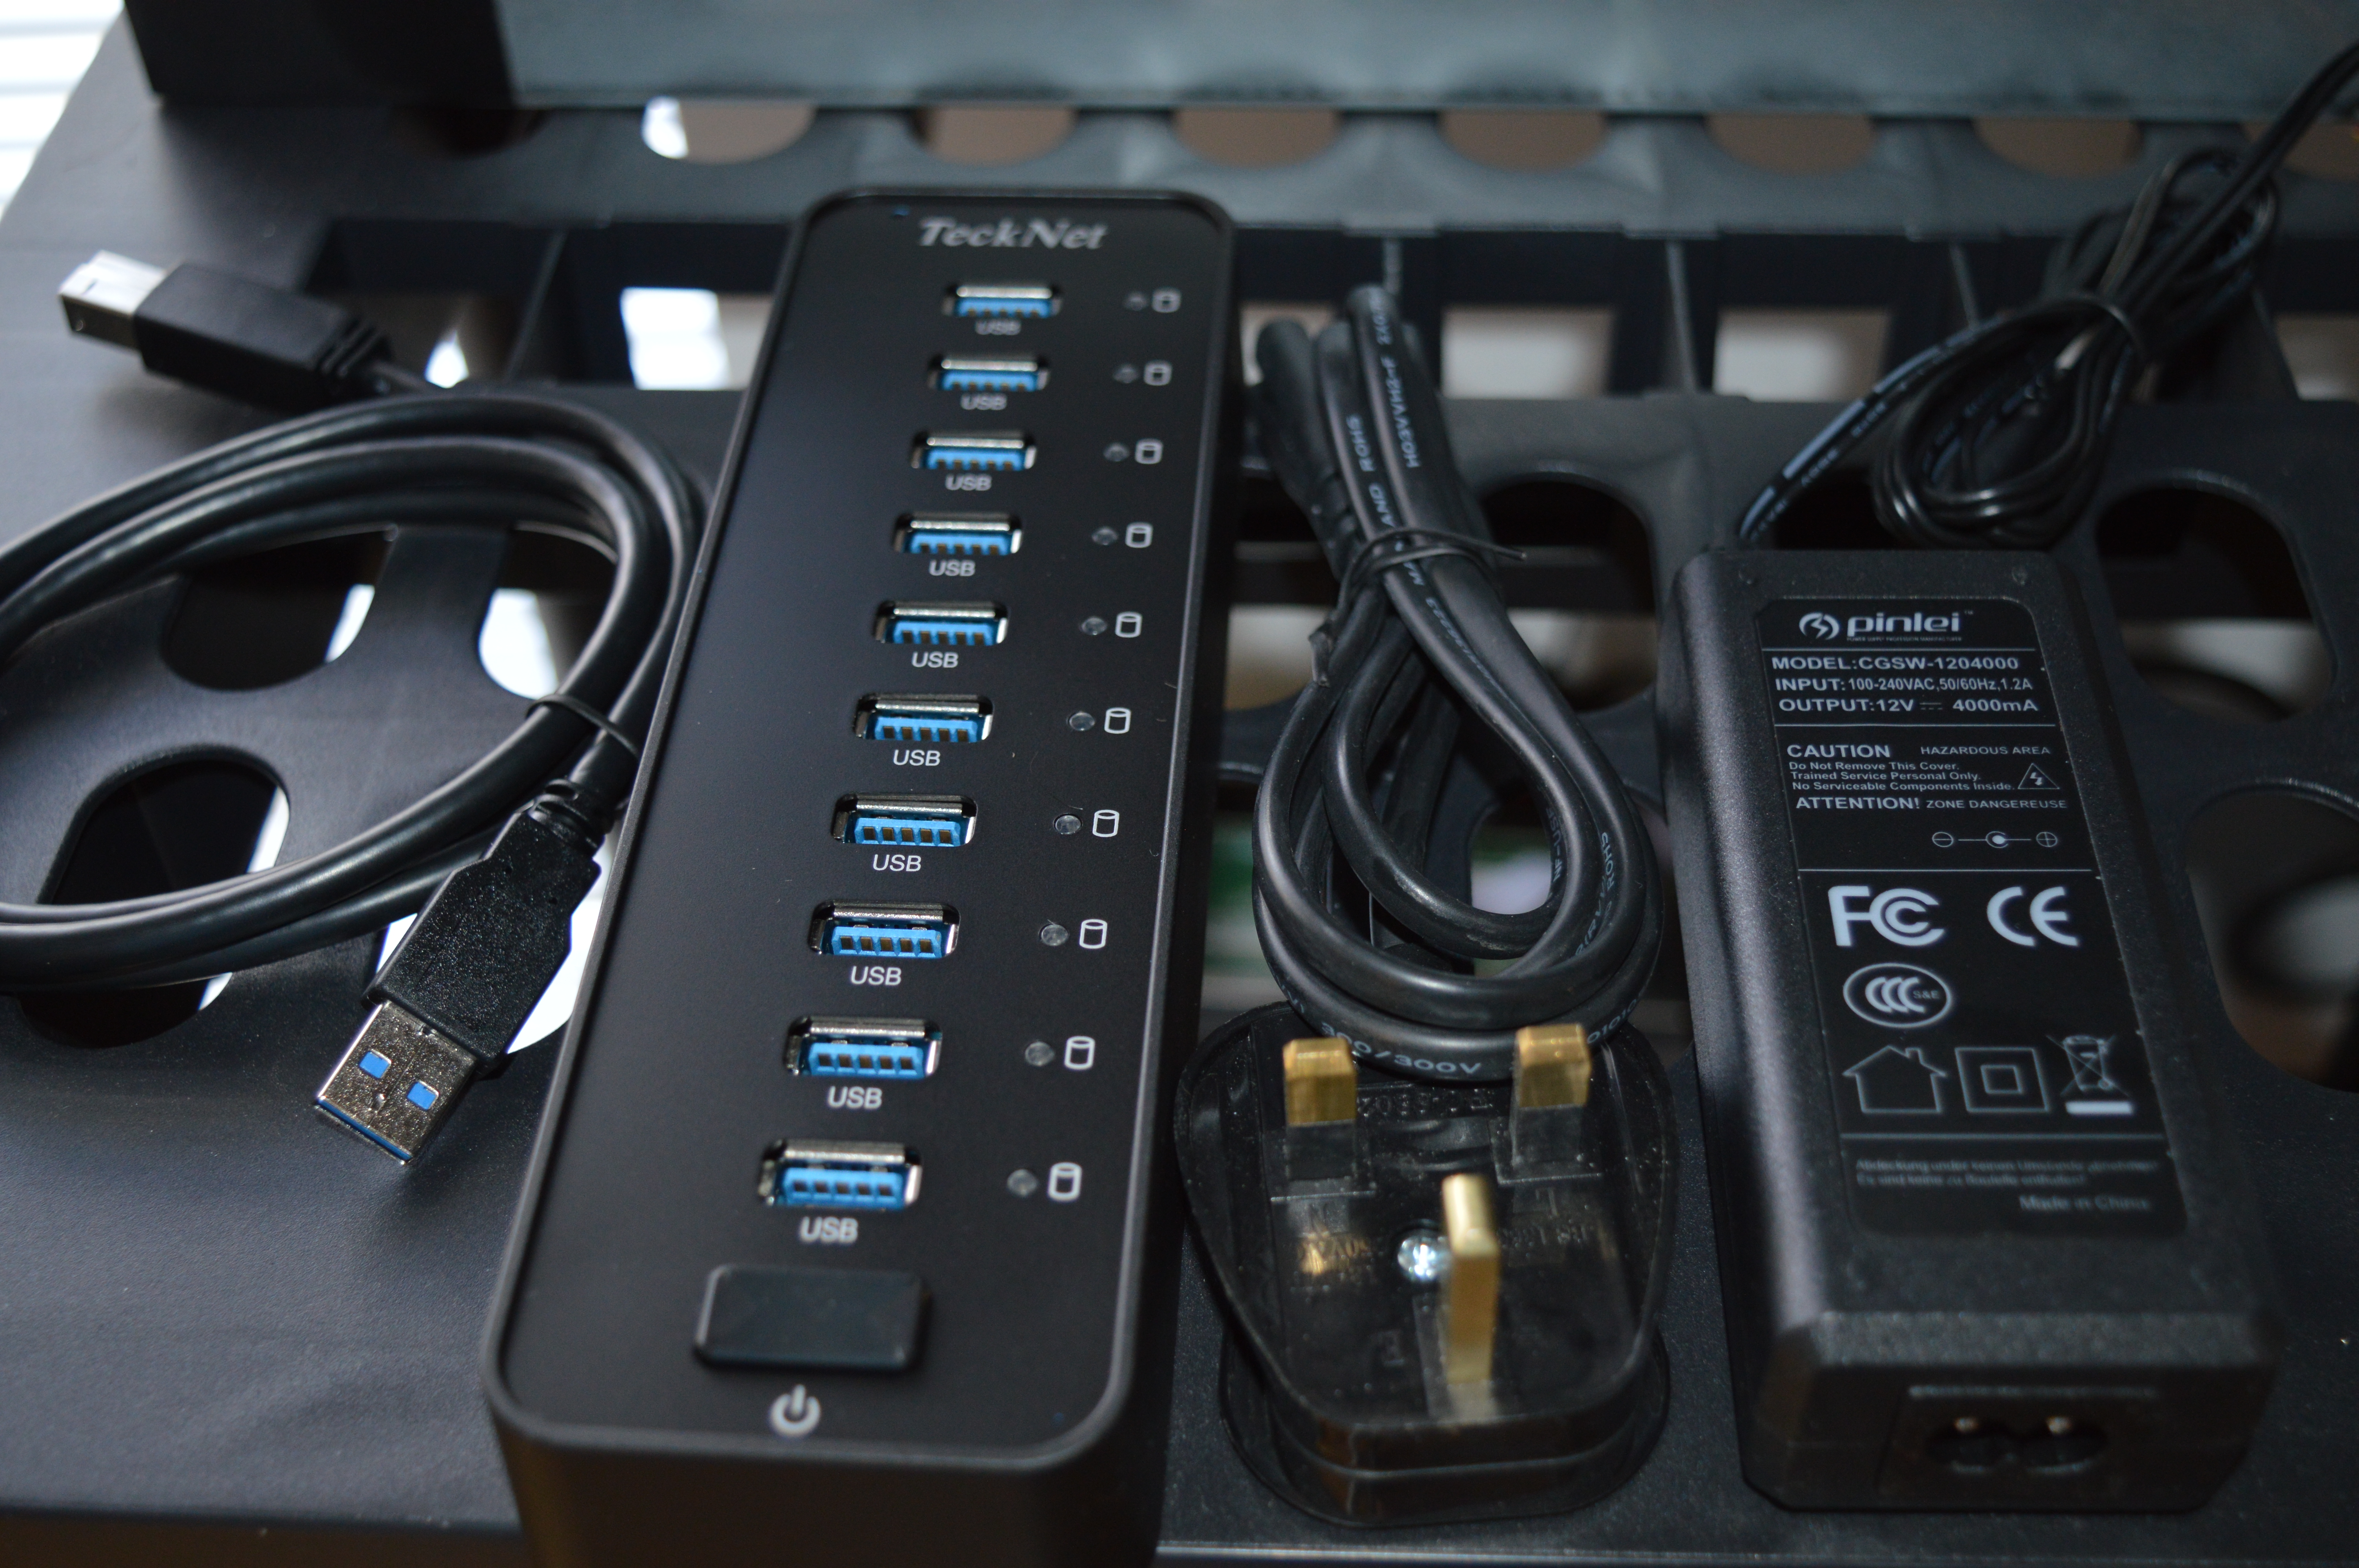
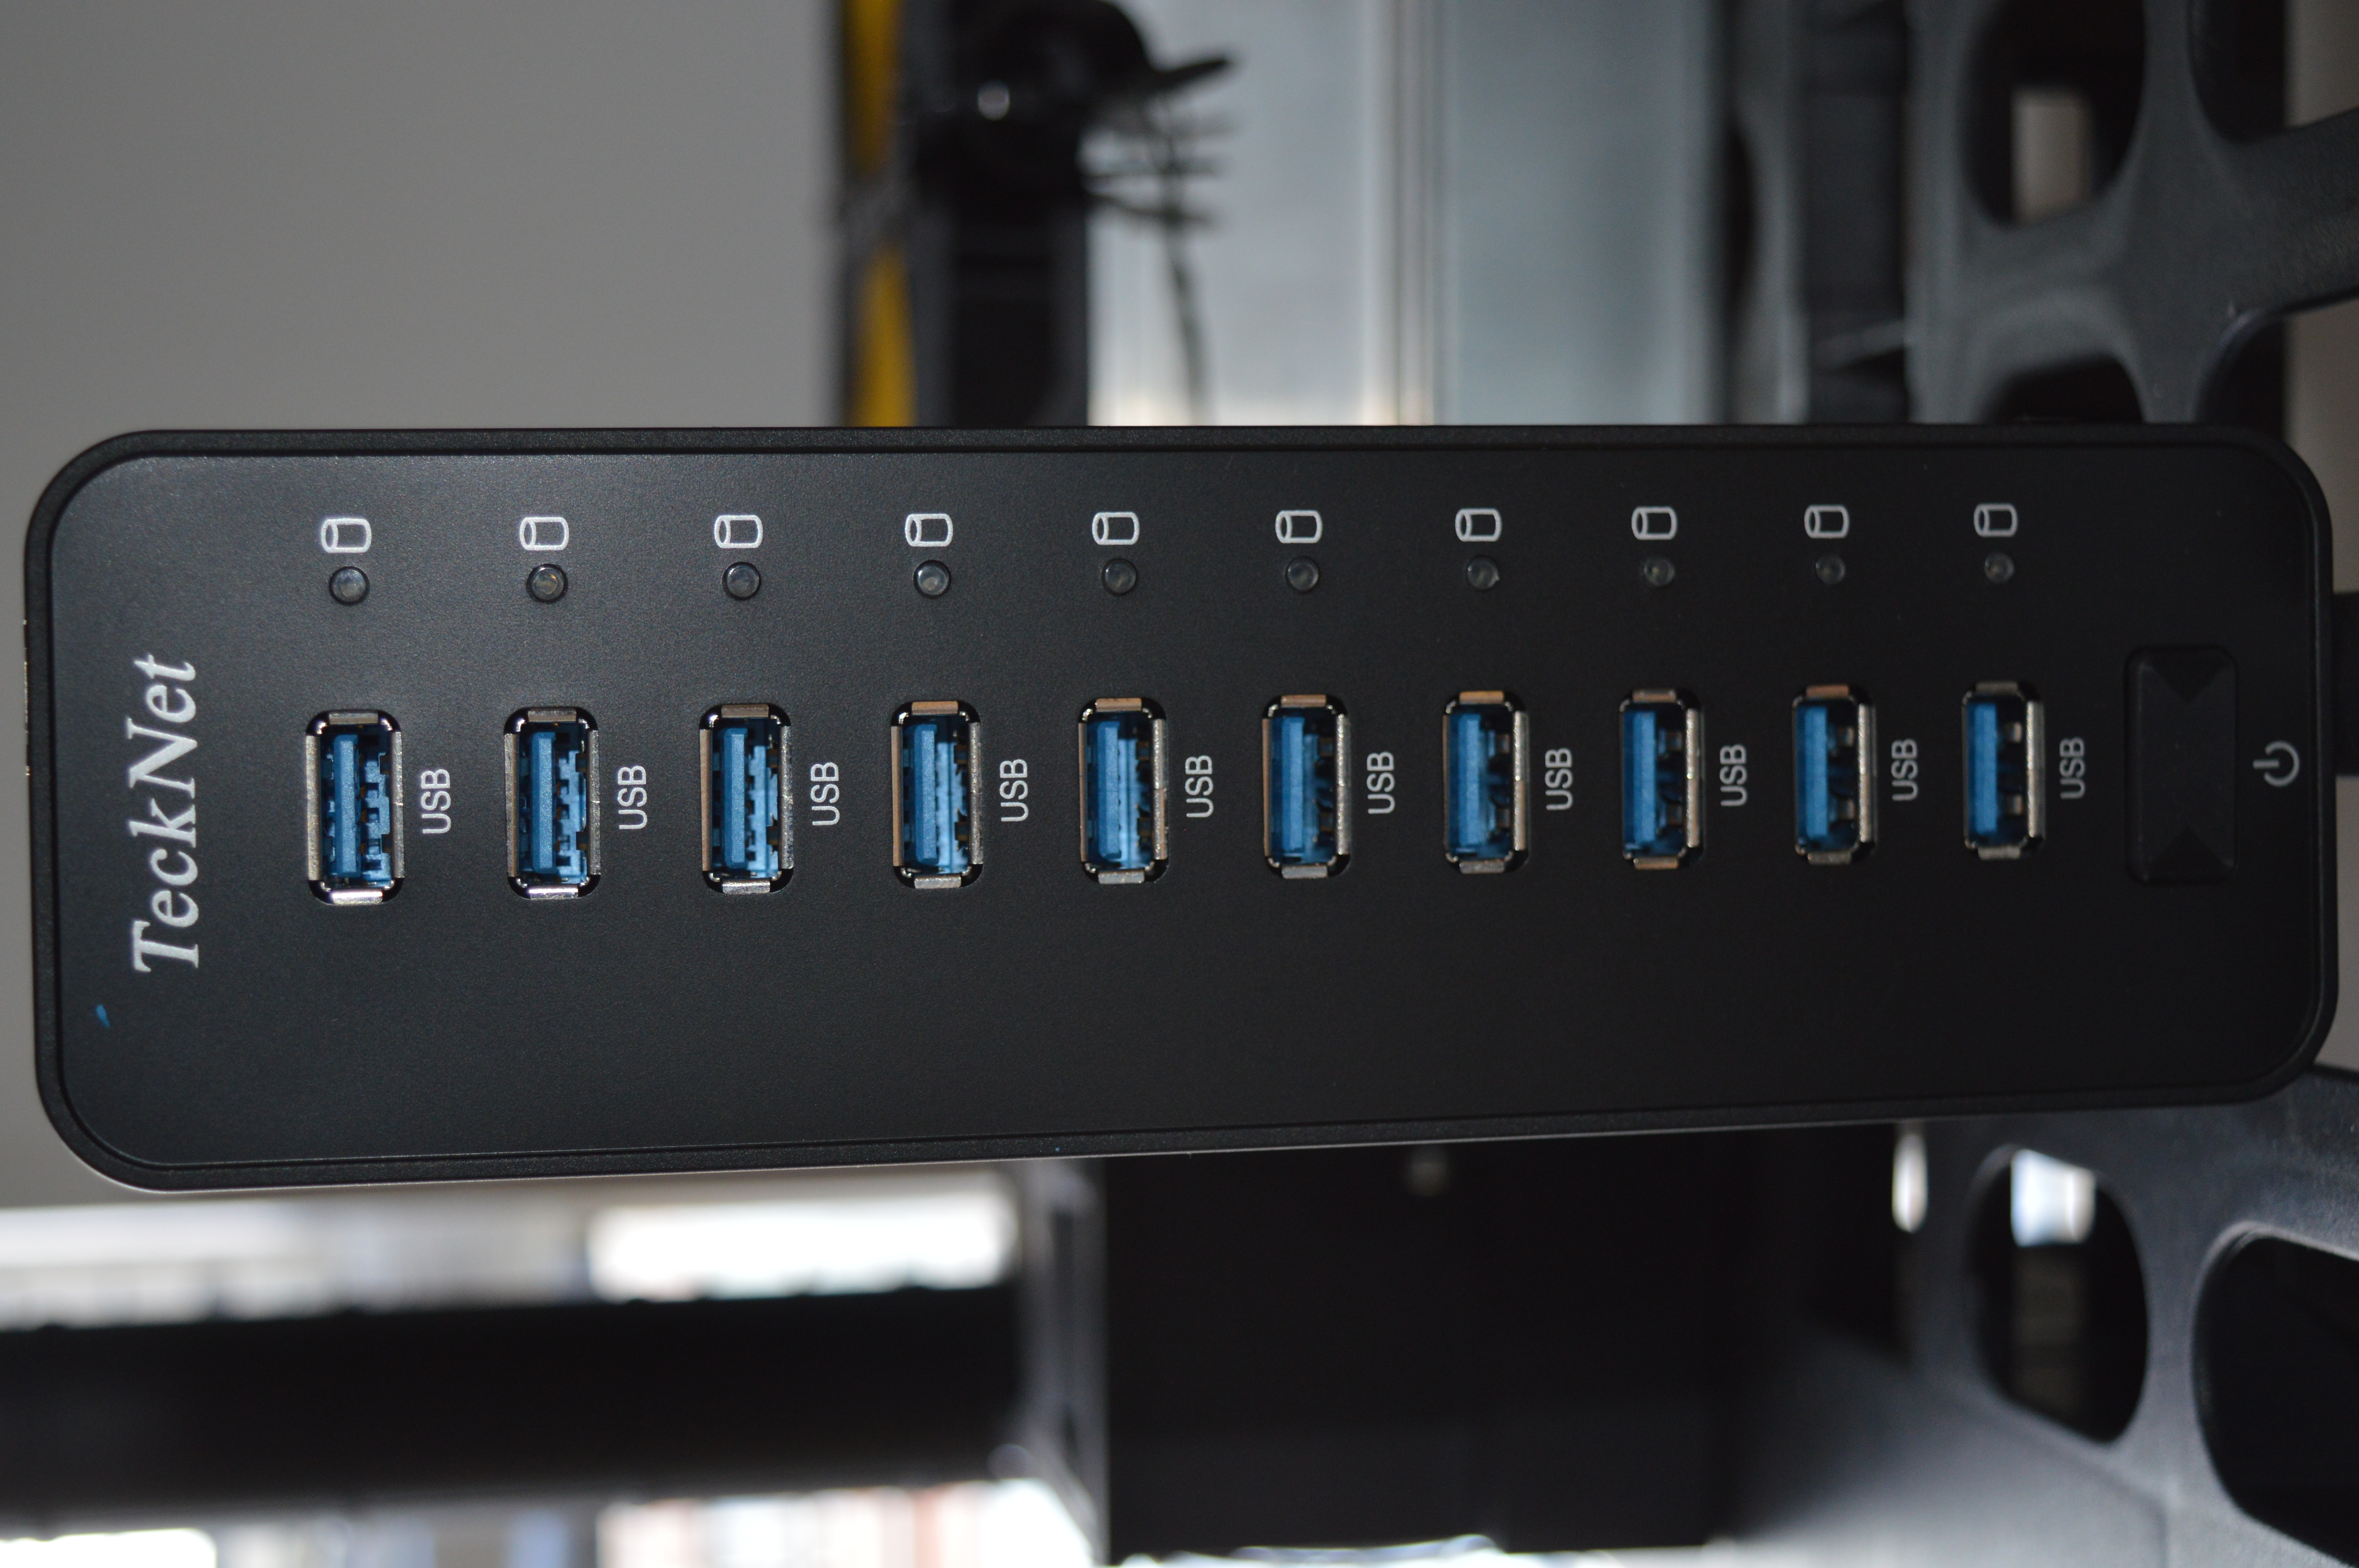
HexFurys are USB based miners, and as such are powered directly from a USB hub. Hub choice is extremely important, and external power is required for overclocking. The USB2 specification is only designed to provide 0.5A, and the USB3 0.9A.
HexFurys are USB based miners, and as such are powered directly from a USB hub. Hub choice is extremely important, and external power is required for overclocking. The USB2 specification is only designed to provide 0.5A, and the USB3 0.9A.
- Plug in the USB hub's power adapter into the mains and the USB hub.
- Plug HexFury into USB hub.

|

|

|

1b) Powering - External (optional)
Additional external power if you want to overclock or run several HexFurys off the same hub. This requires a few steps:
Additional external power if you want to overclock or run several HexFurys off the same hub. This requires a few steps:
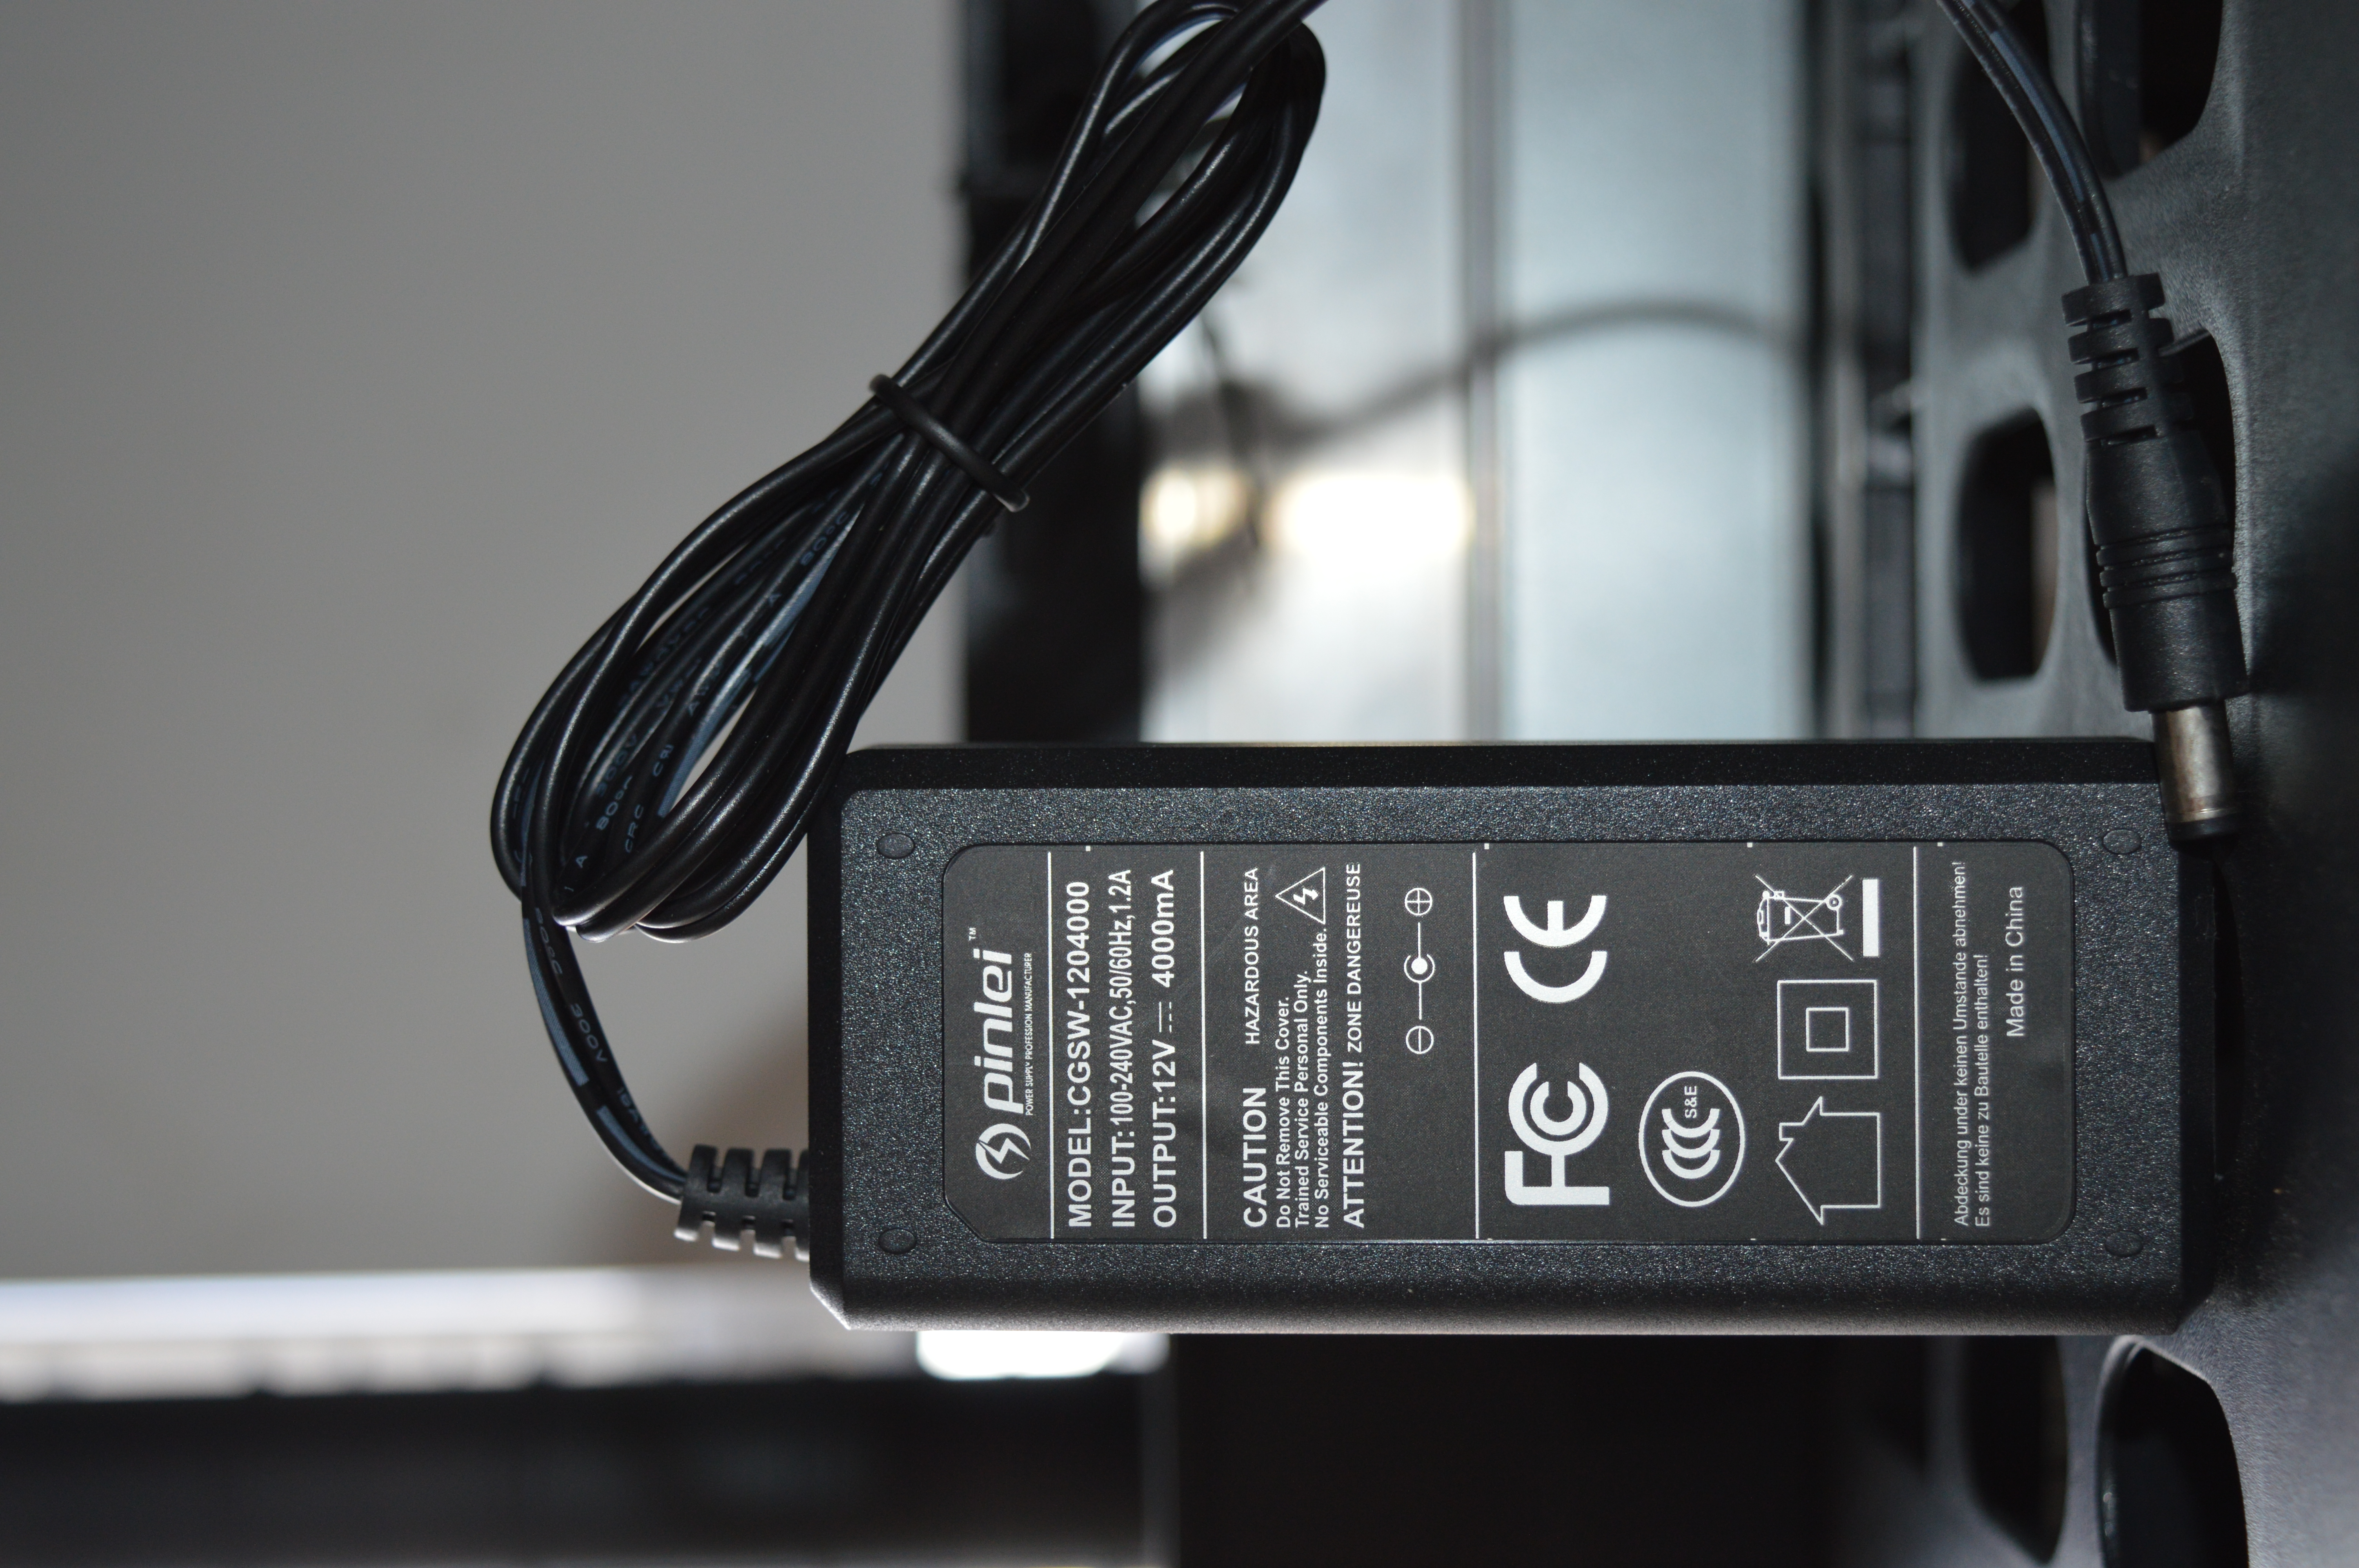
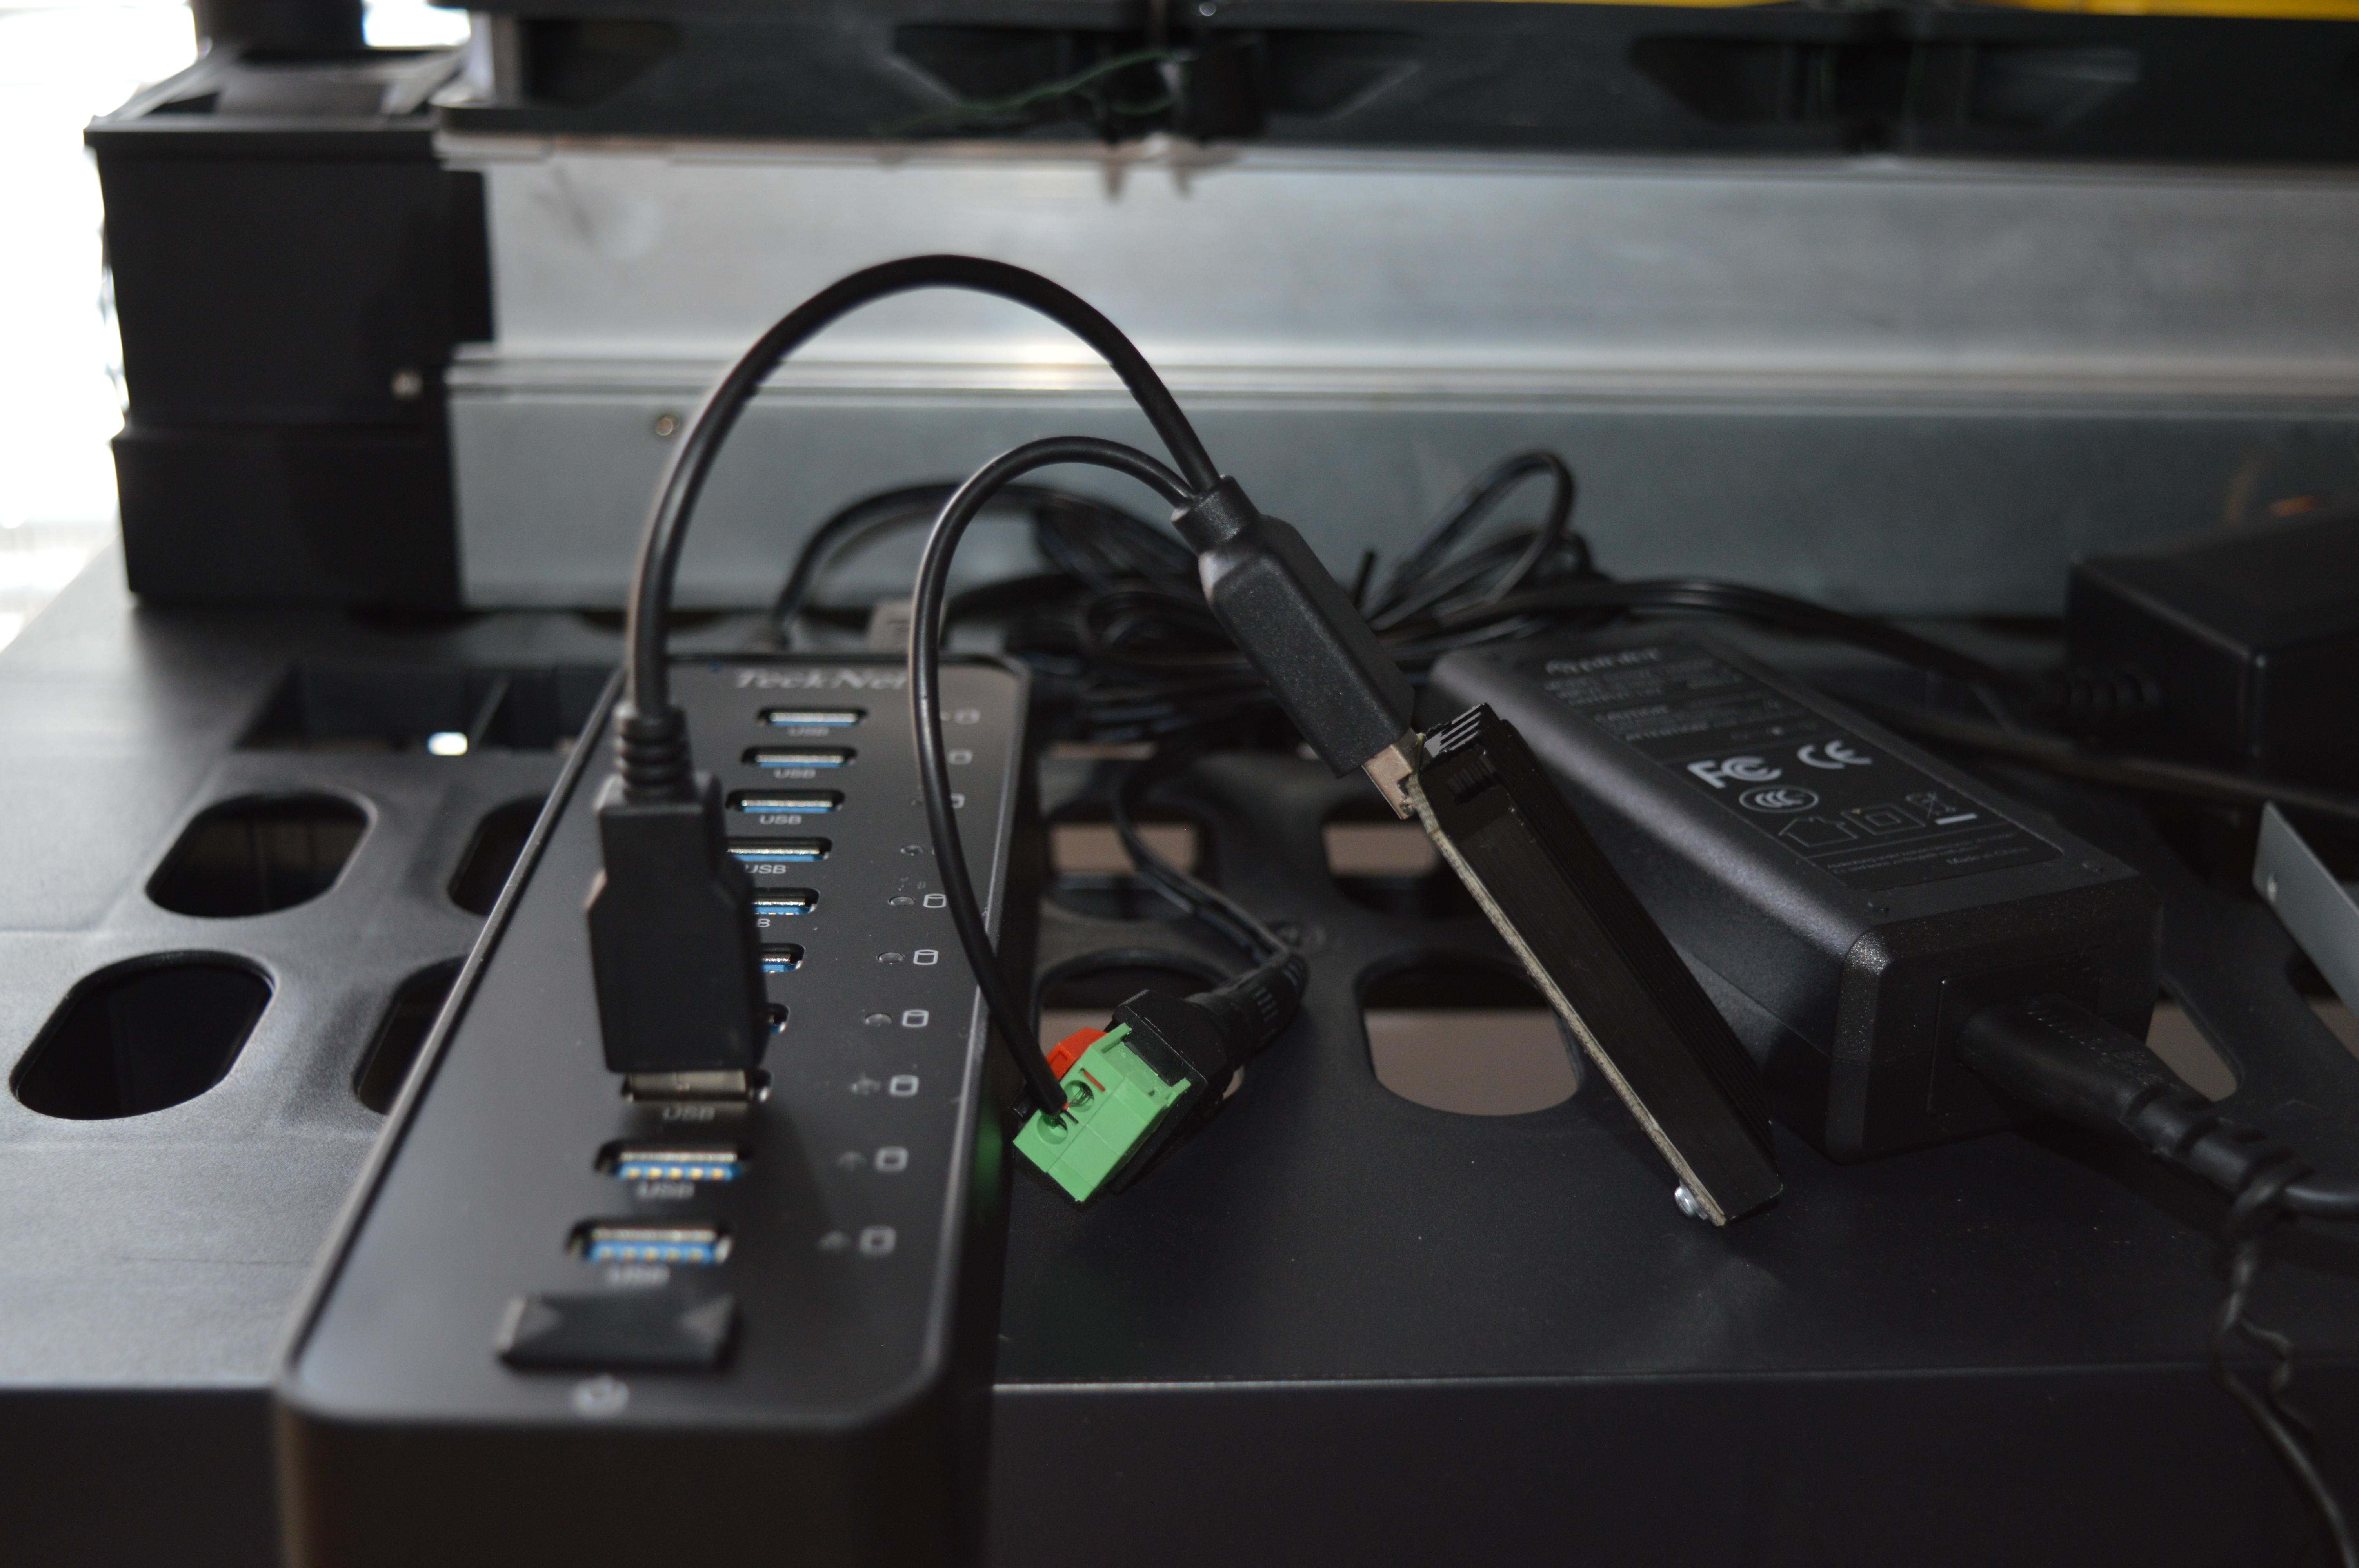
- Plug in mains power adapter into the mains power and into the USB hub.
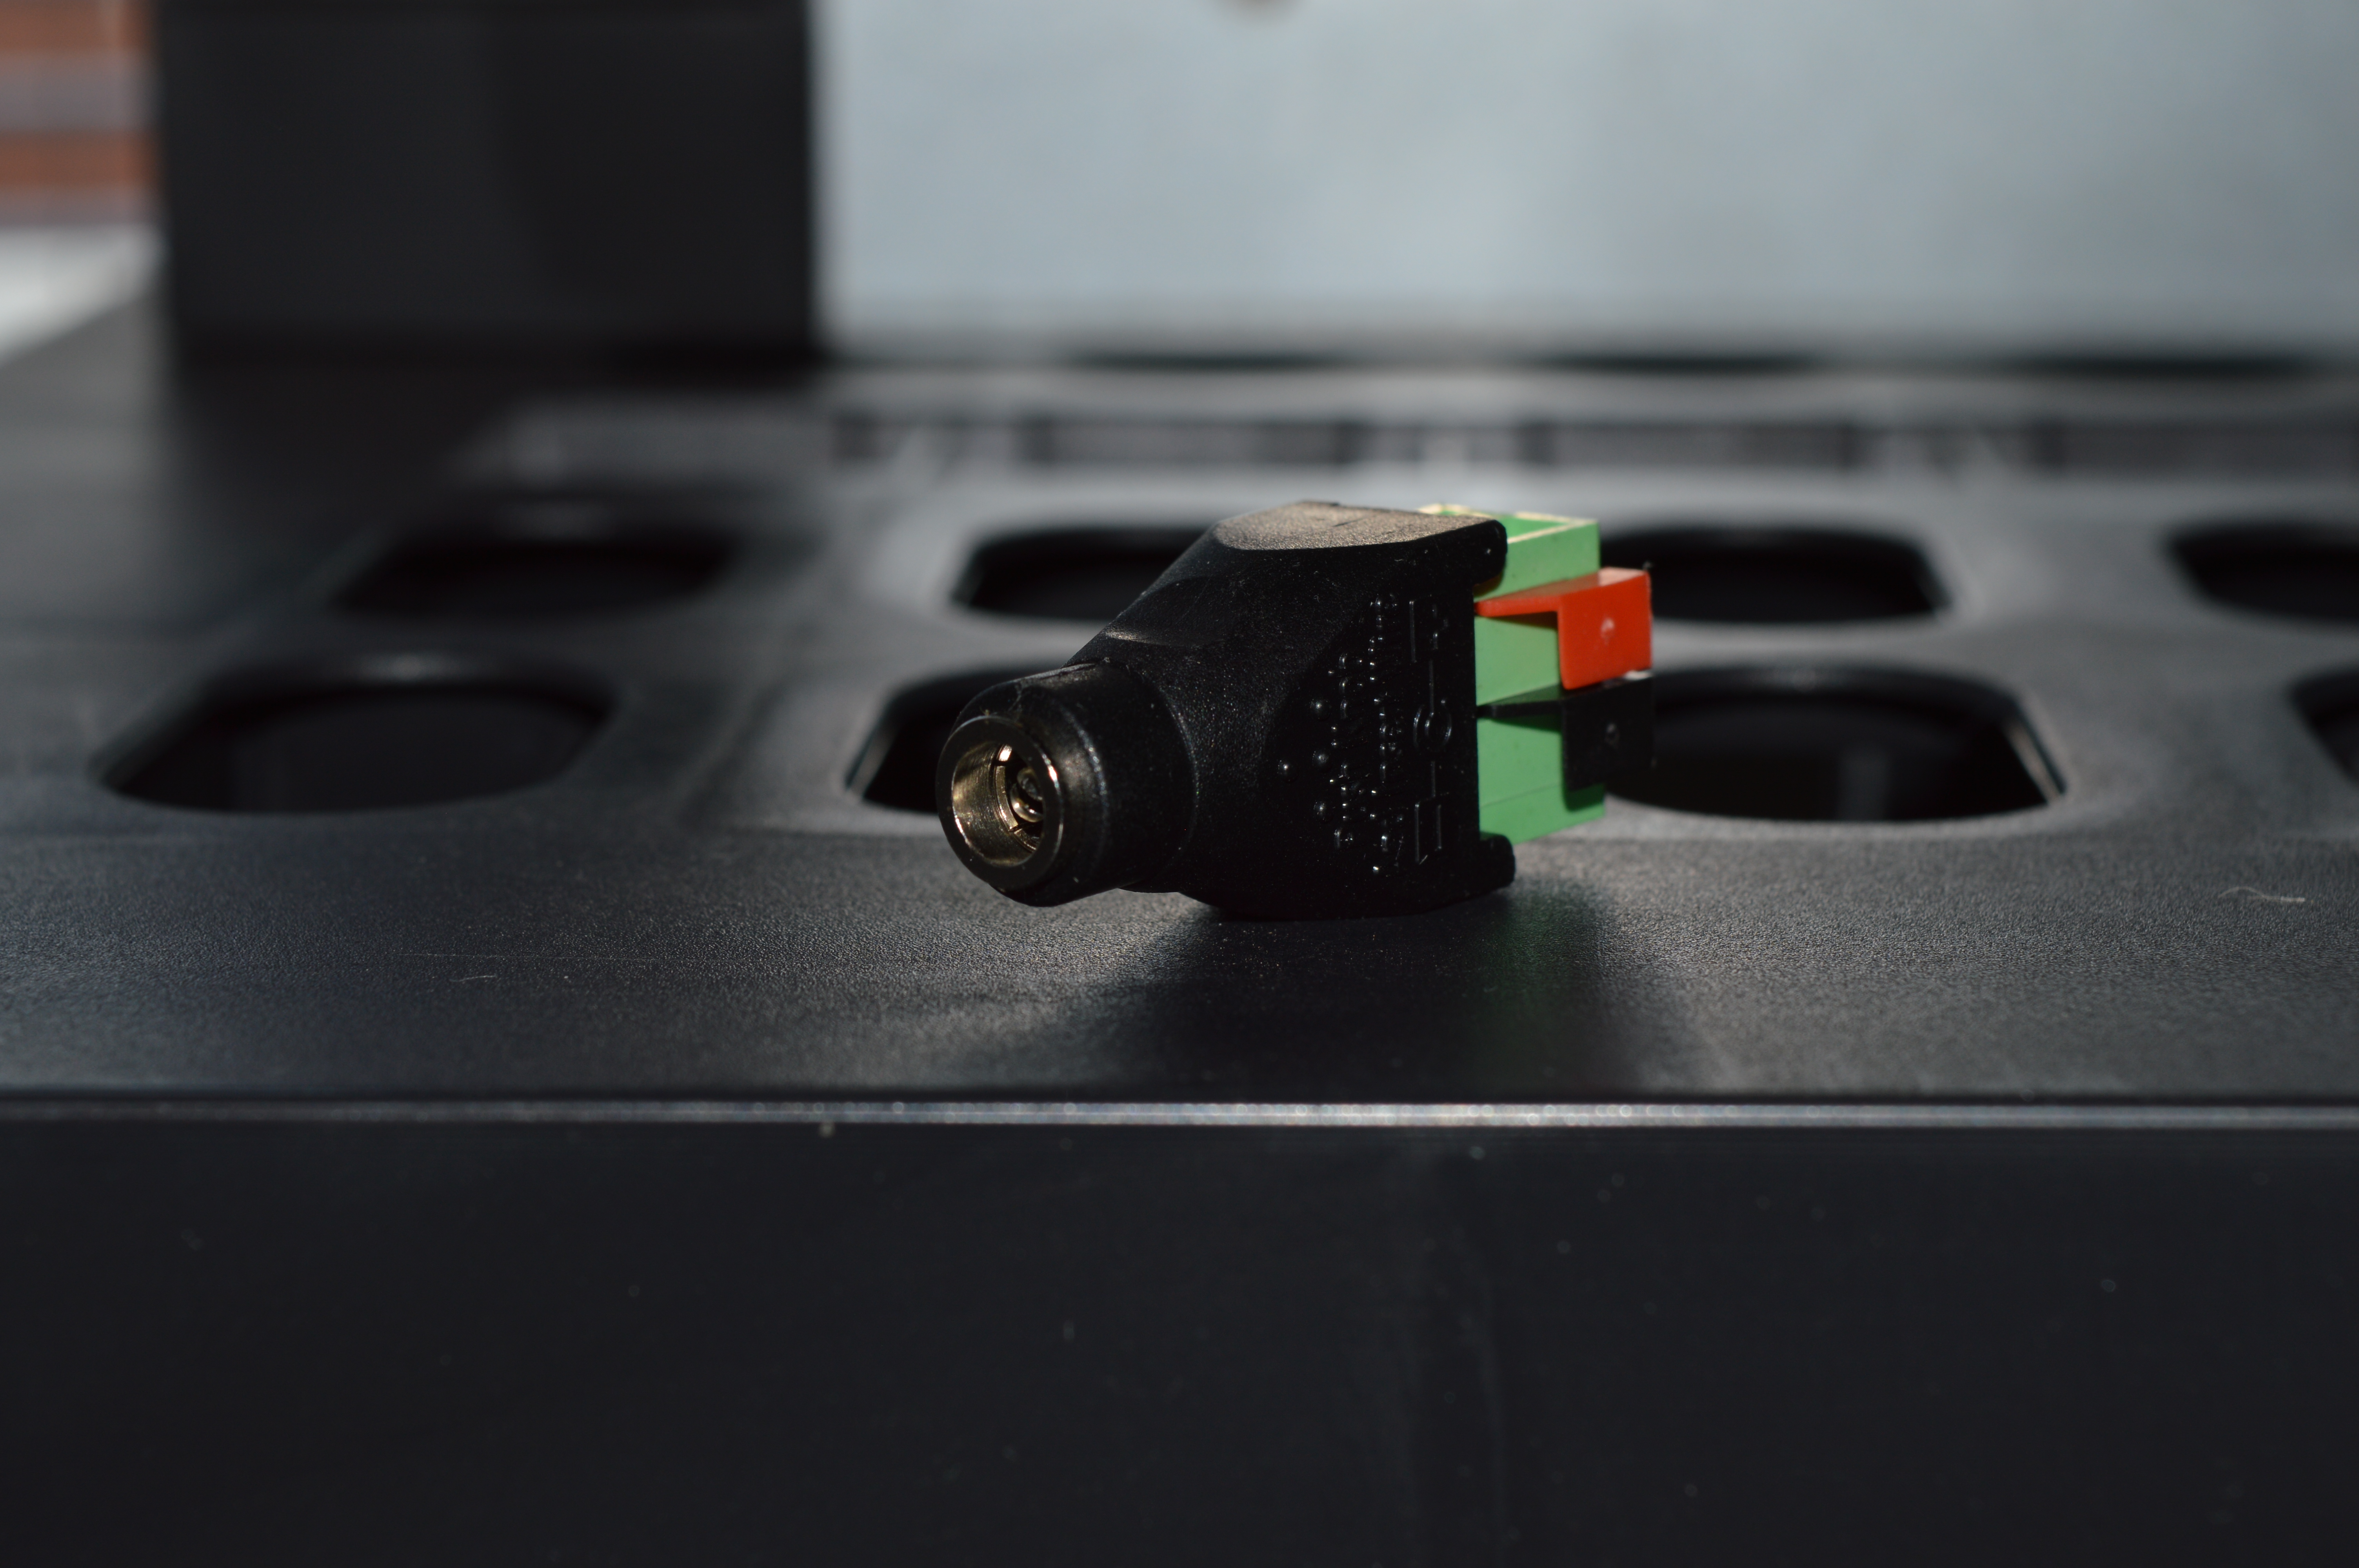
- Cut the barrel plug off the end of the breakout cable.
- Strip back the external insulation and then the internal insulation, leaving about 3cm of bare conductor exposed.
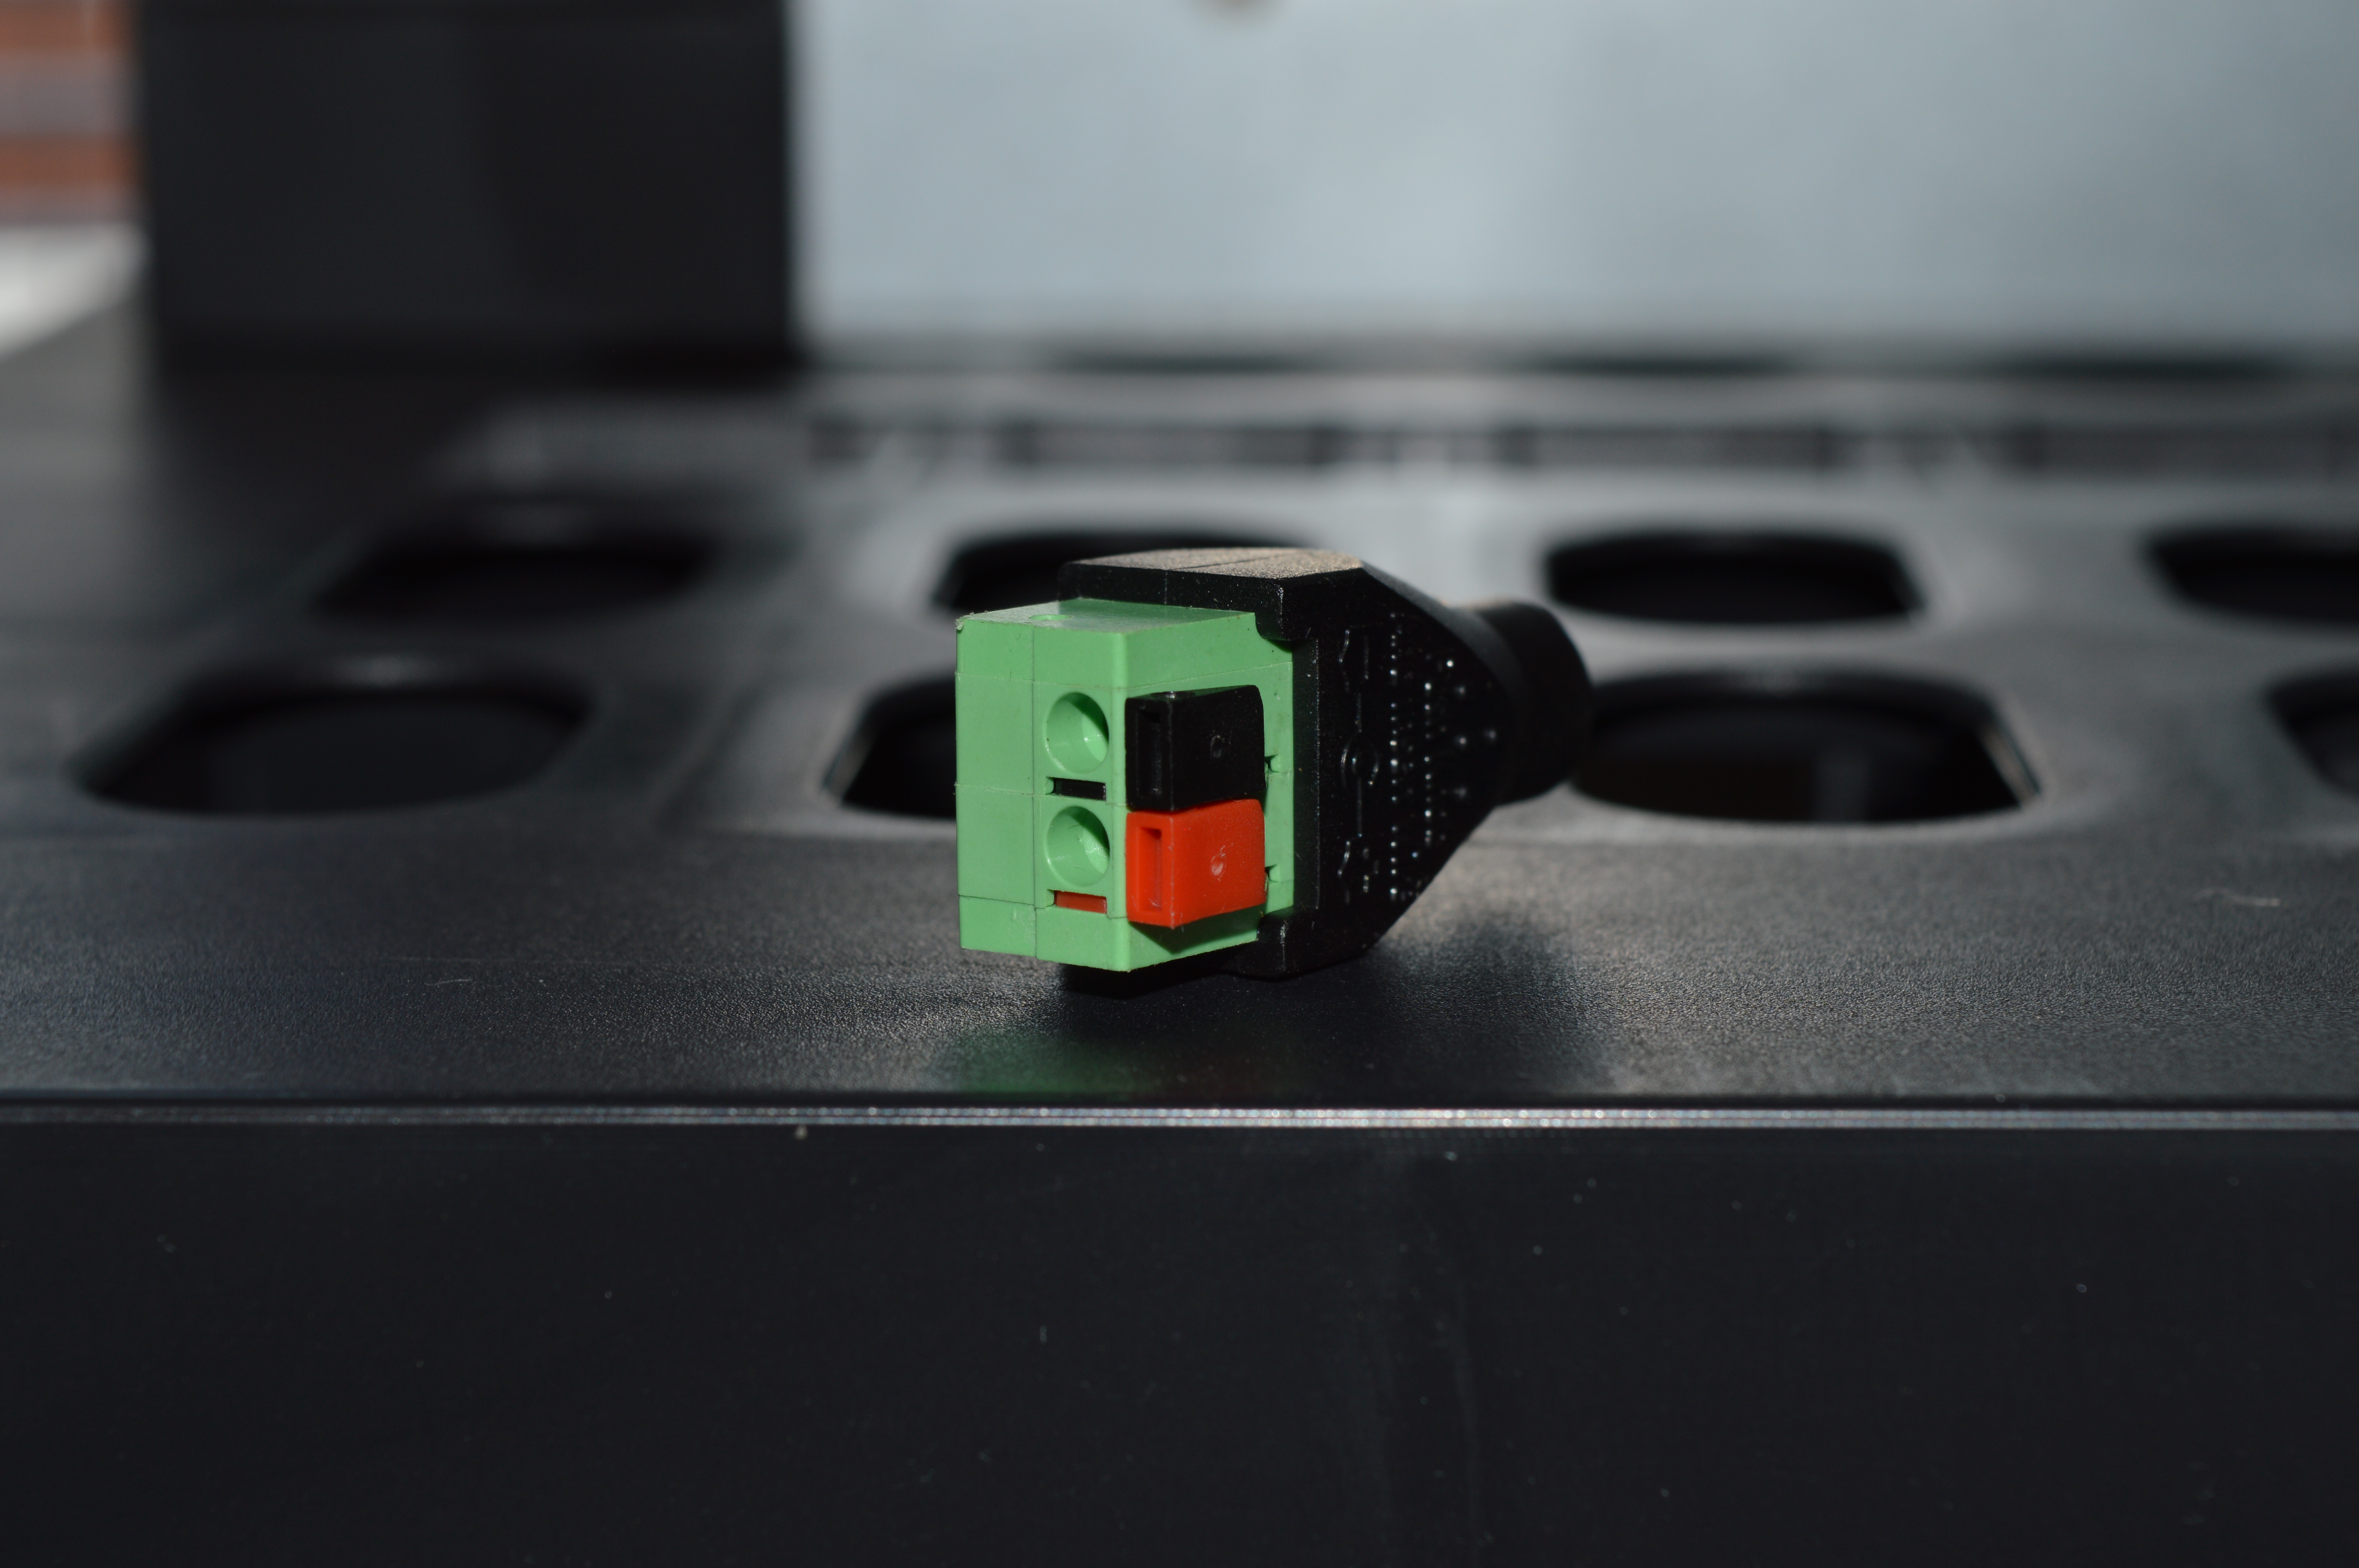
- Wire the bare conductor cables into the terminal adapter.
- Plug the external 5V power adapter into the other end of the terminal adaptor.
- Plug one of the breakout cable's USBs into the USB hub, and the HexFury into the other.

|

|

|

|

|

|


2) Cooling
HexFurys require external cooling due to their high power draw. This can be done with the use of a simple 120mm fan or a USB powered fan.
120mm fan:
HexFurys require external cooling due to their high power draw. This can be done with the use of a simple 120mm fan or a USB powered fan.
120mm fan:

|

|

|
USB powered fan:

|

|

|

3a) Configuration
Configuration is straight forward. While it is possible to run a HexFury off a Raspberry Pi, it is not recommended. Raspberry Pis do not support USB3, which is what the best and highest powered USB hubs use. Cgminer on a Windows based PC is therefore recommended.
Configuration is straight forward. While it is possible to run a HexFury off a Raspberry Pi, it is not recommended. Raspberry Pis do not support USB3, which is what the best and highest powered USB hubs use. Cgminer on a Windows based PC is therefore recommended.
- Plug in a USB cable from your USB hub to your PC/laptop.
- Power the HexFury as above and turn the hub on.
- Windows will try and install its own drivers. Wait until it fails.
- Download the Zadig tool and run it.
- Choose "bi*fury" and "WinUSB". Click install driver.
- Once installed, you may have to restart.
- Download the latest version of cgminer and extract it.
- Create a new text file using notepad, with your pool and miner information in it, as below. Save it as a .bat file in the same directory as CGMiner.
- Run the bat file to start mining.
cgminer.exe -o mint.bitminter.com:3333 -u dogie_hexfury -p 123 --temp-cutoff 92
cgminer.exe -o us1.ghash.io:3333 -u dogie_hexfury -p 123 --temp-cutoff 92
cgminer.exe -o stratum.mining.eligius.st:3334 -u dogie_hexfury -p 123 --temp-cutoff 92
3b) Overclocking (optional)
Overclocking will be possible once HexFury specific code is added to cgminer (soon). At the moment overclocking is only possible by increasing the voltage (5-5.8V) which I am not keen on recommending.
Overclocking will be possible once HexFury specific code is added to cgminer (soon). At the moment overclocking is only possible by increasing the voltage (5-5.8V) which I am not keen on recommending.
4) Troubleshooting
|
TBD as problems arise.
|
Disclaimer: No warranty is provided with this information. It is your own responsibility if you or your property are injured or damaged following the information.
5) Where to buy


|
|
|