Avalon Avalon4 Setup Guide
|
Contents
0) Introduction 0b) What You Need 1) Powering 2) Cooling 3) Case 4) Configuration (TL-WR703N) 4) Configuration (Raspberry Pi) 5) Troubleshooting 6) Where to buy |
|
0) Introduction
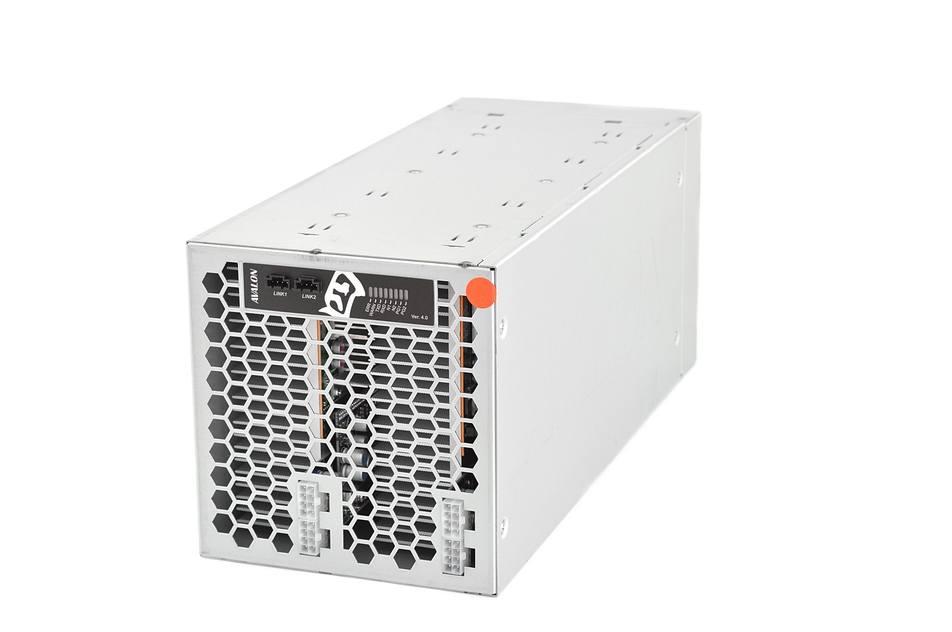
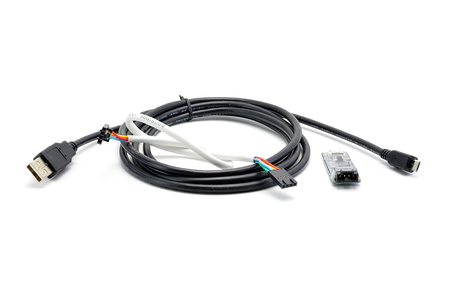
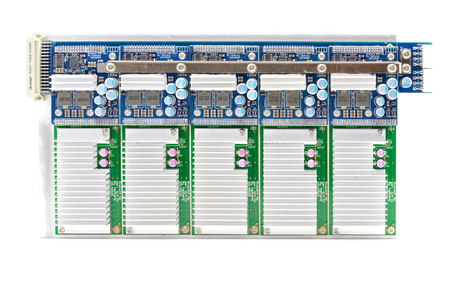
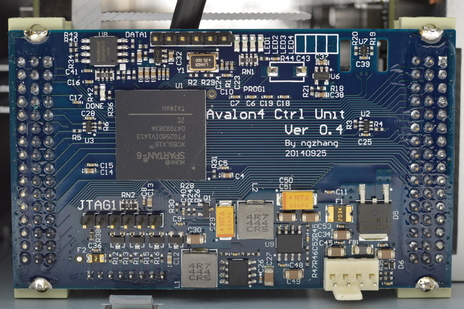
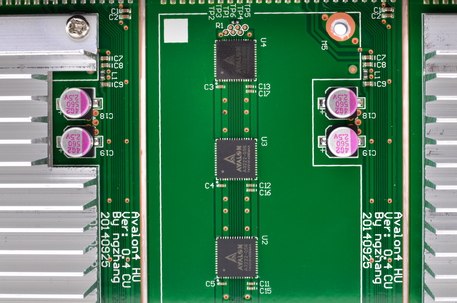
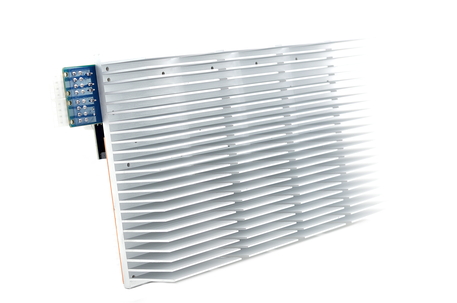
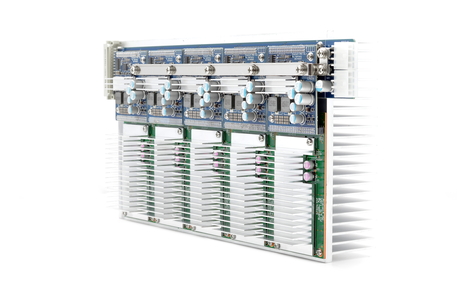
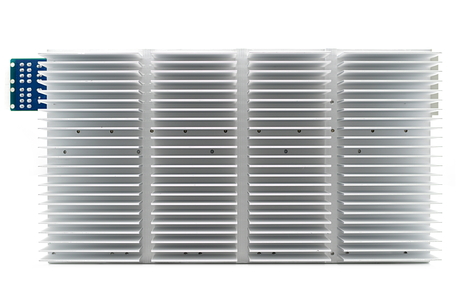
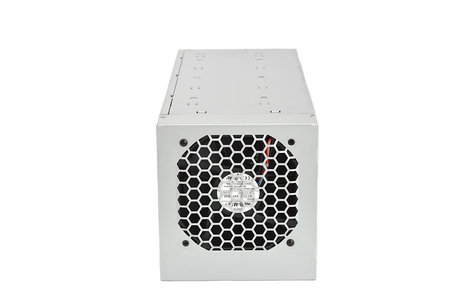
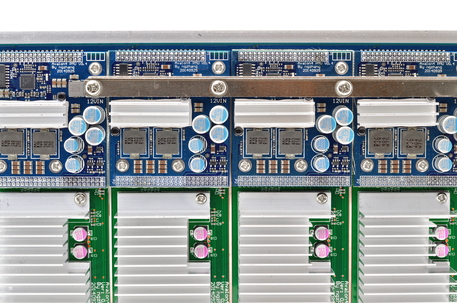
The Avalon 4 takes on a new form factor from its predecessor and is now a fully encompassed unit. Each Avalon 4 contains two hashing boards which are in turn made up of 5 mini hashing boards to increase redundancy. An external controller is required, and can use a modified WR703N router or a Raspberry Pi. A 4 pin interconnect wire, a 4 pin to micro USB adapter and a micro USB to USB cable is included in the package.
The Avalon 4 takes on a new form factor from its predecessor and is now a fully encompassed unit. Each Avalon 4 contains two hashing boards which are in turn made up of 5 mini hashing boards to increase redundancy. An external controller is required, and can use a modified WR703N router or a Raspberry Pi. A 4 pin interconnect wire, a 4 pin to micro USB adapter and a micro USB to USB cable is included in the package.
|
Process Node
Rated Hash Rate Rated Voltage Rated Current Power Consumption |
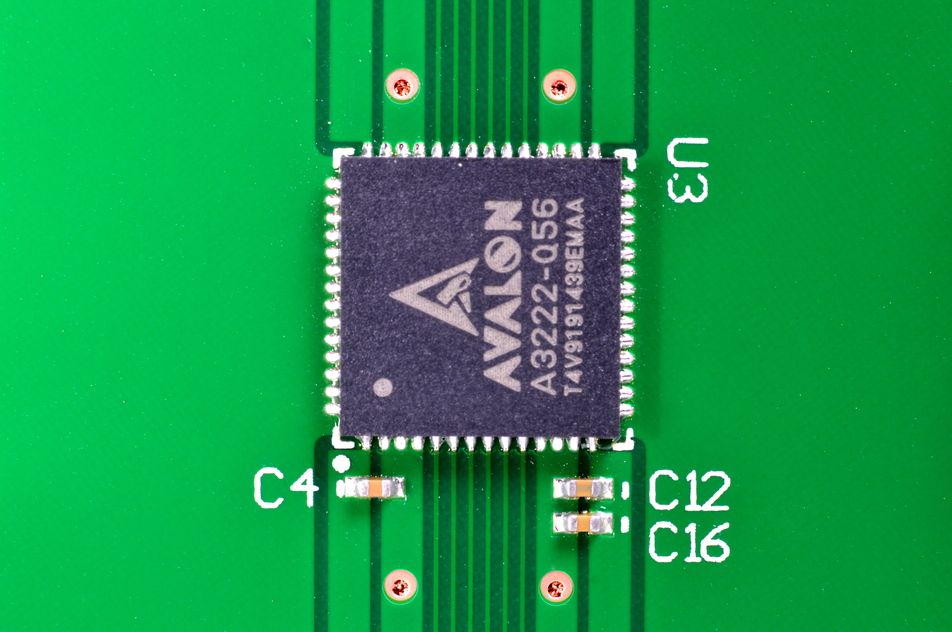
- 40x 28nm Avalon 4 A2322
- 1000GH - 12V - 50A - ~690W |
0b) What You Need
You will need a few accessories and a power supply to get started. I recommend buying the controller directly from Avalon as they will preflash it with the correct firmware.
You will need a few accessories and a power supply to get started. I recommend buying the controller directly from Avalon as they will preflash it with the correct firmware.
Click your flag to find everything you need to get started at Amazon!
1) Powering
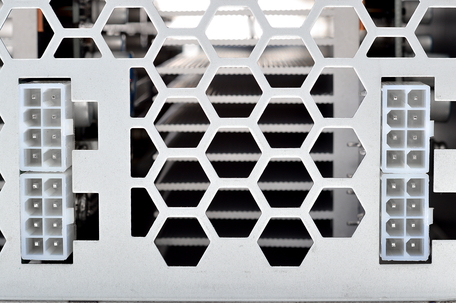
Avalon 4's do not come with a power supply, and you will need a typical computer PSU with 4xPCI-E 6 pin power connectors. All 4 PCI-E connectors are required. We also need to tell the PSU to always be on, as there isn't a motherboard to do this. Cut a paperclip into a U and insert it into the green wire and either black wire to the side of the green wire. Tape it up for safety. The power supply will now be controlled by its switch on the rear socket.
Avalon 4's do not come with a power supply, and you will need a typical computer PSU with 4xPCI-E 6 pin power connectors. All 4 PCI-E connectors are required. We also need to tell the PSU to always be on, as there isn't a motherboard to do this. Cut a paperclip into a U and insert it into the green wire and either black wire to the side of the green wire. Tape it up for safety. The power supply will now be controlled by its switch on the rear socket.
2) Cooling
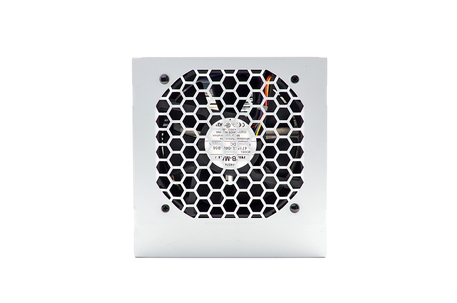
Each module has its own 120mx38mm NMB-MAT7 4715KL-04W-B560mm fan that sucks air through the sealed case and out the back of the unit. Noise levels are very reasonable even at 35C ambient and make a change from the Antminer S5 and SpondooliesTech SP20. Fan speeds are controlled automatically although the user can override fan speeds.
Each module has its own 120mx38mm NMB-MAT7 4715KL-04W-B560mm fan that sucks air through the sealed case and out the back of the unit. Noise levels are very reasonable even at 35C ambient and make a change from the Antminer S5 and SpondooliesTech SP20. Fan speeds are controlled automatically although the user can override fan speeds.
|
|
3) Case
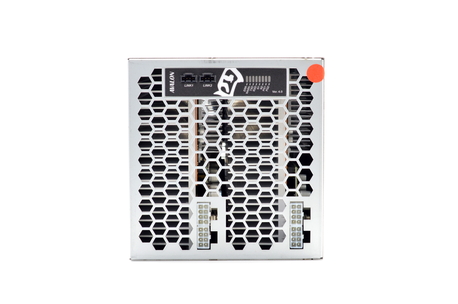
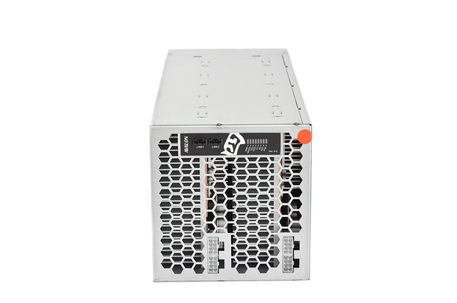
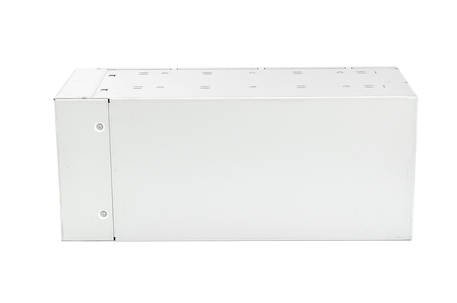
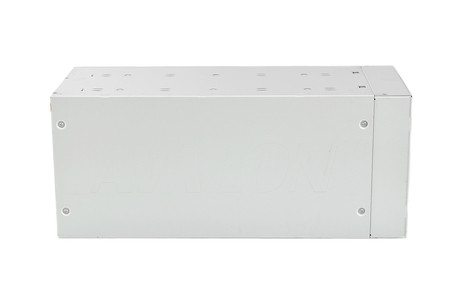
Avalon 4's are entirely enclosed in an anodised steel case. A shipped unit weighs 8.7kg and the shipping box measures 230mm x 235mm x 490mm while the unit weights 8.0kg and measures 160mm x 165mm x 390mm.
Avalon 4's are entirely enclosed in an anodised steel case. A shipped unit weighs 8.7kg and the shipping box measures 230mm x 235mm x 490mm while the unit weights 8.0kg and measures 160mm x 165mm x 390mm.
4a) Configuration (TL-WR703N)
Connectivity has been updated to allow for up to 20 units to be daisy chained off one USB port.
Wiring:
Configuration:
Alternative Subnet Change:
Connectivity has been updated to allow for up to 20 units to be daisy chained off one USB port.
Wiring:
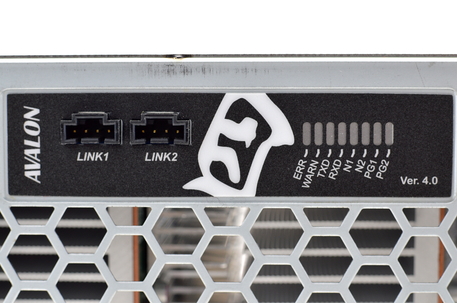
- Plug one 4 pin cable connected from the 4 pin header on the unit to the micro USB adapter.
- Connect a micro USB to USB cable to the micro USB adapter, and then plug this into your controller.
- More untis can be added by plugging another 4 pin cable from the second unit to the first unit's other 4 pin header.
- Plug in a network cable from the WR703N to your router, and power it on.
Configuration:
- Power on the power supply using its switch at the back.
- Make sure or your router's subnet is 0, ie 192.168.0.x. If not then change it to 0, this is just temporary. ***If this is not possible, see below***
- Using a browser, navigate to 192.168.0.100 - this goes to the WR703N's configuration page.
- Login using "root" as the username.
- Navigate to Network -> Interfaces -> WAN -> Edit.
- Change protocol to DHCP and click "Save & Apply".
- Using a browser, navigate to your router and find the IP it has assigned the WR703N and navigate to that IP.
- Navigate to the page Status -> Miner Configuration. Enter your pool information in the below format.
- Navigate to the page "Miner Status" to check mining has started.
- You can then change your router subnet back to whatever you are used to using.
Alternative Subnet Change:
- Unplug your computer from all internet sources.
- Plug in an ethernet cable from the WR703N to your computer.
- Navigate to Control Panel -> Network and Sharing Centre -> Change Adapter Settings.
- Right click on your ethernet adapter -> Properties.
- Click on "Internet Protocol Version 4" and click properties.
- Select "Use the following IP address" and enter the following:
- IP Address: 192.168.0.1, Subnet Mask: 255.255.255.0, Default Gateway: 192.168.0.100.
- Plug in an ethernet cable from the WR703N to you router.
- Restart the configuration instructions as above.
stratum+tcp://mint.bitminter.com:3333
stratum+tcp://us1.ghash.io:3333
stratum+tcp://stratum.mining.eligius.st:3334
4b) Configuration (Raspberry Pi)
Connectivity has been updated to allow for up to 20 units to be daisy chained off one USB port.
Wiring:
Configuration:
Alternative Subnet Change:
Connectivity has been updated to allow for up to 20 units to be daisy chained off one USB port.
Wiring:
- Plug one 4 pin cable connected from the 4 pin header on the unit to the micro USB adapter.
- Connect a micro USB to USB cable to the micro USB adapter, and then plug this into your controller.
- More units can be added by plugging another 4 pin cable from the second unit to the first unit's other 4 pin header.
- Plug in a network cable from the Pi to your router, and power it on.
Configuration:
- Put the SD card into another computer.
- Download the RasperryPi Avalon 4 OS image (sdcard-vfat-ext4.img)
- Download the Win32 Disk Imager and use it to flash SD card with this image.
- Put SD card into RaspPi and power it on.
- Power on the power supply using its switch at the back.
- Make sure or your router's subnet is 0, ie 192.168.0.x. If not then change it to 0, this is just temporary. ***If this is not possible, see below***
- Using a browser, navigate to 192.168.0.100 - this goes to the Raspberry Pi's configuration page.
- Login using "root" as the username.
- Navigate to Network -> Interfaces -> WAN -> Edit.
- Change protocol to DHCP and click "Save & Apply".
- Using a browser, navigate to your router and find the IP it has assigned the Raspberry Pi and navigate to that IP.
- Navigate to the page Status -> Miner Configuration. Enter your pool information in the below format.
- Navigate to the page "Miner Status" to check mining has started.
- You can then change your router subnet back to whatever you are used to using.
Alternative Subnet Change:
- Unplug your computer from all internet sources.
- Plug in an ethernet cable from the Raspberry Pi to your computer.
- Navigate to Control Panel -> Network and Sharing Centre -> Change Adapter Settings.
- Right click on your ethernet adapter -> Properties.
- Click on "Internet Protocol Version 4" and click properties.
- Select "Use the following IP address" and enter the following:
- IP Address: 192.168.0.1, Subnet Mask: 255.255.255.0, Default Gateway: 192.168.0.100.
- Plug in an ethernet cable from the Raspberry Pi to you router.
- Restart the configuration instructions as above.
stratum+tcp://mint.bitminter.com:3333
stratum+tcp://us1.ghash.io:3333
stratum+tcp://stratum.mining.eligius.st:3334
|
|
5) Troubleshooting
|
Problem
What temperatures should I aim for? How can I tell what firmware version I have now? Where can I find the latest firmware for the WR703N? Where can I find the latest firmware for the Pi? How do I install the latest firmware? |
Solution
- Try to achieve <60C for long lifetimes. Temperatures should not be let to rise above 65C. - Navigate to System -> Cgminer API Log and look at "Firmware Version". - Download the latest firmware from here (the WR703N.bin). - Download the latest firmware from here (the sdcard-vfat-ext4.img). - Download firmware as above. Navigate to System -> Upgrade and click "browse". Select the downloaded file and click "Flash image". Do NOT interrupt this process or you will brick the unit. |
6) Where to buy
General Safety Tips
|
|
|
Legal disclaimer: This information is for general guidance and does not constitute expert advice. We are not responsible if you, your property or a third party is injured or damaged as a result of any interaction with this information, and no warranty is provided. All text and images are covered under copyright law, dogiecoin.com.
|

