
Black Arrow Prospero X1 Setup Guide
|
Contents
0) Introduction 0b) What You Need 1) Powering 2) Cooling 3) Case 4) Configuration 5) Troubleshooting 6) Where to buy |
|
0) Introduction
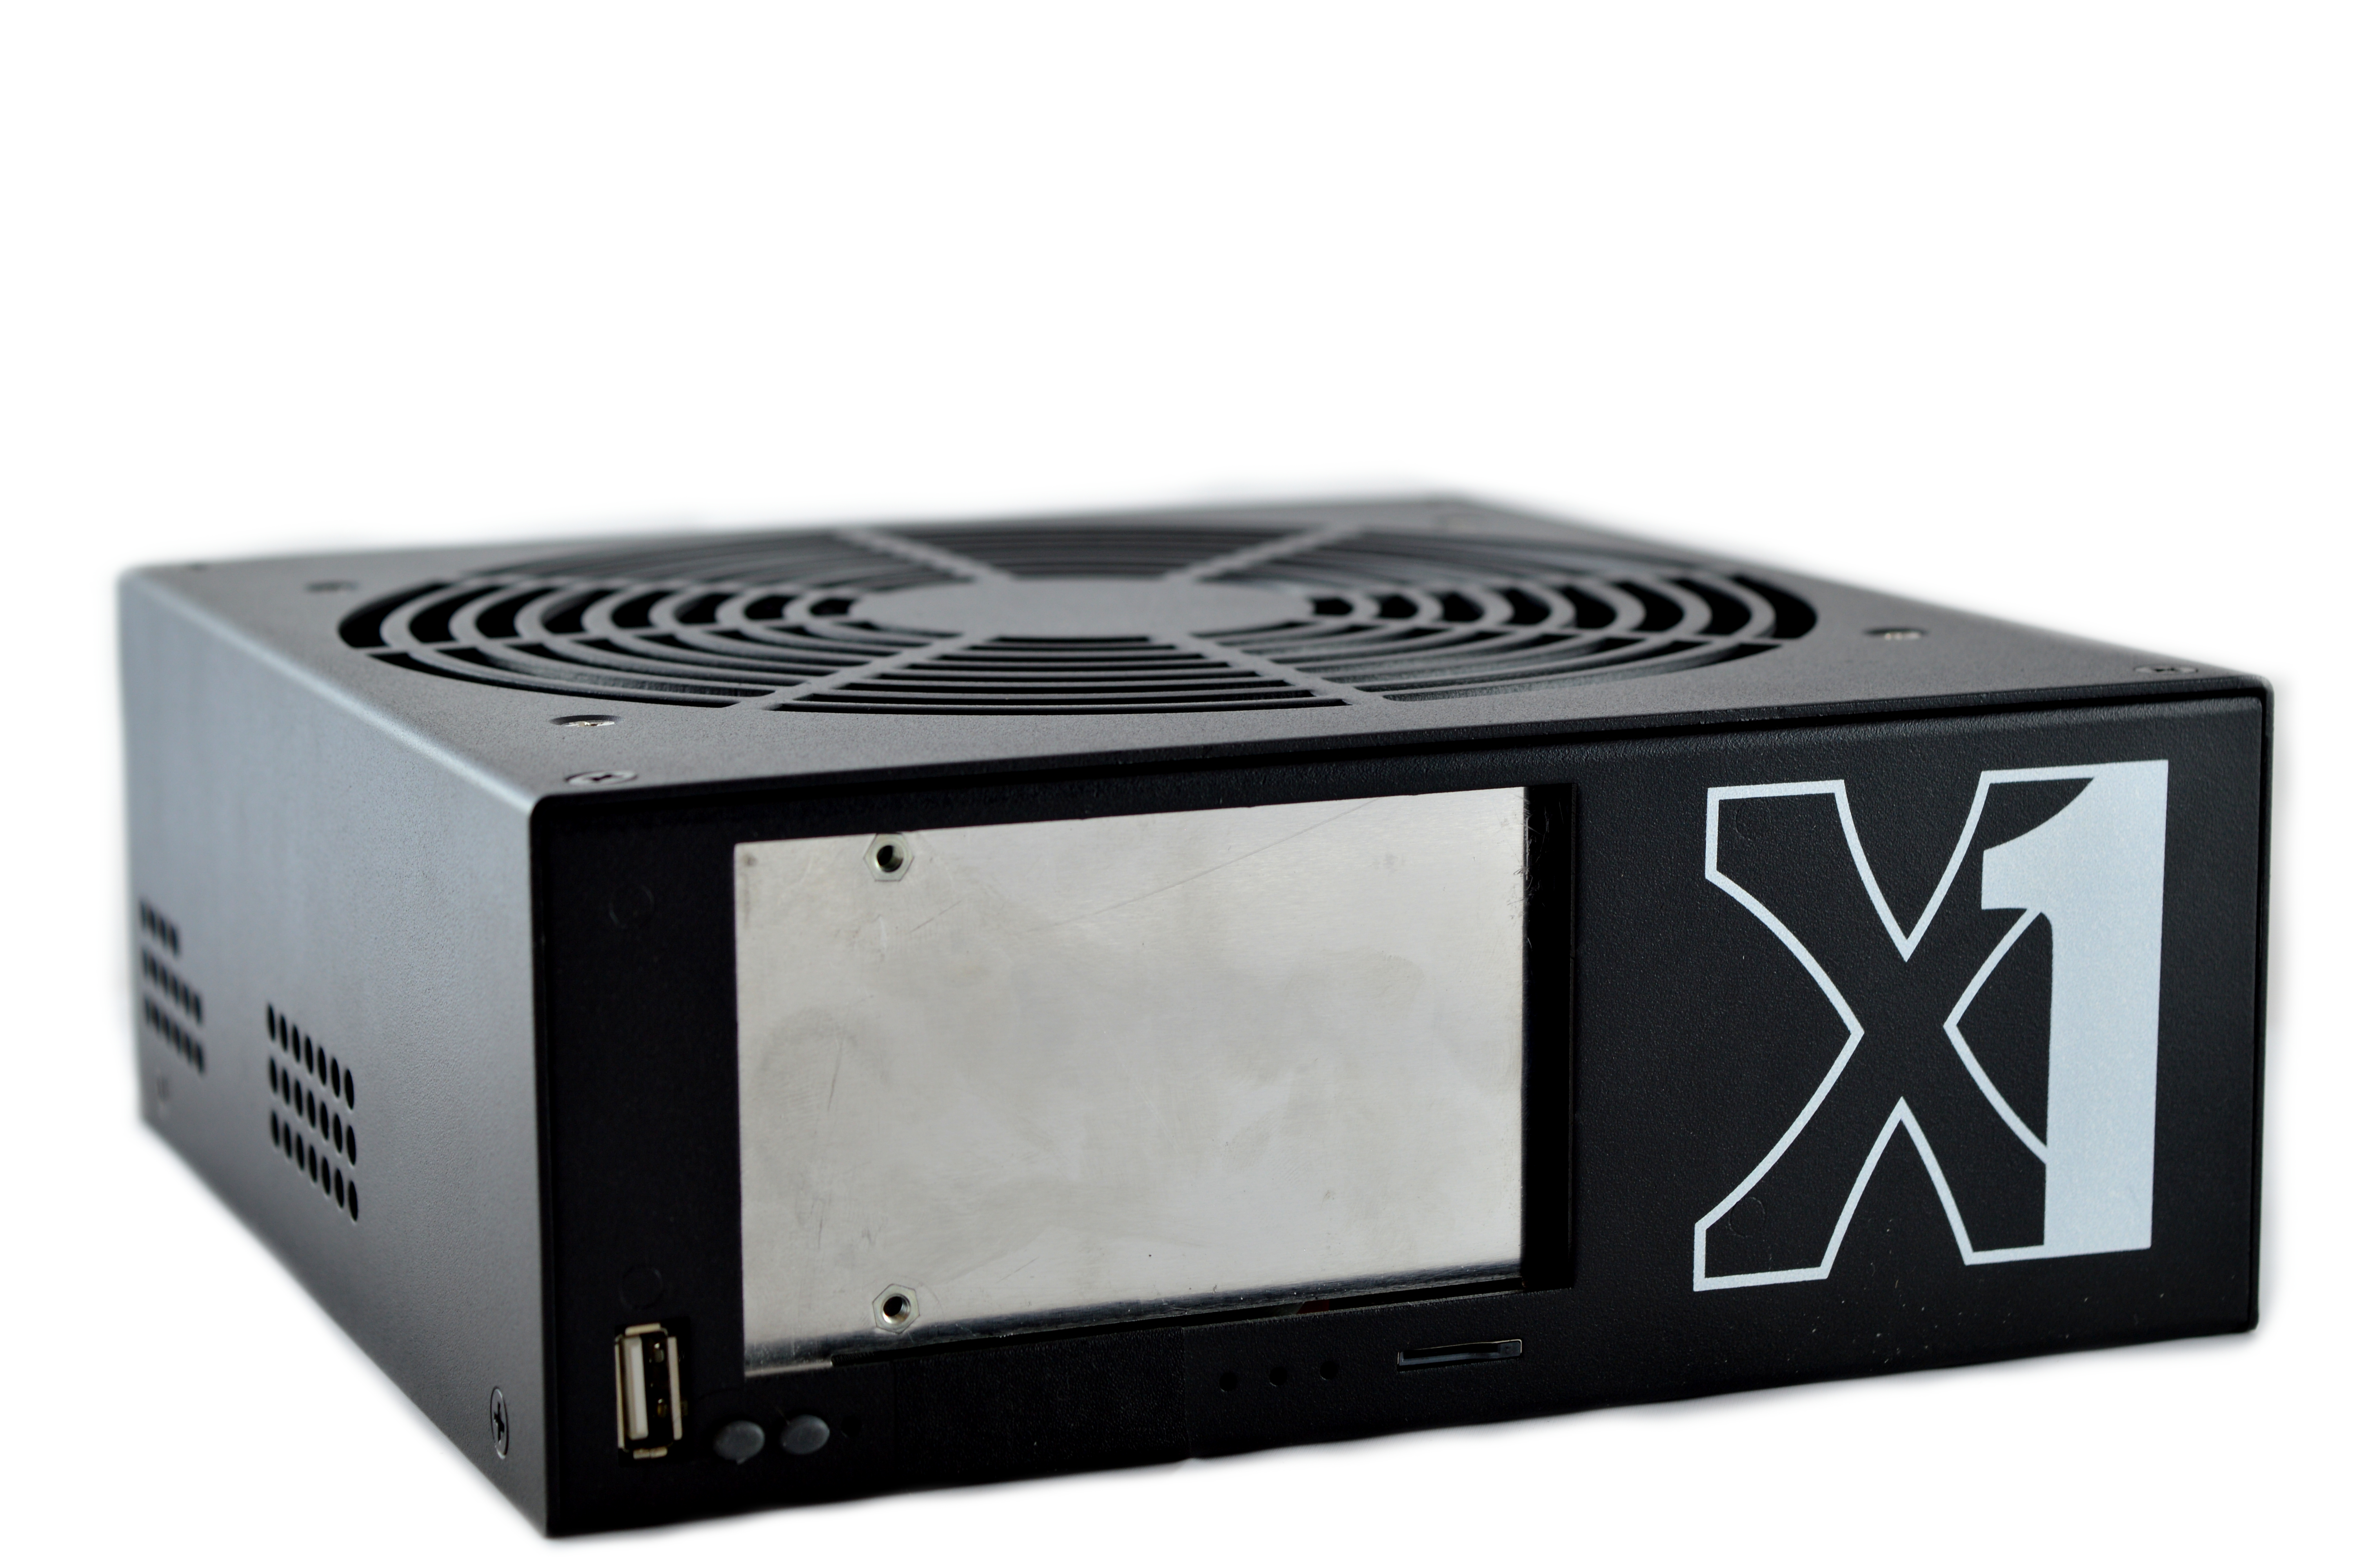
The Prospero X1 by Black Arrow is a small, consumer unit that includes a controller and power supply. It is the only miner on the market that utilises just one internal ASIC, and also the only miner to have so many ancillary features on a smaller miner.
The Prospero X1 by Black Arrow is a small, consumer unit that includes a controller and power supply. It is the only miner on the market that utilises just one internal ASIC, and also the only miner to have so many ancillary features on a smaller miner.
|
Process Node
Rated Hash Rate Rated Voltage Rated Current Power Consumption |
- 28 nm
-100GH - 12V - 8.3A - ~100W |

|
|
0b) What You Need
You will need a few accessories and a power supply to get started.
You will need a few accessories and a power supply to get started.
Click your flag to find everything you need to get started at Amazon!


|


|


|
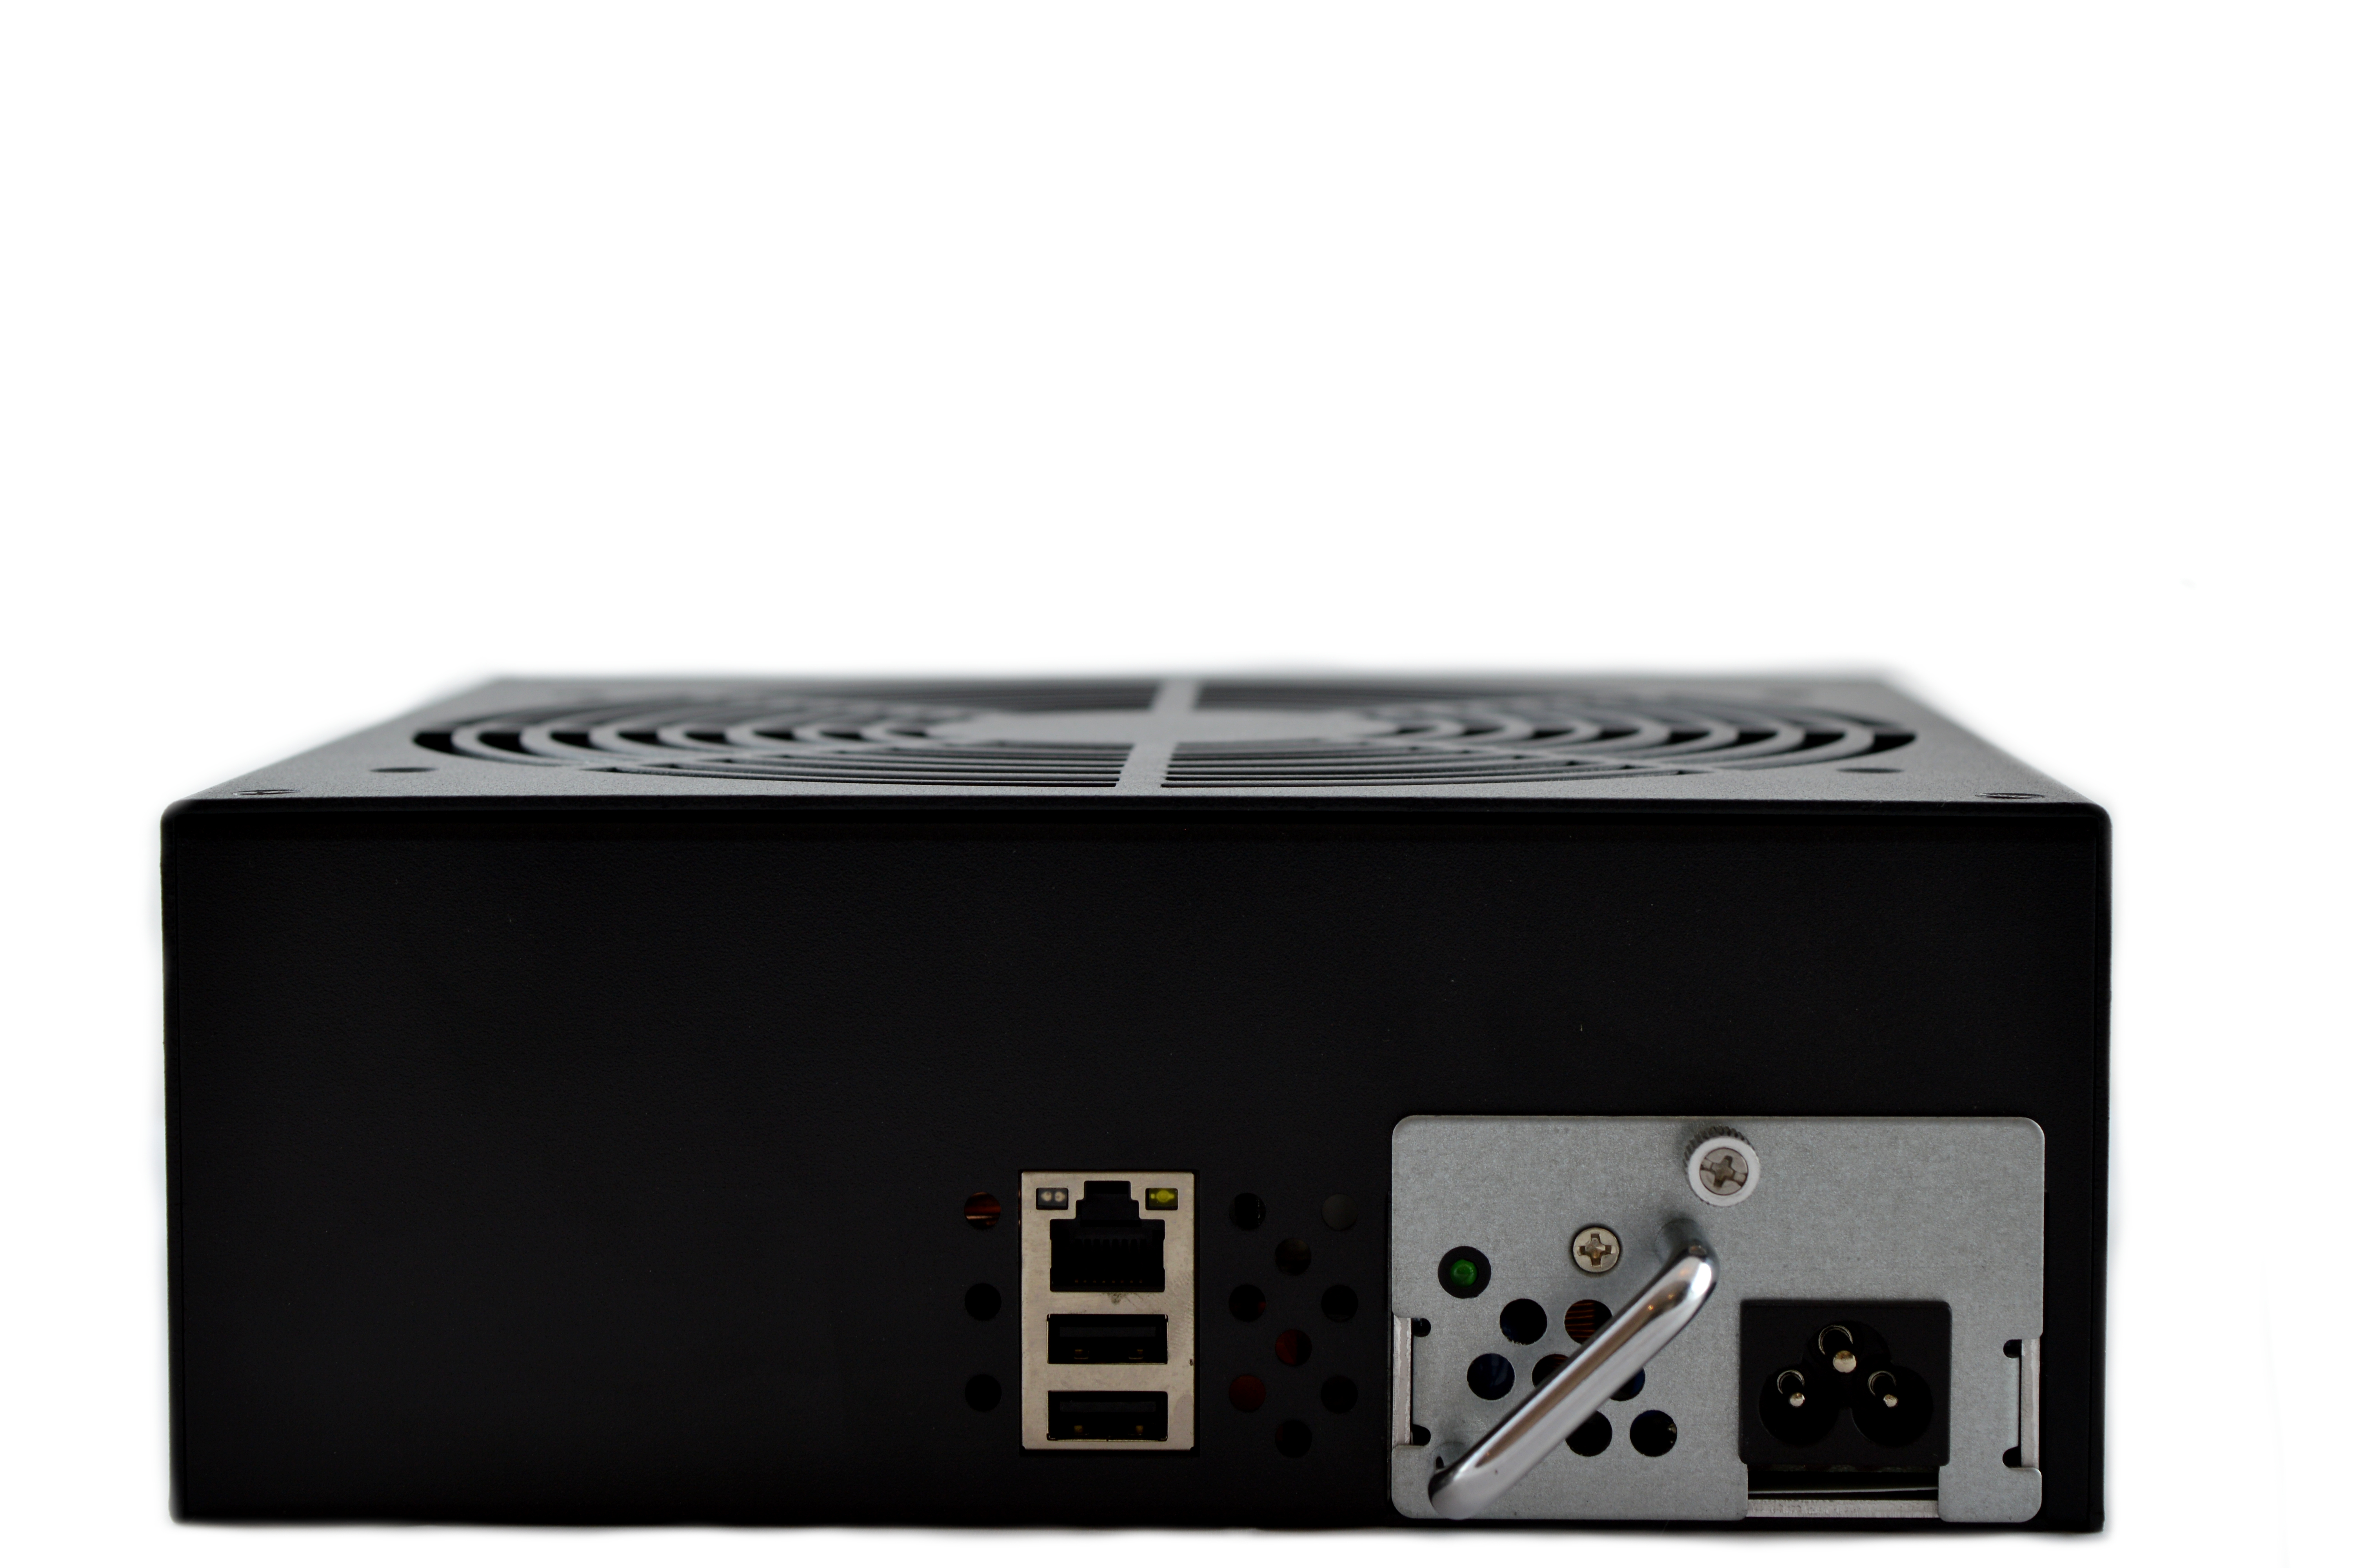
1) Powering
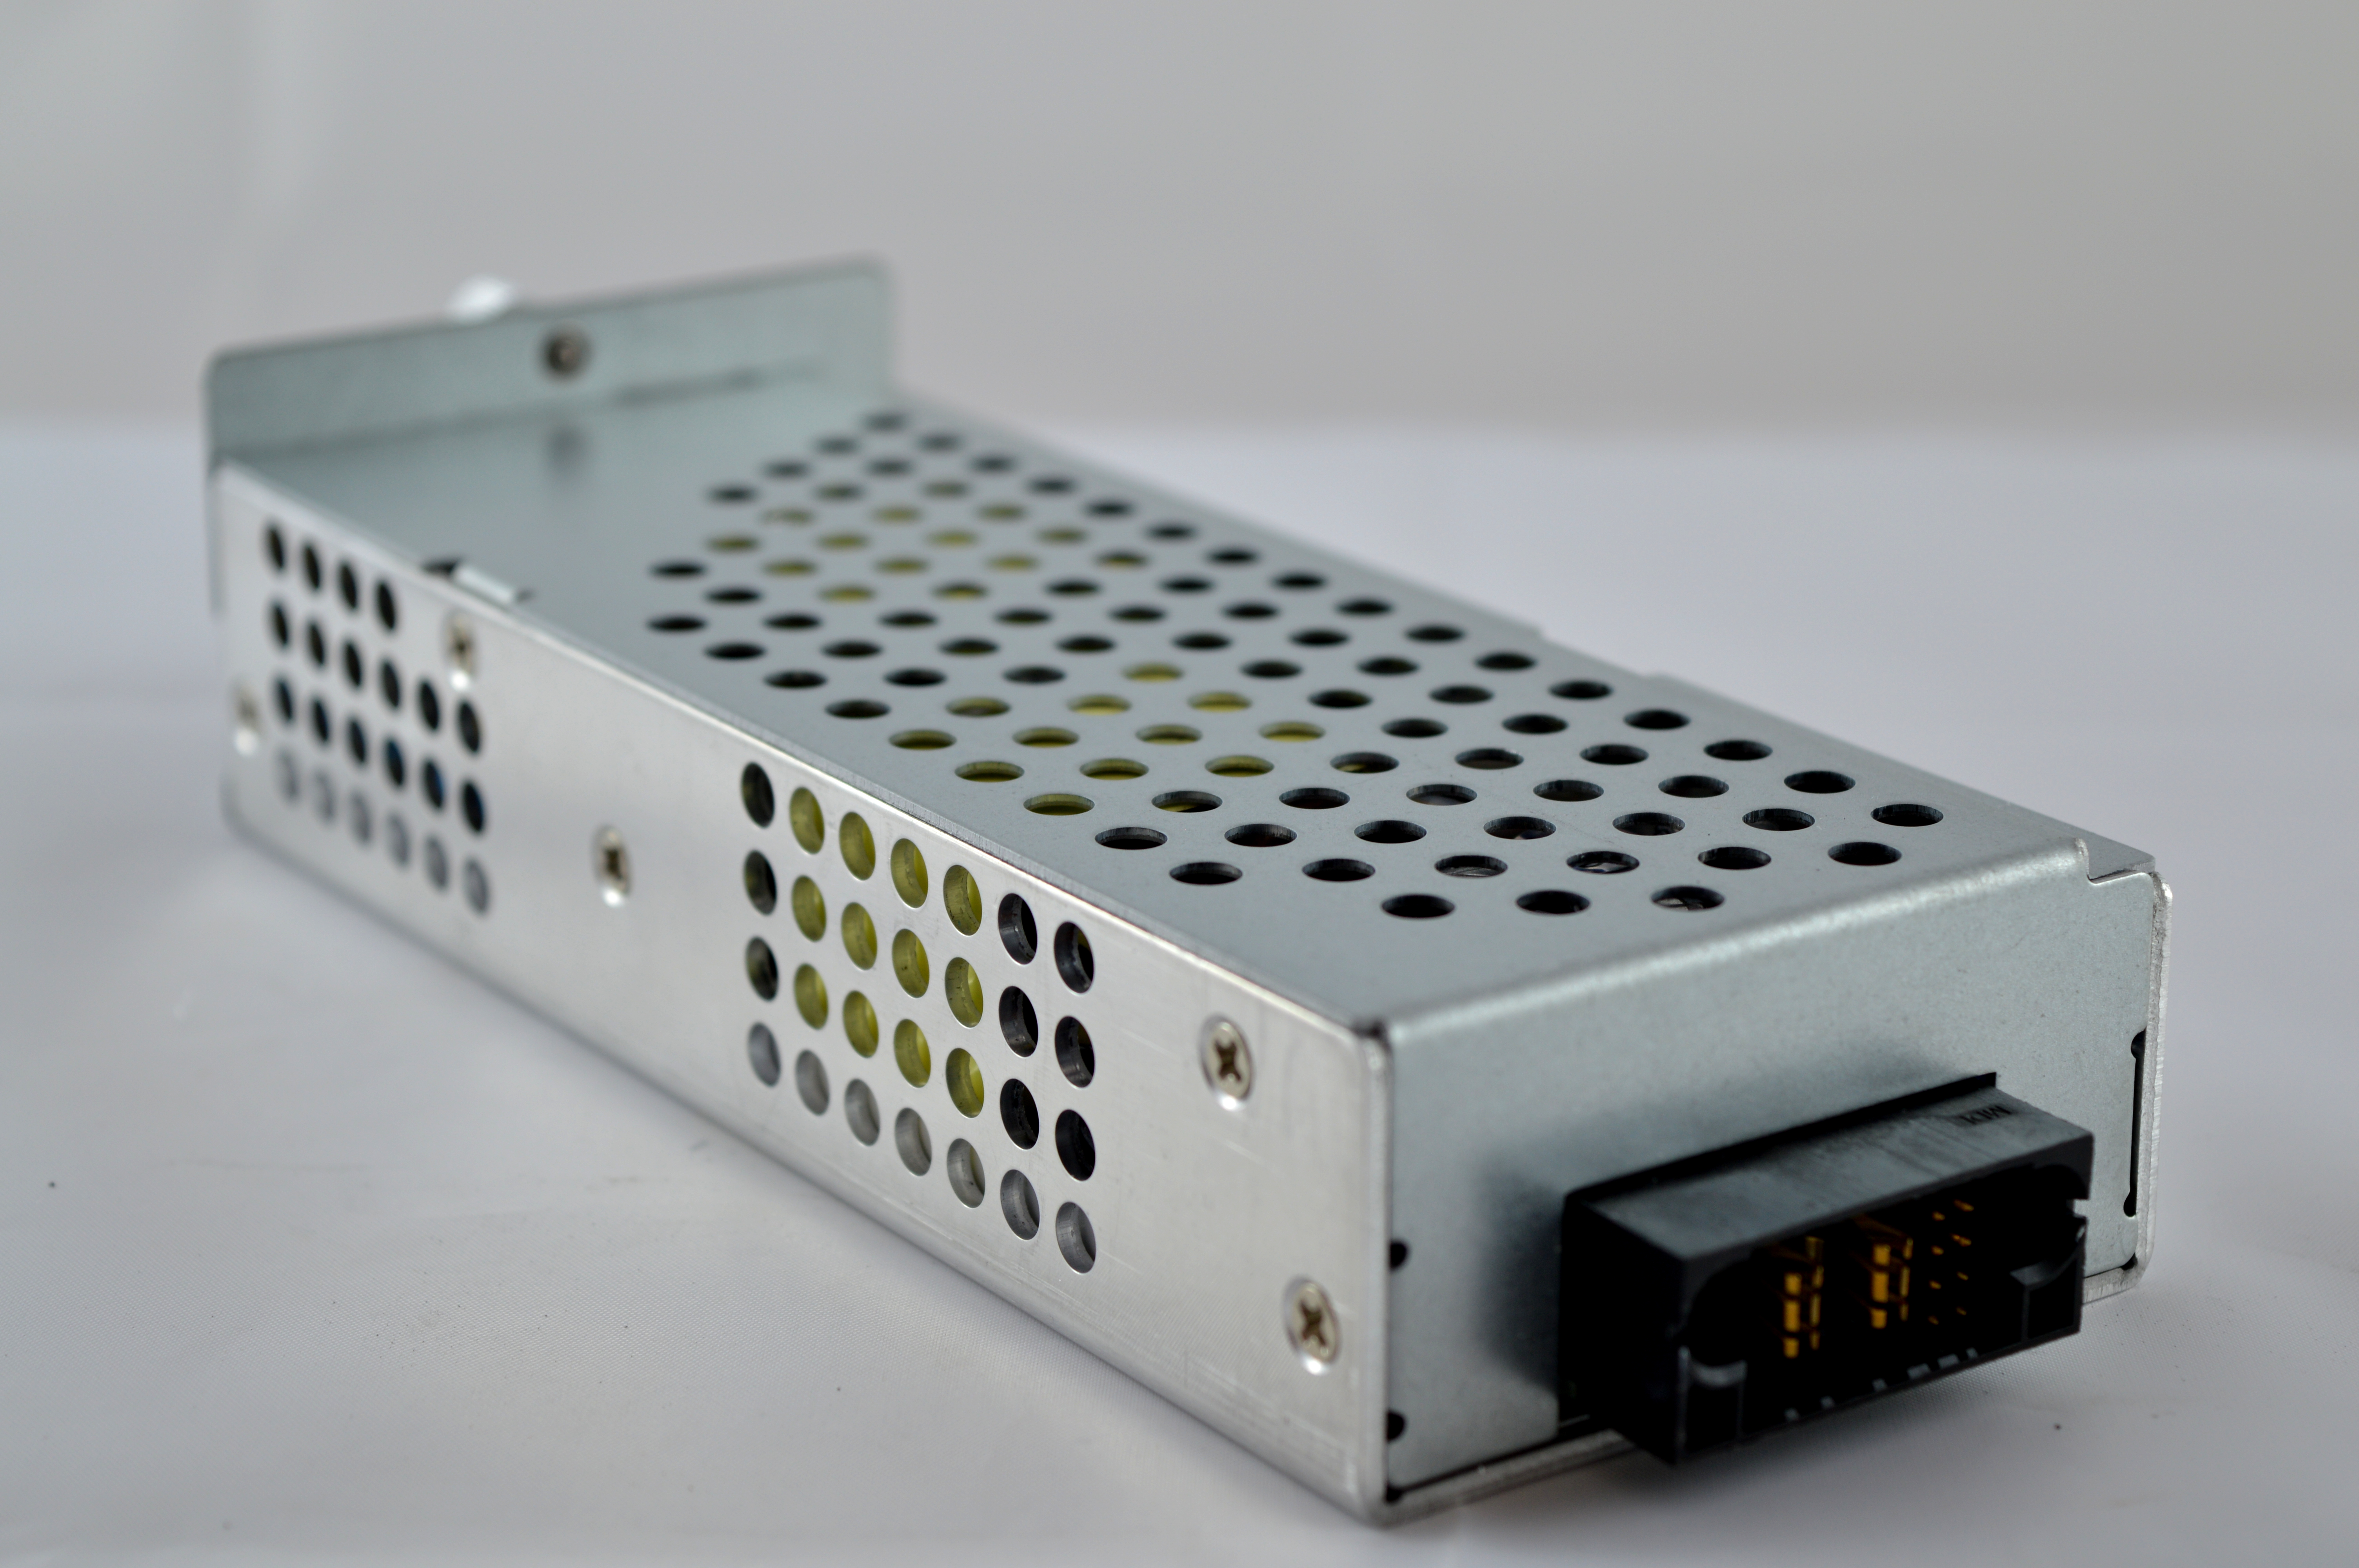
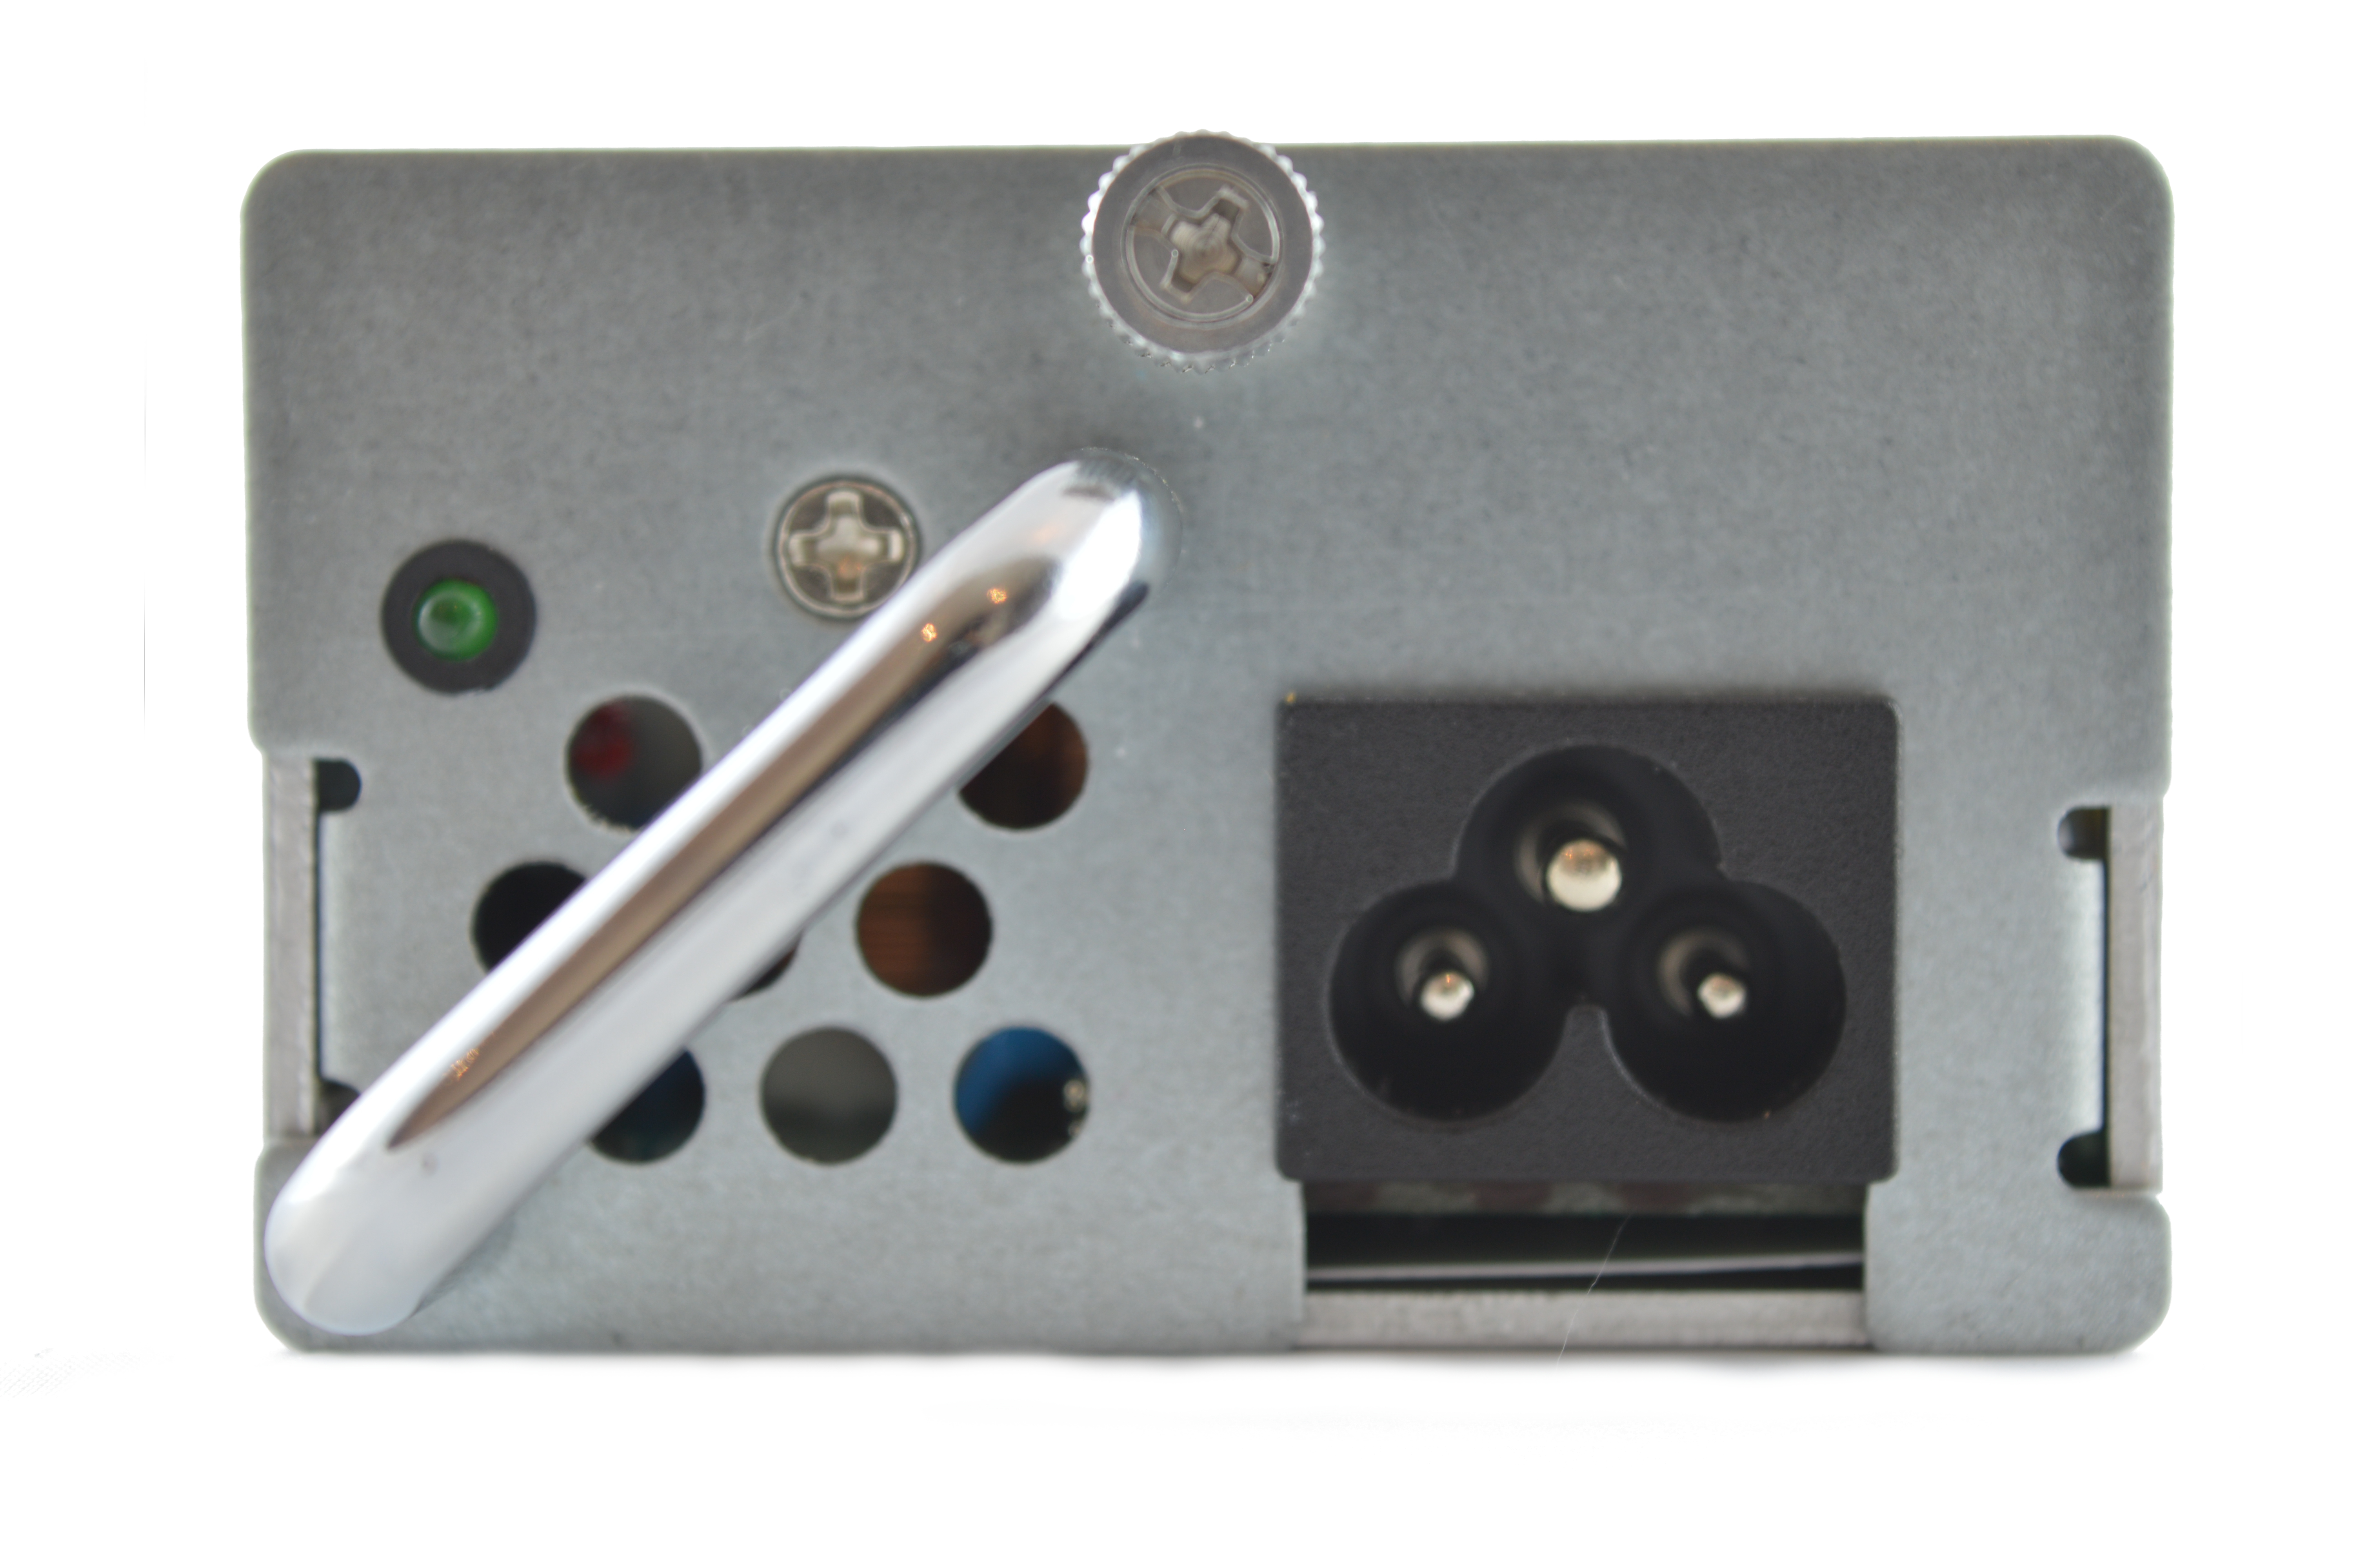
X1s come with an internal 140W AP187 PSU by Sunshine Electronics. Its an unusual formfactor which also uses a 20 pin output to power the miner. This means you can NOT replace it with a conventional PSU. Please note that it requires a "Mickey Mouse" / Cloverleaf cable rather than the usual C13 - see the section above for links.
X1s come with an internal 140W AP187 PSU by Sunshine Electronics. Its an unusual formfactor which also uses a 20 pin output to power the miner. This means you can NOT replace it with a conventional PSU. Please note that it requires a "Mickey Mouse" / Cloverleaf cable rather than the usual C13 - see the section above for links.


|
|
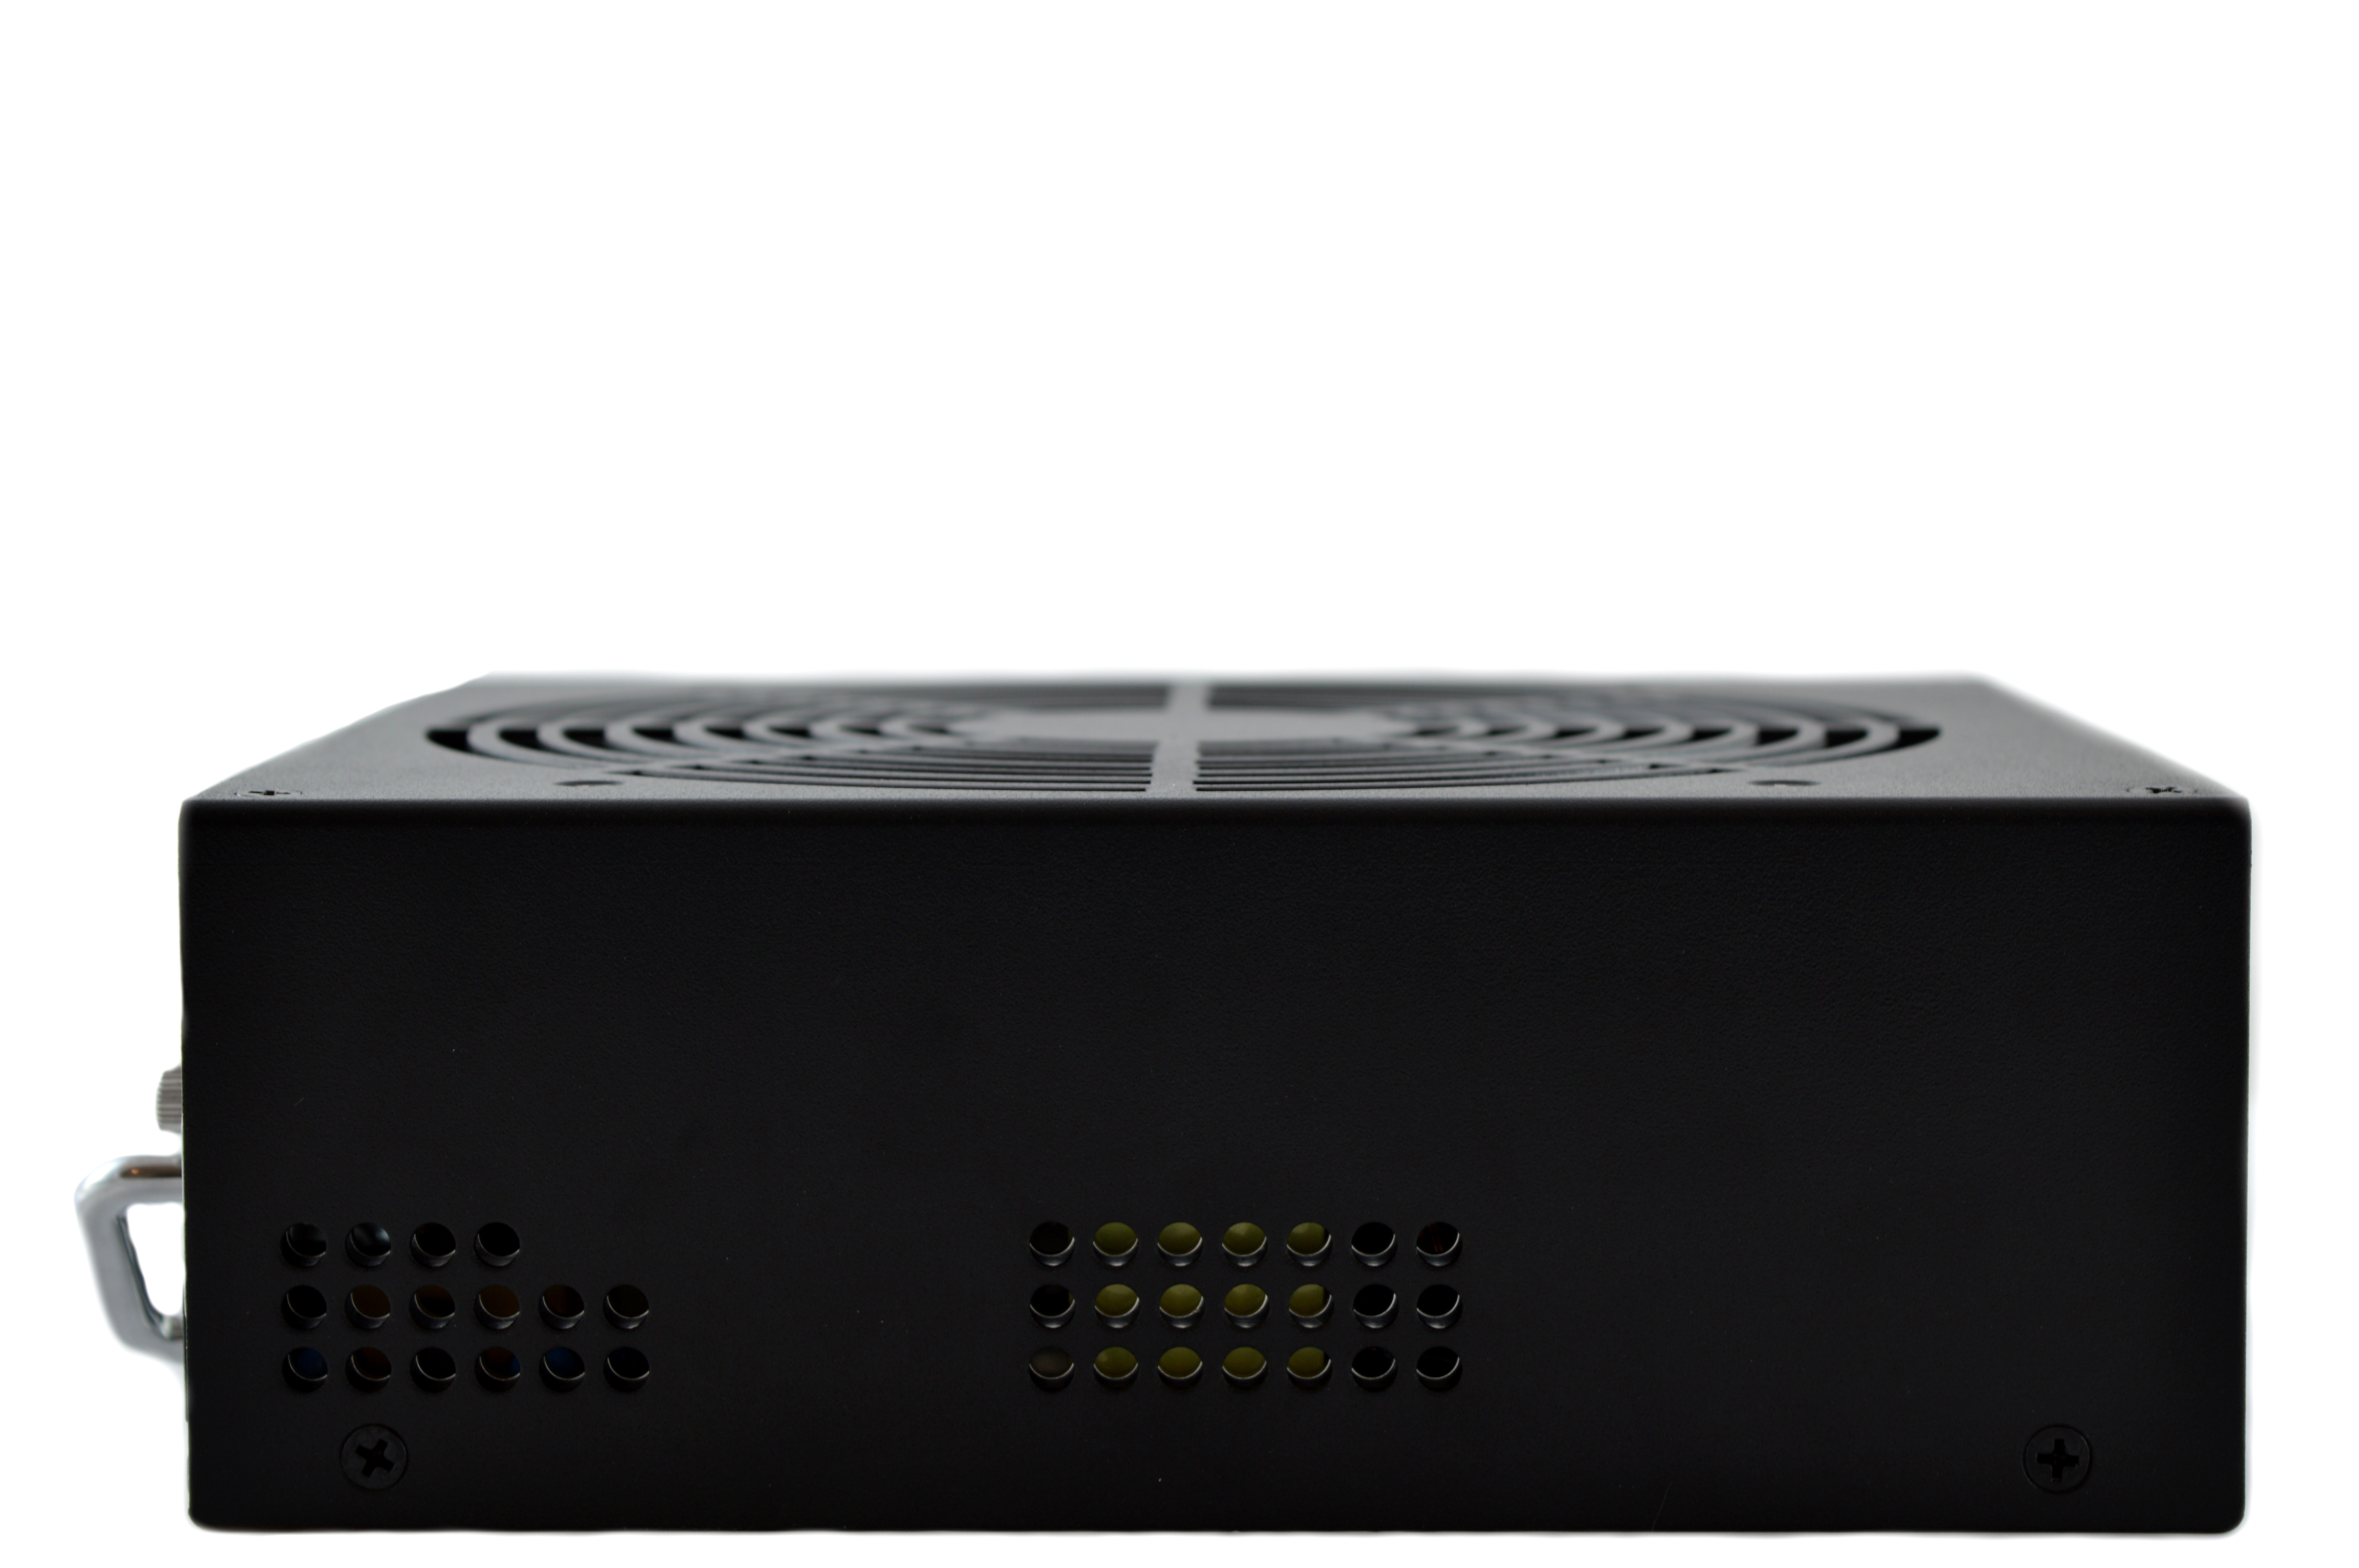
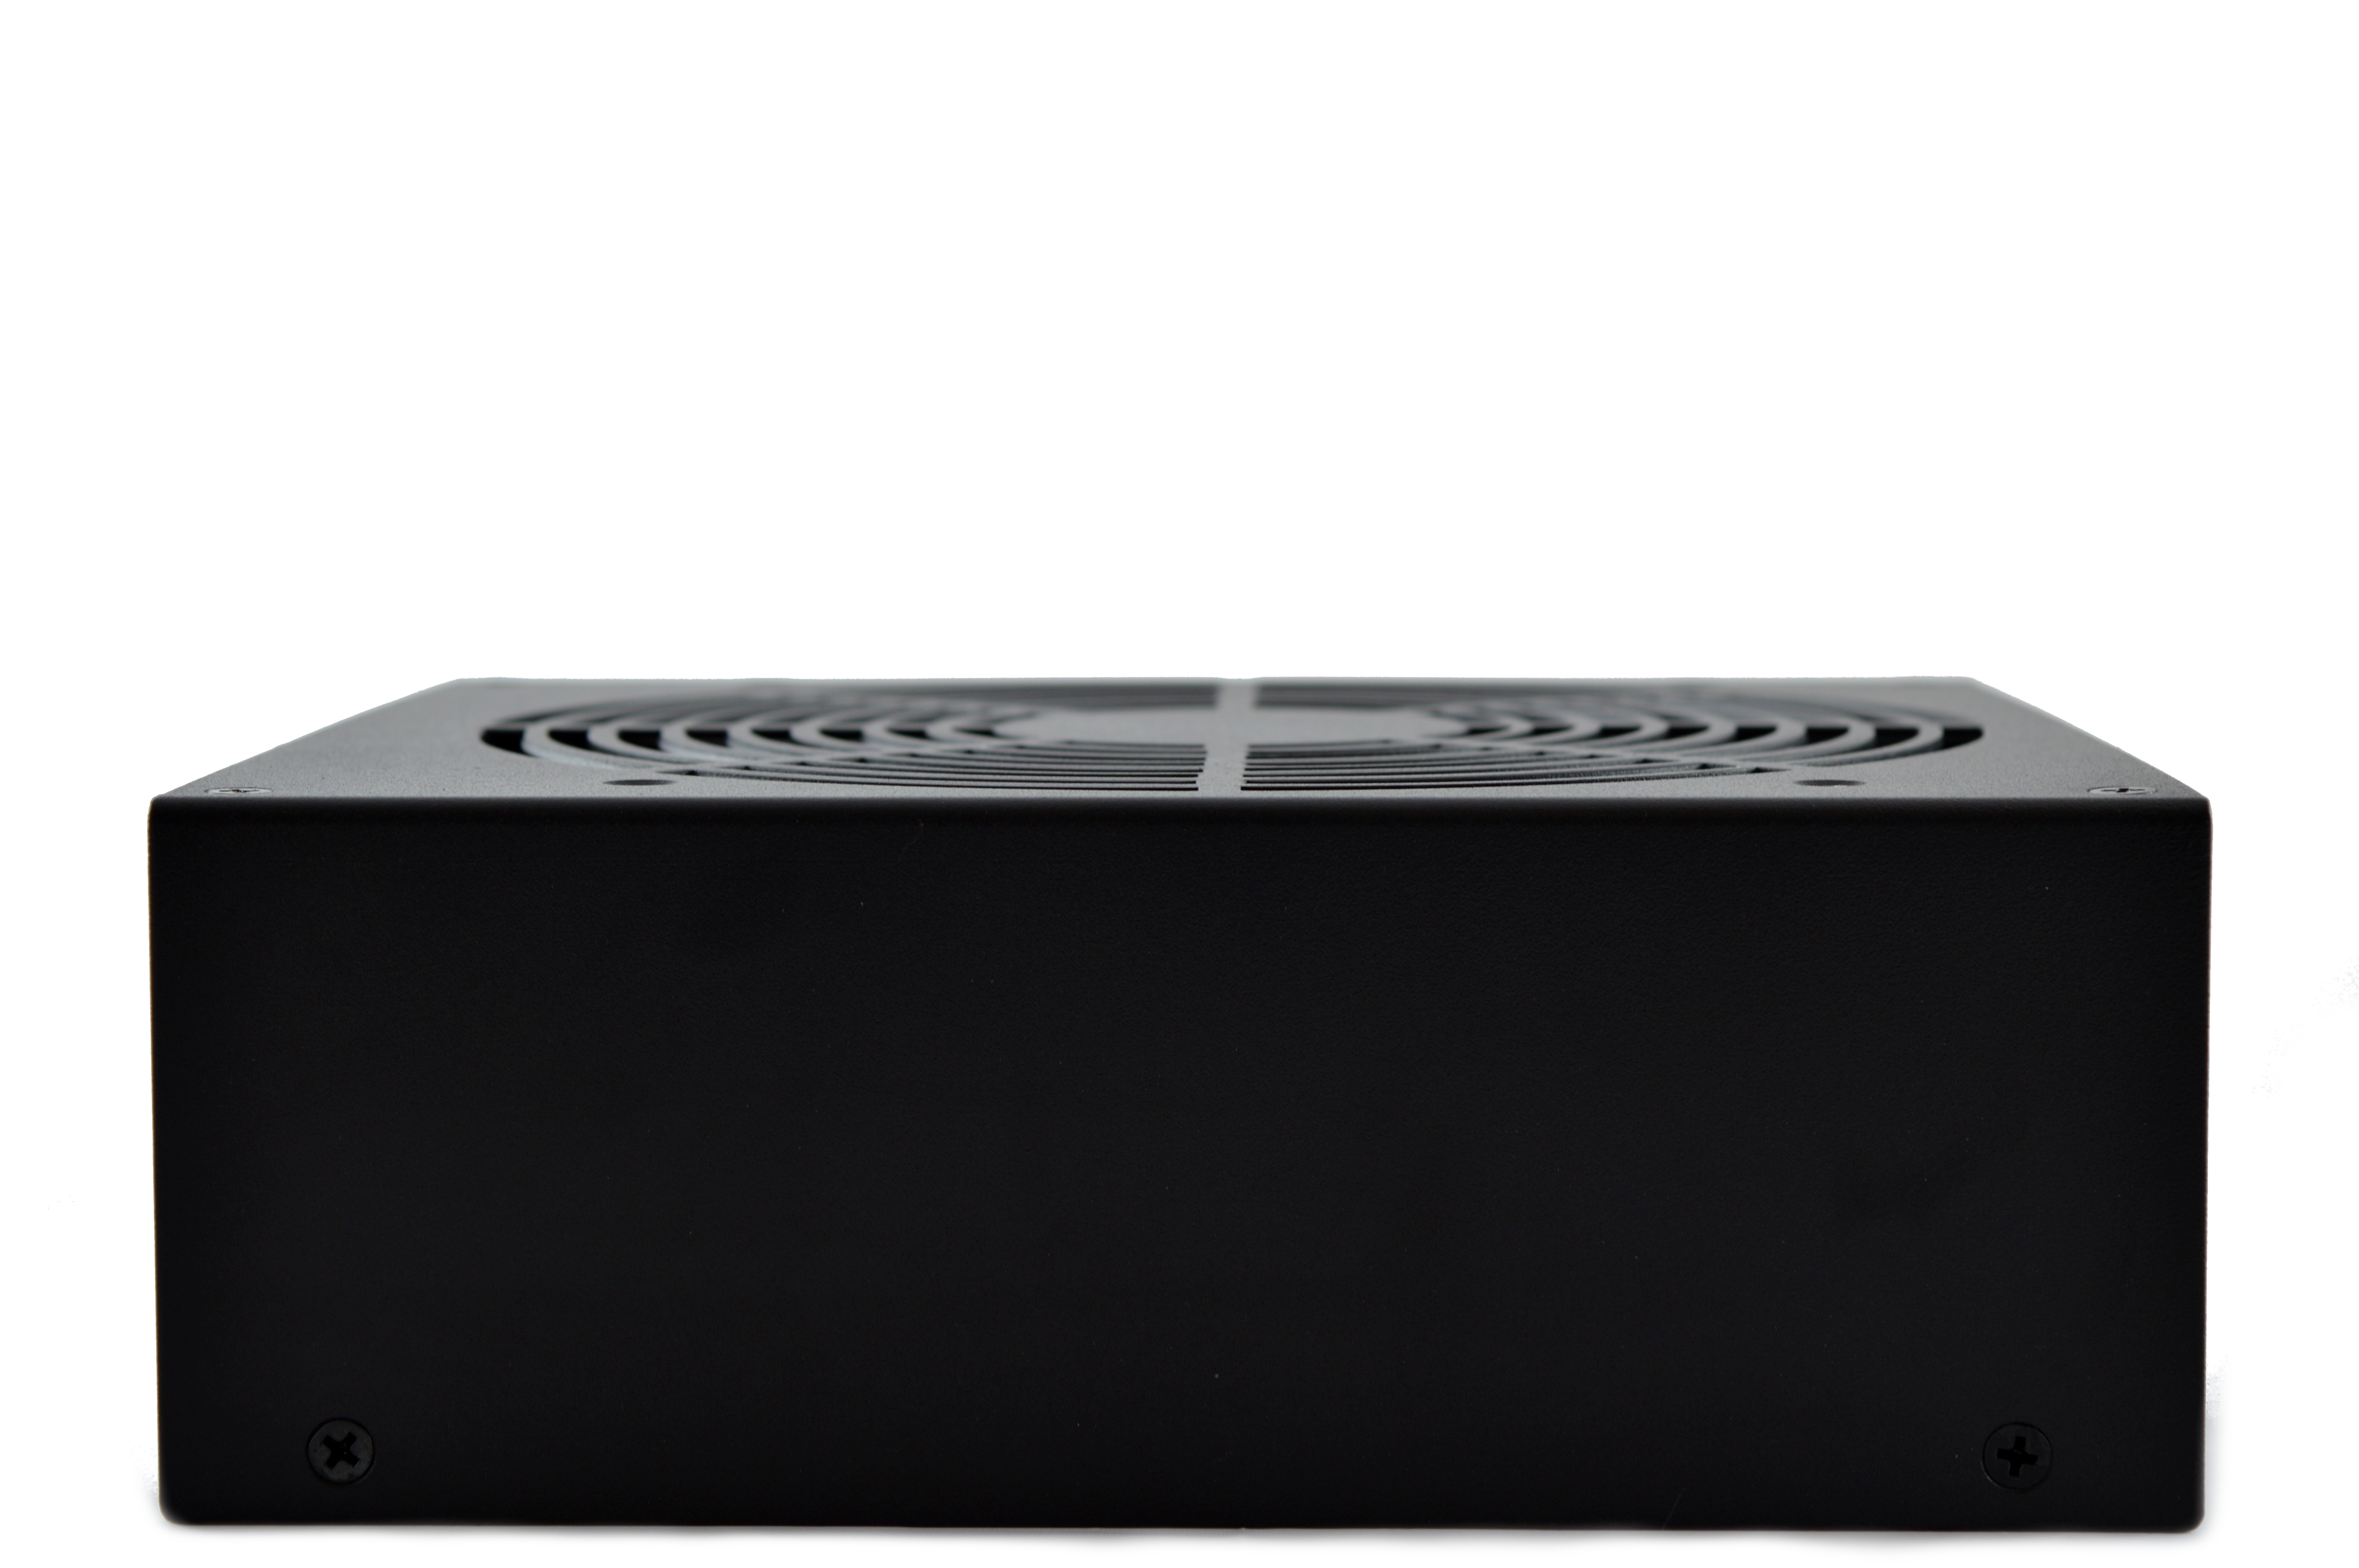
2) Cooling
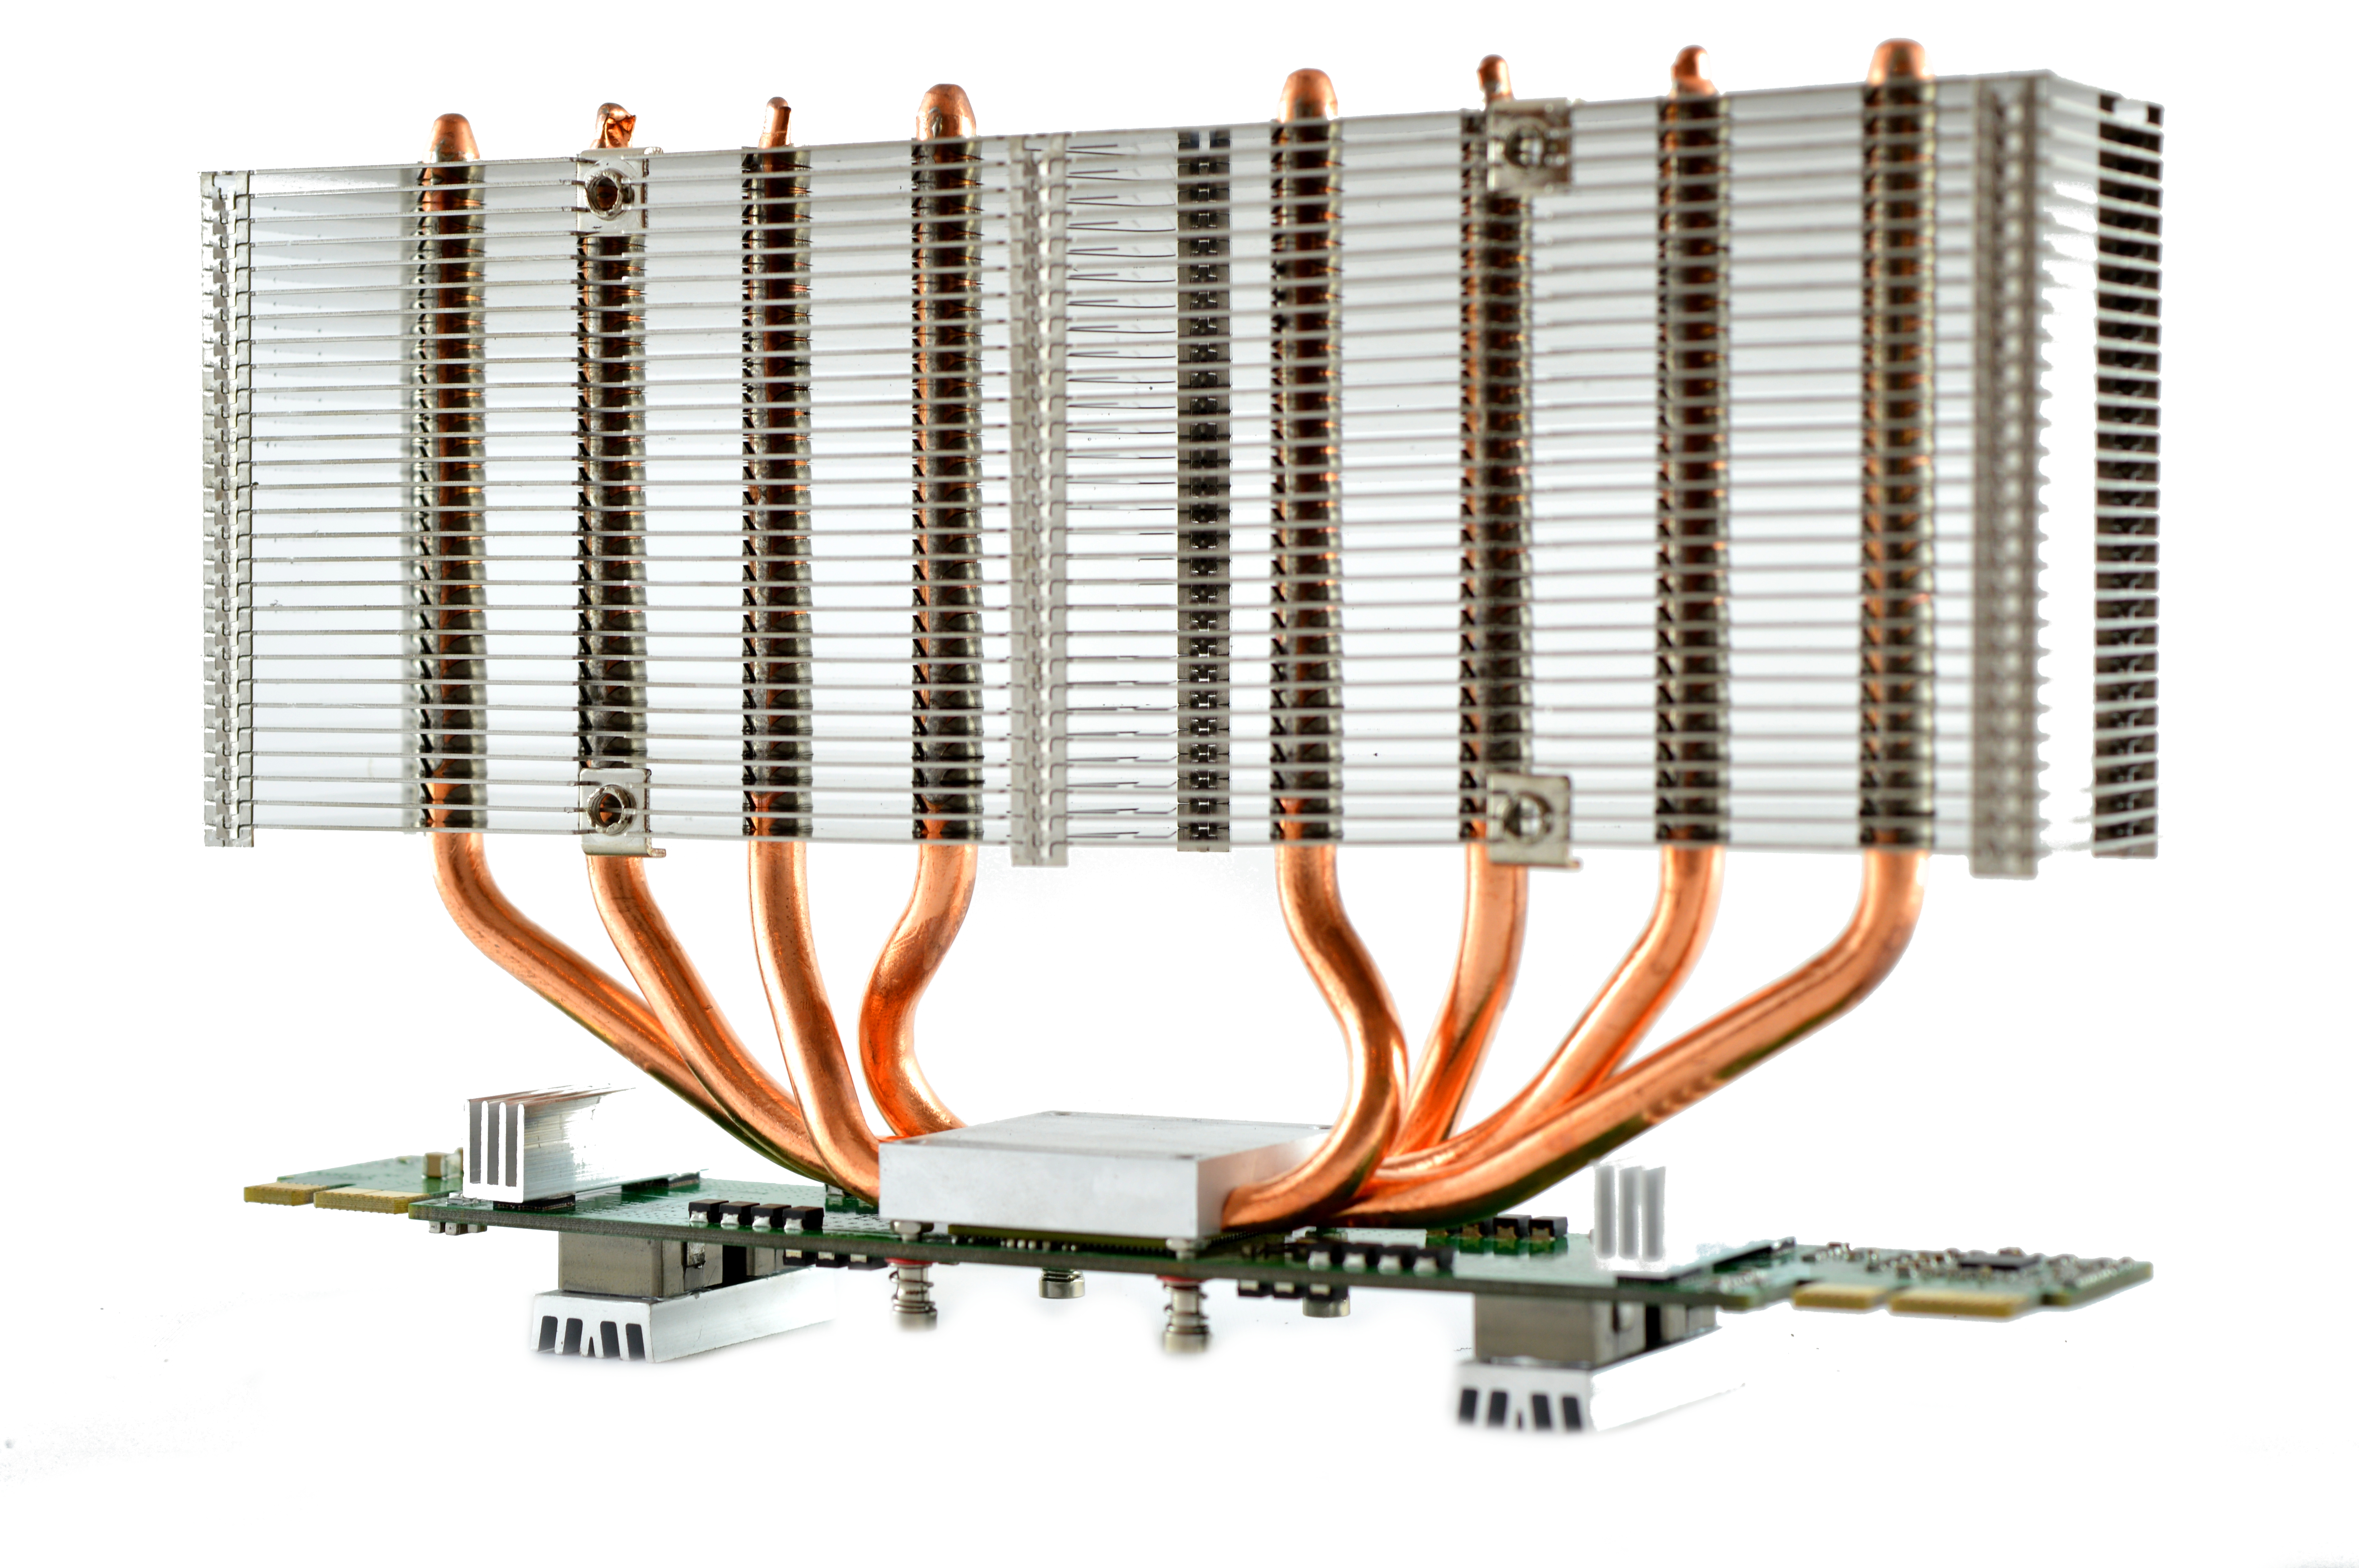
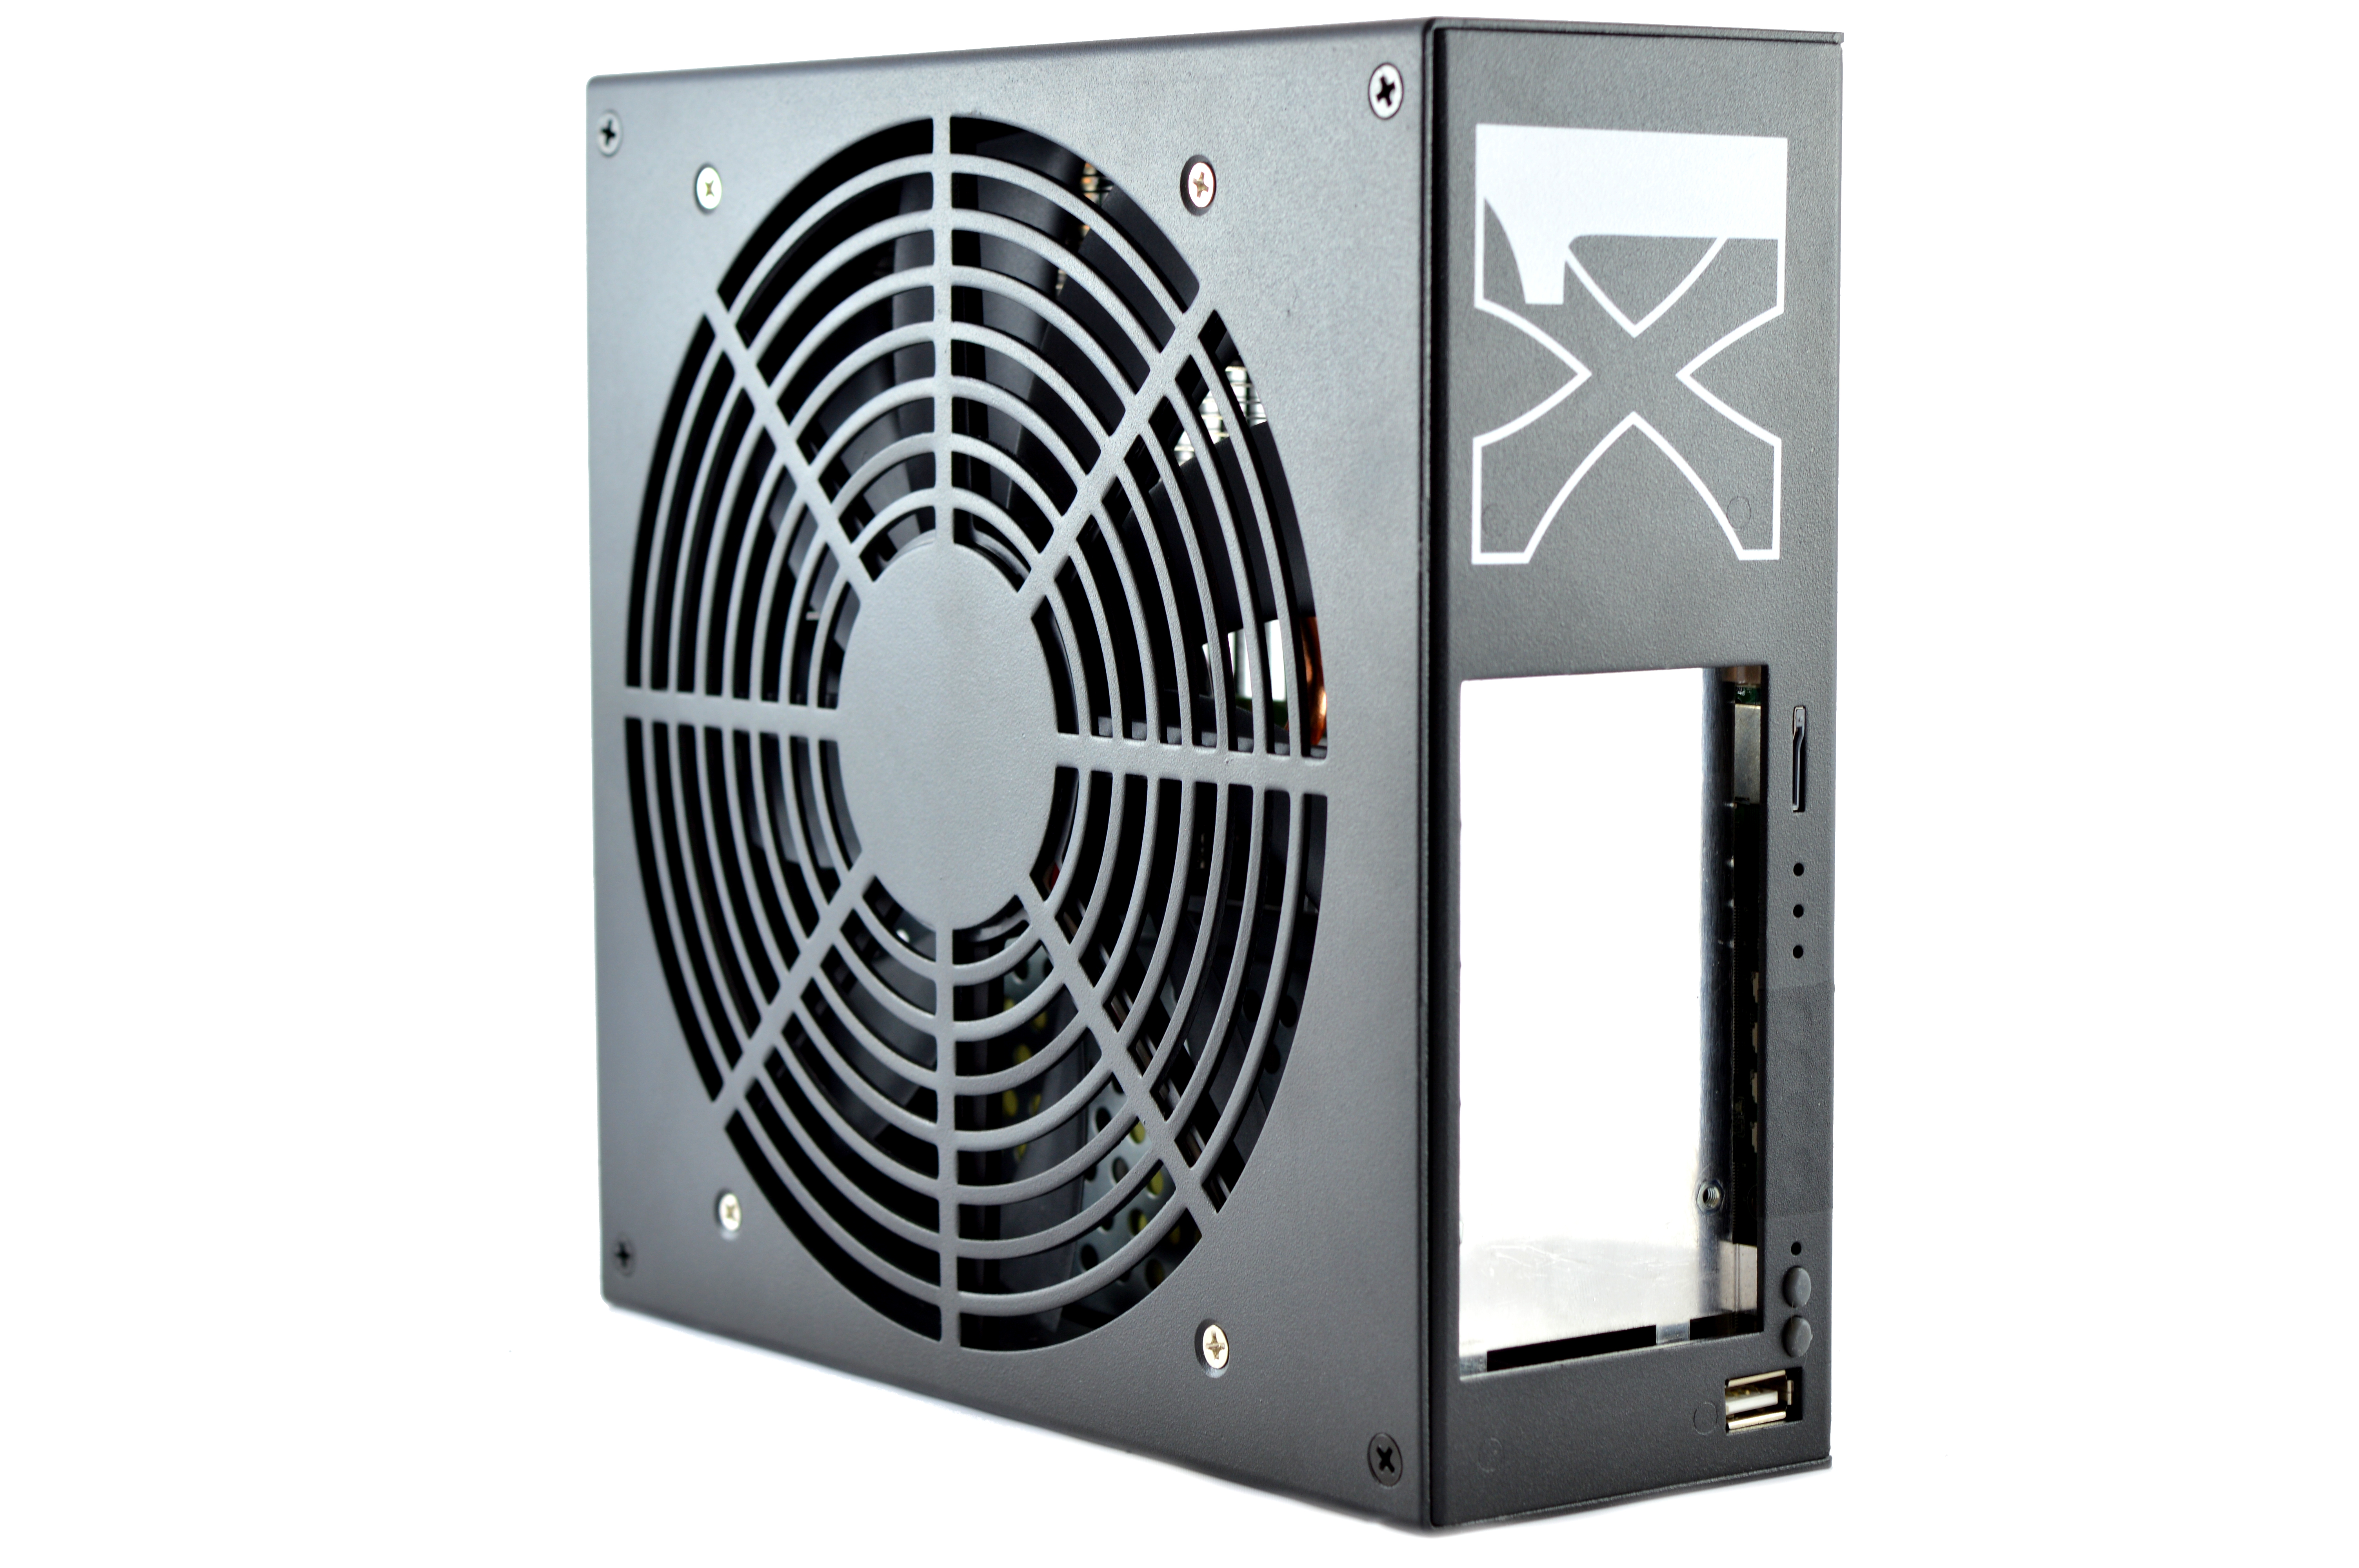
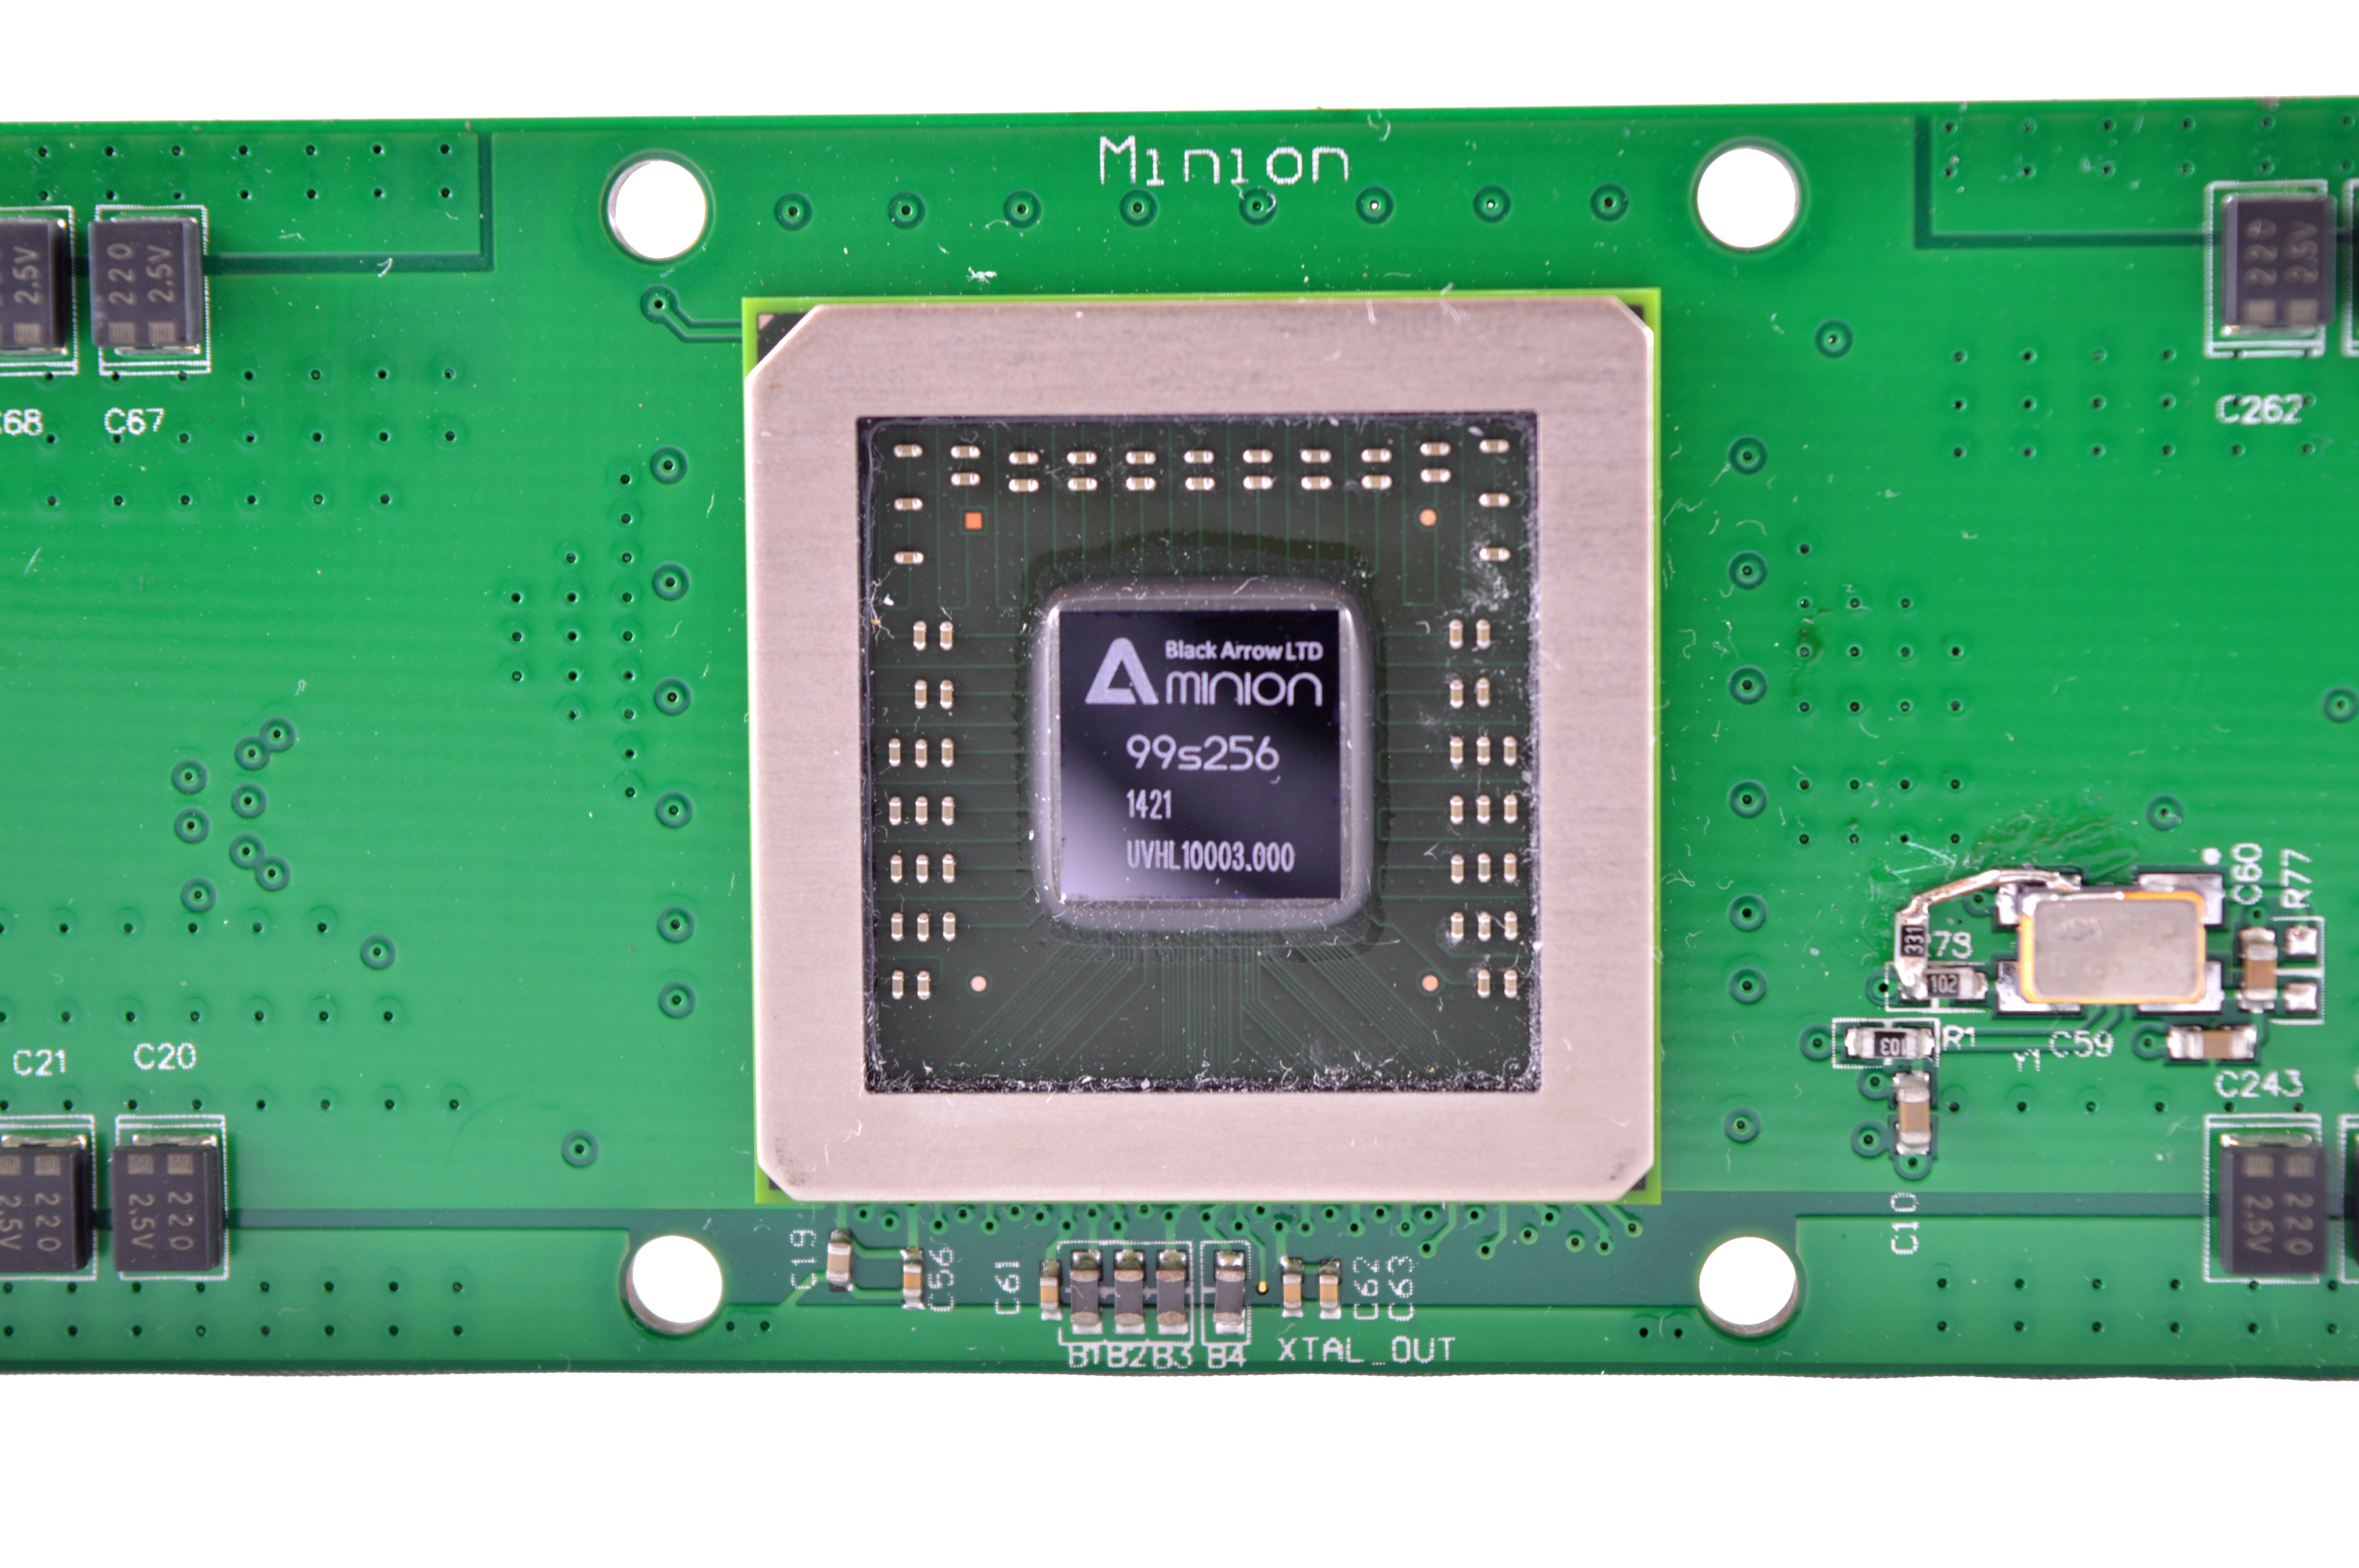
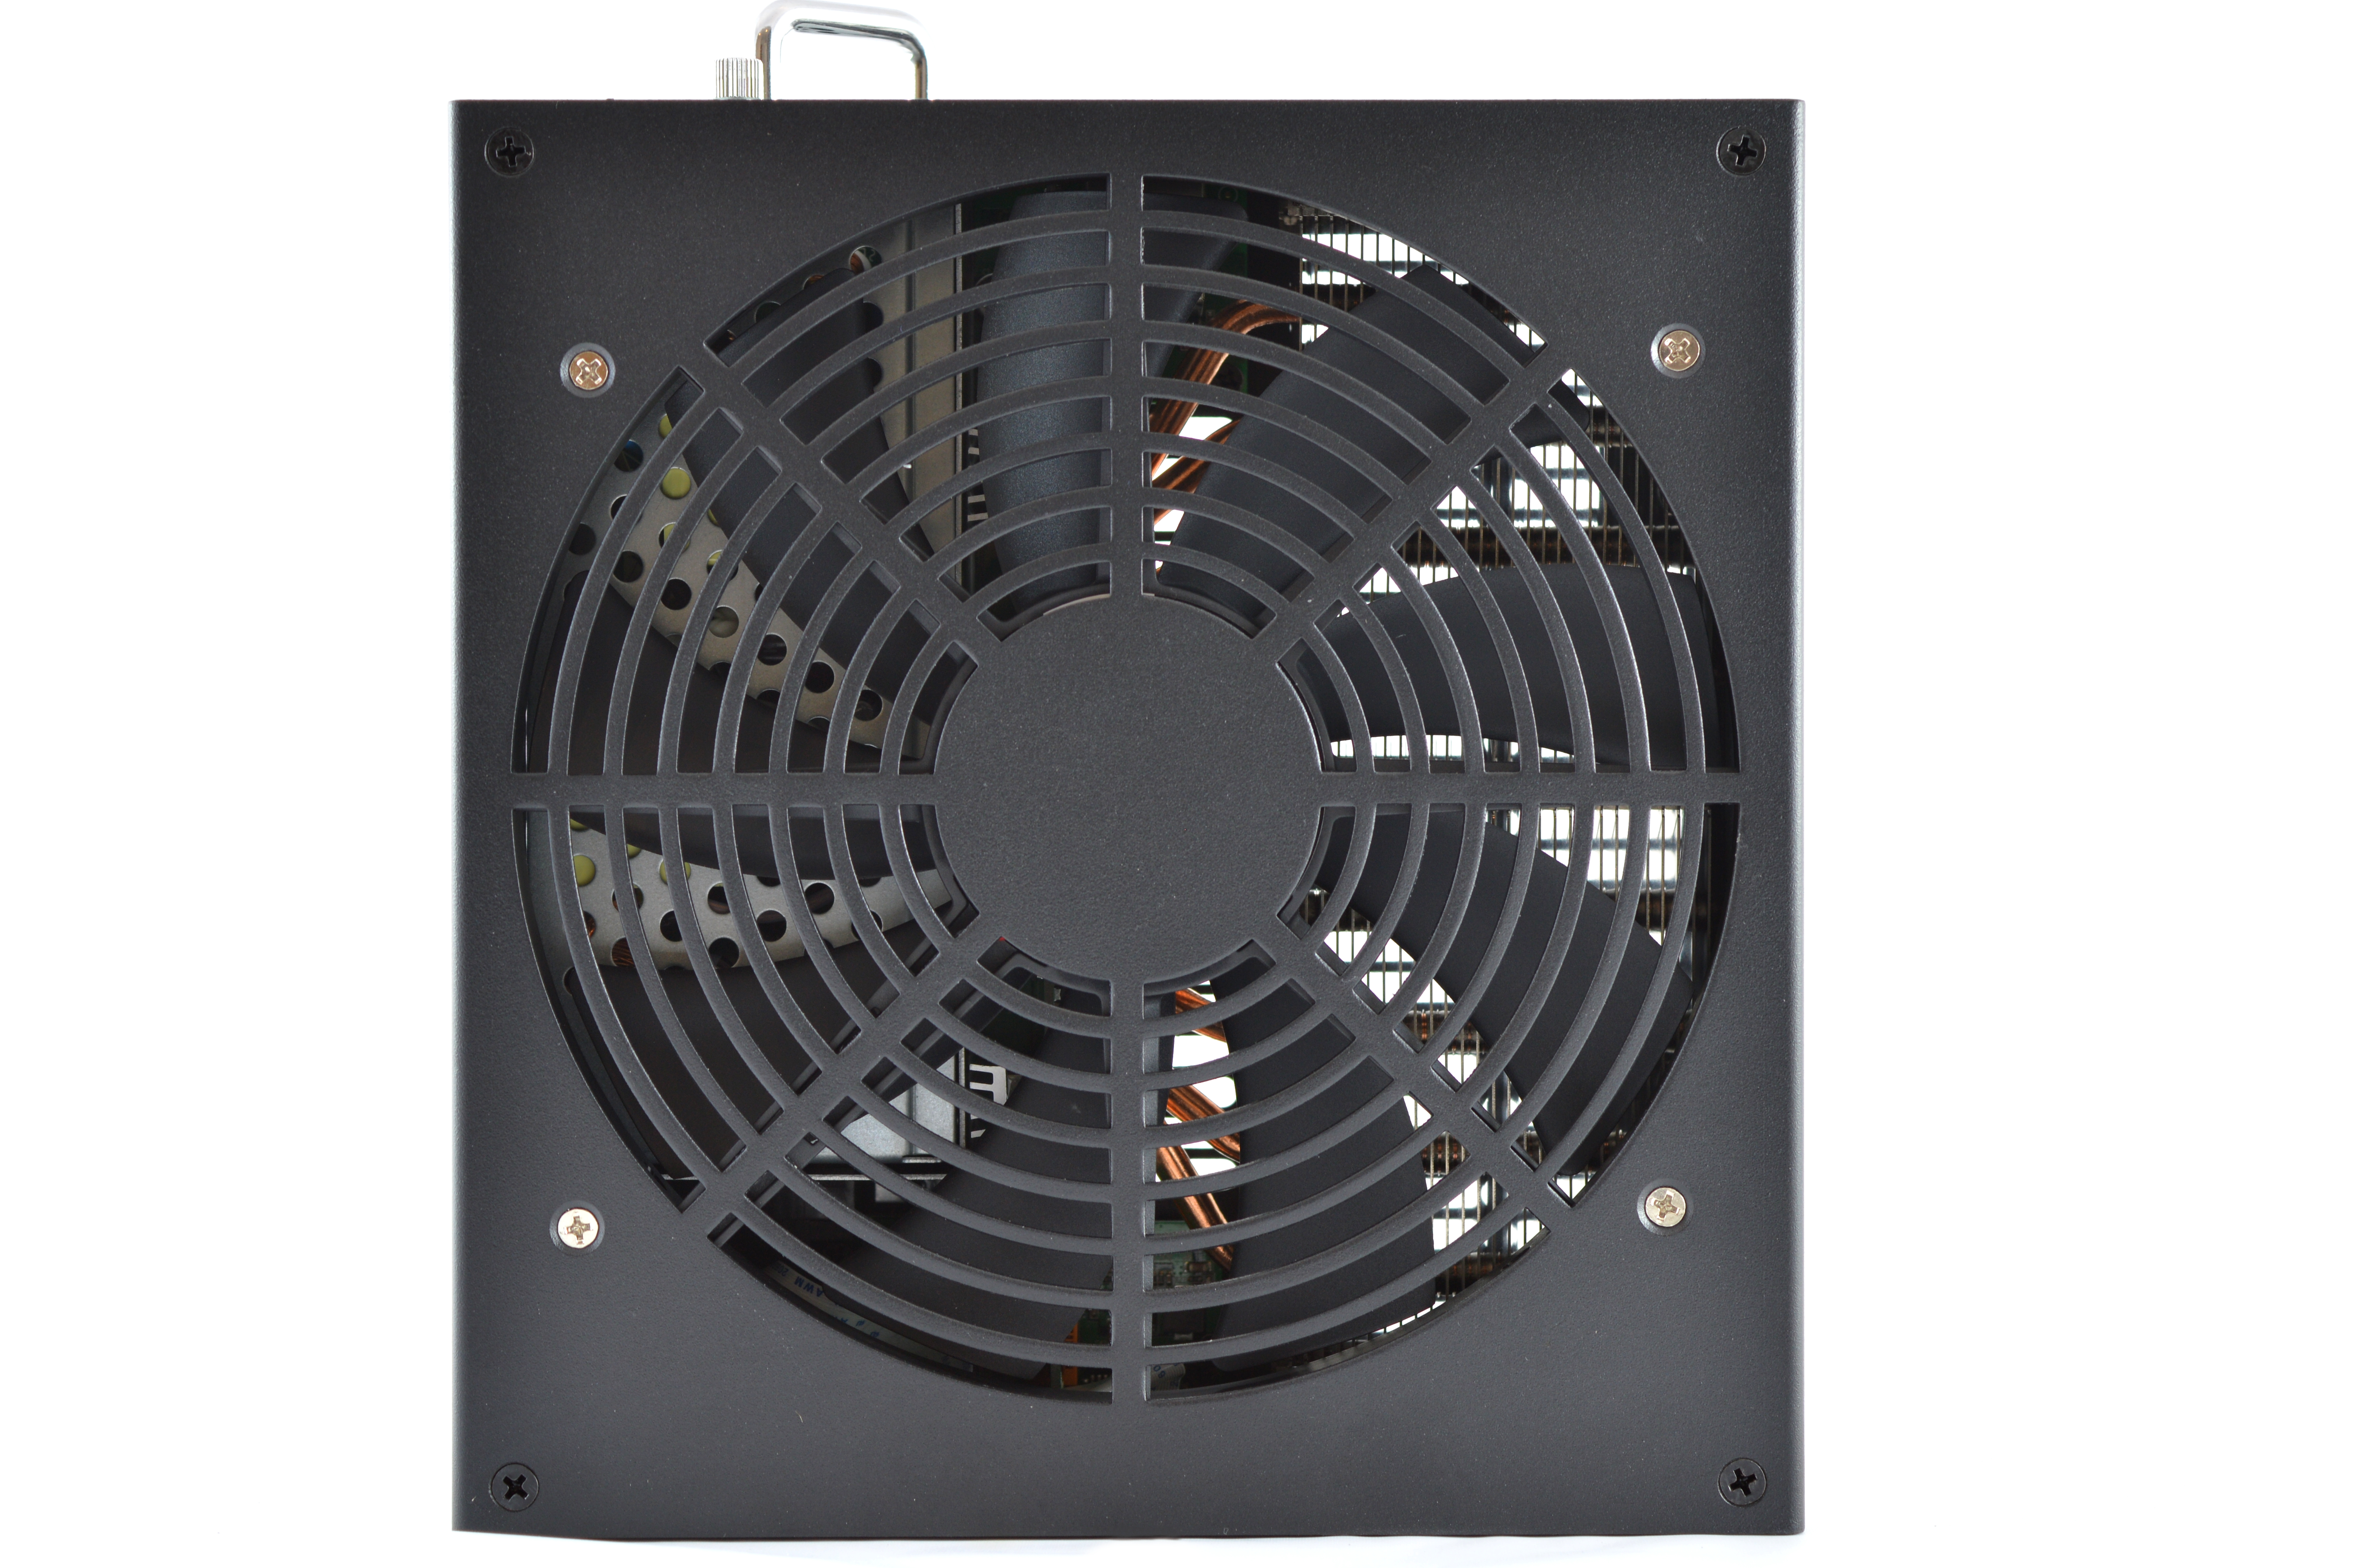
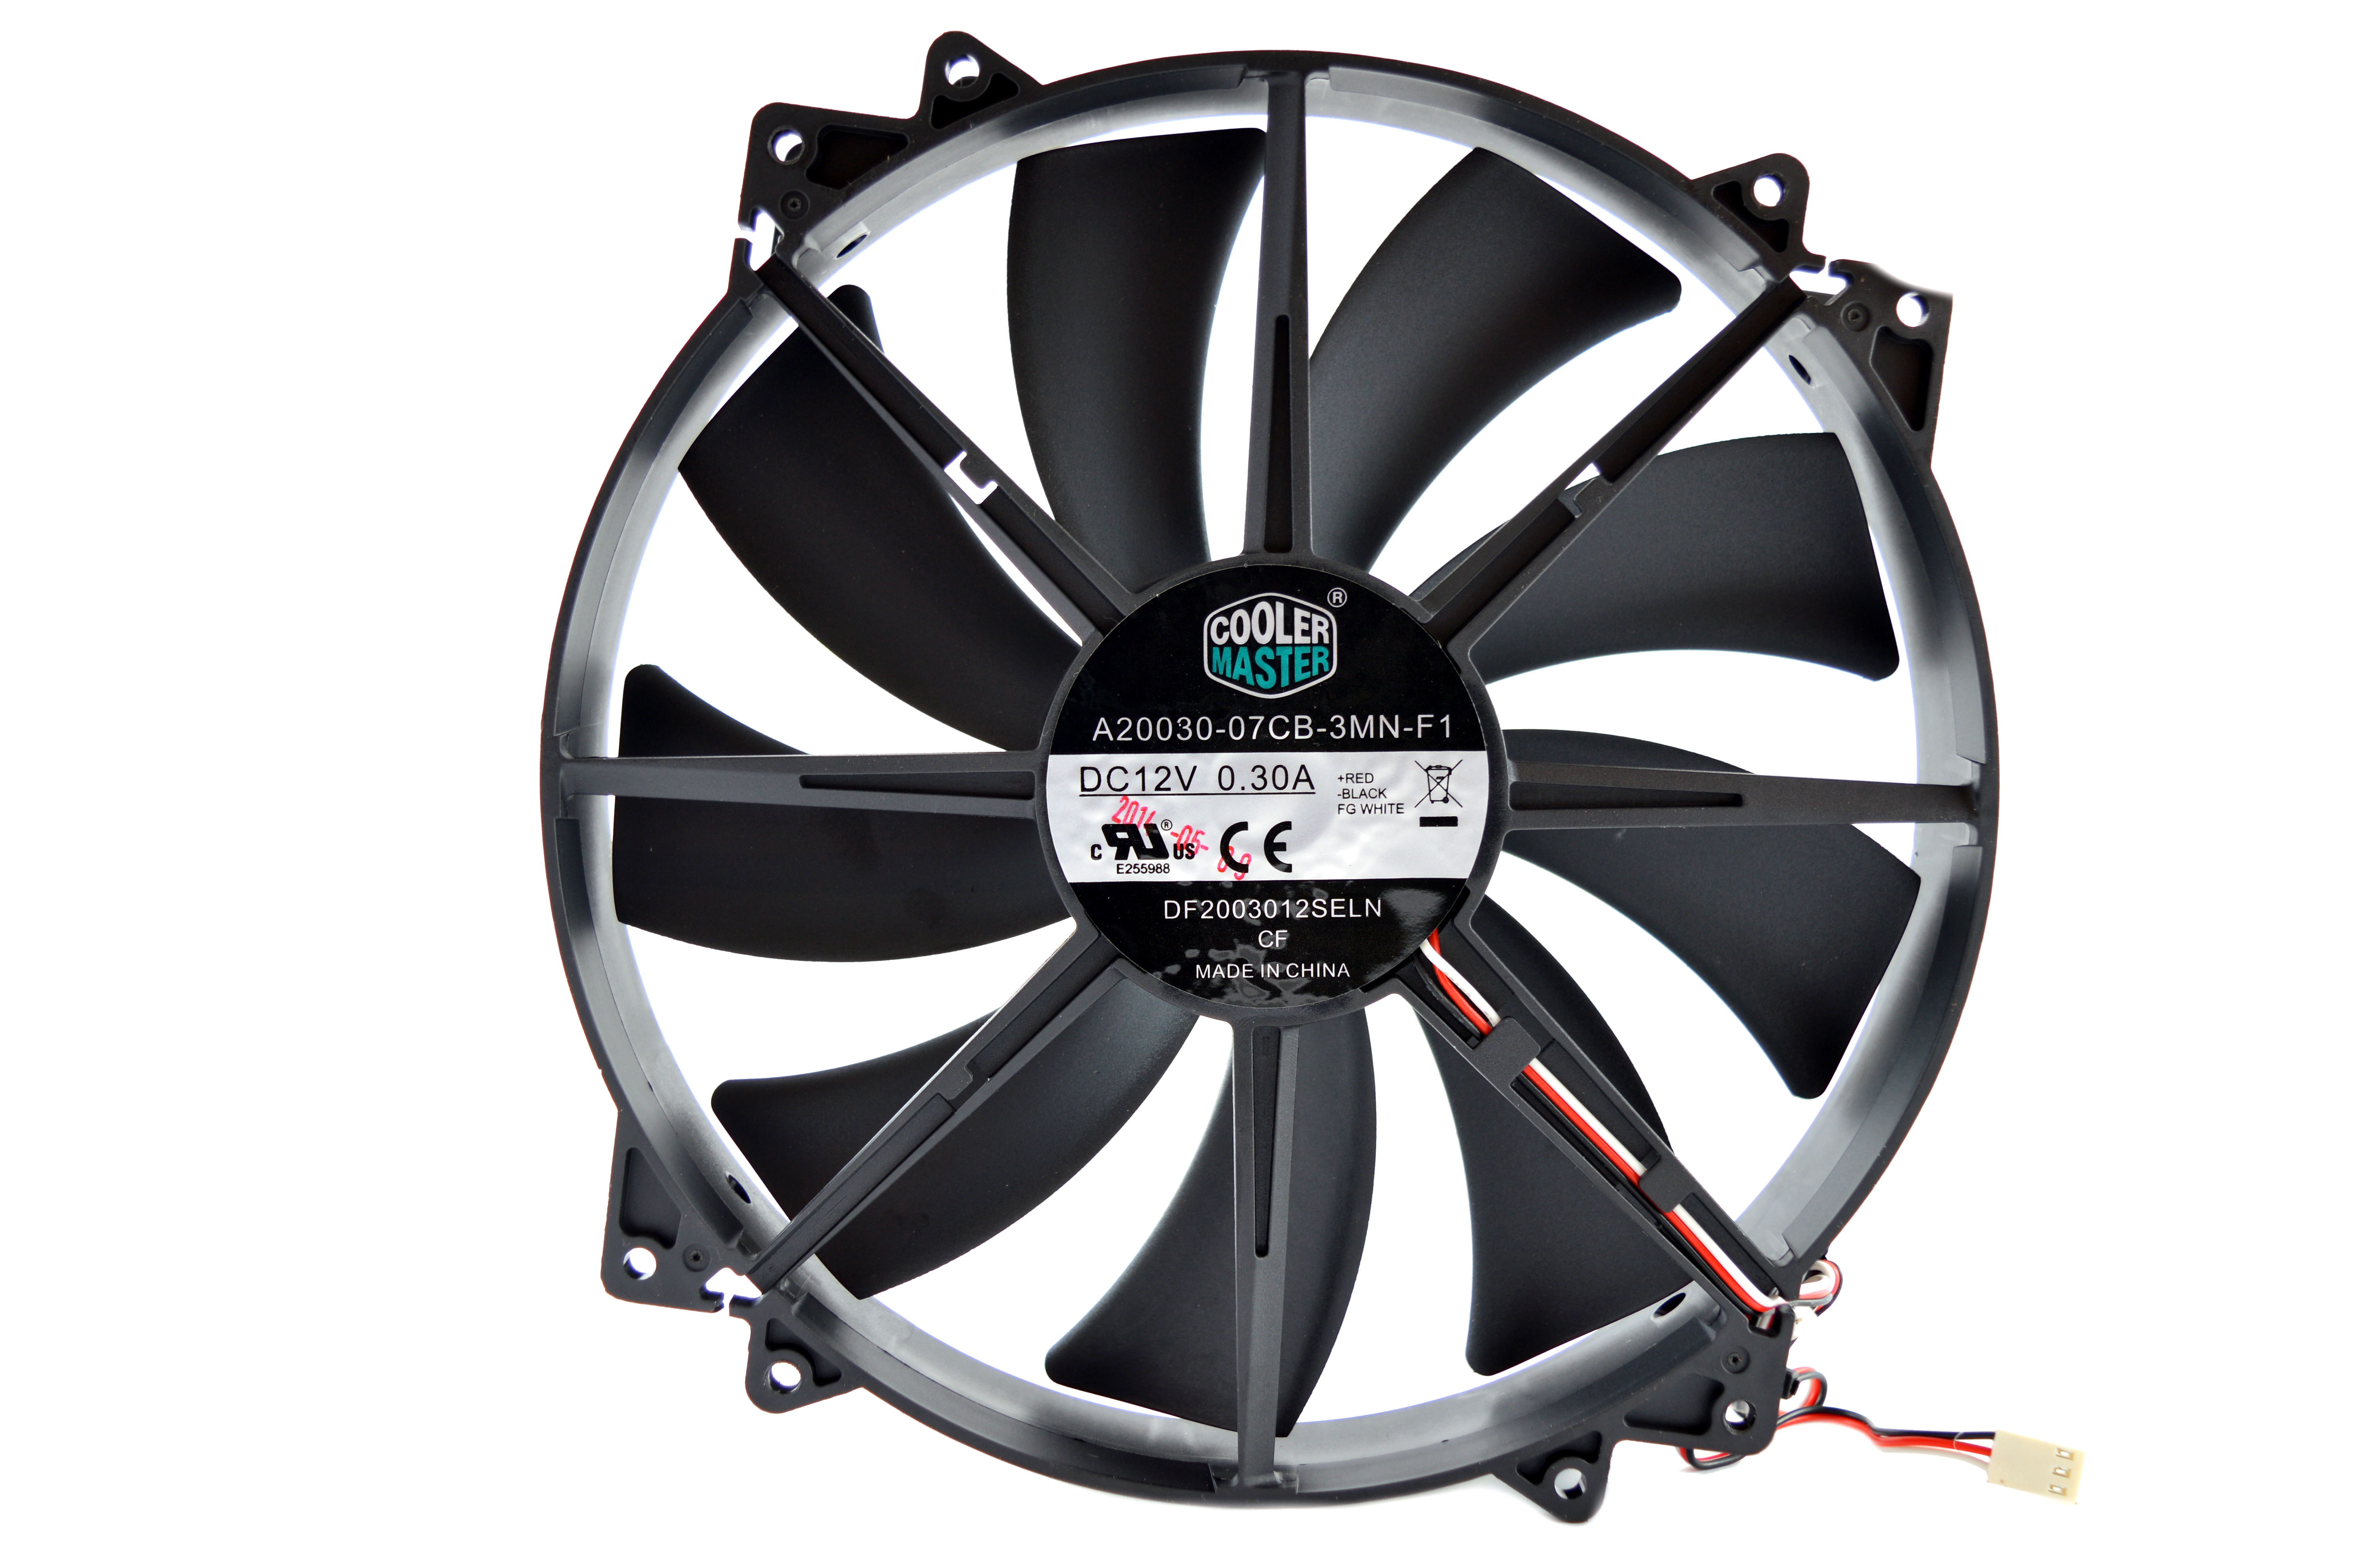
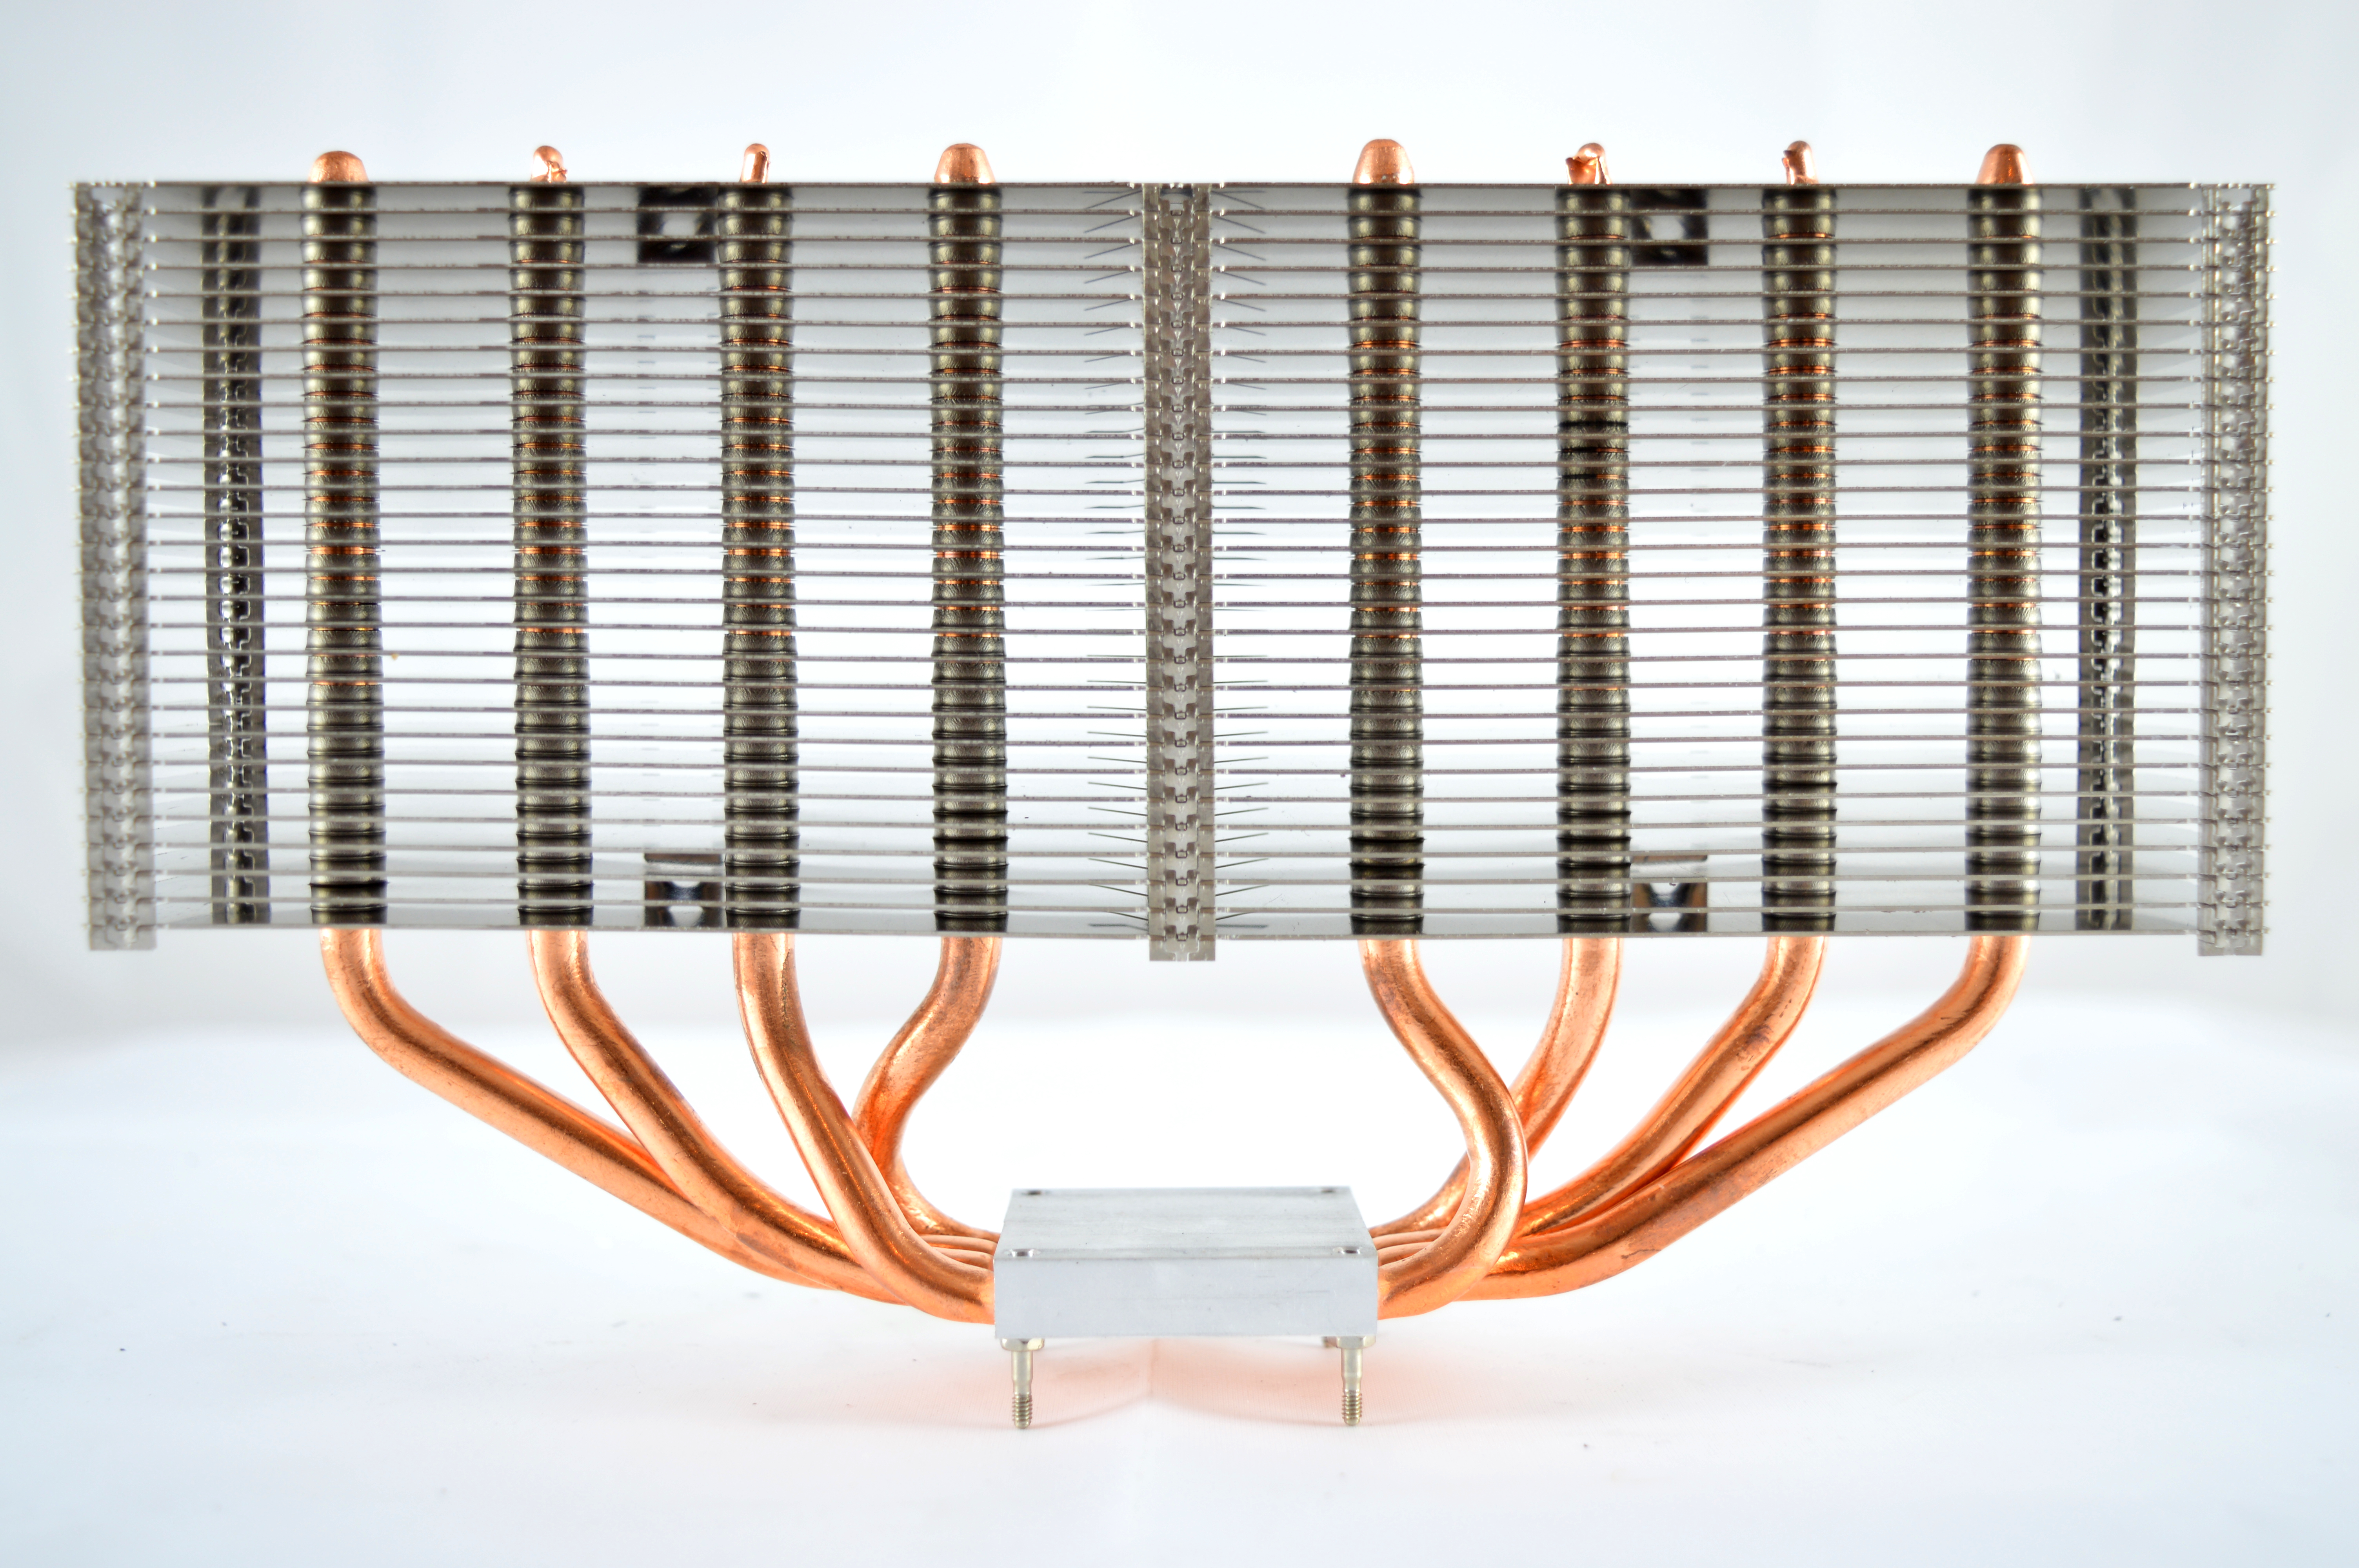
The X1 utilises a 200mm CoolerMaster MegaFlow 200 which is near silent during operation. Air is pulled in through the bottom of the case, drawn through the heatsink and PSU before being exhausted out the top of the case in a negative pressure tunnel arrangement. The Minion ASIC itself features an aluminium finned heatsink with four copper heatpipes distributing heat.
The X1 utilises a 200mm CoolerMaster MegaFlow 200 which is near silent during operation. Air is pulled in through the bottom of the case, drawn through the heatsink and PSU before being exhausted out the top of the case in a negative pressure tunnel arrangement. The Minion ASIC itself features an aluminium finned heatsink with four copper heatpipes distributing heat.

|


|
|
|
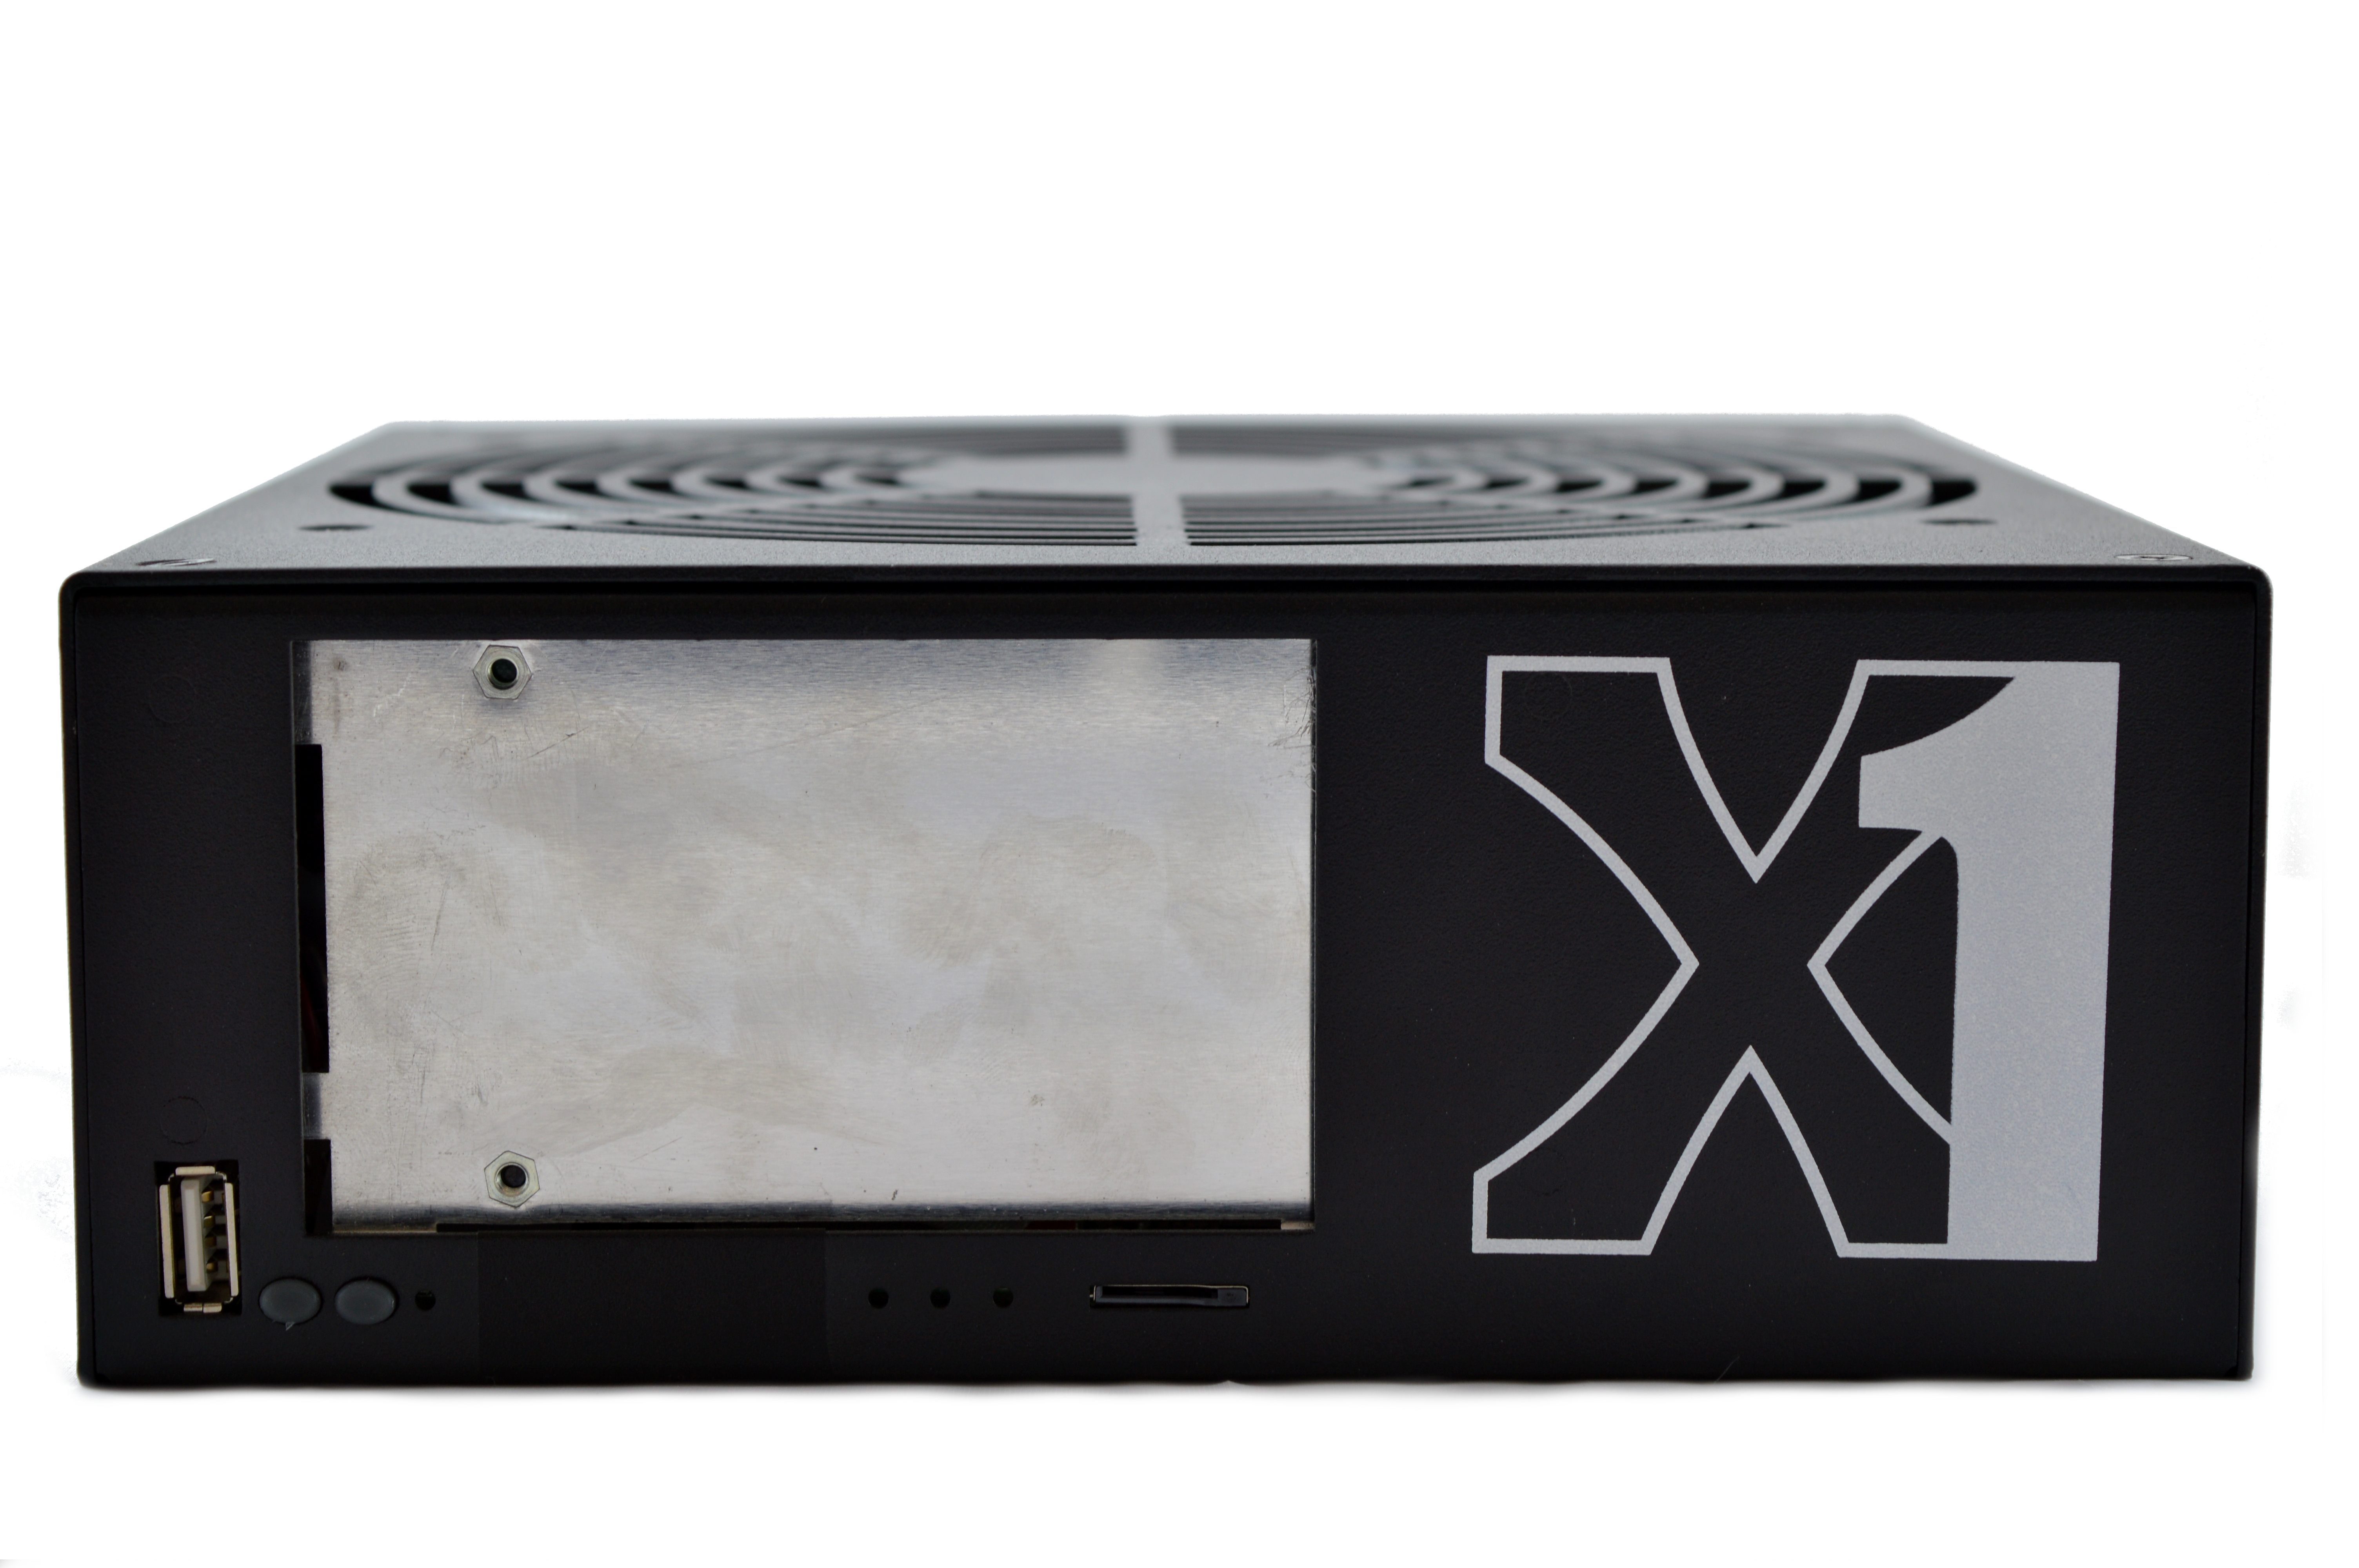
3) Case
Each unit is full enclosed in a The S3 is entirely enclosed in an extremely strong aluminium case. I personally had problems with the screws holding my unit closed, such that many had to be drilled out. This is not likely to be a common problem. Later revisions come with a touchscreen LCD display and full Android device. A keyboard can be plugged into the miner via USB to help type so the miner can be standalone. Later revisions may also come with an external Wifi antennae.
An X1 measures 222 x 205 x 80mm and weighs 2.1kg.
|
|
4) Configuration
The X1 is standalone and does not require an external controller.
Wiring:
Configuration:
The X1 is standalone and does not require an external controller.
Wiring:
- Plug in an ethernet cable from the X1 to you router.
- Plug in the power cable from the X1 to the mains.
Configuration:
- The unit will automatically power on.
- The unit will ship with DHCP enabled, and so your router will assign it an appropriate IP address automatically.
- If you have an LCD model, the IP address will be displayed on the LCD. If not, using a browser, navigate to your router and find the IP it has assigned the S3 and navigate to that IP.
- Login using "user" as the username and "blackarrow" as the password.
- Select "Prospero" on the left, and then navigate to the "Pools" tab.
- Click "Add Pool" and enter your pool information in the below format.
- If you have multiple X1s, you can then copy this pool information to all of them quickly using the "Sync Network" button.
stratum+tcp://mint.bitminter.com:3333
stratum+tcp://us1.ghash.io:3333
stratum+tcp://stratum.mining.eligius.st:3334
|
|
5) Troubleshooting
TBD as problems arise

6) Where to buy


General Safety Tips


|
Do not touch equipment while powered, exposed electrical contacts may shock.
Fans may cause injury or shatter if material is ingested.
|


|
Sharp edges may be cut, especially around any internal casing or heatsinks.
If you are unsure of what to do, STOP and consult an expert.
|
|
|
|
Legal disclaimer: This information is for general guidance and does not constitute expert advice. We are not responsible if you, your property or a third party is injured or damaged as a result of any interaction with this information, and no warranty is provided. All text and images are covered under copyright law, dogiecoin.com.
|