Avalon Avalon6 Setup Guide
|
Contents
0) Introduction 0b) What You Need 1) Powering 2) Cooling 3) Case 4) Configuration 5) Troubleshooting 6) Where to buy |
|
0) Introduction
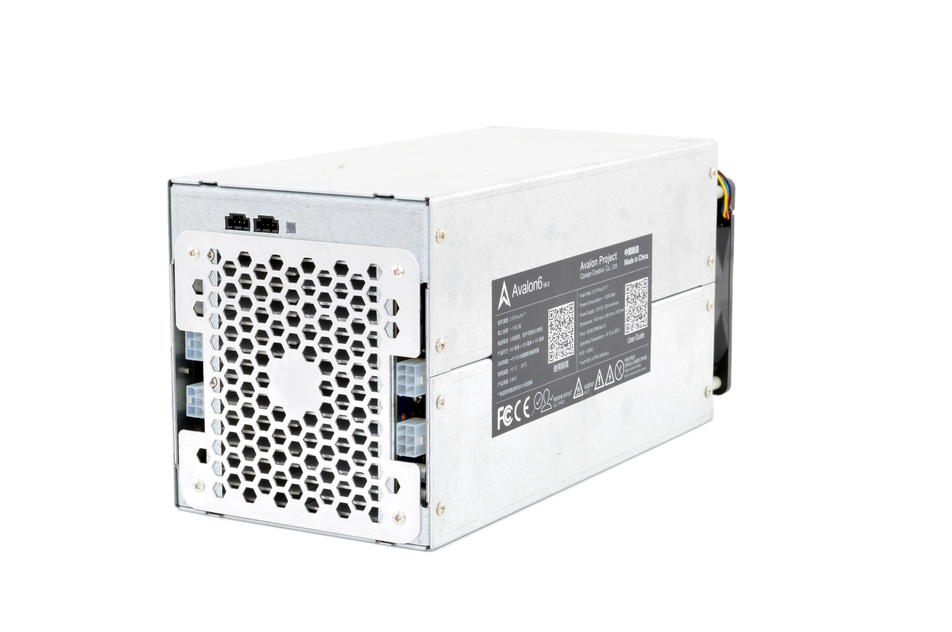
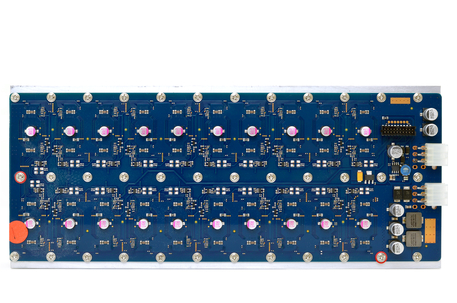
Avalons's Avalon6 more than doubles efficiency compared to its predecessor, the Avalon4. Twice as many chips in a power efficient string design are spread across two hashing boards and increase hash rate by 3.5x. A single 35x120mm fan pulls fresh air through the aluminium case before exhausting it out the back. The Avalon6 requires a Raspberry Pi (B or B+, RPi 2 is not supported yet) to act as an external controller. A 4 pin interconnect wire, a 4 pin to micro USB adapter and a micro USB to USB cable is usually included in the package. No power supply is included.
Avalons's Avalon6 more than doubles efficiency compared to its predecessor, the Avalon4. Twice as many chips in a power efficient string design are spread across two hashing boards and increase hash rate by 3.5x. A single 35x120mm fan pulls fresh air through the aluminium case before exhausting it out the back. The Avalon6 requires a Raspberry Pi (B or B+, RPi 2 is not supported yet) to act as an external controller. A 4 pin interconnect wire, a 4 pin to micro USB adapter and a micro USB to USB cable is usually included in the package. No power supply is included.
|
Process Node
Rated Hash Rate Rated Voltage Rated Current Power Consumption |
- 28 nm
- 3500GH - 12V - 88A - ~1100W |
0b) What You Need
You will need a few accessories and a power supply to get started. I recommend buying the controller directly from Avalon as they will preflash it with the correct firmware.
You will need a few accessories and a power supply to get started. I recommend buying the controller directly from Avalon as they will preflash it with the correct firmware.
Click your flag to find everything you need to get started at Amazon!
1) Powering
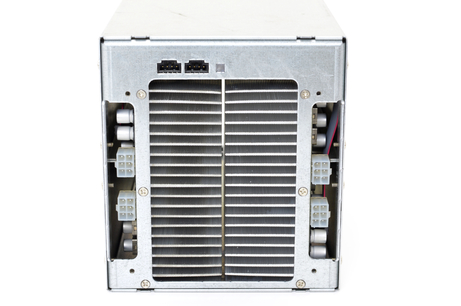
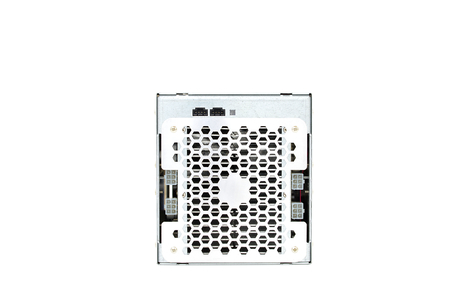
Avalon6's do not come with a power supply, and you will need a high end computer PSU with 4xPCI-E 6 pin 16AWG power connectors. All 4 PCI-E connectors are required and must be on separate cable rails.
We also need to tell the PSU to always be on, as there isn't a motherboard to do this. Cut a paperclip into a U and insert it into the green wire and either black wire to the side of the green wire. Tape it up for safety. The power supply will now be controlled by its switch near the rear socket.
2) Cooling
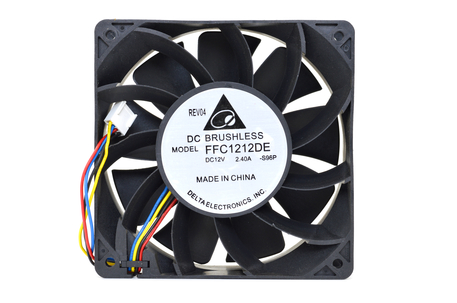
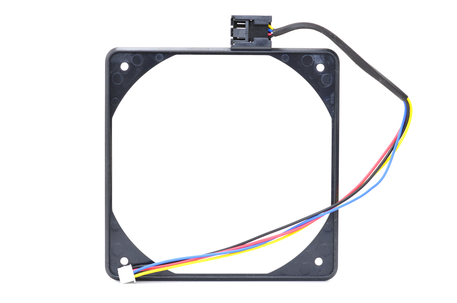
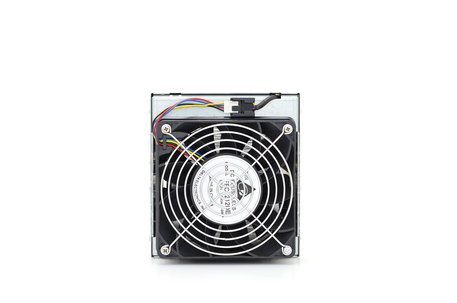
The Avalon6 is self sufficient in cooling terms and utilises a single high pressure 120mm fan to move air through the miner. The fan spins at between 2000 and 4000rpm which at the lower speed generates a noise level of 59dba at 1m. The fan's RPM along with chip frequency is automatically controlled by the software and is powered by an external 4 pin connector provided by a custom extension header.
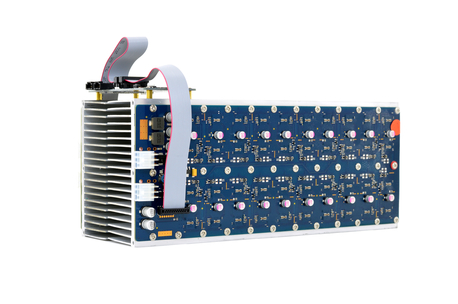
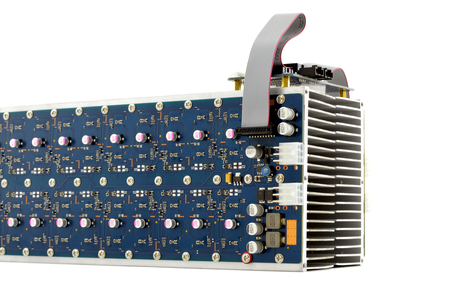
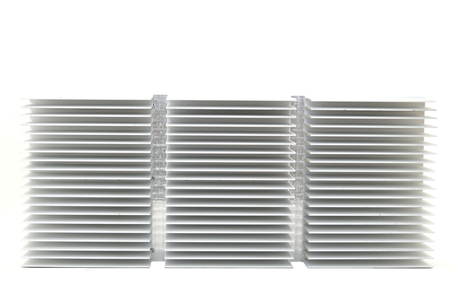
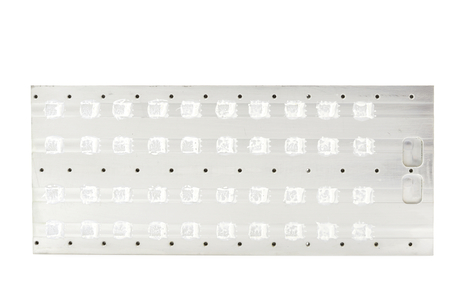
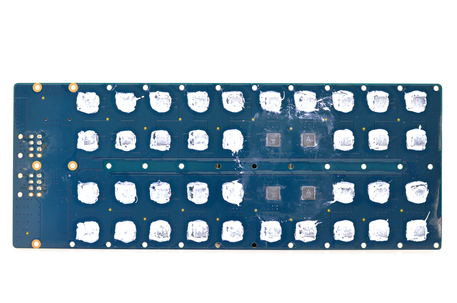
Each mining board is extensively screwed into large, full cover extruded aluminium heatsinks. Please be careful when handling, they are extremely sharp.
|
|
3) Case
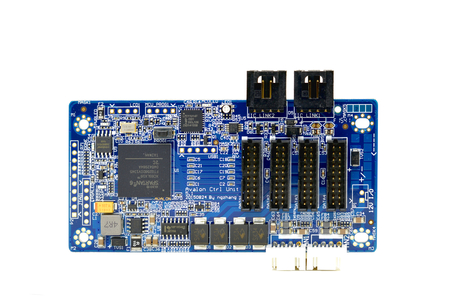
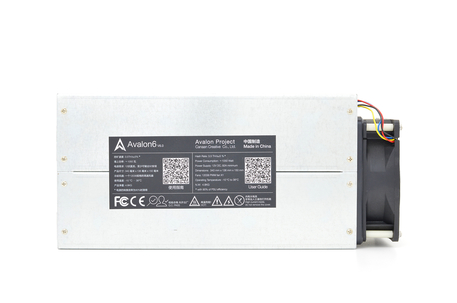
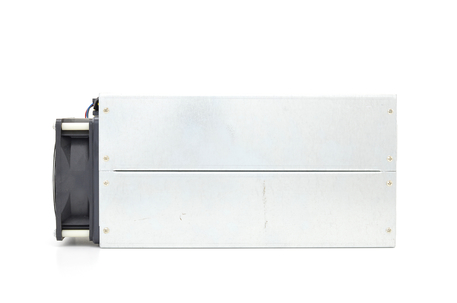
Two pieces of folded aluminium sheet serve as the Avalon6's case, while two more folded aluminium sheets are formed into end plates to secure the mining boards to the case. A small micro-controller straddles the two hashing boards. S7's are stackable both horizontally and vertically with only front and back access required.
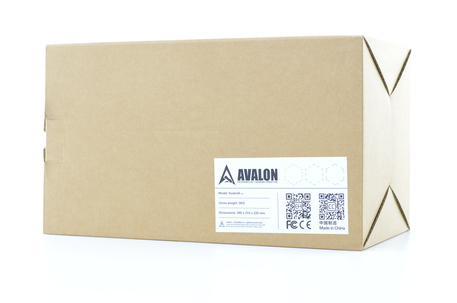
A boxed Avalon6 weighs 5kg and measures 390mm x 210mm x 220mm while the unit alone weighs 3.6kg and measures 340mm x 136mm x 150mm.
4) Configuration
Connectivity has been updated to allow for up to 20 units to be daisy chained off one USB port.
Wiring:
Configuration:
Connectivity has been updated to allow for up to 20 units to be daisy chained off one USB port.
Wiring:
- Prepare the paperclip for the PSU's 24 pin connector.
- Plug in the four PCI-E cables to the miner.
- Plug one 4 pin cable connected from the 4 pin header on the unit to the micro USB adapter.
- Connect a micro USB to USB cable to the micro USB adapter, and then plug this into your Raspberry Pi.
- More units can be added by plugging another 4 pin cable from the second unit to the first unit's other 4 pin header.
- Plug in a network cable from the Raspberry Pi to your router.
- Plug in a micro usb power cable from the mains to your Raspberry Pi.
Configuration:
- Power on the power supply using its switch at the back.
- Make sure that your router's DHCP table is turned on. You can assume it is already on if you have a typical router.
- Using a browser, navigate to your router and find the IP it has assigned the Avalon6 and navigate to that IP.
- Login using "root" as the username.
- Navigate to the page "Configuration". Enter your pool information in the below format.
- Navigate to the page "Dashboard" to check mining has started.
stratum+tcp://stratum.antpool.com:3333
stratum+tcp://us1.ghash.io:3333
stratum+tcp://stratum.mining.eligius.st:3334
|
|
5) Troubleshooting
|
Problem
Will the miner ever beep? How do I reset settings to default? How do I change the login password? What is the Telnet login? What do the LEDs on the front mean? How can I tell what firmware version I have now? Where can I get the latest firmware? What temperatures should I aim for? How do I install the latest firmware? My power supply's cables are braided or aren't color coded? |
Solution
- No, there is no buzzer on the controller. - Reflash your Raspberry Pi's SD card using the *ext4.img found here and the SD card imager software. - Navigate to "Change Password". Enter your new password twice. - Username "root", no password. Using the command passwd to set a login password will disable telnet and enable SSH. - There are multiple colors, however the important ones include blue to indicate mining is happening, flashing yellow while the miner is idle and flashing red to signify an error state. - Look at "Controller Version". - Download from Avalon's site. - Try and achieve <75°C for best hash rates, and <75°C for long lifetimes. Temperatures over over ~90°C will cause the miner to stop. - It is recommended you directly reflash the SD card from the Raspberry Pi. See above instructions for resetting settings to default. - Refer to this diagram. |
6) Where to buy
General Safety Tips
|
|
|
Legal disclaimer: This information is for general guidance and does not constitute expert advice. We are not responsible if you, your property or a third party is injured or damaged as a result of any interaction with this information, and no warranty is provided. All text and images are covered under copyright law, dogiecoin.com.
|

