Bitmain Antminer U3 Setup Guide
|
Contents
0) Introduction 0b) What You Need 1) Powering 2) Cooling 3) Configuration 4) Troubleshooting 5) Where to buy |
|
0) Introduction
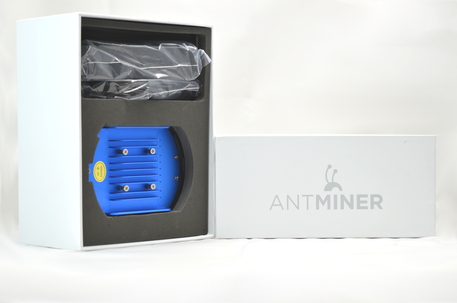
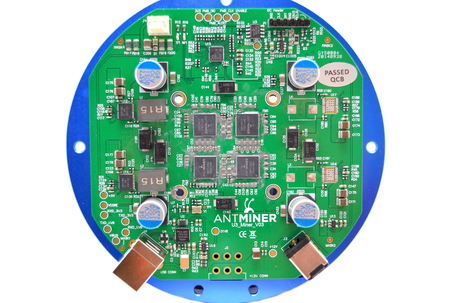
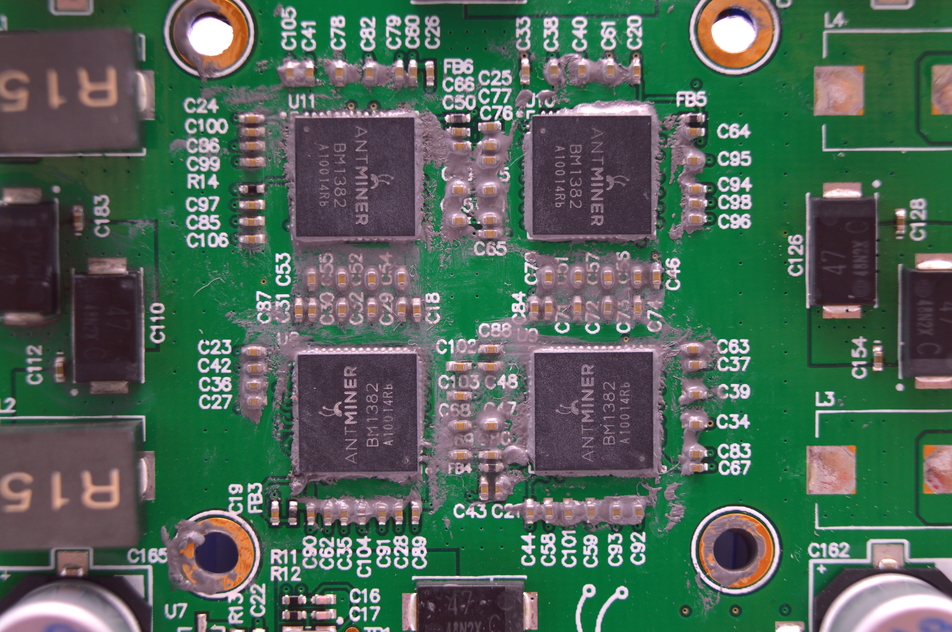
Bitmain's Antminer combines four BM1382 chips into a small package. Noise levels are extremely quiet and so can life on desktops and be given as gifts. A USB cable and power supply is provided in the package, although you will need a power cable and external controller to get started.
Bitmain's Antminer combines four BM1382 chips into a small package. Noise levels are extremely quiet and so can life on desktops and be given as gifts. A USB cable and power supply is provided in the package, although you will need a power cable and external controller to get started.
|
Chips
Hashrate Rated Voltage Rated Current Power Consumption |
- 4x Bitmain BM1382 Gen2
- 60GH - 12V - 4.5A - 55W |
0b) What You Need
In addition to a host windows PC, you will need some accessories to get started.
In addition to a host windows PC, you will need some accessories to get started.
Click your flag to find everything you need to get started at Amazon!
1) Powering
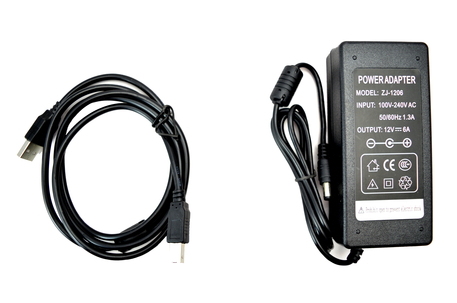
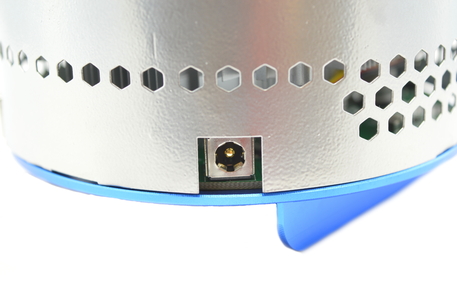
U3's come with a 2.5mm 6A 12V mains power adapter, although you will still need a mains power cable.
U3's come with a 2.5mm 6A 12V mains power adapter, although you will still need a mains power cable.
2) Cooling
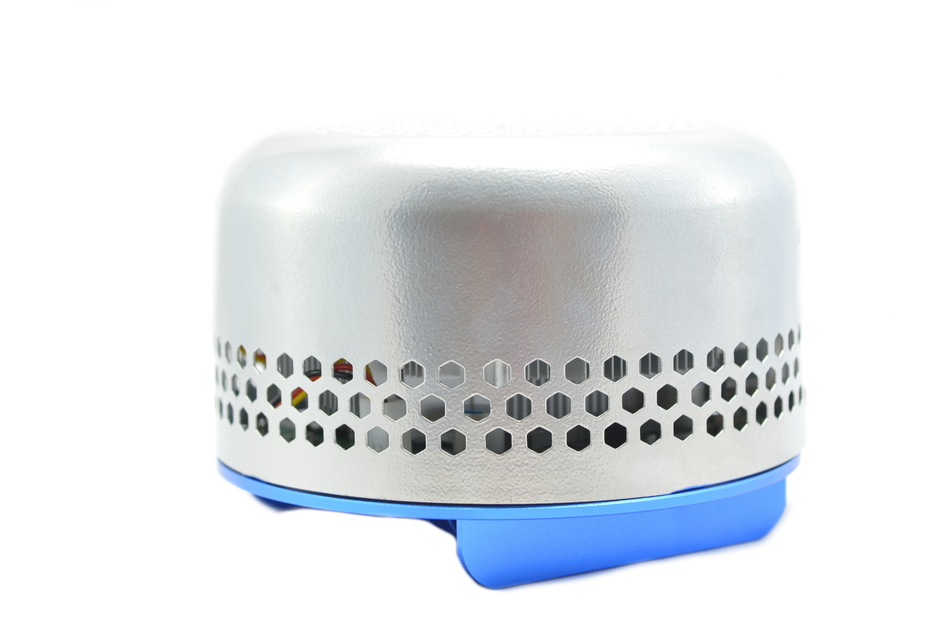
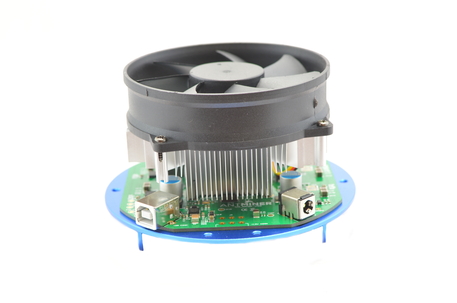
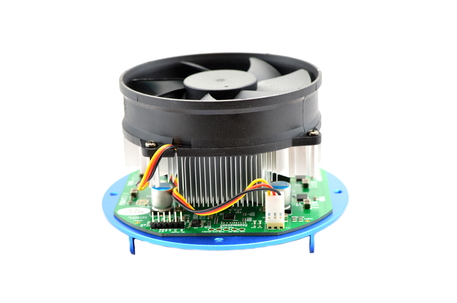
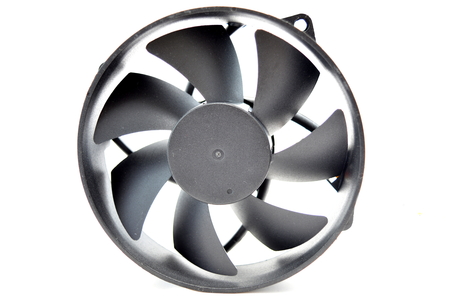
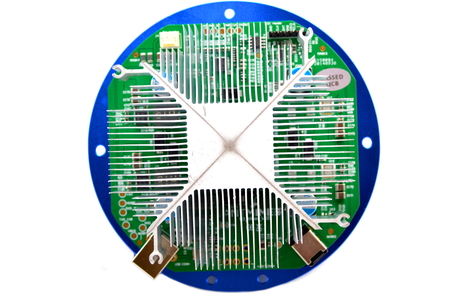
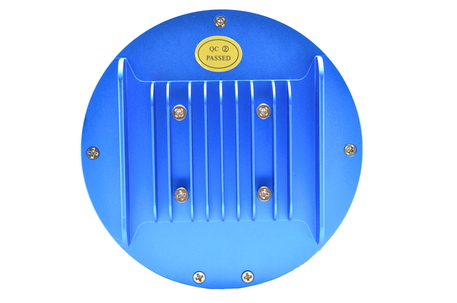
The U3 is self sufficient in cooling terms and is self sufficient in cooling terms and utilises an aluminium finned heatsink on the top of the chips. A 92mm fan provides ample but silent airflow through the heatsink and over the board. The backside of the PCB is screwed to a blue aluminium plate, which acts as a heatsink and the base of the case.
The U3 is self sufficient in cooling terms and is self sufficient in cooling terms and utilises an aluminium finned heatsink on the top of the chips. A 92mm fan provides ample but silent airflow through the heatsink and over the board. The backside of the PCB is screwed to a blue aluminium plate, which acts as a heatsink and the base of the case.
|
|
3) Configuration
U3s can be run on any CGMiner based device. A Windows based PC is recommended although a similar process can be applied on a Raspberry Pi.
Wiring:
Configuration:
U3s can be run on any CGMiner based device. A Windows based PC is recommended although a similar process can be applied on a Raspberry Pi.
Wiring:
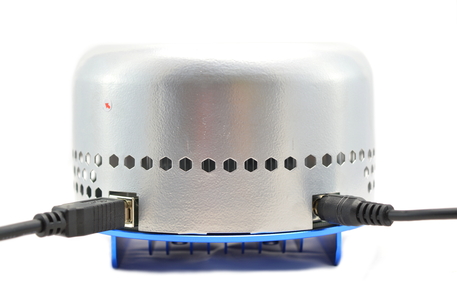
- Plug in the USB cable from the U3 to your computer.
- Plug in the power supply into the mains.
- Plug in power supply into the U3.
Configuration:
- Download the latest version of CGMiner and Zadig.
- Extract, and run the zadig application.
- "Select CP21202 USB to UART Bridge Controller" and then click "Replace Driver". You only have to do this once per computer.
- Create a new file in notepad and enter pool information as below. Save it as a .bat in the same folder as CGMiner.
- Run the bat file to start mining.
cgminer.exe -o mint.bitminter.com:3333 -u dogie_U3 -p 123
cgminer.exe -o us1.ghash.io:3333 -u dogie_U3 -p 123
cgminer.exe -o stratum.mining.eligius.st:3334 -u dogie_U3 -p 123
|
|
4) Troubleshooting
|
Problem
TBD as problems arise. |
Solution
|
5) Where to buy
General Safety Tips
|
|
|
Legal disclaimer: This information is for general guidance and does not constitute expert advice. We are not responsible if you, your property or a third party is injured or damaged as a result of any interaction with this information, and no warranty is provided. All text and images are covered under copyright law, dogiecoin.com.
|

