
Bitmine Coincraft Desk V2 Setup Guide
|
Contents
0) Introduction 0b) What You Need 1) Powering 2) Cooling 3) Case 4) Configuration 5) Troubleshooting 6) Where to buy |
|
0) Introduction
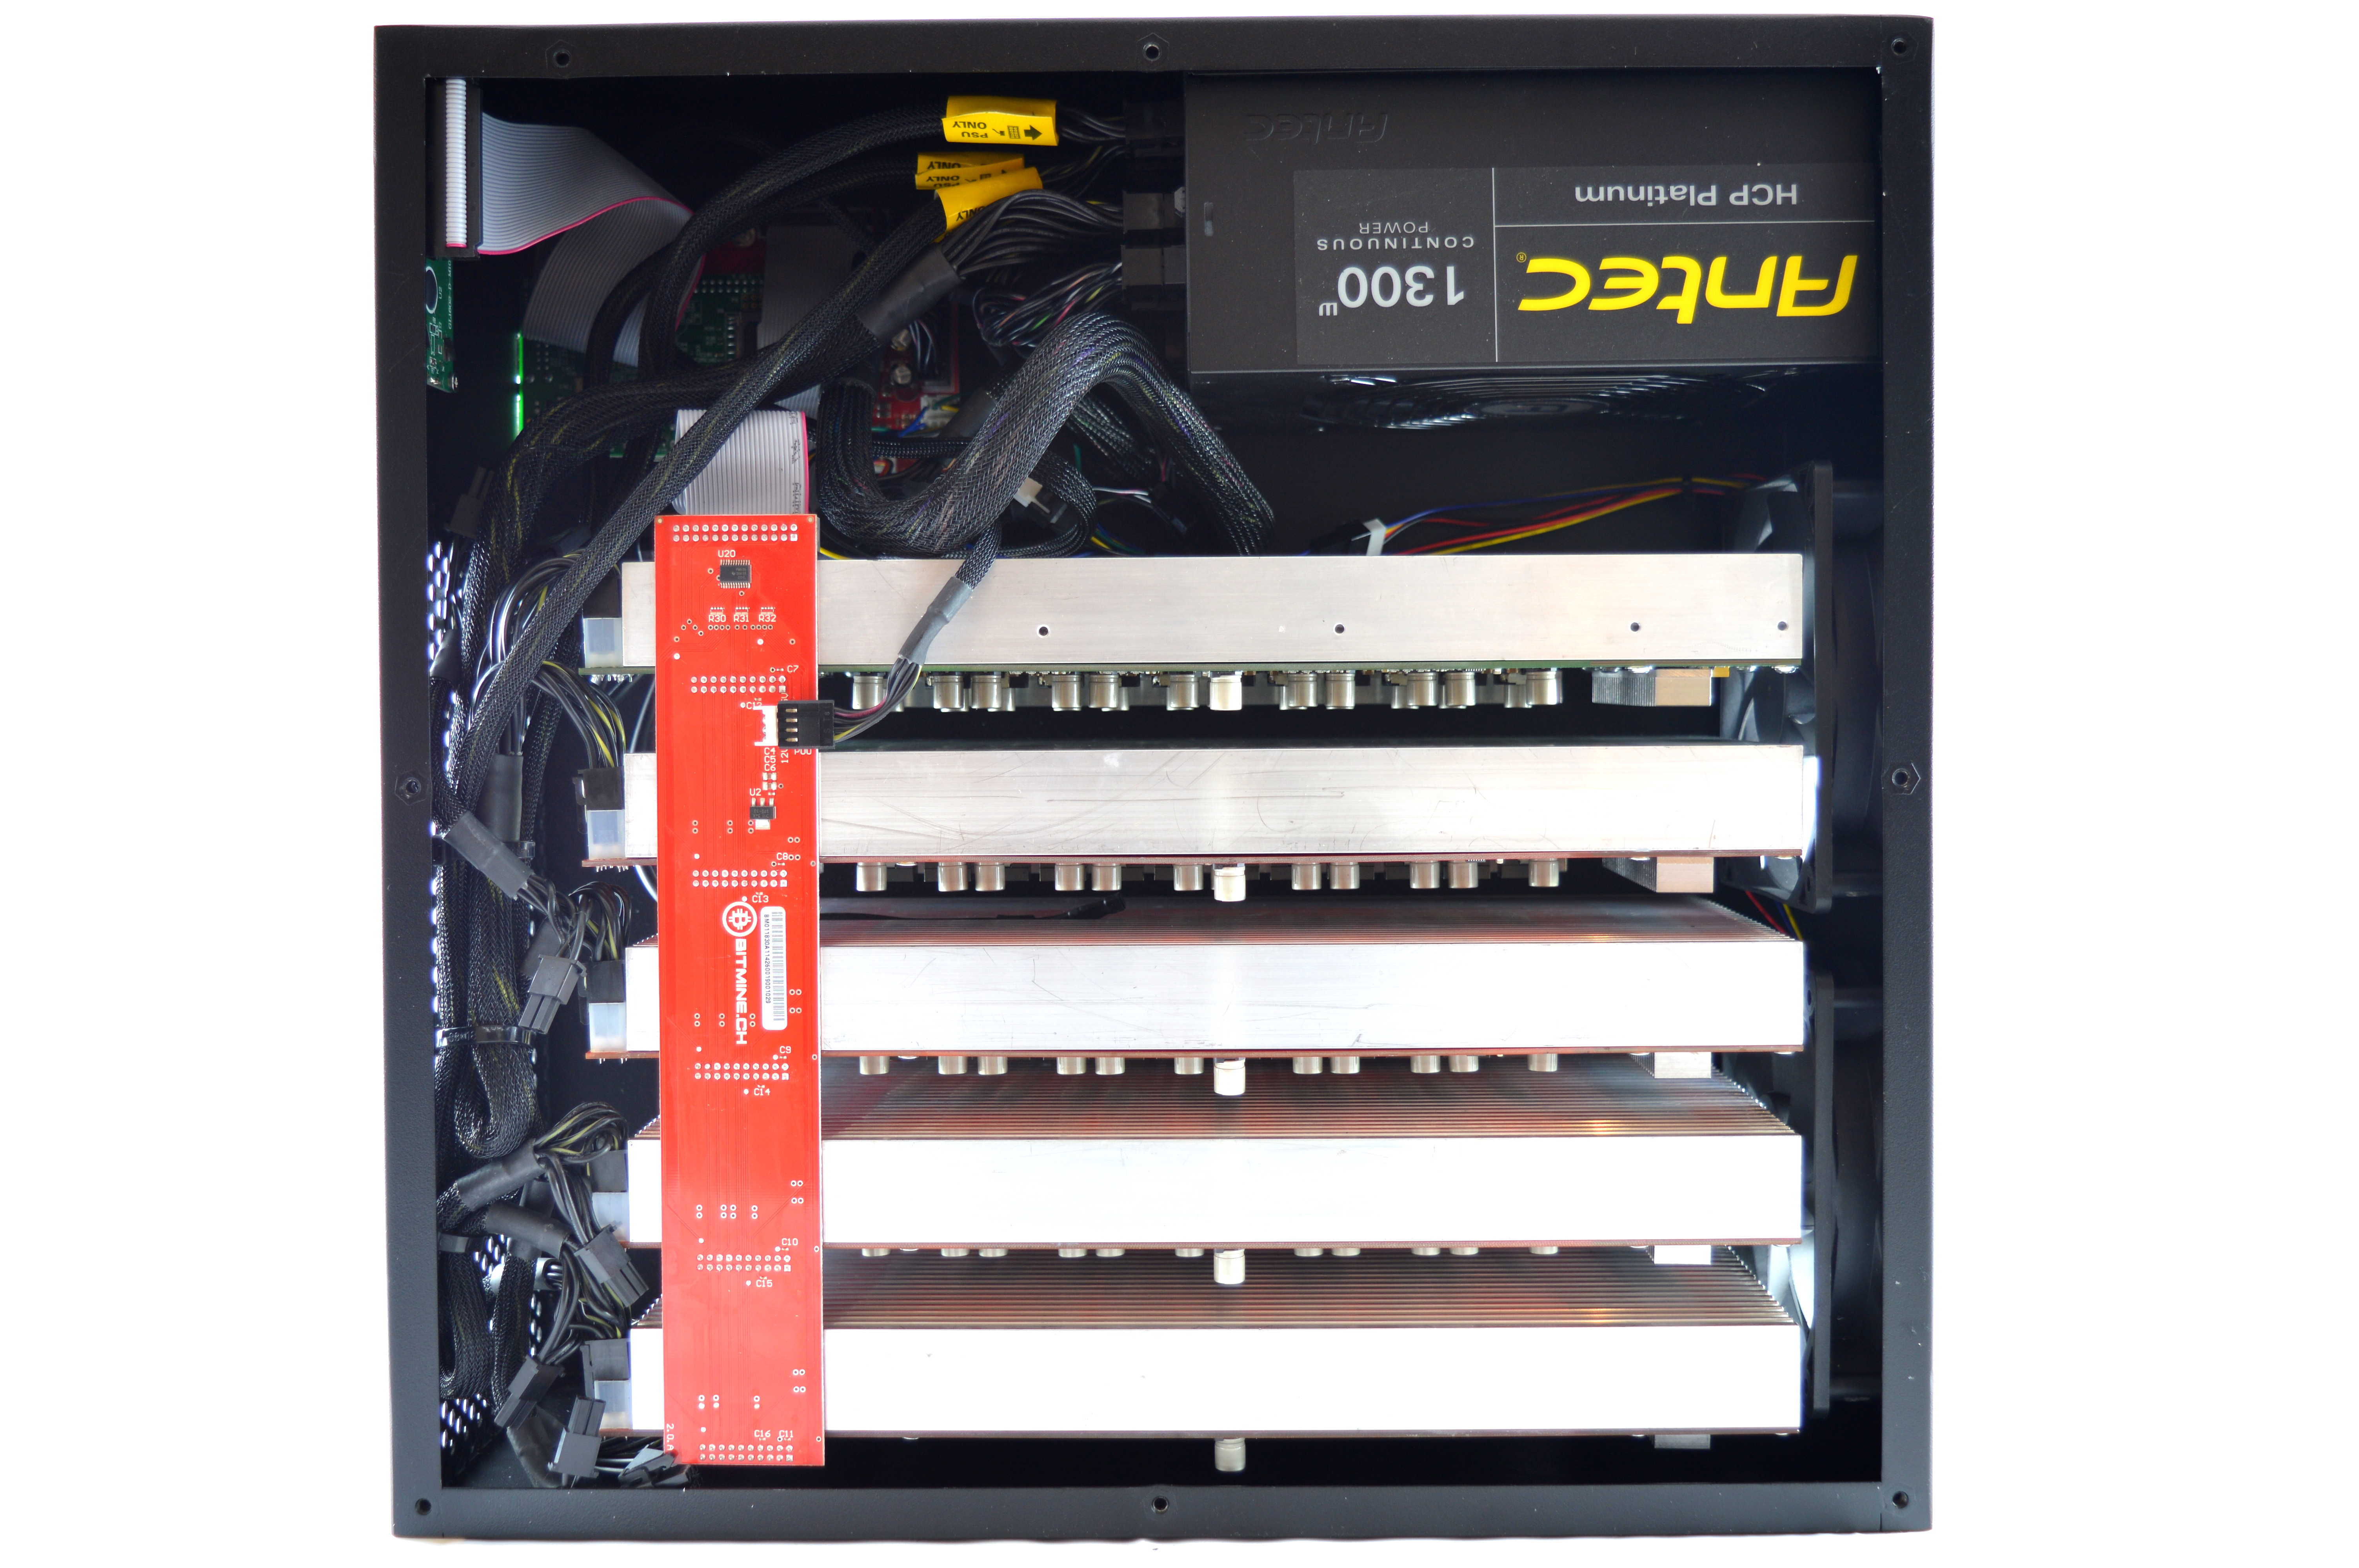
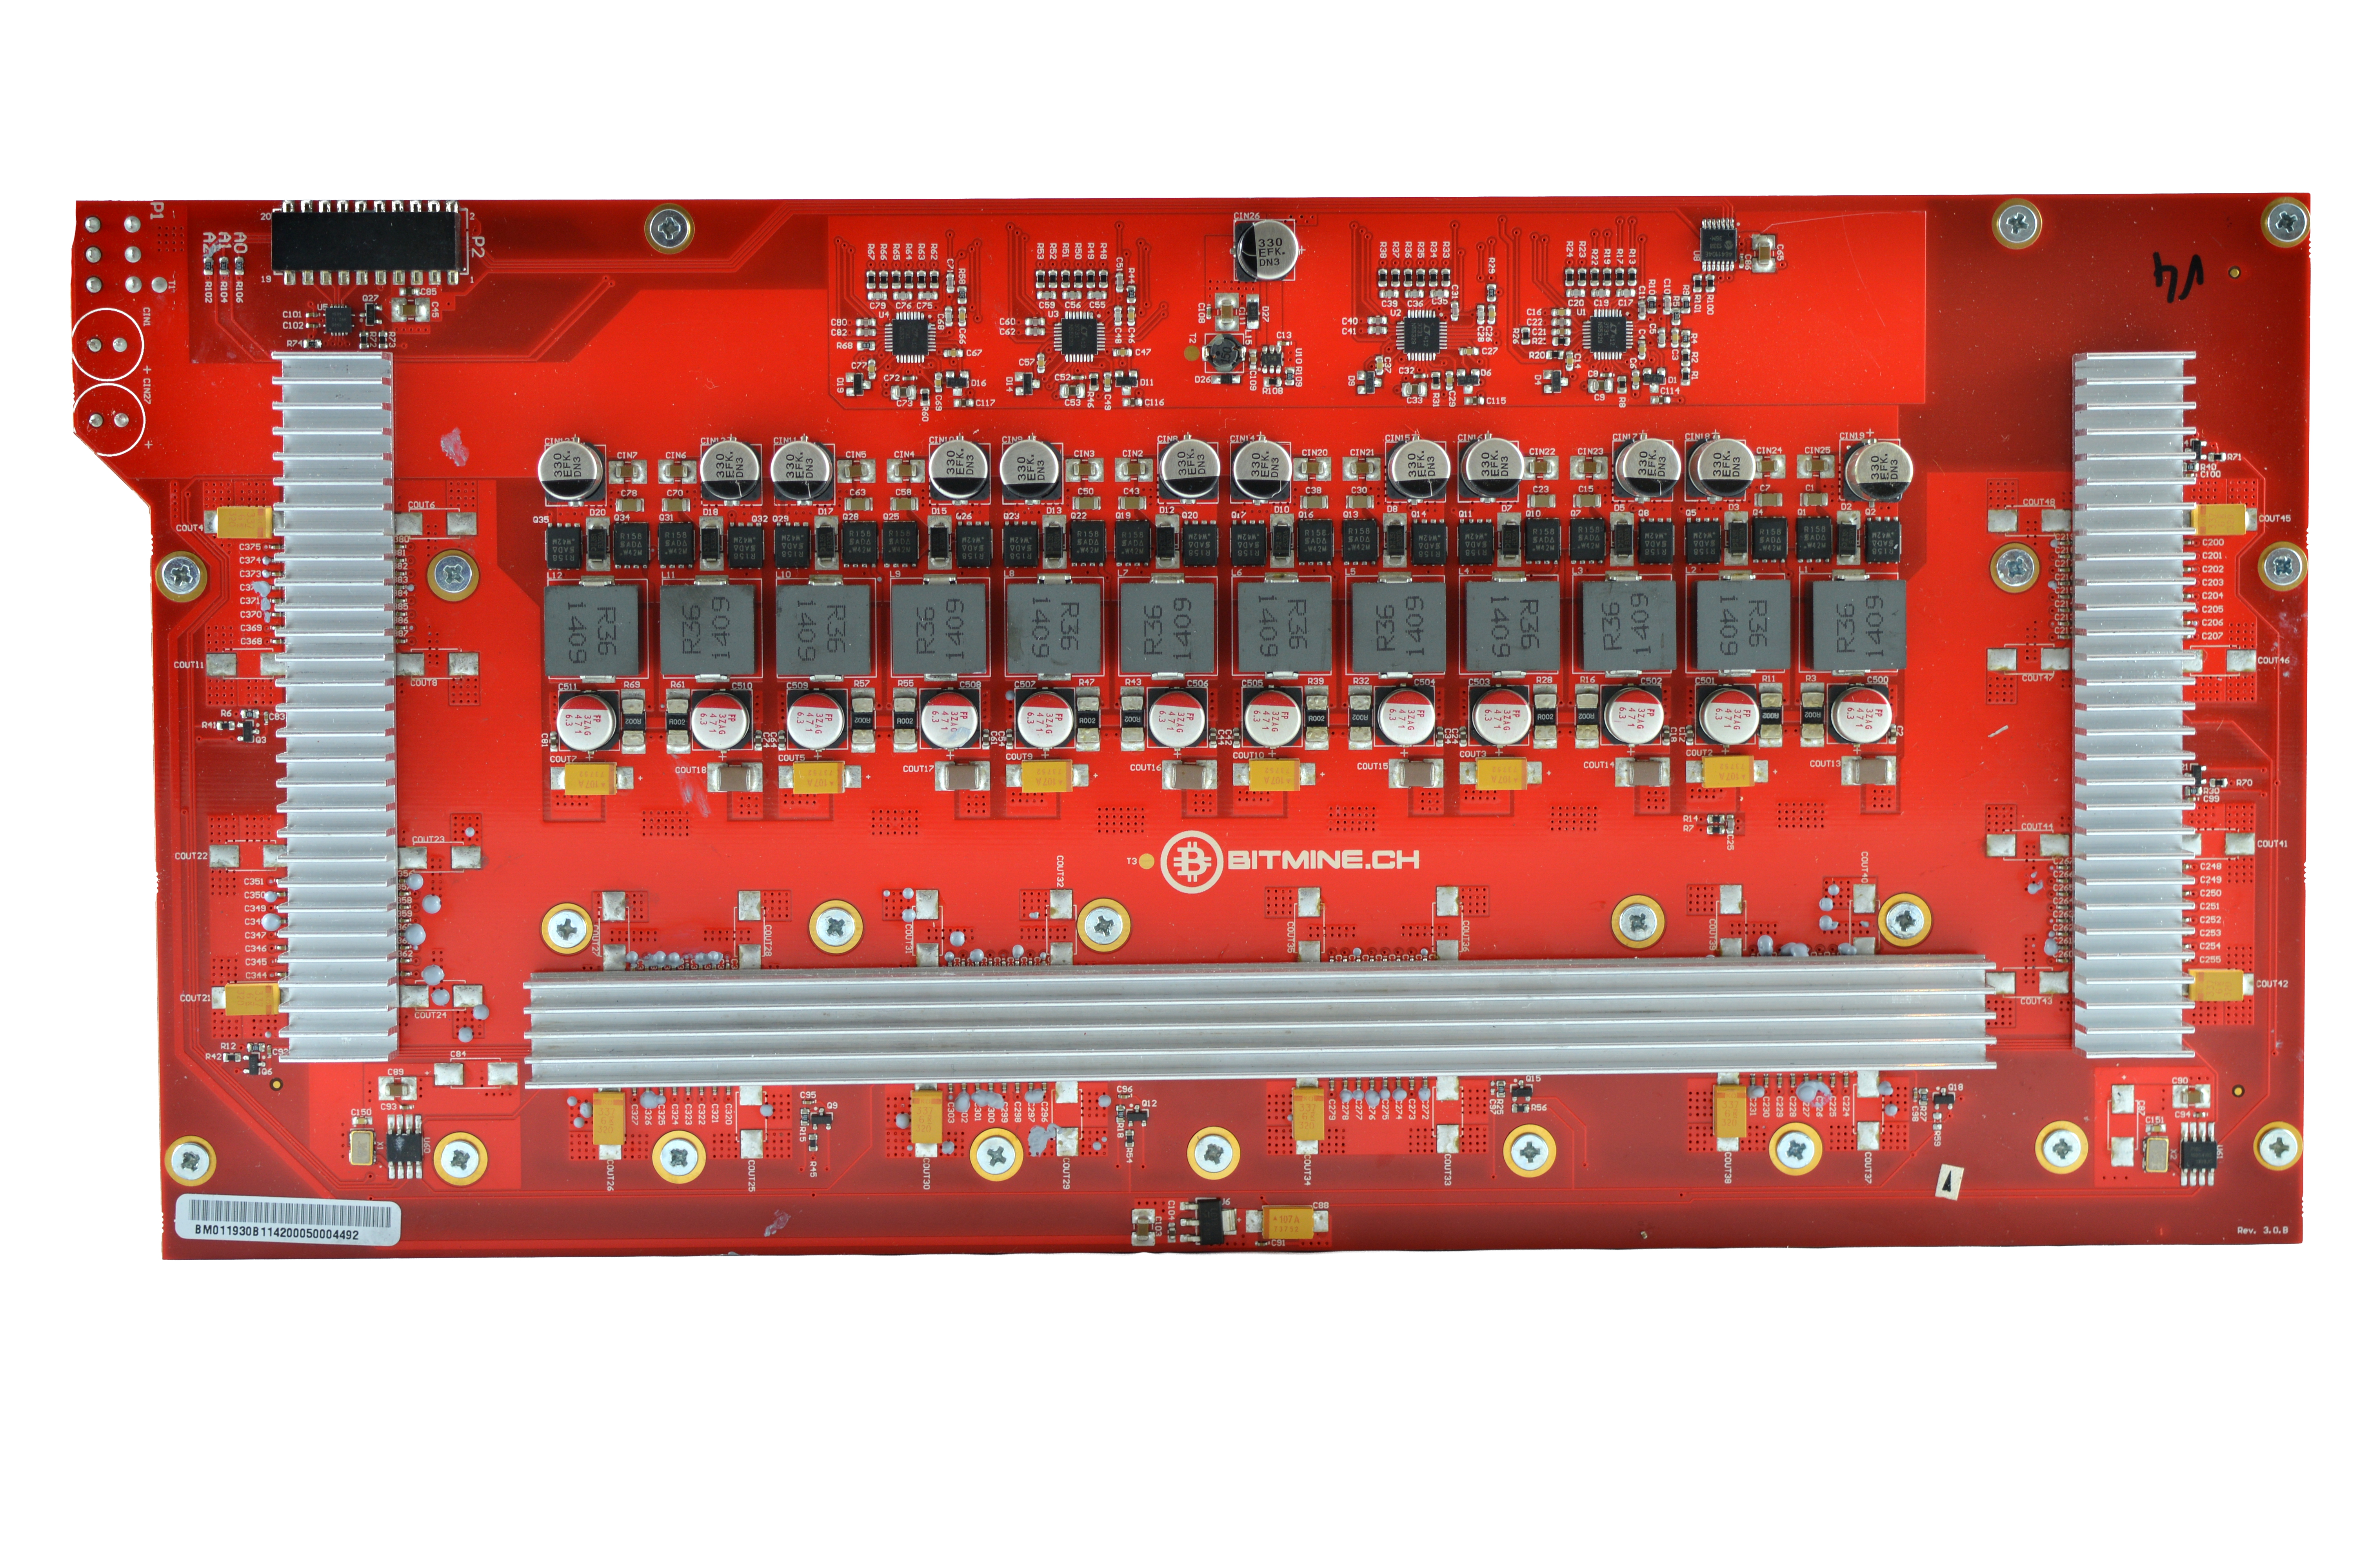
Bitmine's Coincraft V2 Desk now utilises 5 modules each with 8 A1 chips. Clocks are limited to produce a hash rate of 1TH in order to reduce power consumption and noise levels. The Desk is standalone and does not require an external controller due to the inclusion of a RaspberryPi.
Bitmine's Coincraft V2 Desk now utilises 5 modules each with 8 A1 chips. Clocks are limited to produce a hash rate of 1TH in order to reduce power consumption and noise levels. The Desk is standalone and does not require an external controller due to the inclusion of a RaspberryPi.
|
Chips
Rated Hash Rate Rated Voltage Rated Current Power Consumption |
- 40x Bitmine CoinCraft A1
- ~1000GH - 12V - 84A - ~1000W |

|
|
0b) What You Need
You will need a few accessories and a power supply to get started.
You will need a few accessories and a power supply to get started.
Click your flag to find everything you need to get started at Amazon!


|


|


|
1) Powering
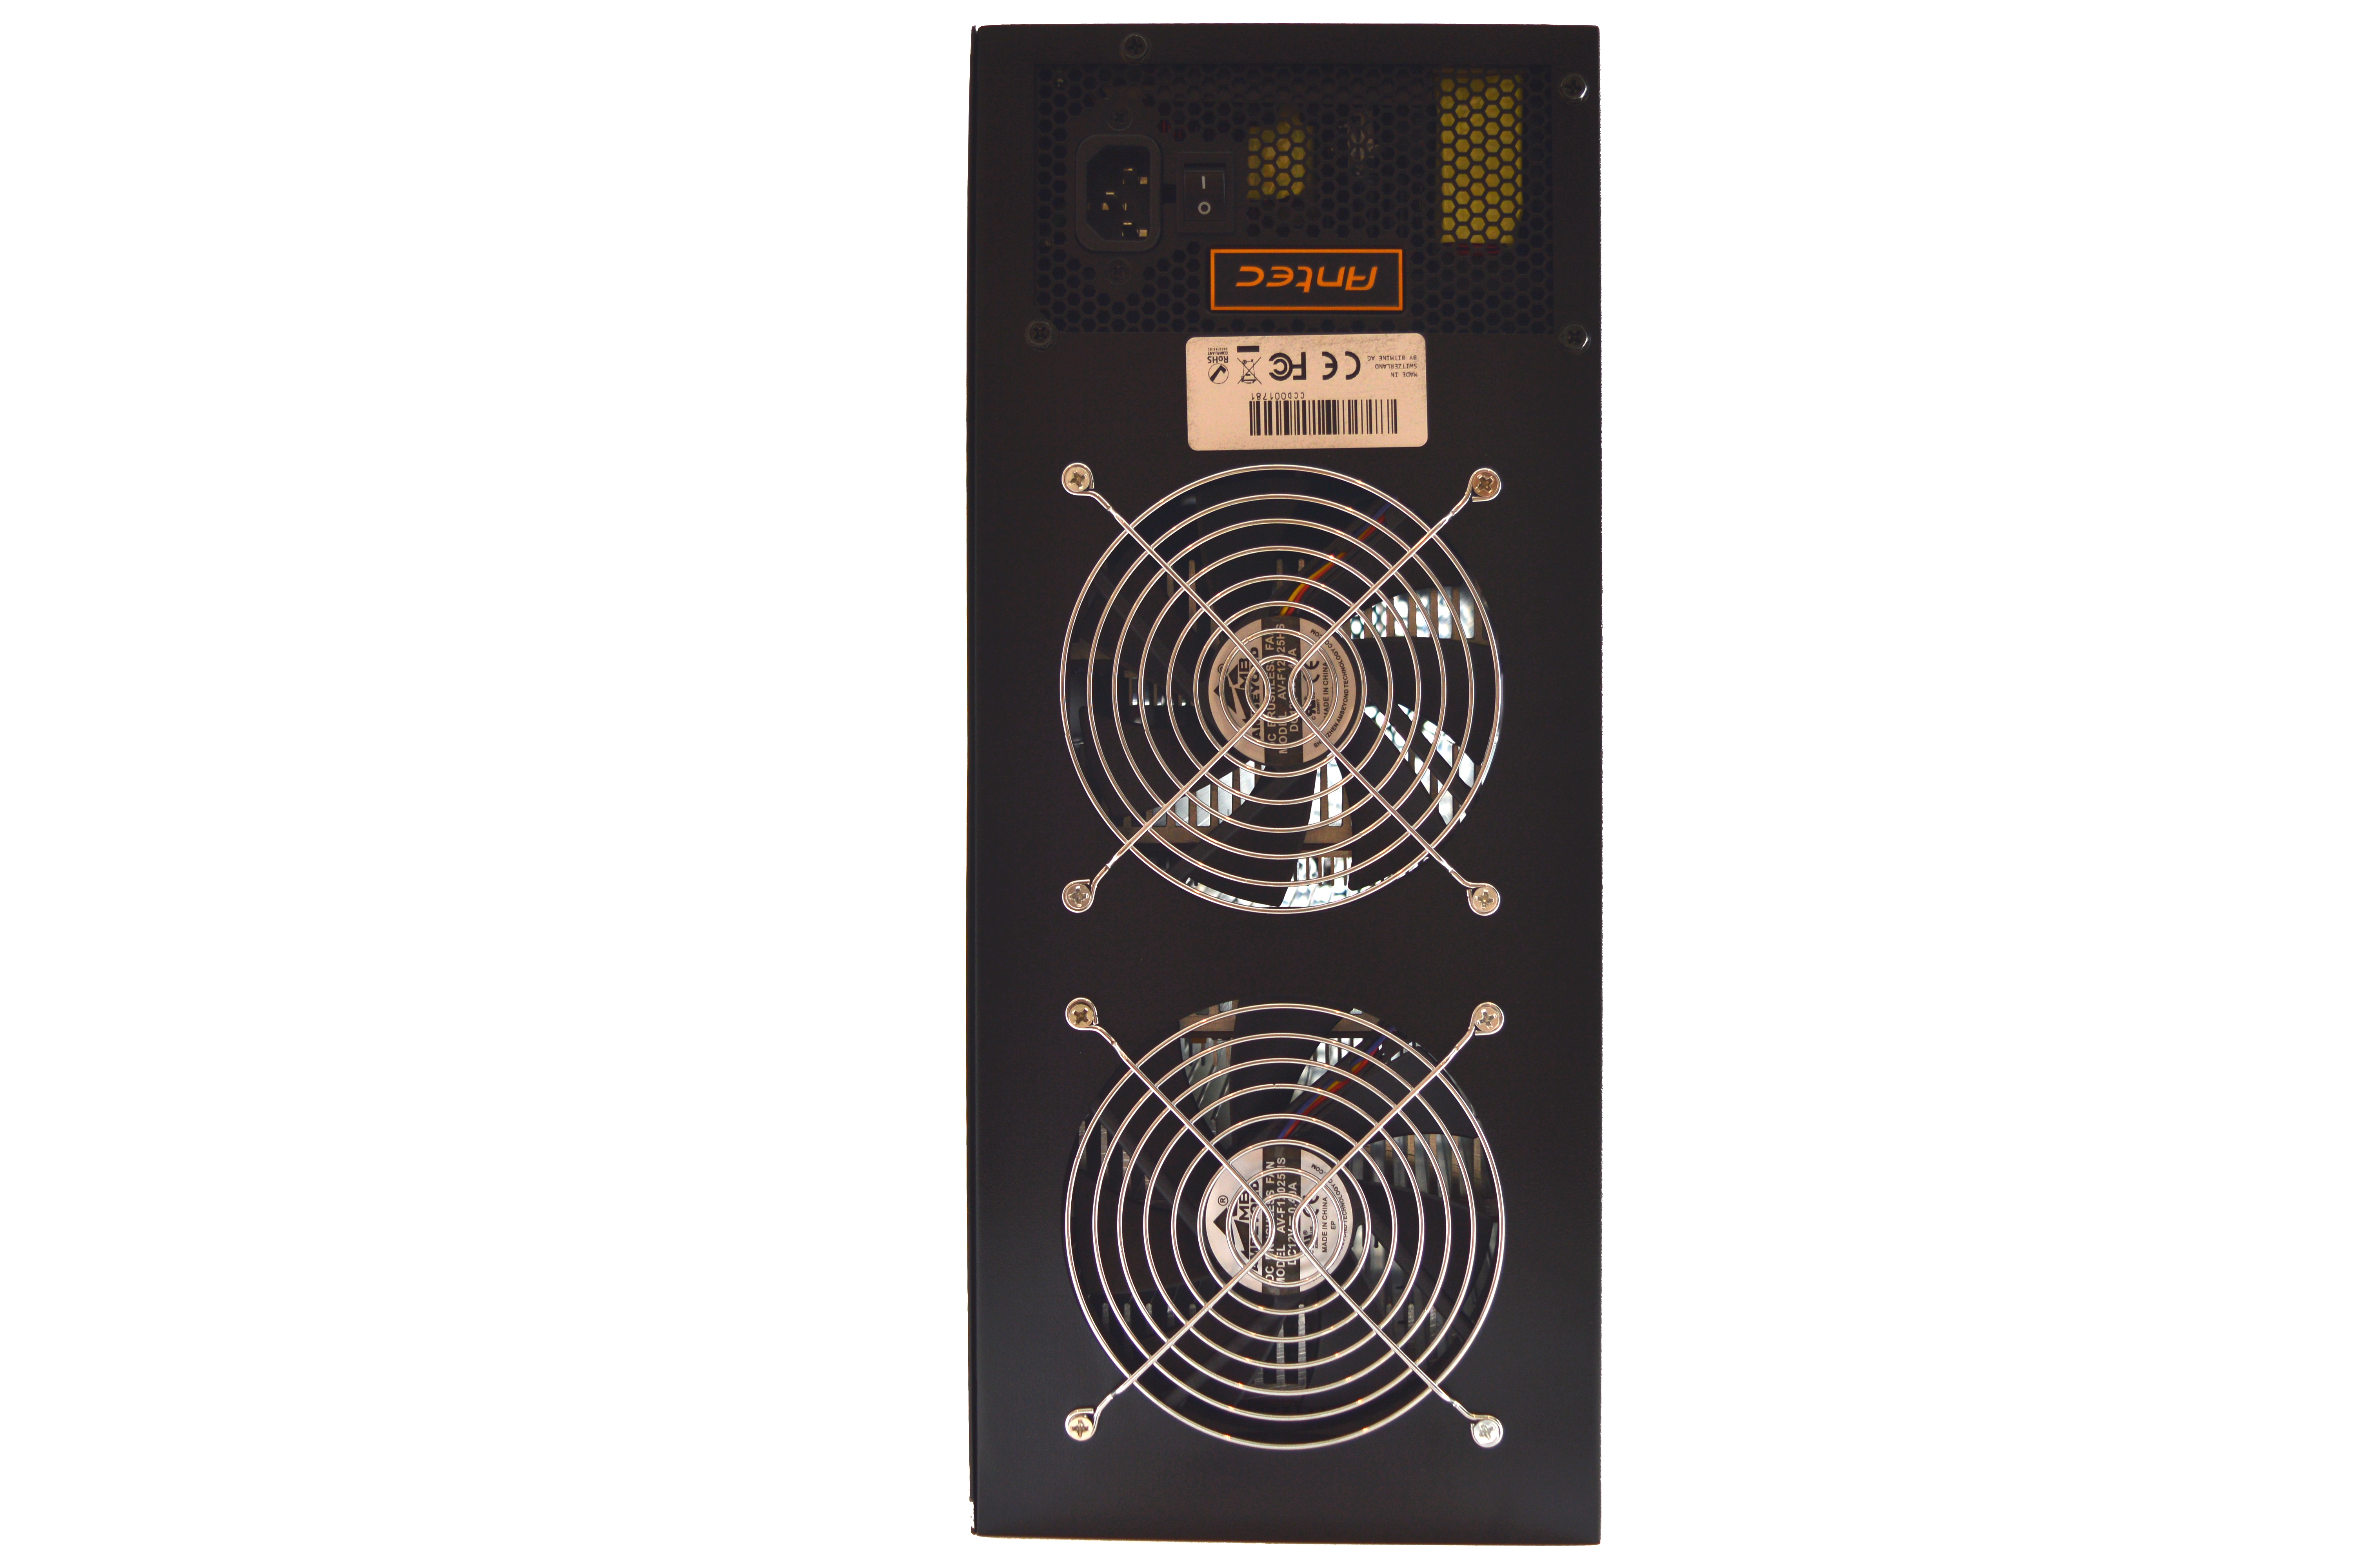
A huge Antec HCP 1300W PSU is included and prewired within the unit, showing no expense was spared in this department. A paperclip is used to jump start the PSU, meaning the Desk is controlled with the power supply's switch at the batch. It is worth noting that the unit should be left off for at least 20 seconds when restarting in order to let the RaspberryPi to fully discharge, else the unit will not properly restart.
A huge Antec HCP 1300W PSU is included and prewired within the unit, showing no expense was spared in this department. A paperclip is used to jump start the PSU, meaning the Desk is controlled with the power supply's switch at the batch. It is worth noting that the unit should be left off for at least 20 seconds when restarting in order to let the RaspberryPi to fully discharge, else the unit will not properly restart.
|
|
2) Cooling
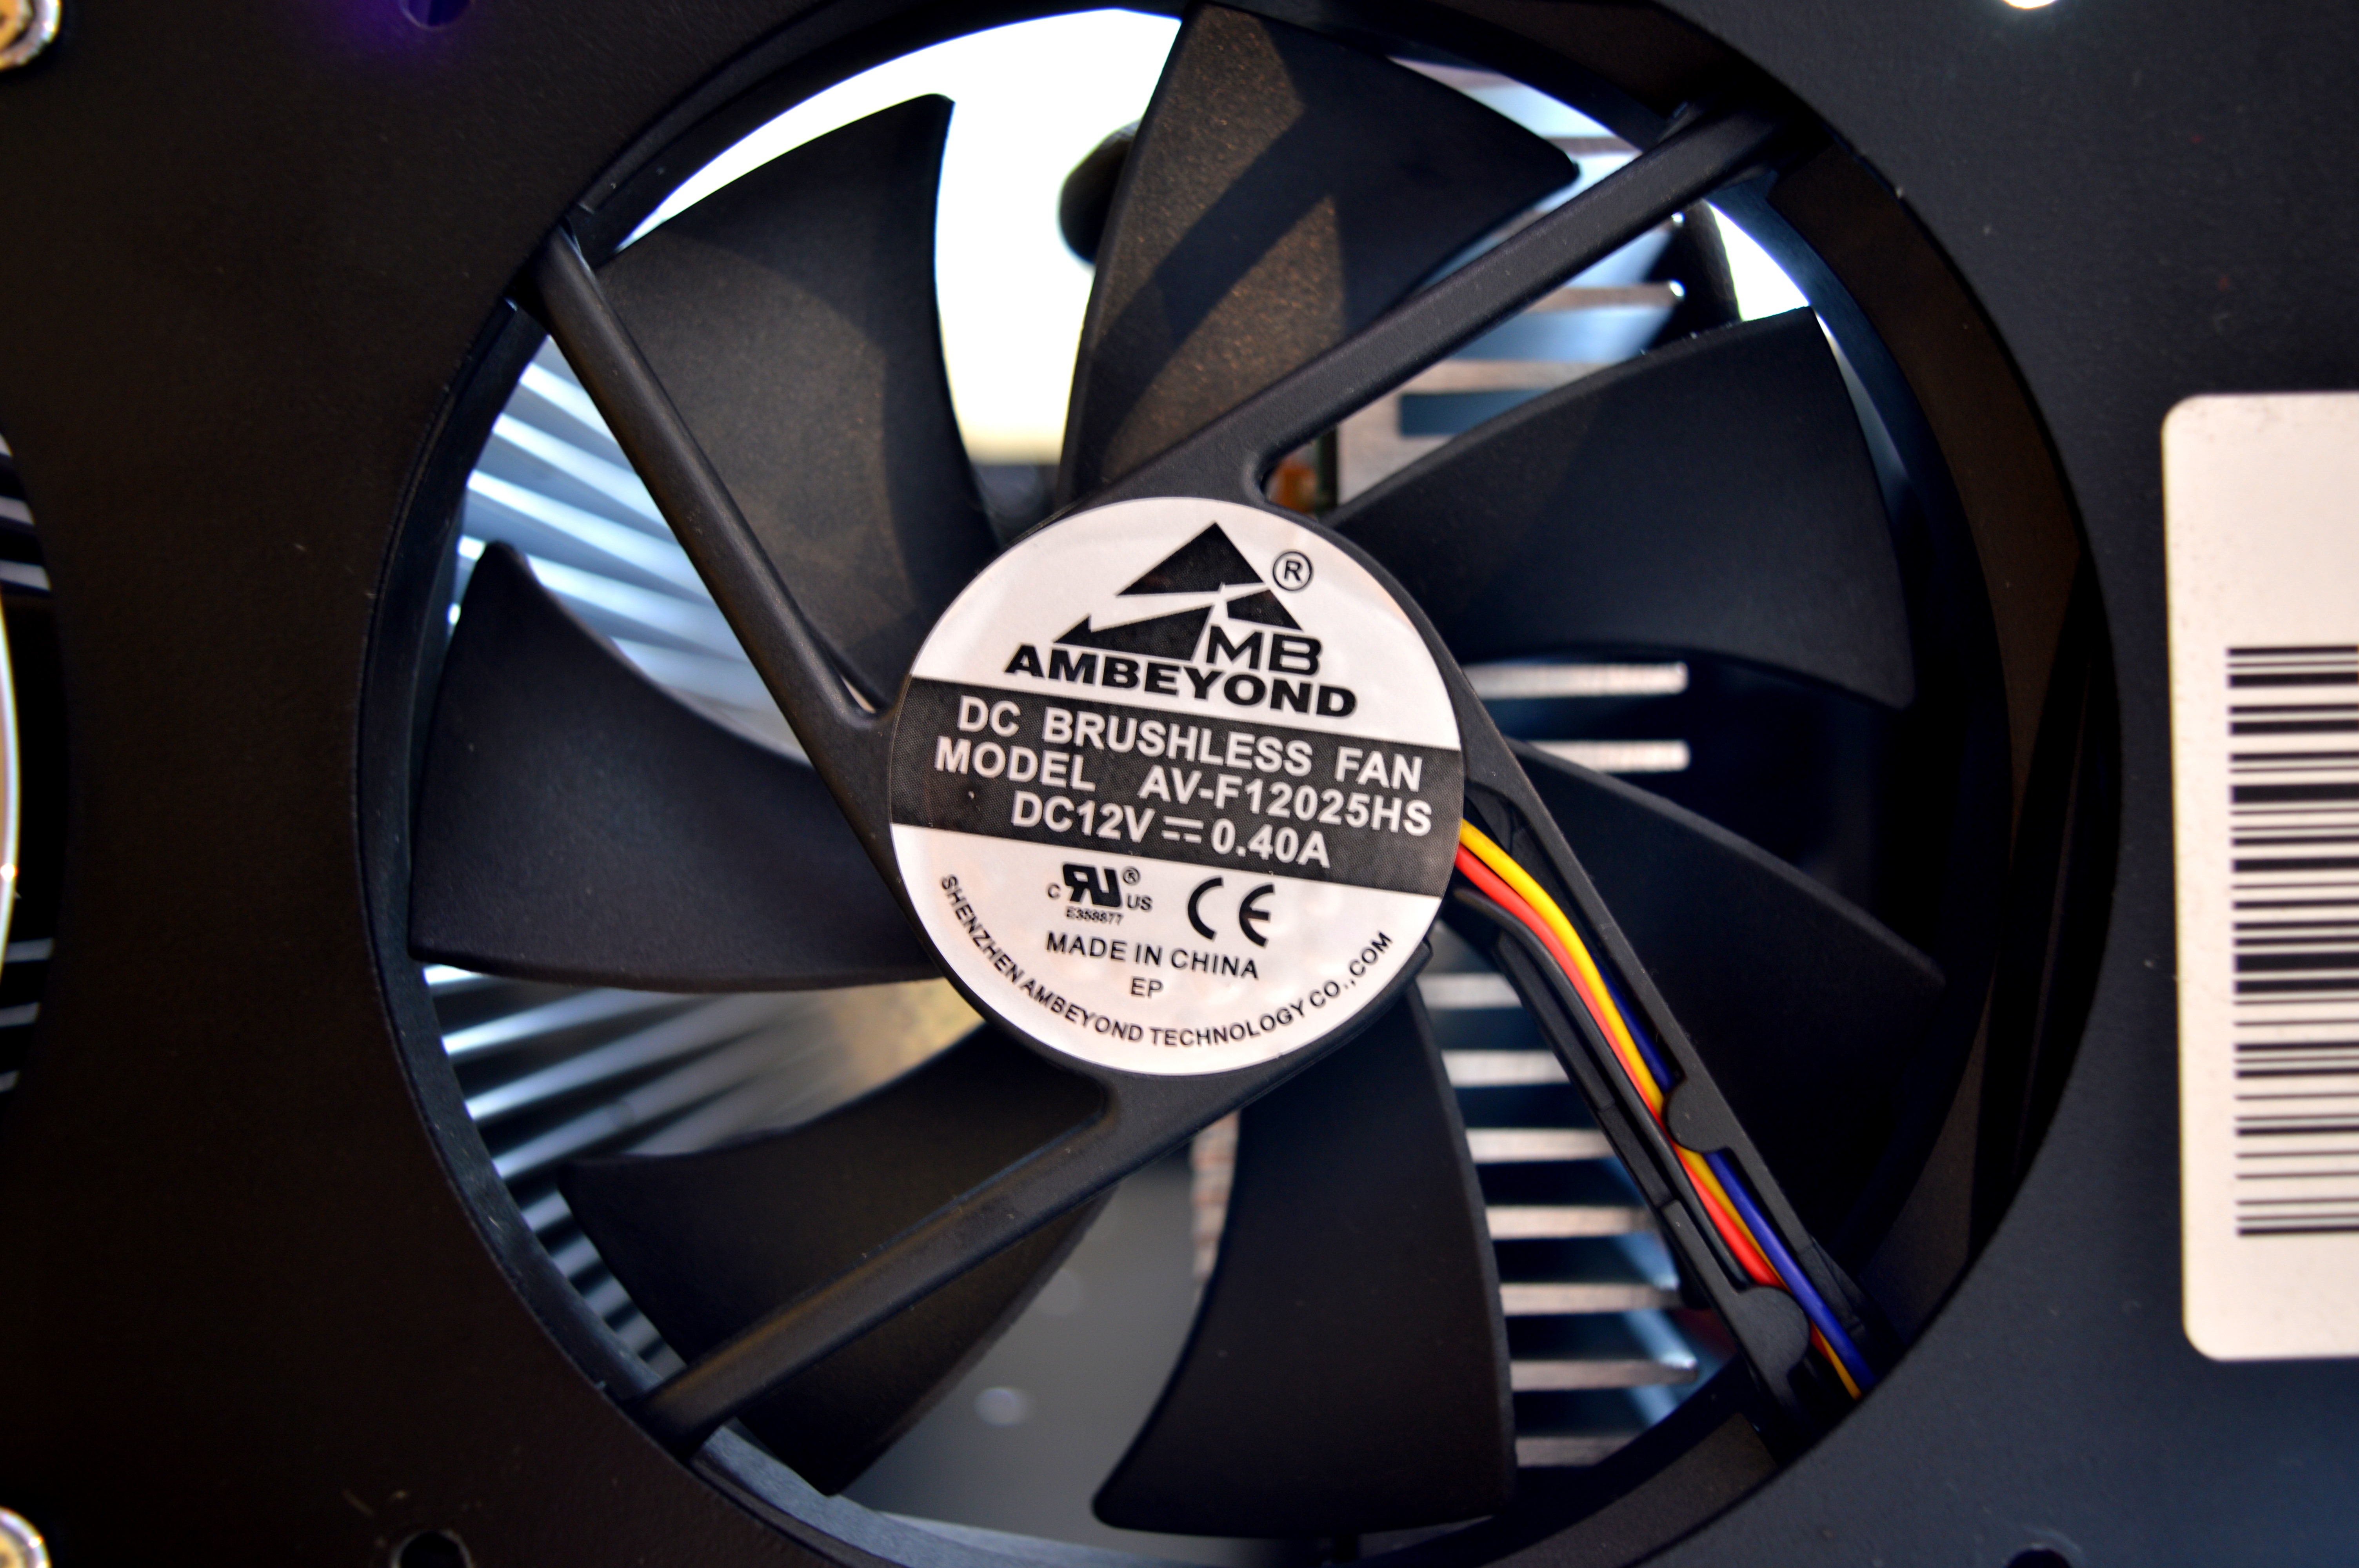
Desks are shipped with a notice stating that they shouldn't be operated in ambient temperatures above ~26C. I have tested my unit in ambient temperatures up to 30C, at which point the unit struggles. This is due to the purposely quiet cooling strategy designed into the unit, and will be fine for all but the hottest of farms. Two 120mm AMBeyond AV-F12025HS fans are used in a negative pressure tunnel cooling arrangement and remain pleasantly quiet. Auto temperature targeting and thermal cut-off thresholds keep the unit safe.
Each of the modules features a full cover aluminium heatsink on the read, while the chips are covered by smaller aluminium blocks to help dissipate heat.
|

|
|
|
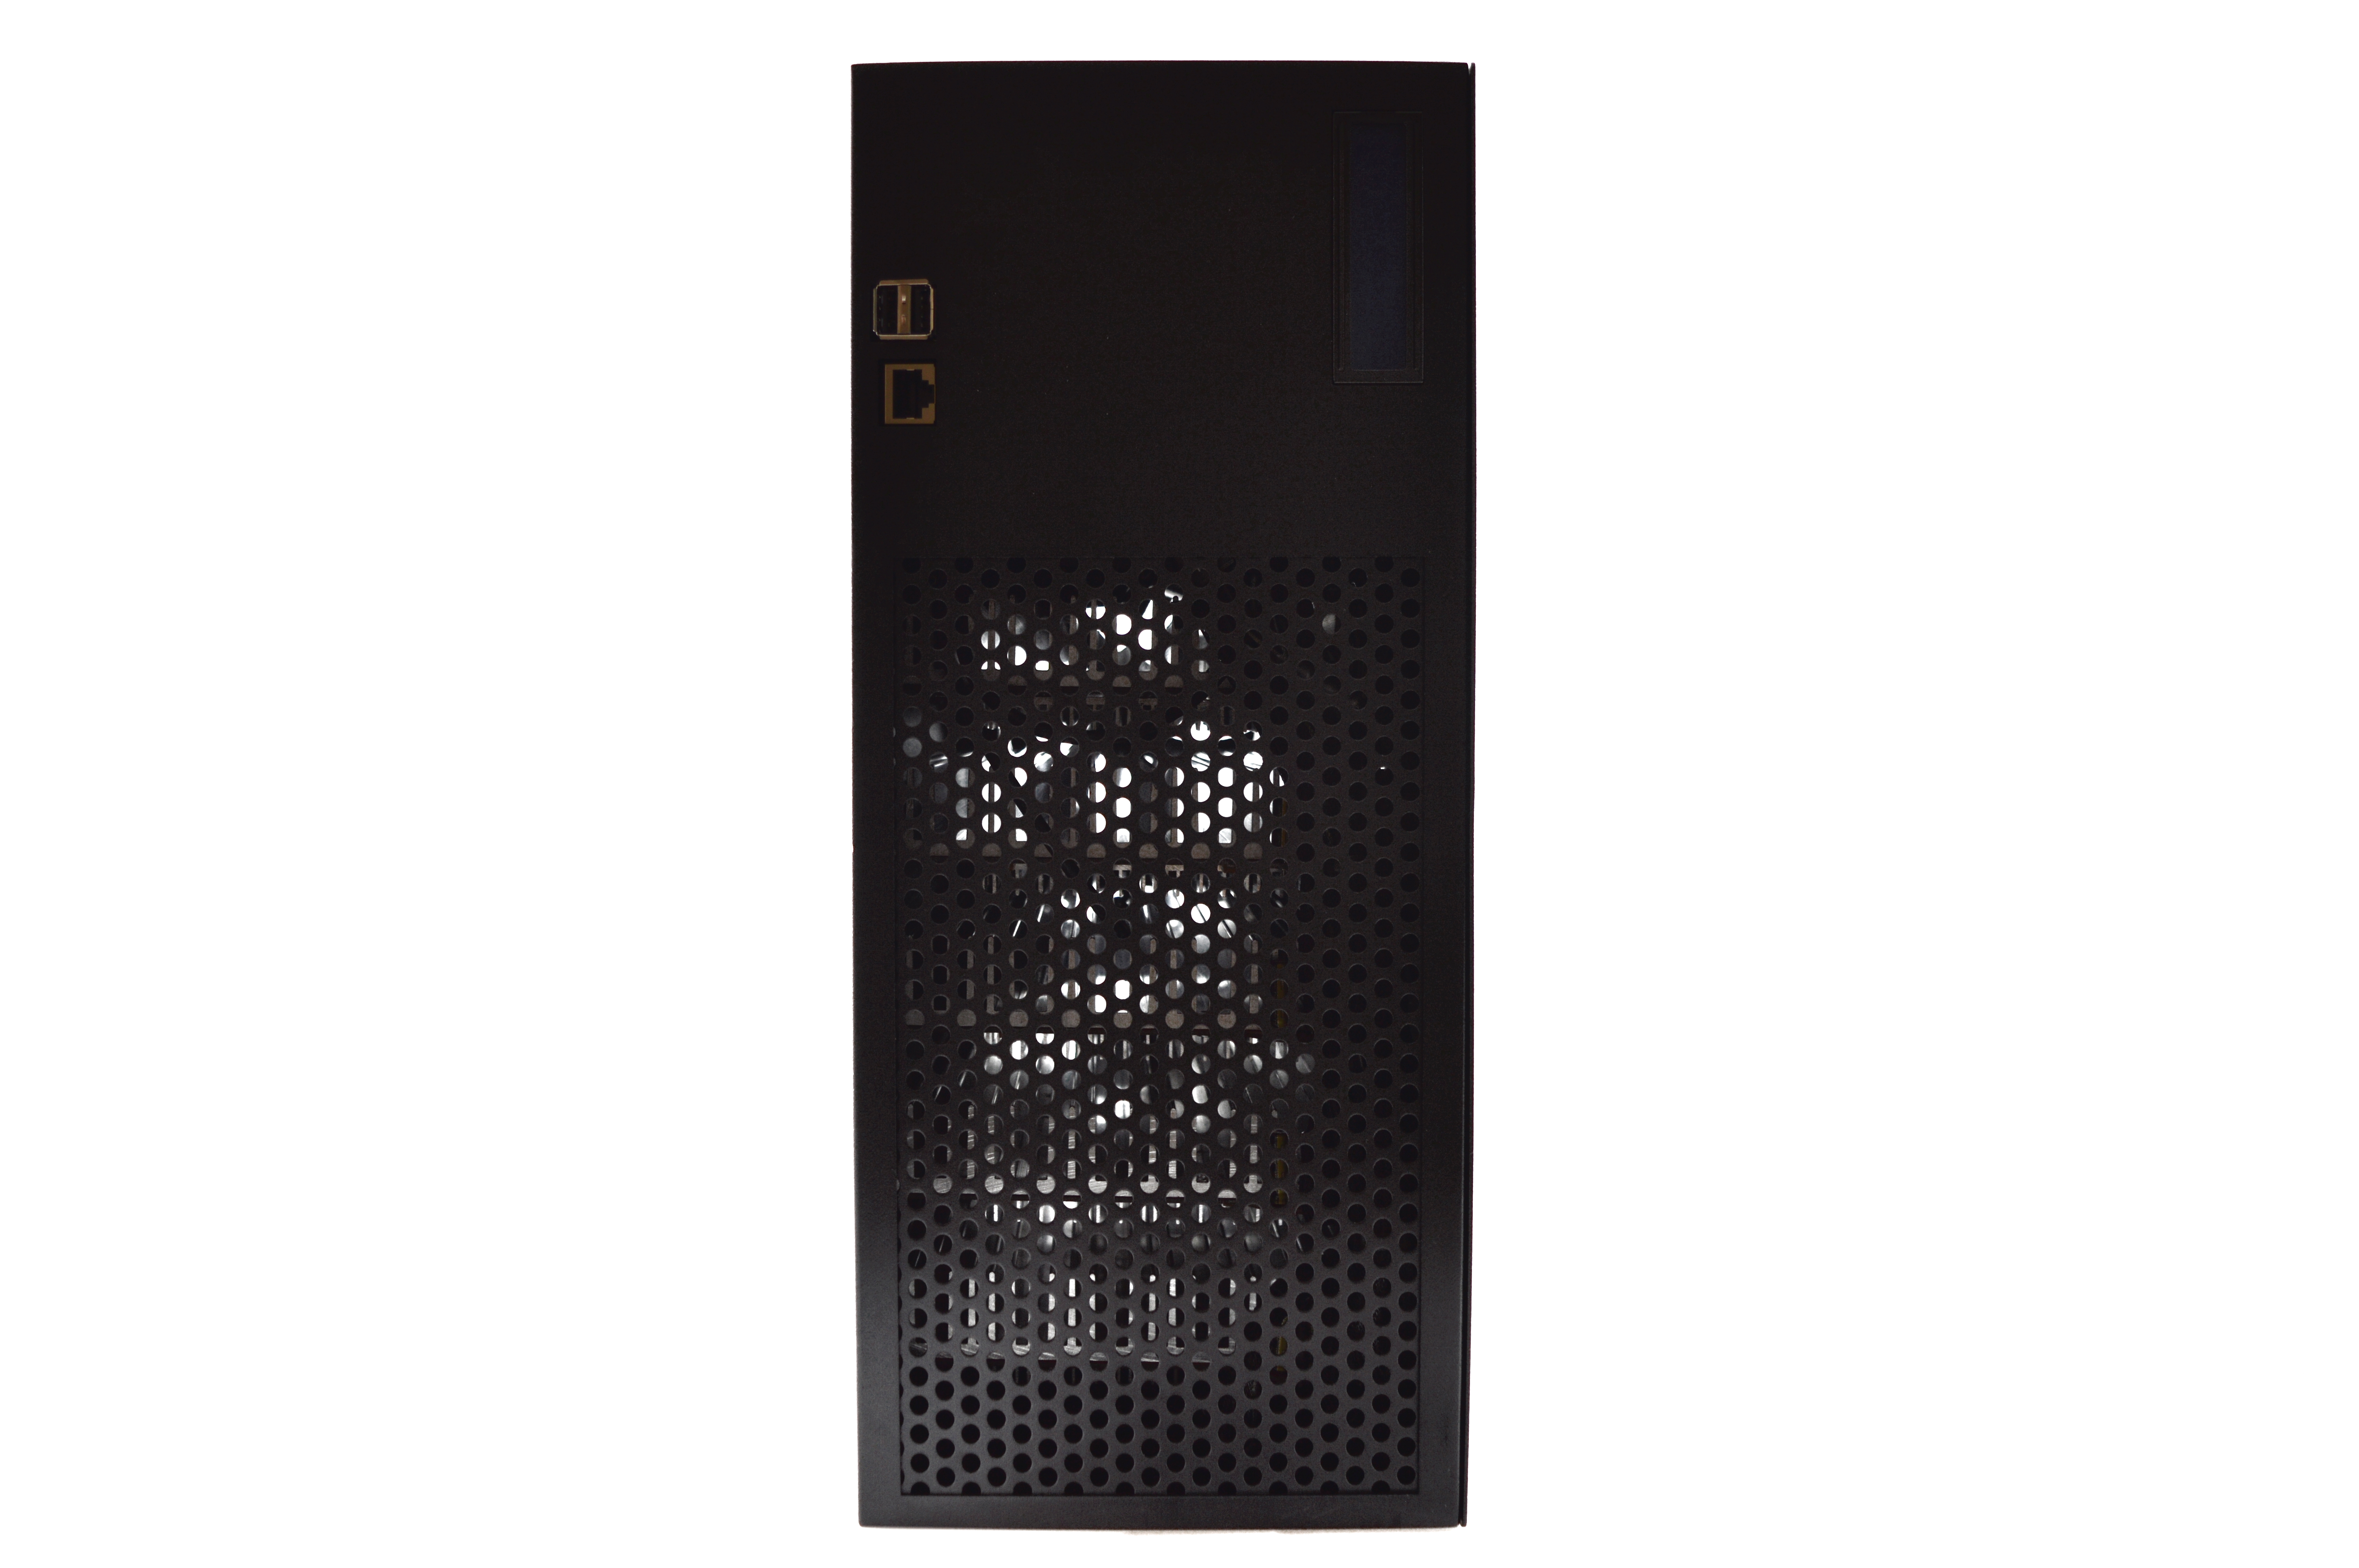
3) Case
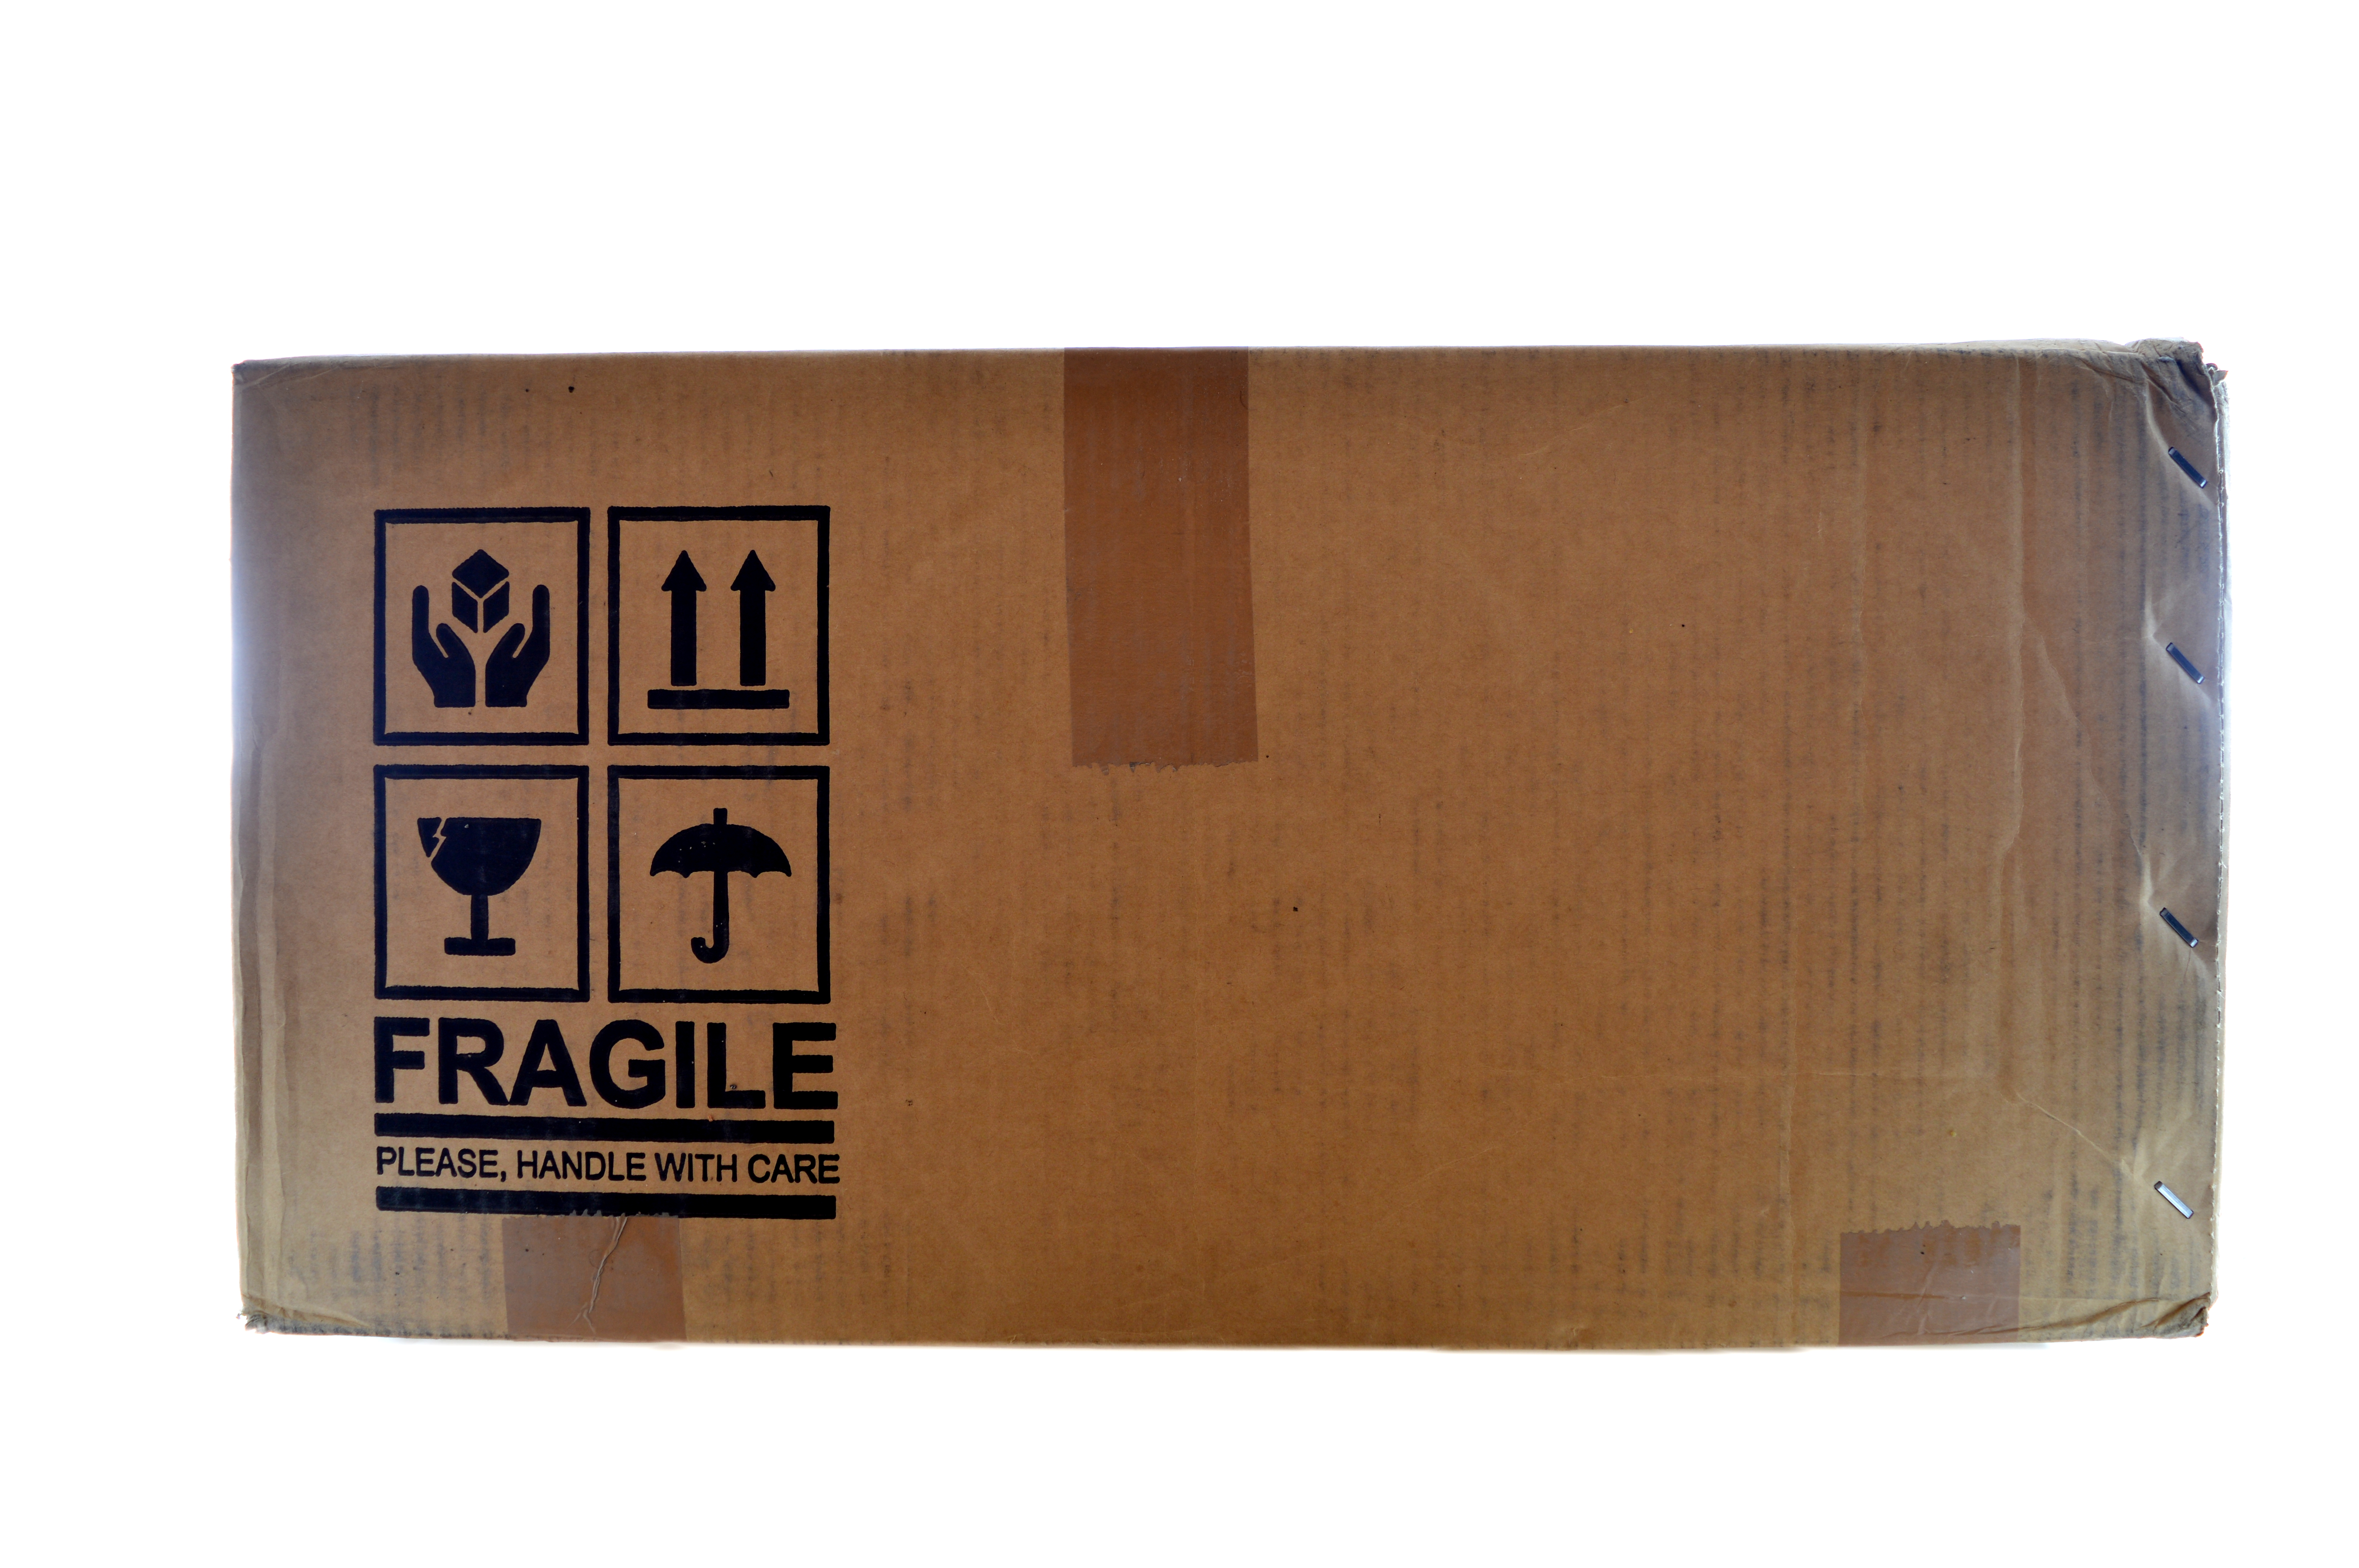
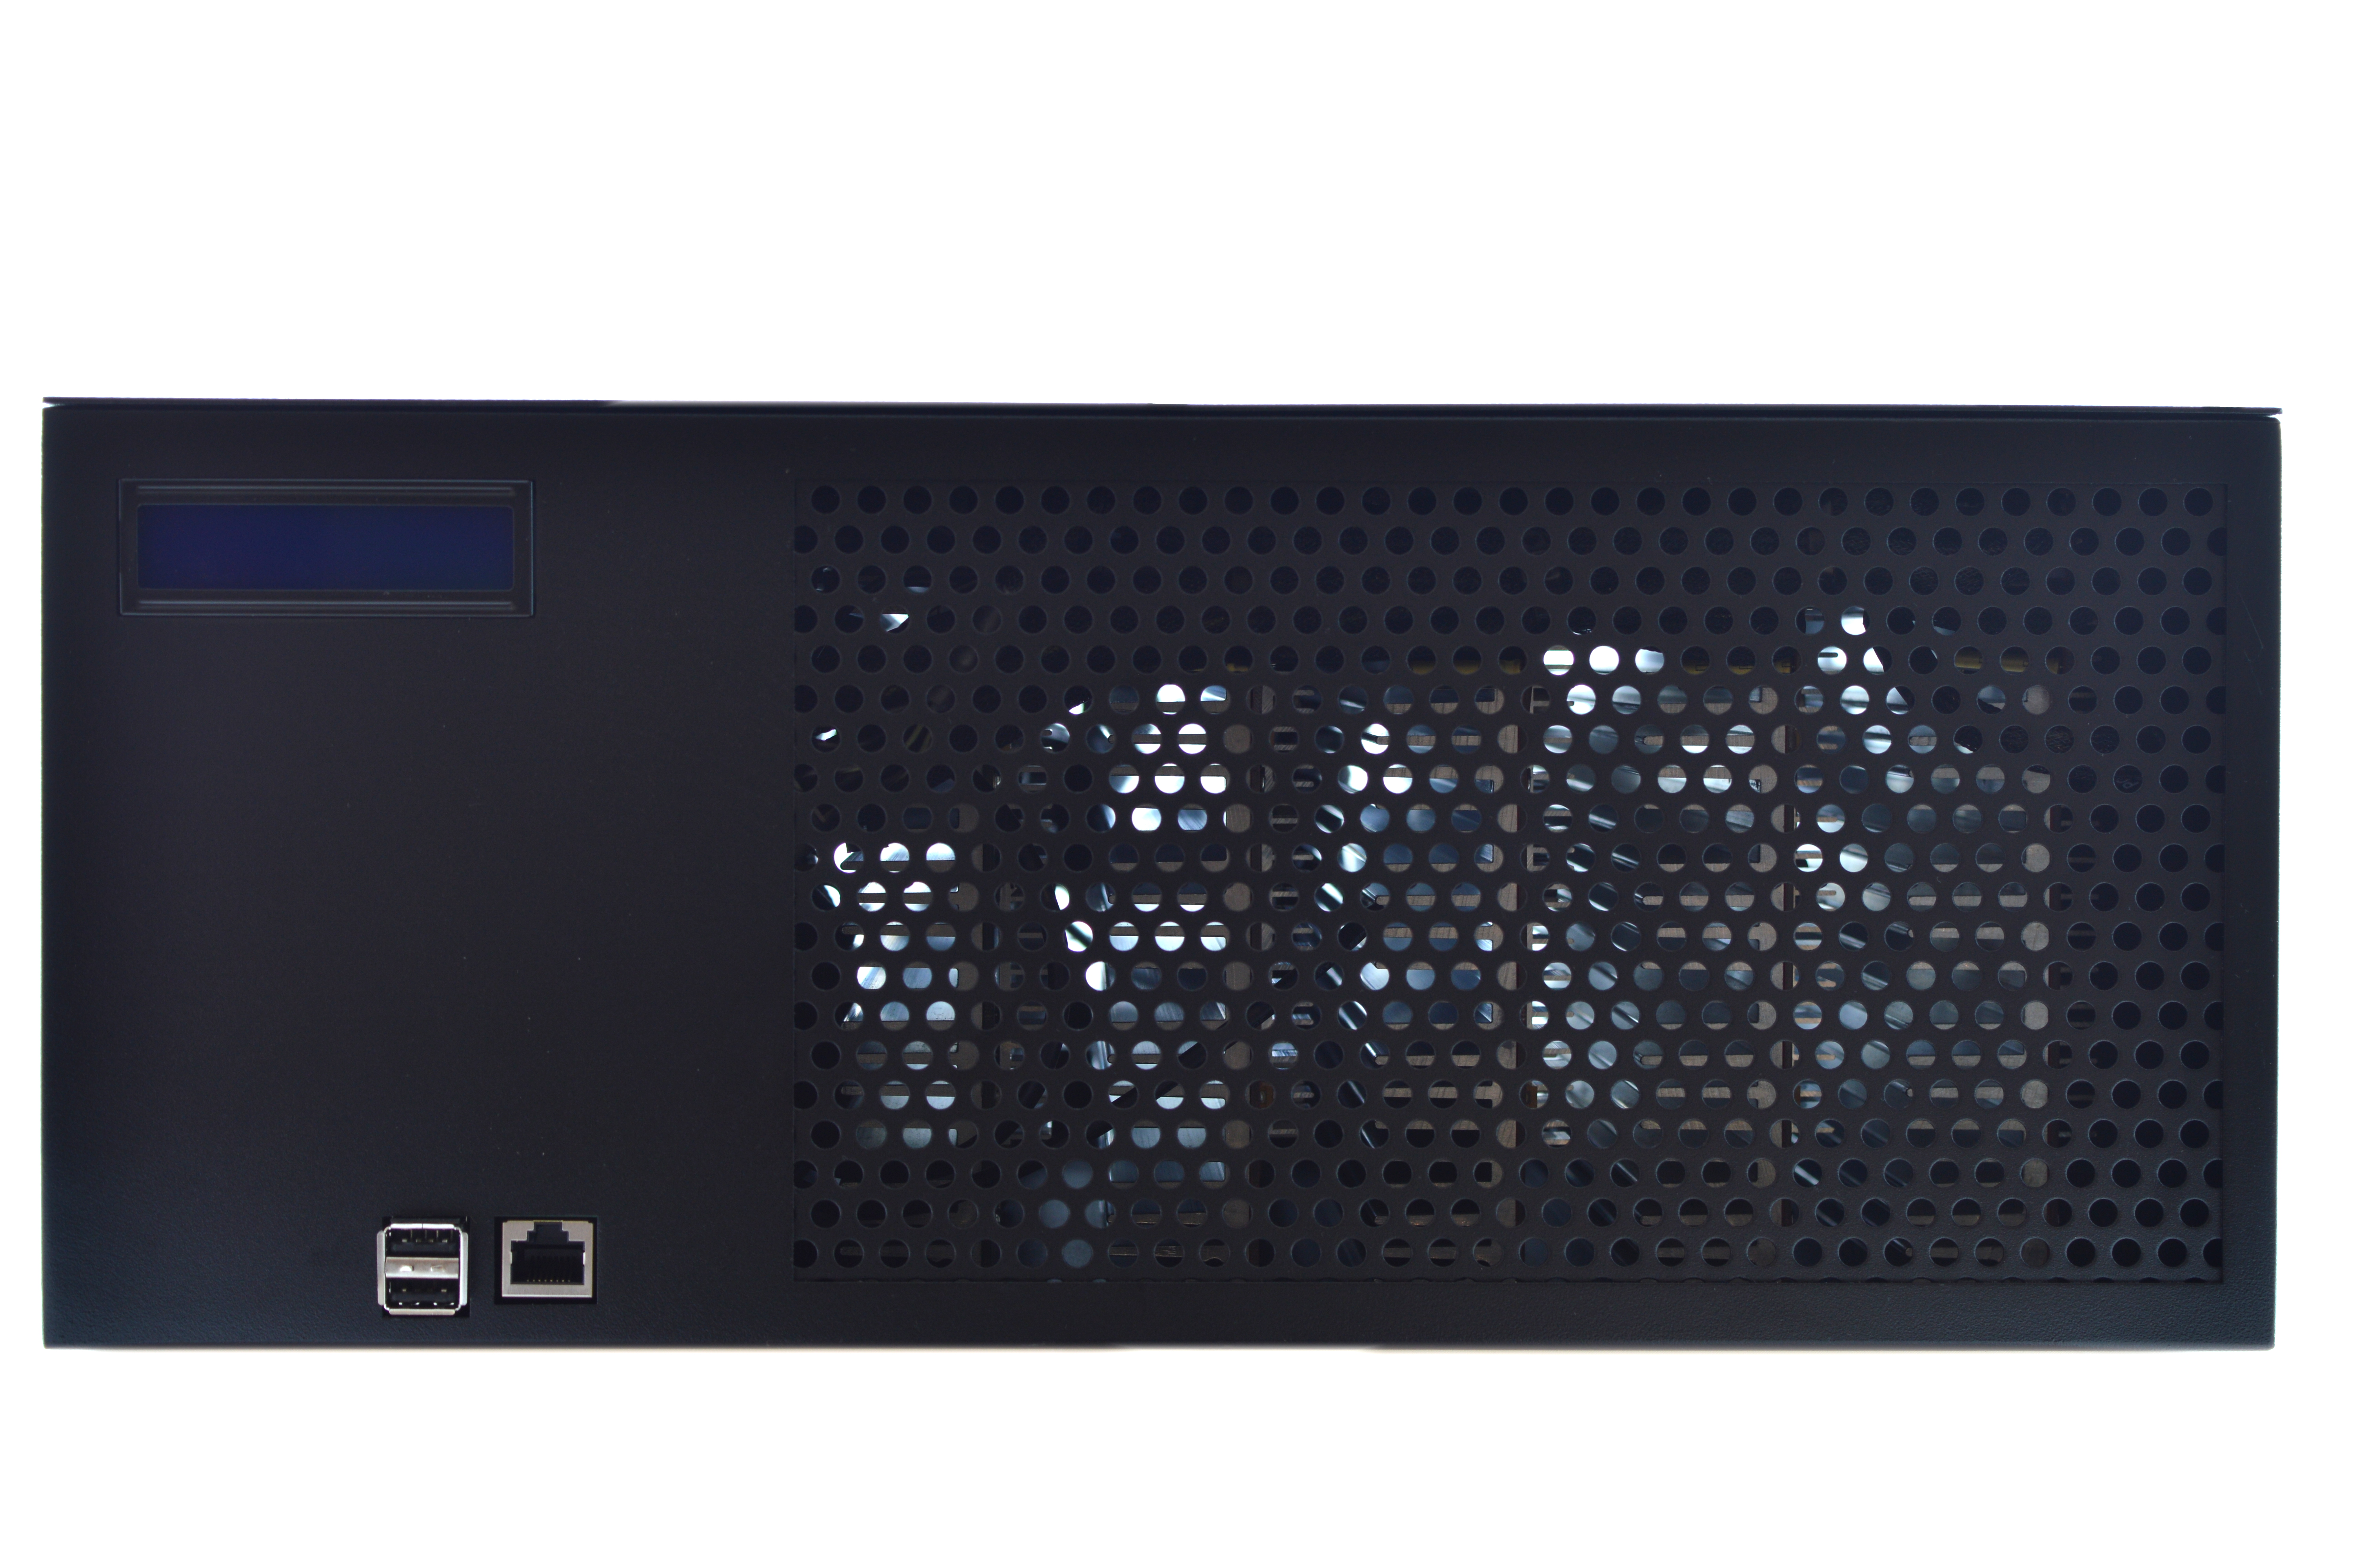
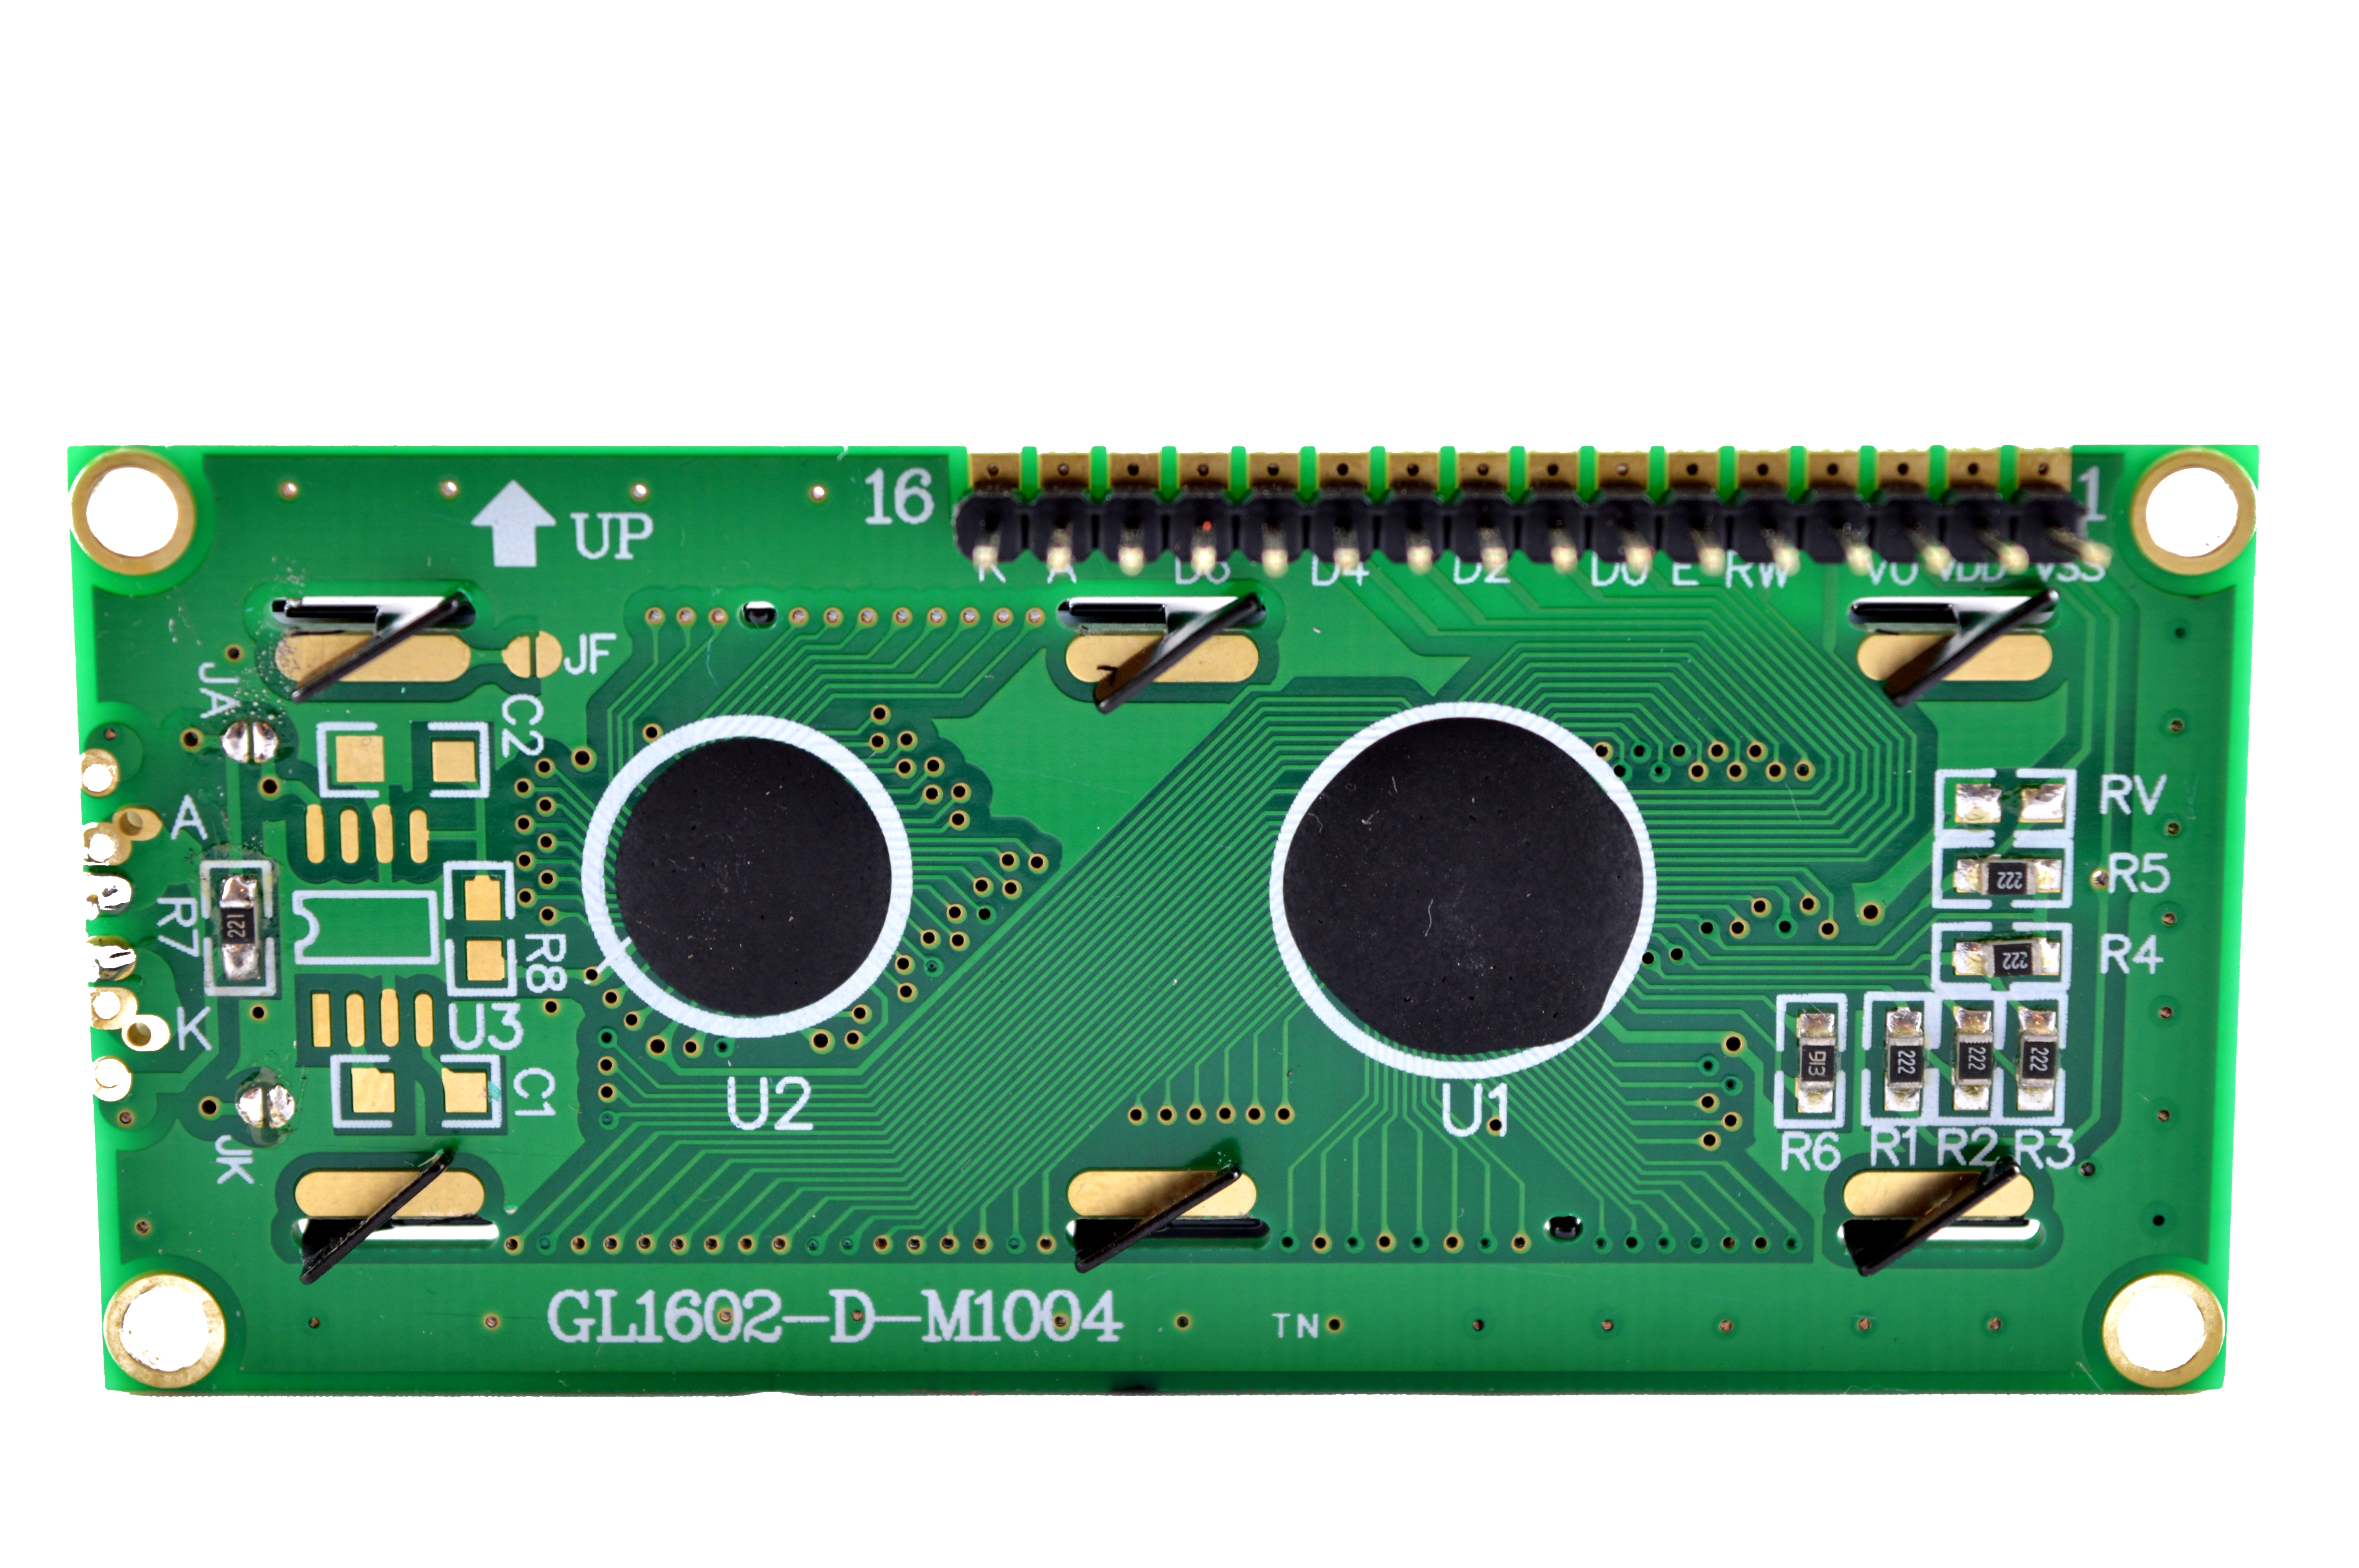
The Desk is enclosed in a very sturdy steel case that is very robust (and heavy). Modules screw directly into the frame of the case and are shipped with additional support to prevent damage. A 16x2 character LCD display shows the unit's current hash rate, temperature and IP. The shipped weight of a Coincraft Desk is 20kg and dimensions of the shipping box are 560 x 530 x 280mm.
The Desk is enclosed in a very sturdy steel case that is very robust (and heavy). Modules screw directly into the frame of the case and are shipped with additional support to prevent damage. A 16x2 character LCD display shows the unit's current hash rate, temperature and IP. The shipped weight of a Coincraft Desk is 20kg and dimensions of the shipping box are 560 x 530 x 280mm.
|
|
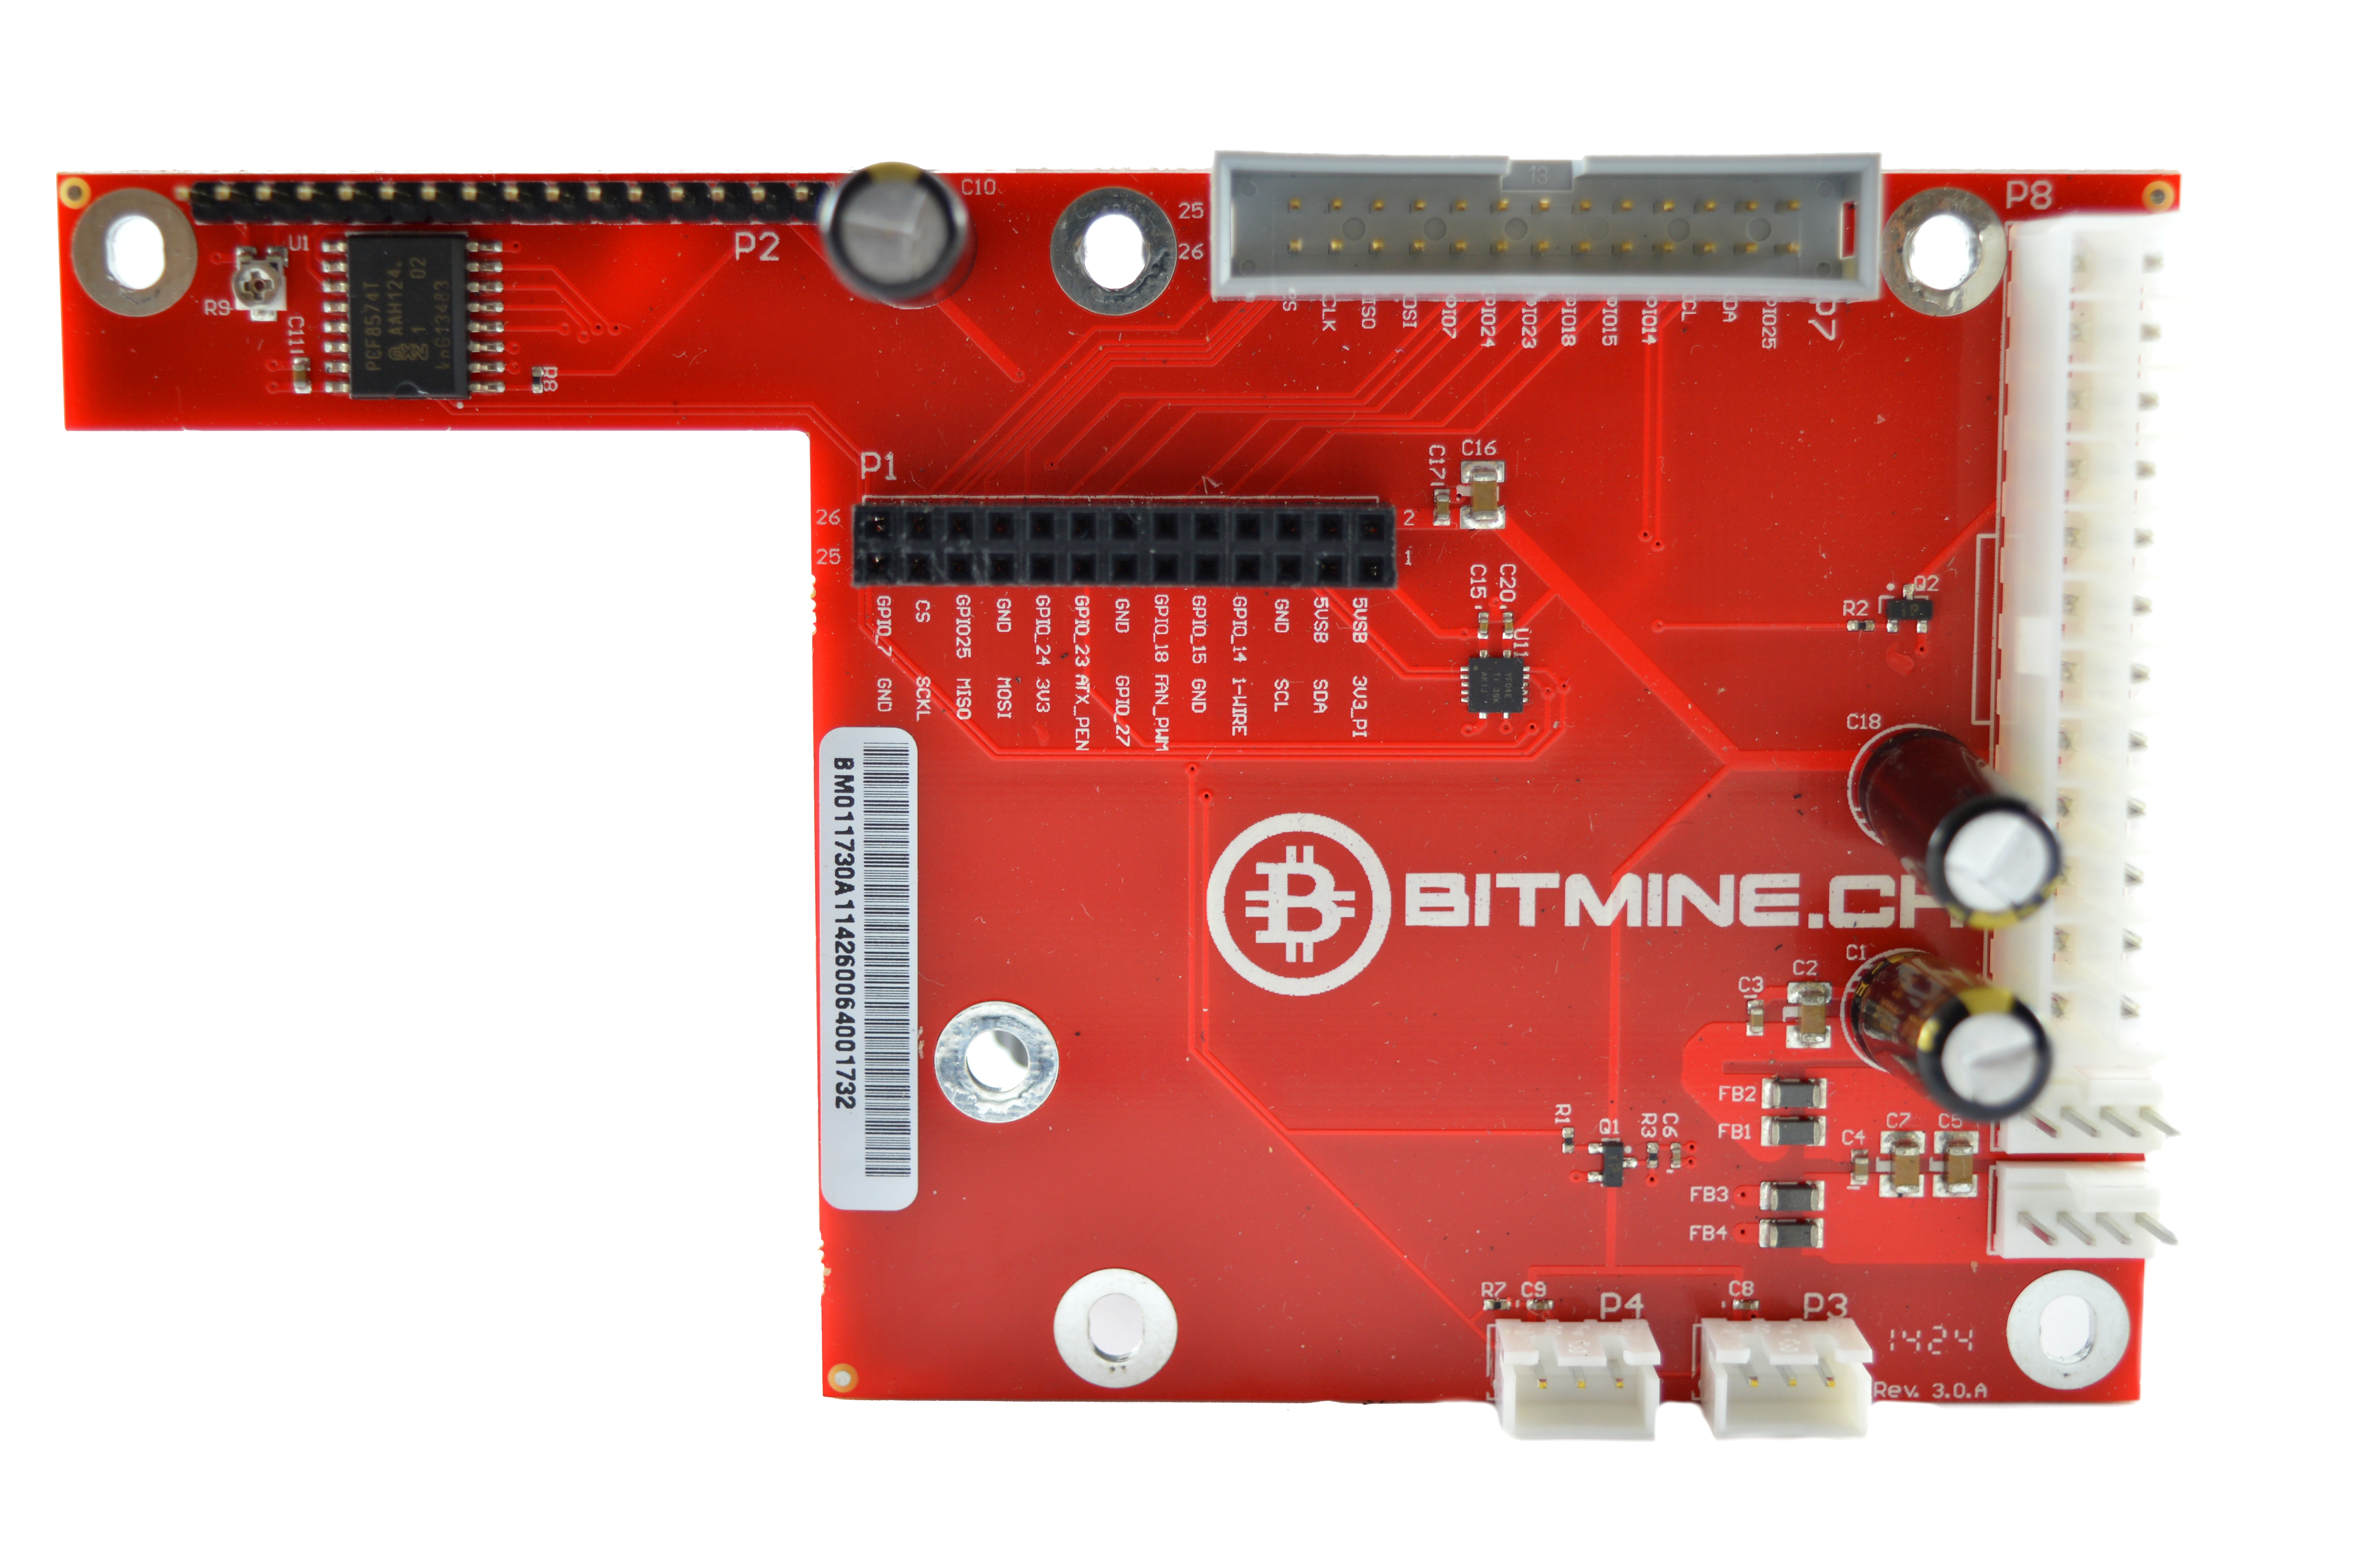
4) Configuration
R3-Boxes can be run using CGMiner on a host Windows PC, however as they come with a Raspberry Pi the guide will concentrate on this.
Wiring:
Software:
R3-Boxes can be run using CGMiner on a host Windows PC, however as they come with a Raspberry Pi the guide will concentrate on this.
Wiring:
- Open the side of the case and remove the additional shipping packaging.
- Plug in a mains power cable to the Desk.
- Plug in an ethernet cable from the Desk to you router.
Software:
- Power on the power supply using its switch at the back.
- Wait approximately 30 seconds for the Desk to boot, and then see what IP it has been assigned on the LCD at the front.
- Using a browser, navigate to the IP shown - this goes to the Desk's configuration page.
- Login using "admin" as both the username and password.
- Navigate to Settings -> Network.
- Make sure DHCP is set to on. Set DNS 1 to the IP of your router, and DNS 2 to "8.8.8.8". Click "Save and Reboot".
- Using a browser, navigate back to the IP of the miner.
- Navigate to the page Settings -> Mining. Enter your pool information in the below format. Click "Save and Restart CgMiner".
- Navigate to the page "Dashboard" to check mining has started. This page usually takes 5 seconds or so to load.
mint.bitminter.com:3333
us1.ghash.io:3333
stratum.mining.eligius.st:3334
|
|
5) Troubleshooting
|
Problem
The miner isn't booting when I reset it. No modules are detected at all? |
Solution
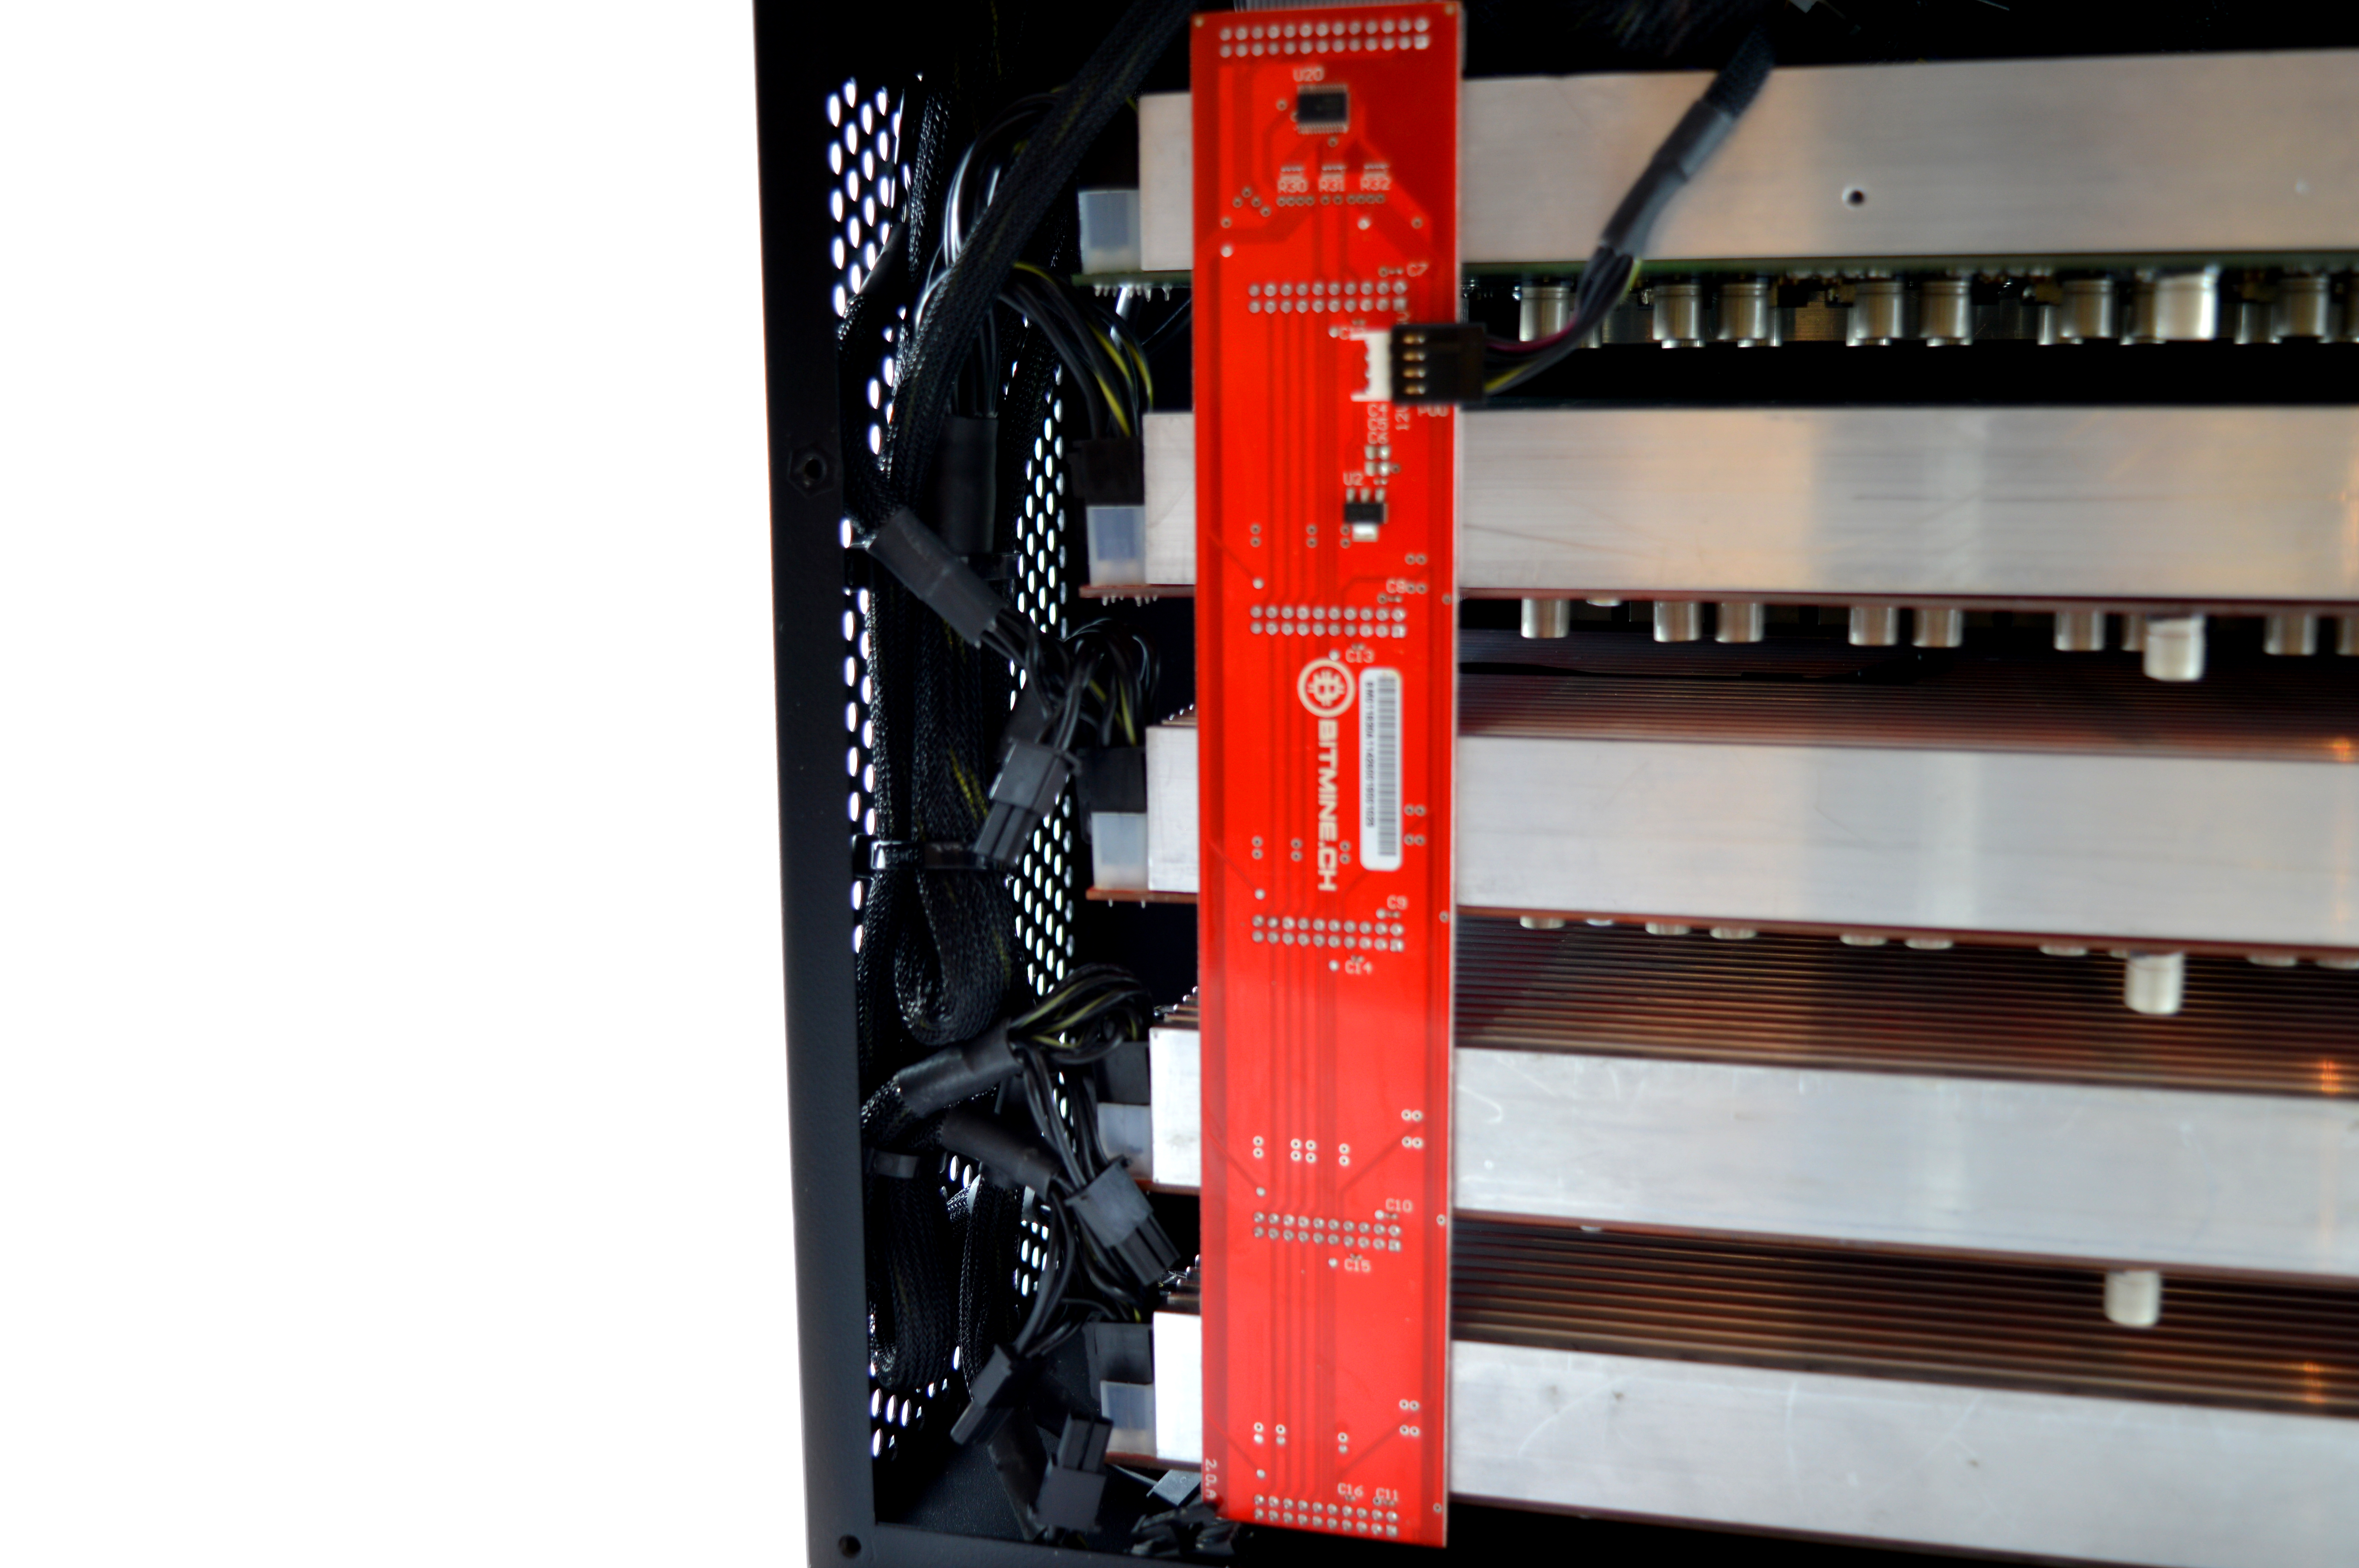
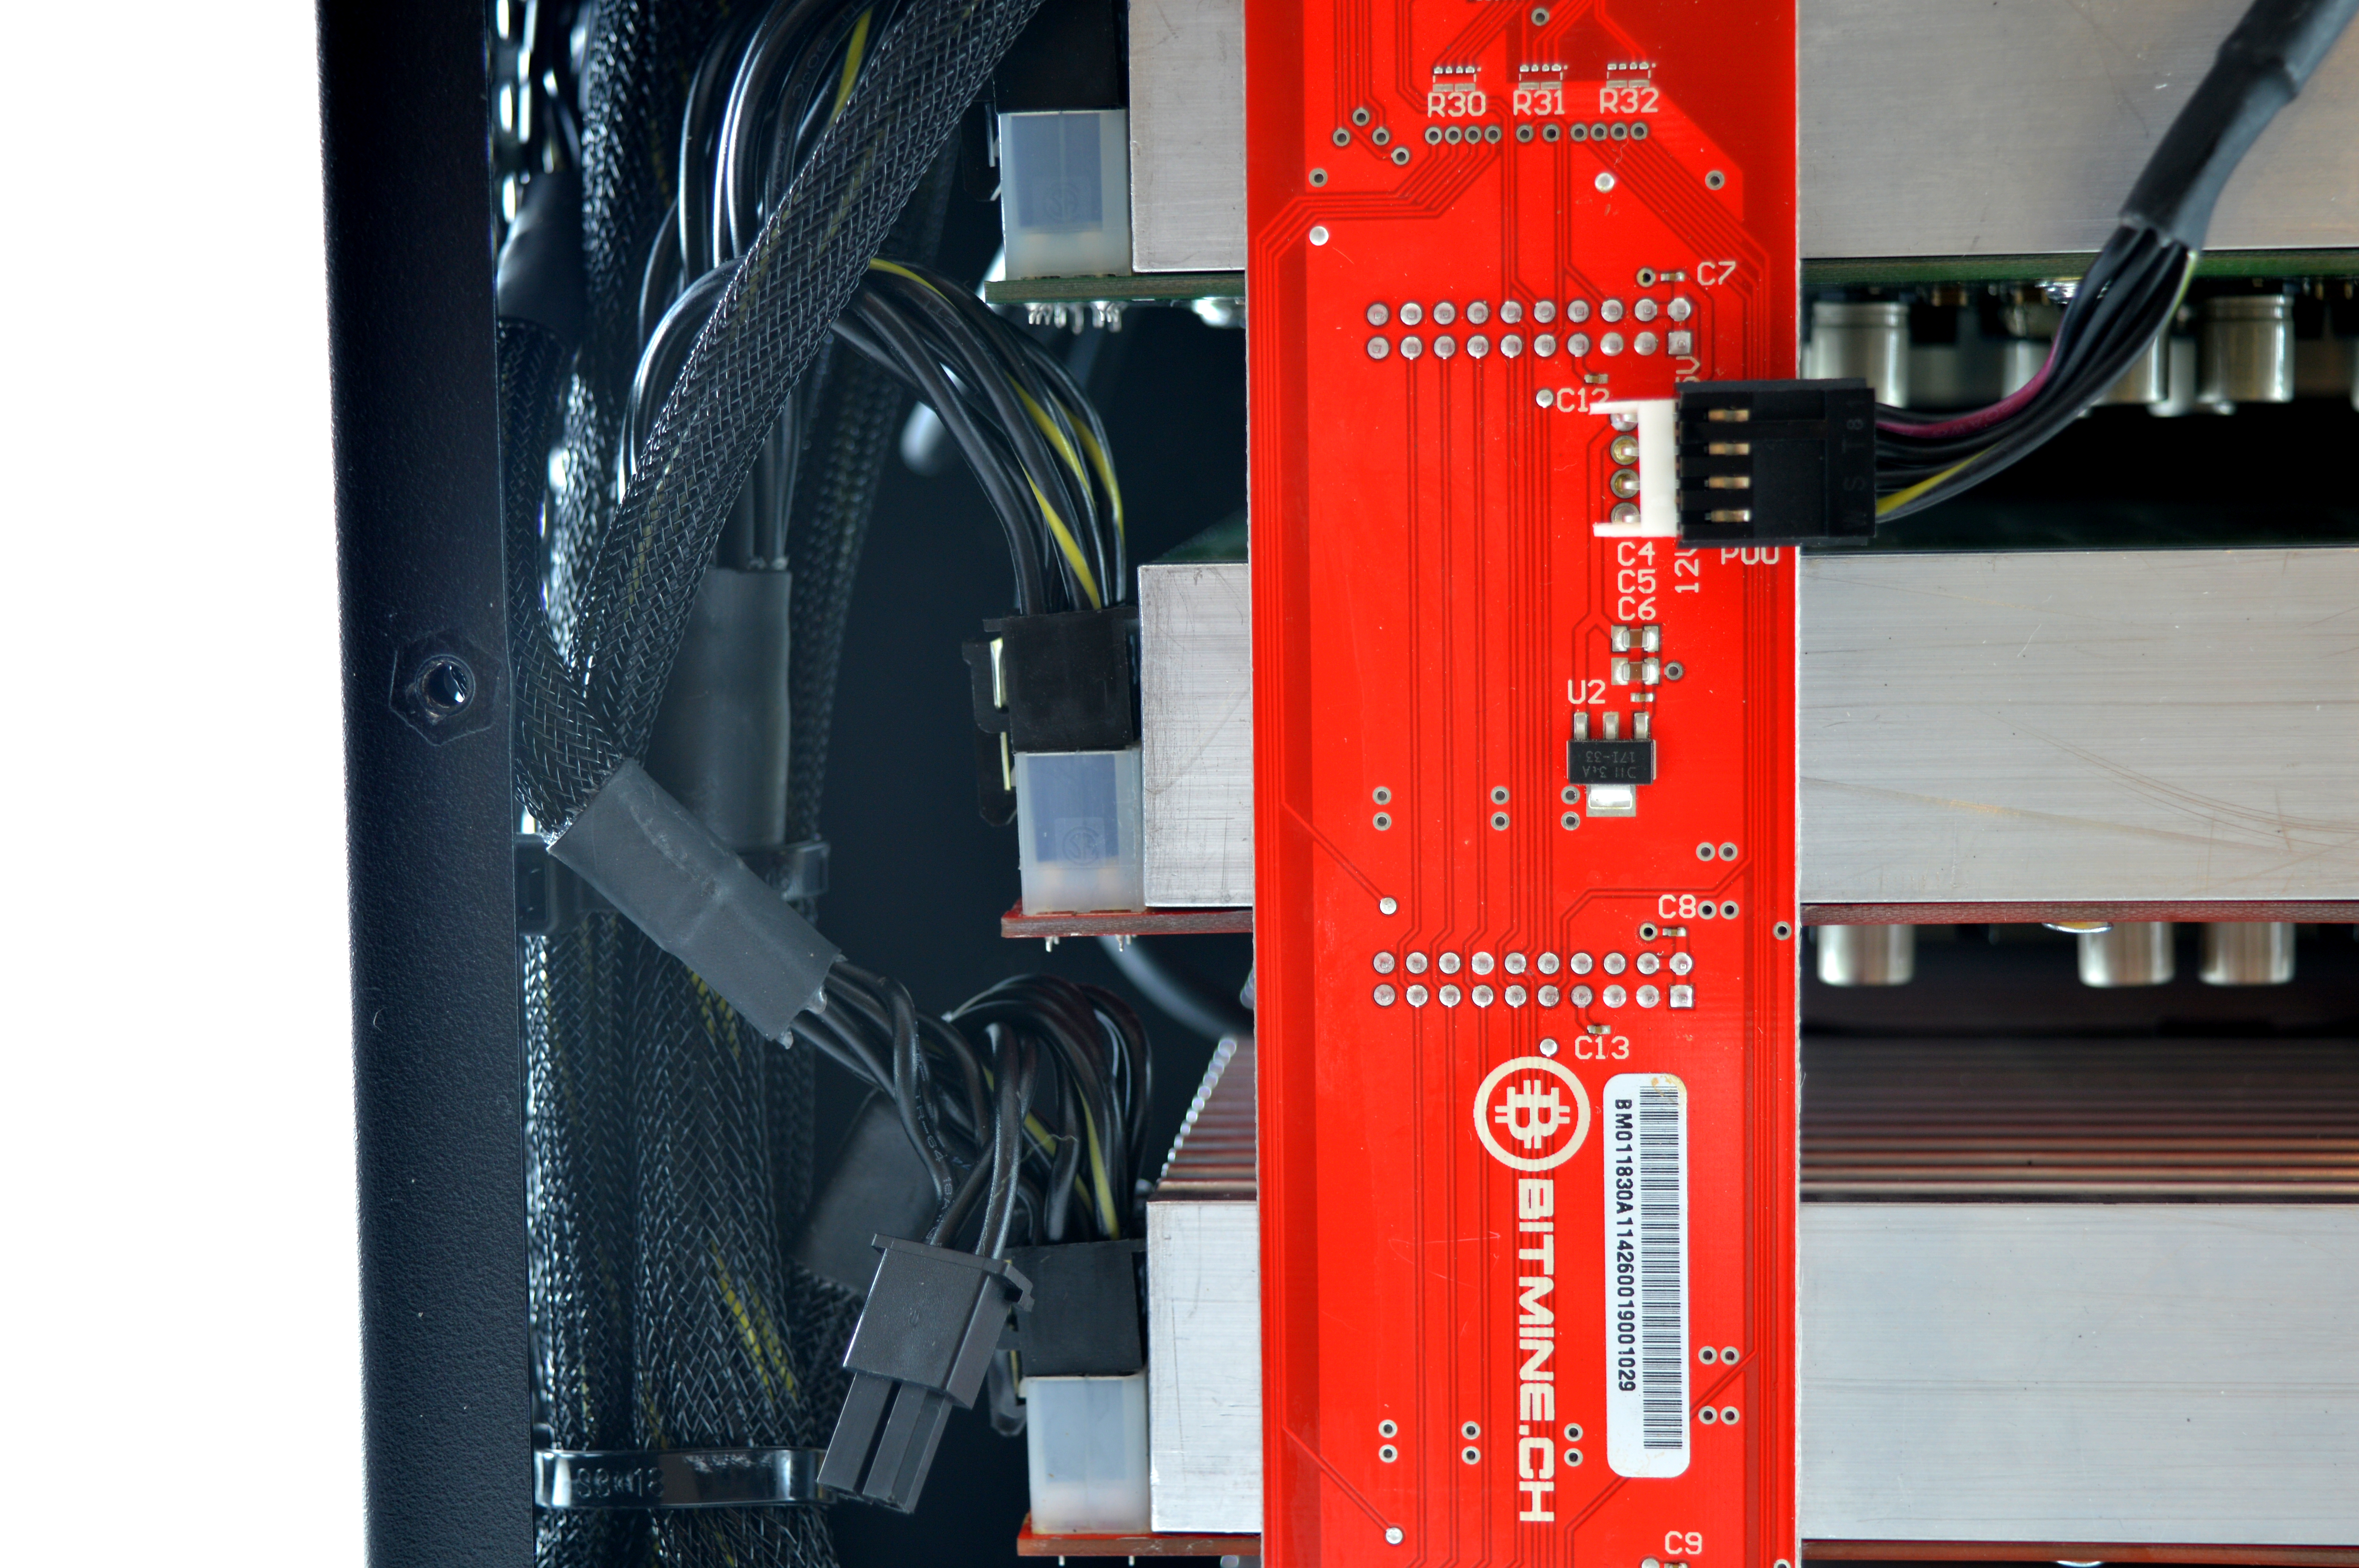
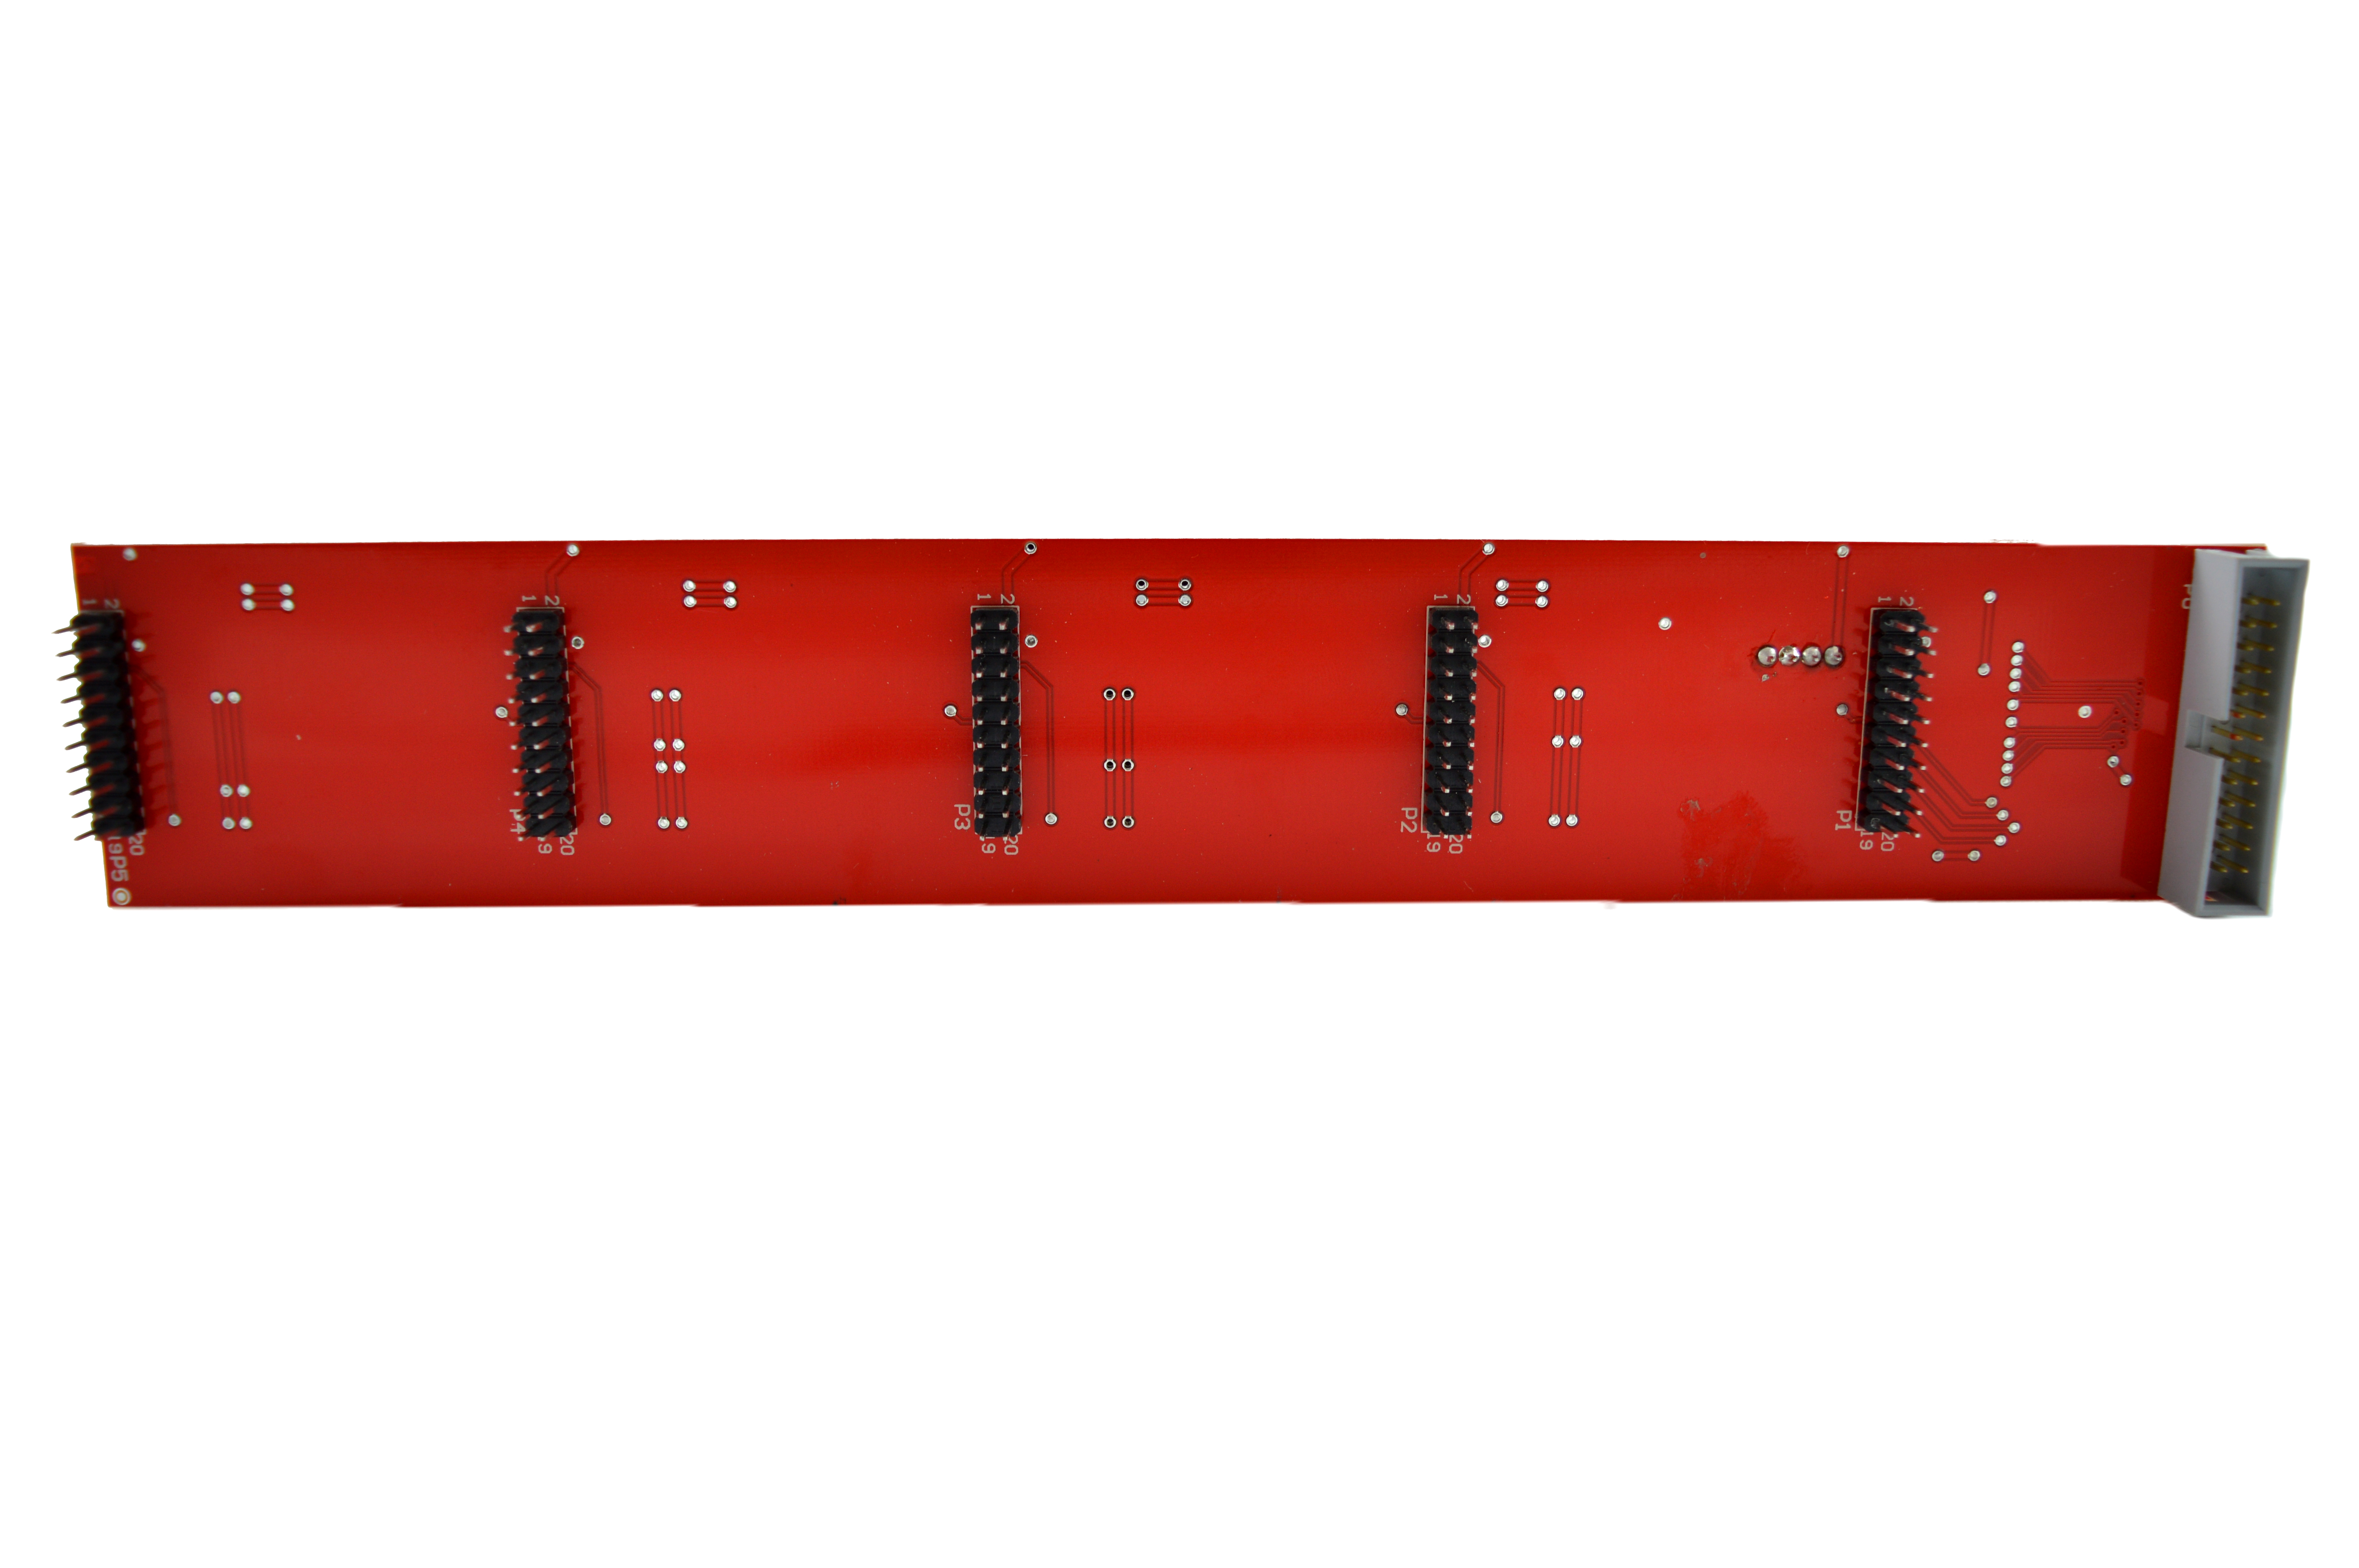
- The unit should be left off for at least 20 seconds when restarting in order to let the RaspberryPi to fully discharge, else the unit will not properly restart. - First check your network settings properly. Then try restarting the unit as above, twice. Then open the case and check that the vertical thin board crossing each of the mining cards is firmly pressed in and has its power connector pressed firmly in. |


|

|
6) Where to buy


General Safety Tips


|
Do not touch equipment while powered, exposed electrical contacts may shock.
Fans may cause injury or shatter if material is ingested.
|


|
Sharp edges may be cut, especially around any internal casing or heatsinks.
If you are unsure of what to do, STOP and consult an expert.
|
|
|
|
Legal disclaimer: This information is for general guidance and does not constitute expert advice. We are not responsible if you, your property or a third party is injured or damaged as a result of any interaction with this information, and no warranty is provided. All text and images are covered under copyright law, dogiecoin.com.
|