
MoonlightMiner NanoFury II USB Setup Guide
Contents:
0a) What to Expect?
0b) What You Need
1) Powering
2) Cooling
3a) Configuration
3b) Overclocking (optional)
4) Troubleshooting
5) Where to buy
0a) What to Expect?
0b) What You Need
1) Powering
2) Cooling
3a) Configuration
3b) Overclocking (optional)
4) Troubleshooting
5) Where to buy
0) What to Expect?
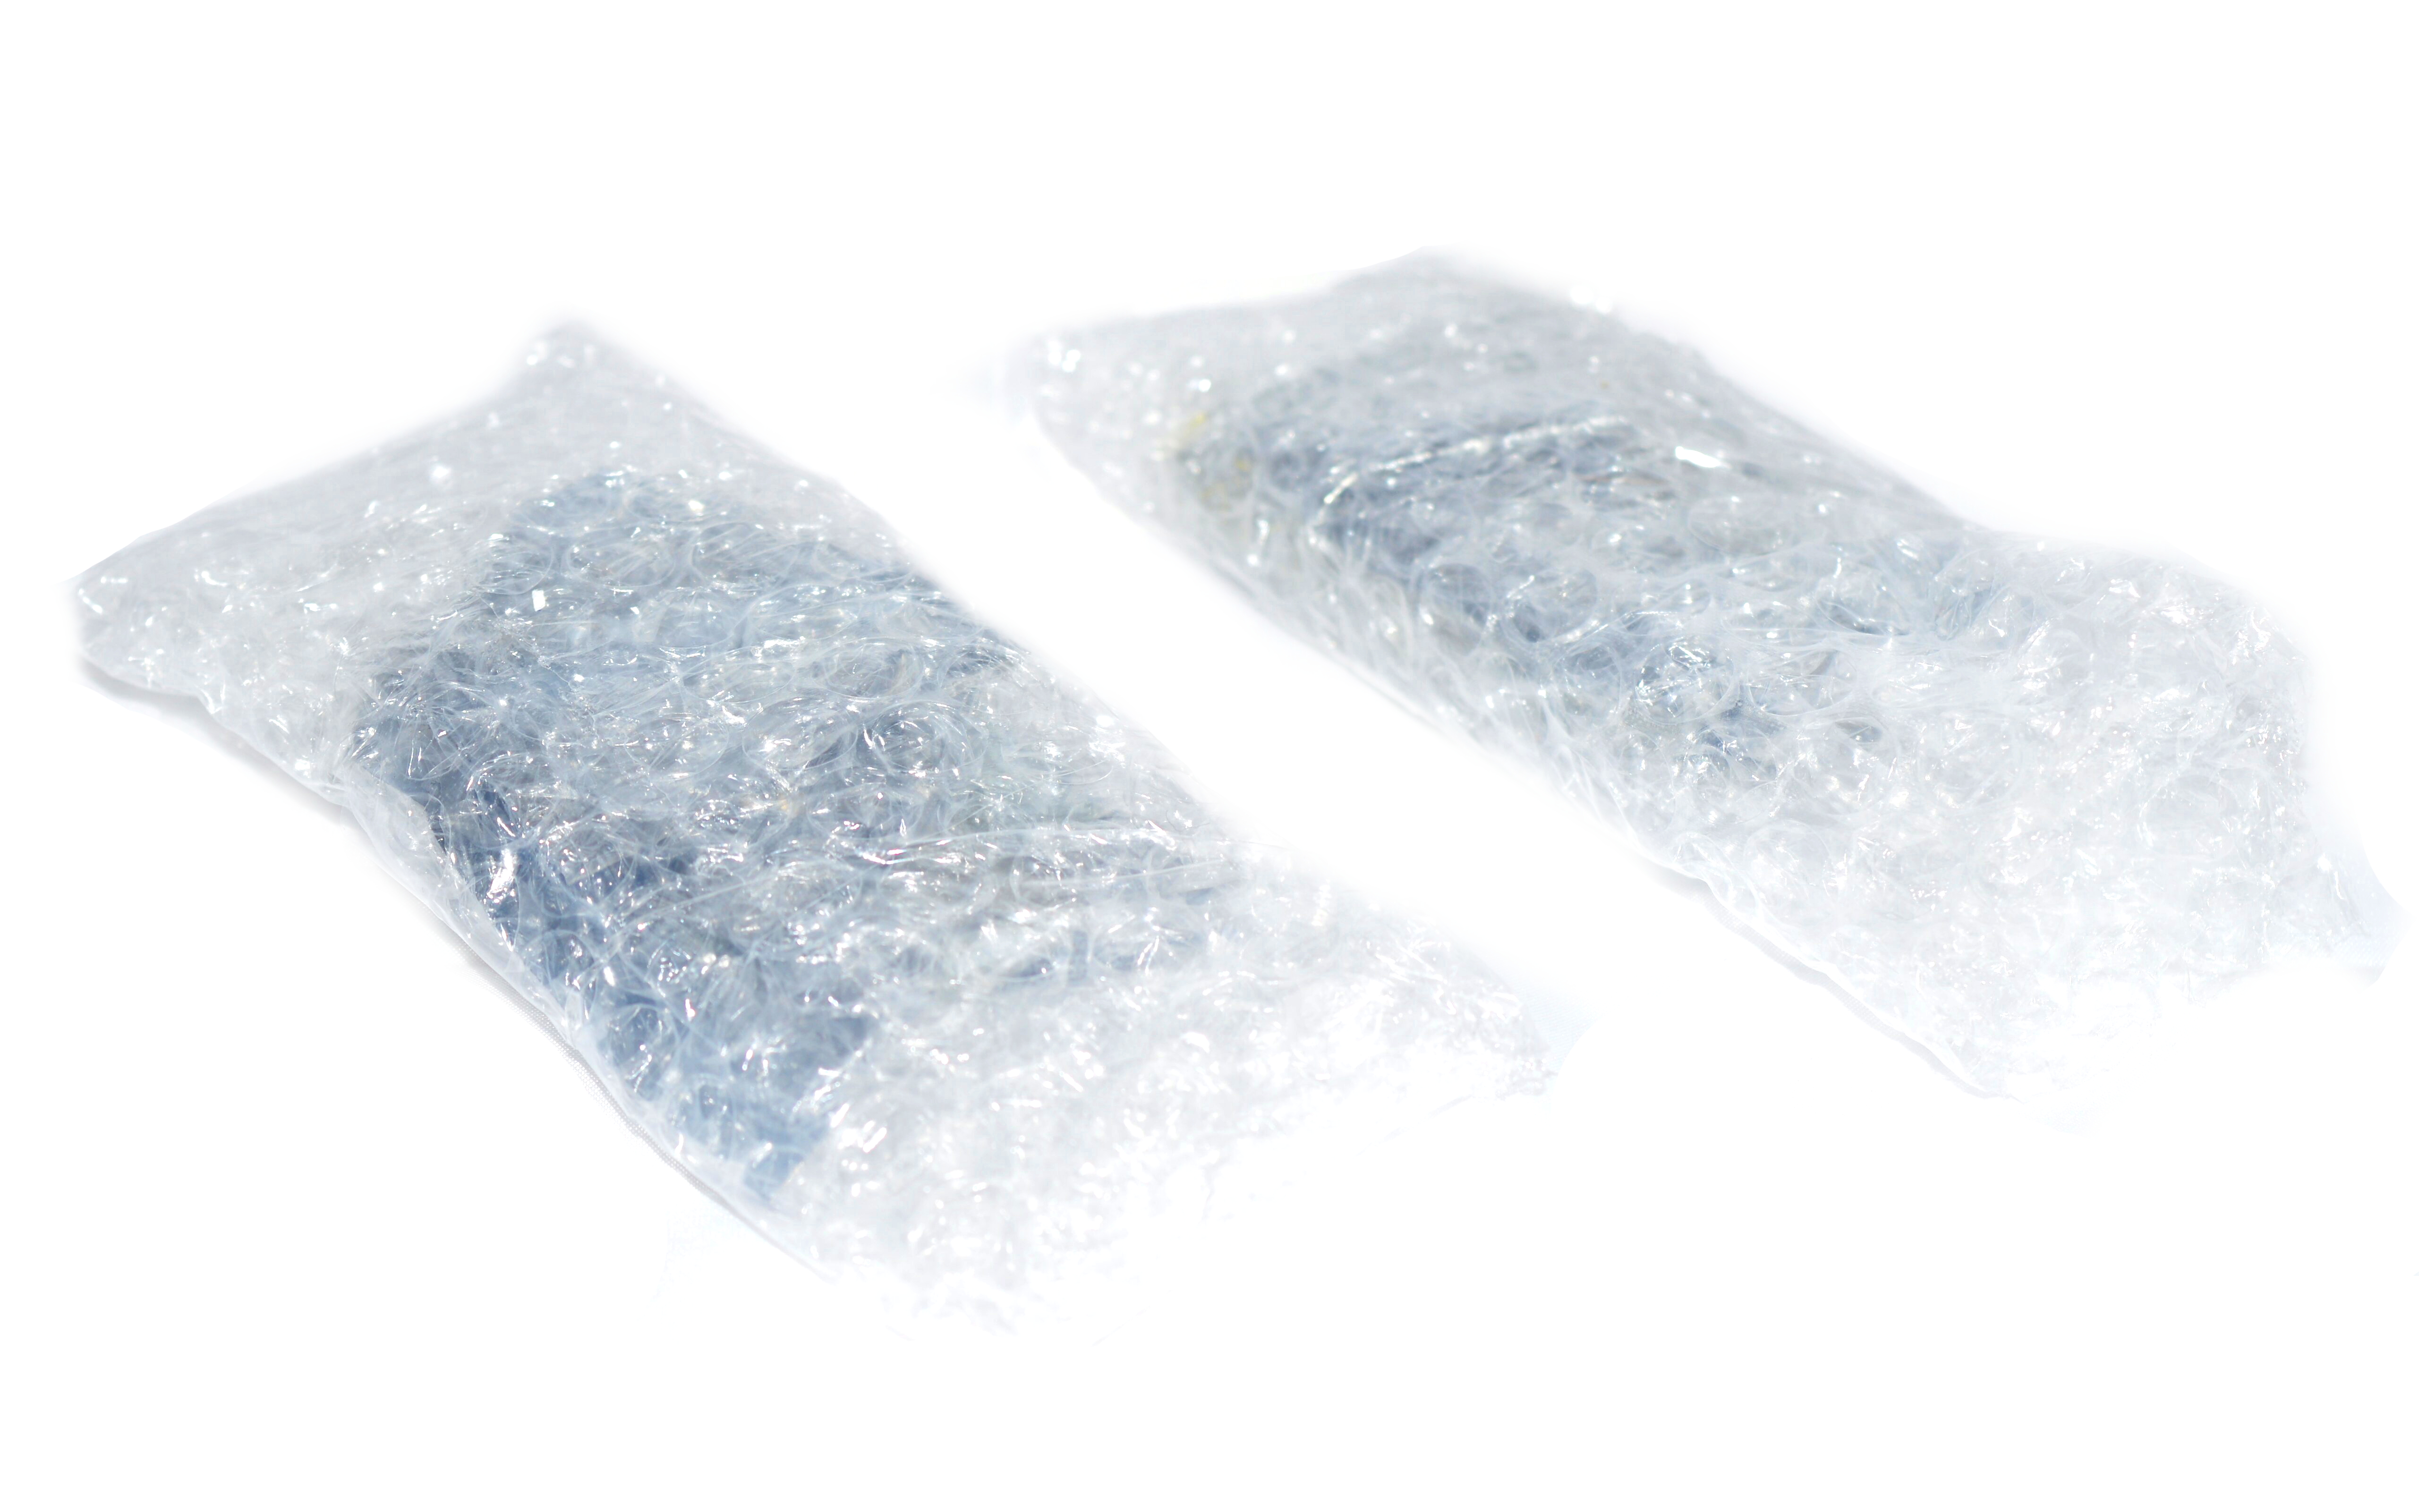
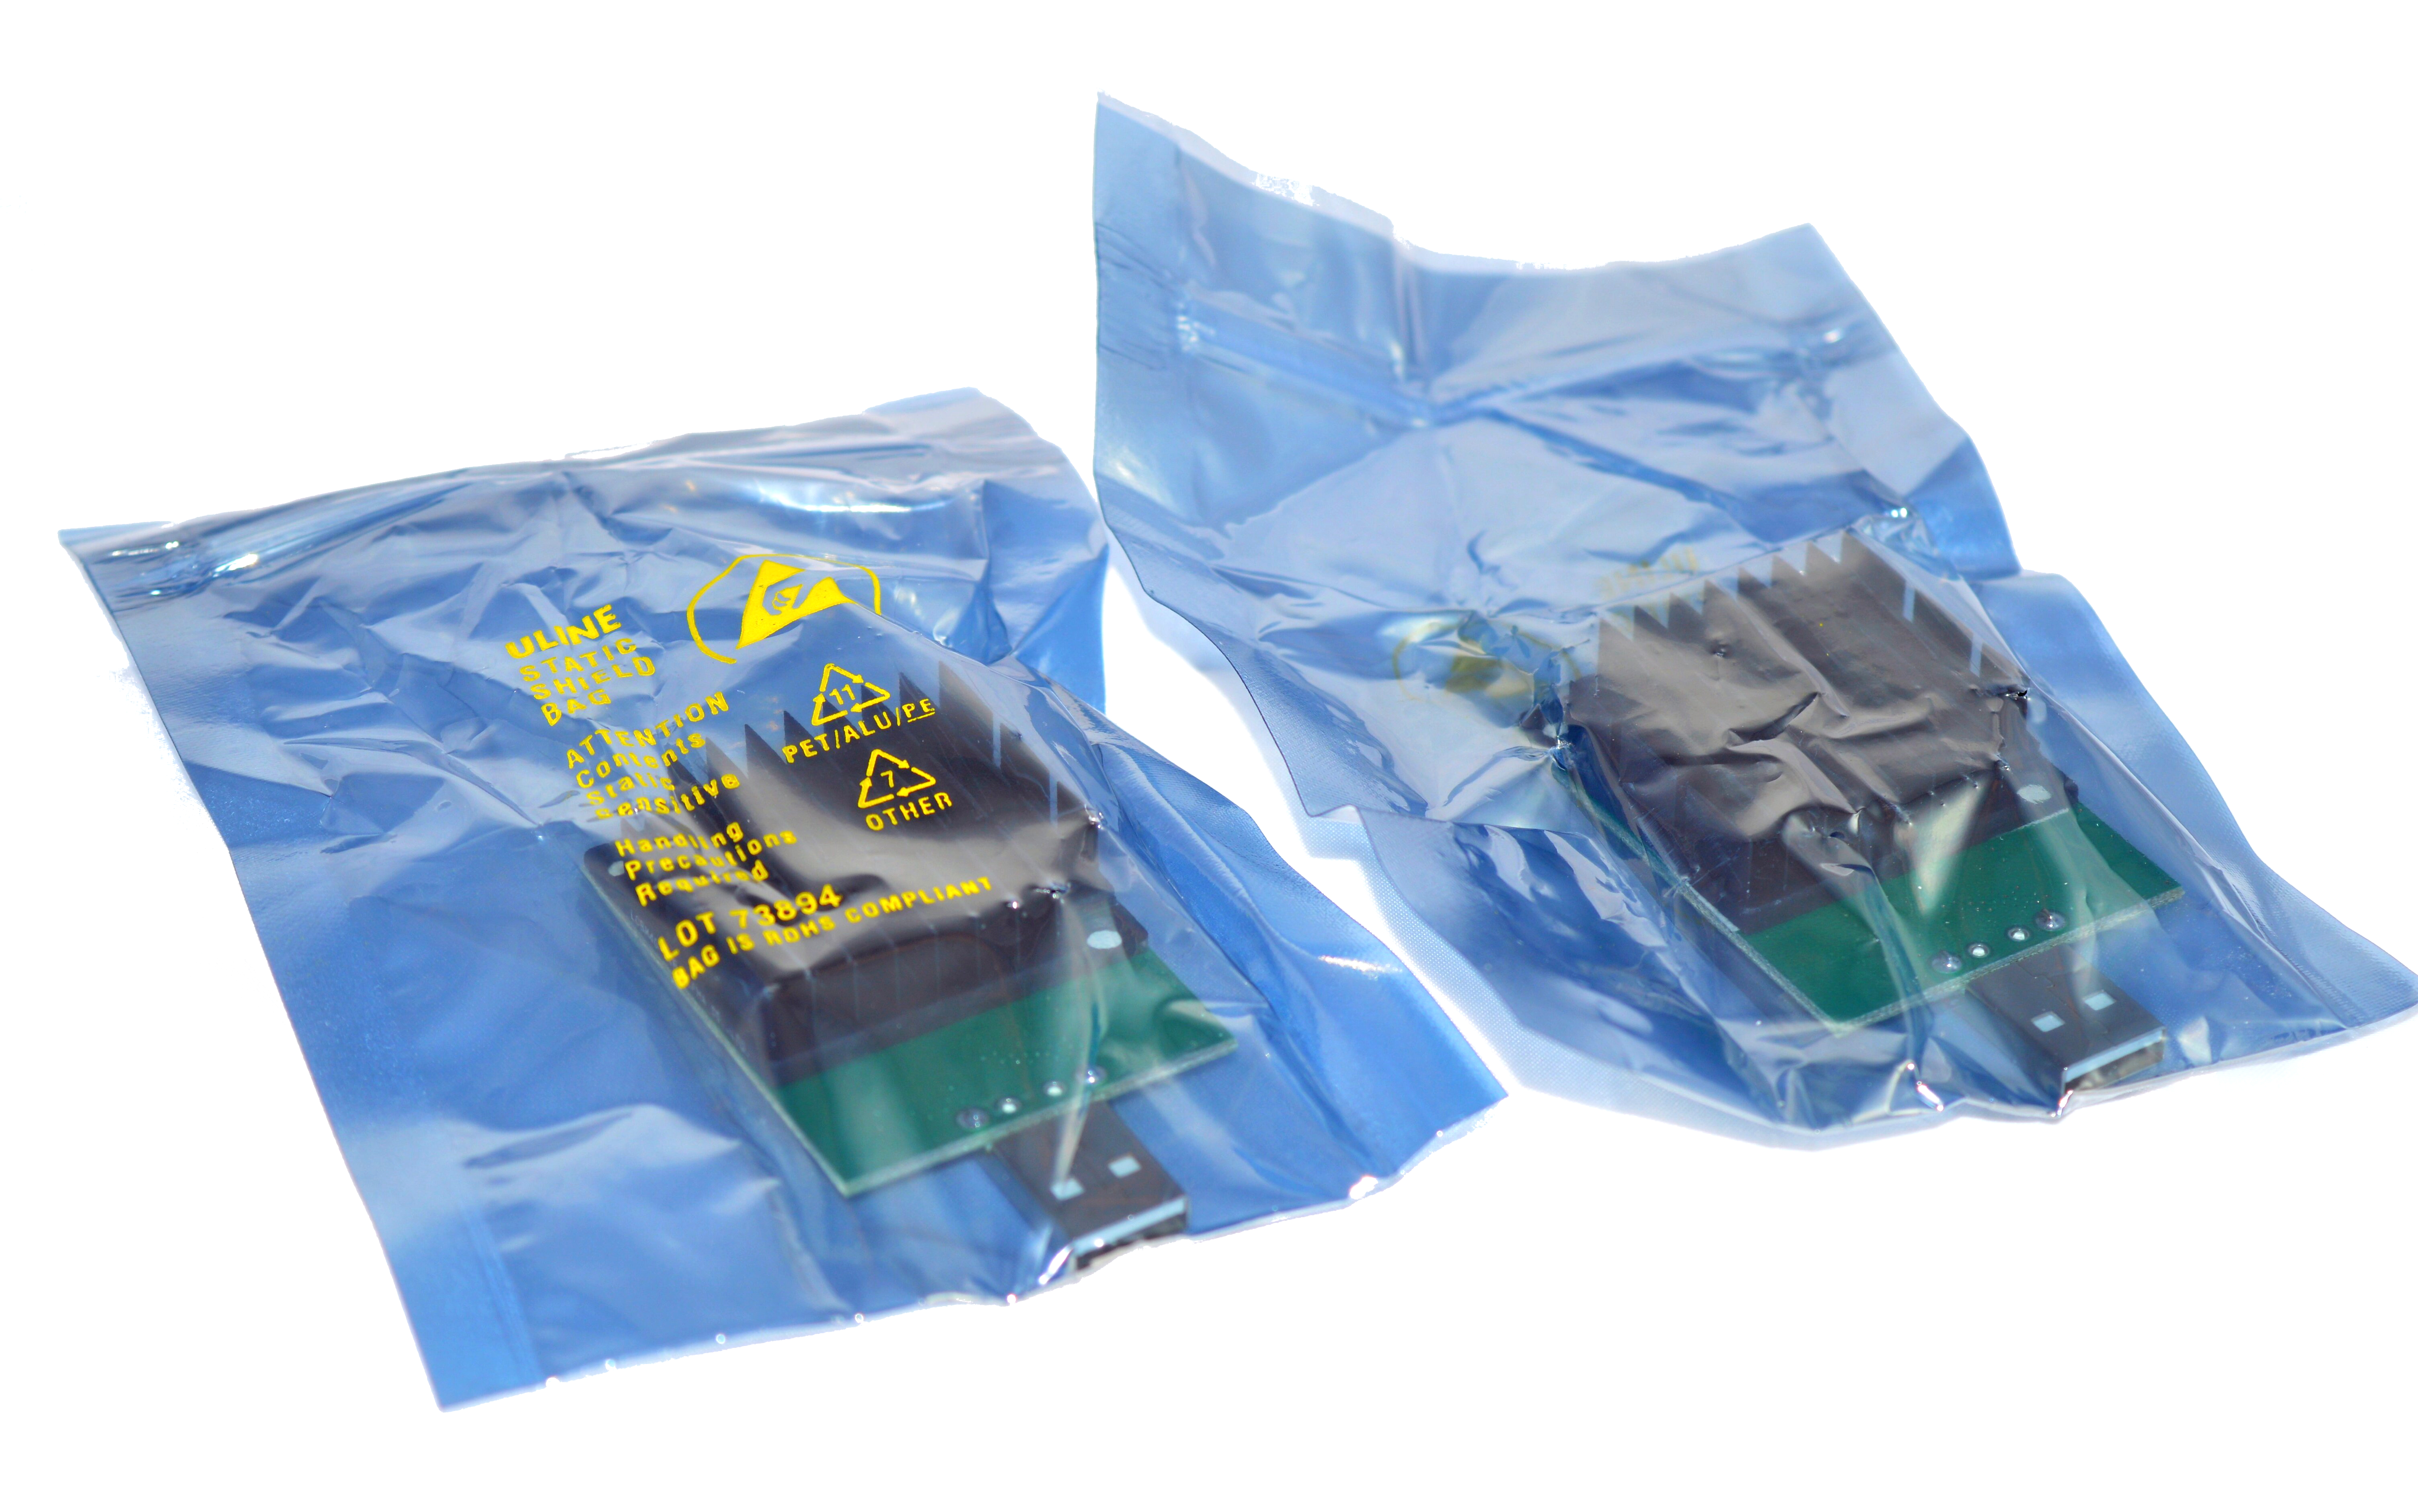
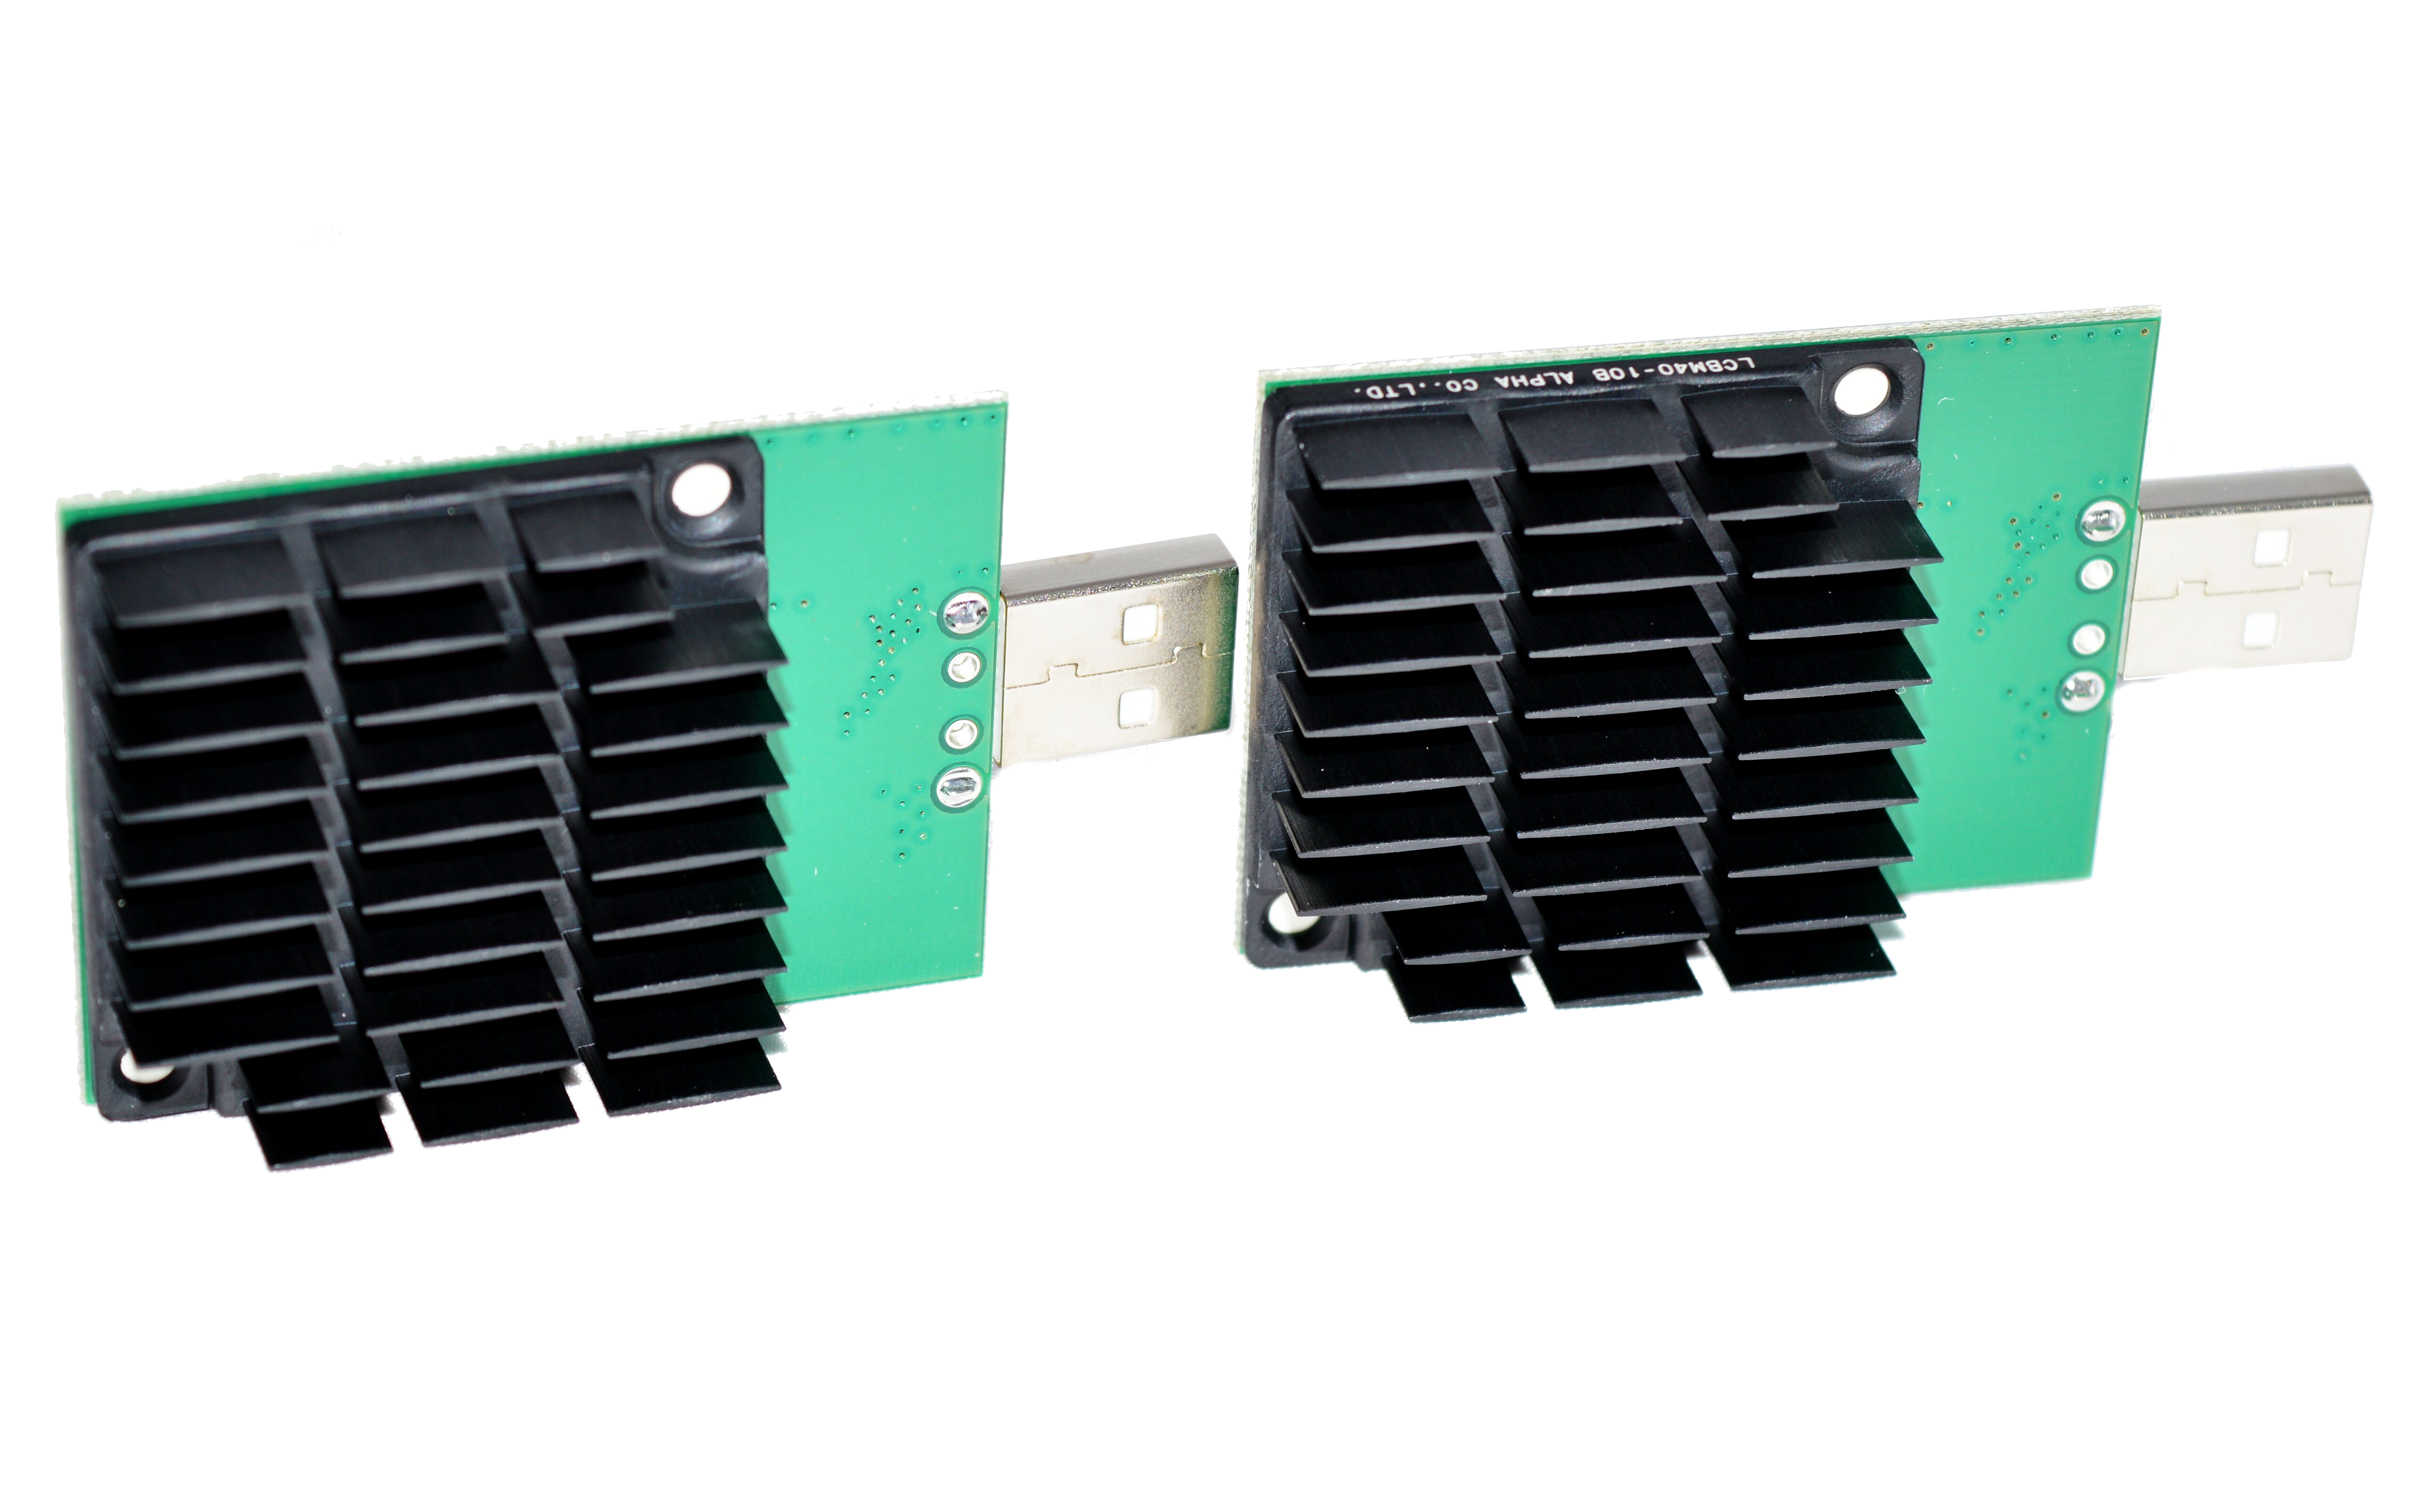
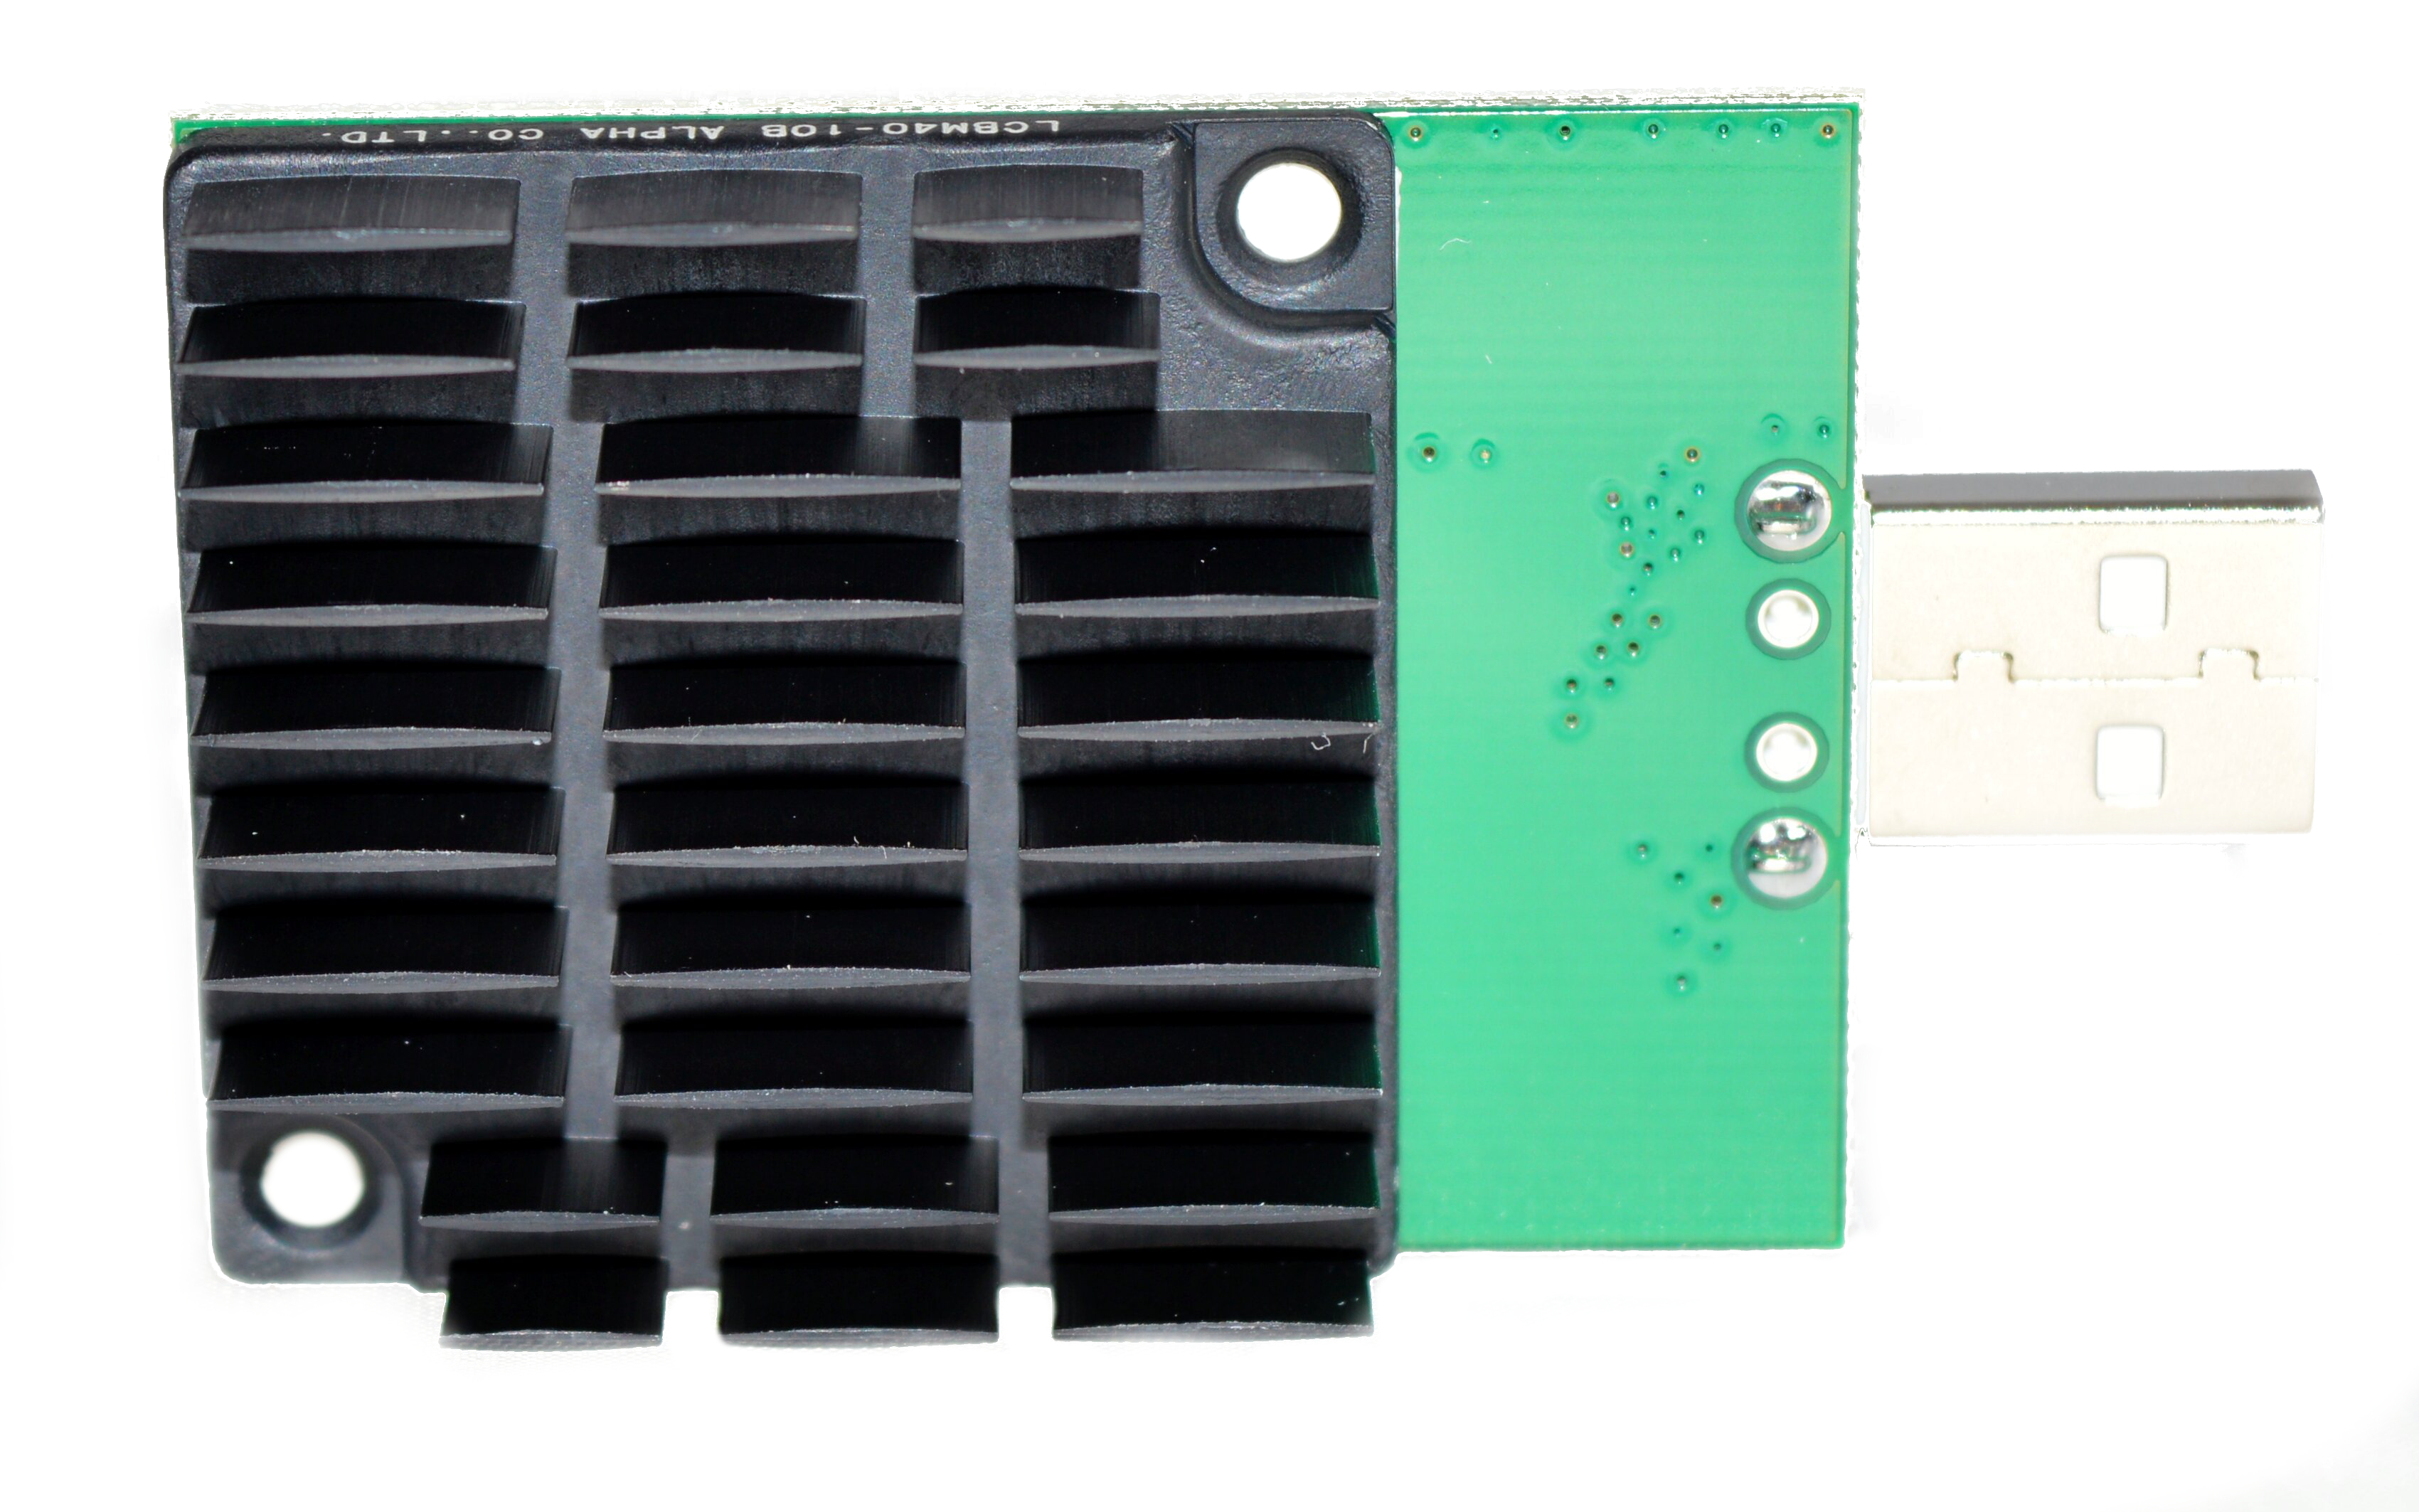
The NanoFury II board is designed by vs3 and features 2 Bitfury chips. It ships in a USPS cardboard sleve and is wrapped in both copious amounts of bubble wrap and static paper.
The NanoFury II board is designed by vs3 and features 2 Bitfury chips. It ships in a USPS cardboard sleve and is wrapped in both copious amounts of bubble wrap and static paper.
|
Chips
Hash Rate Rated Voltage Rated Current Power Consumption |
- 2x Bitfury gen2
- ~4GH stock, ~5GH OC'ed - 5V - 0.9A at stock, up to 1.9A OC'ed - 4.5 to 9.5W |

|
|
0b) What You Need
You will need the following:
You will need the following:
- A host windows PC.
- A 1A+ USB hub (see below).
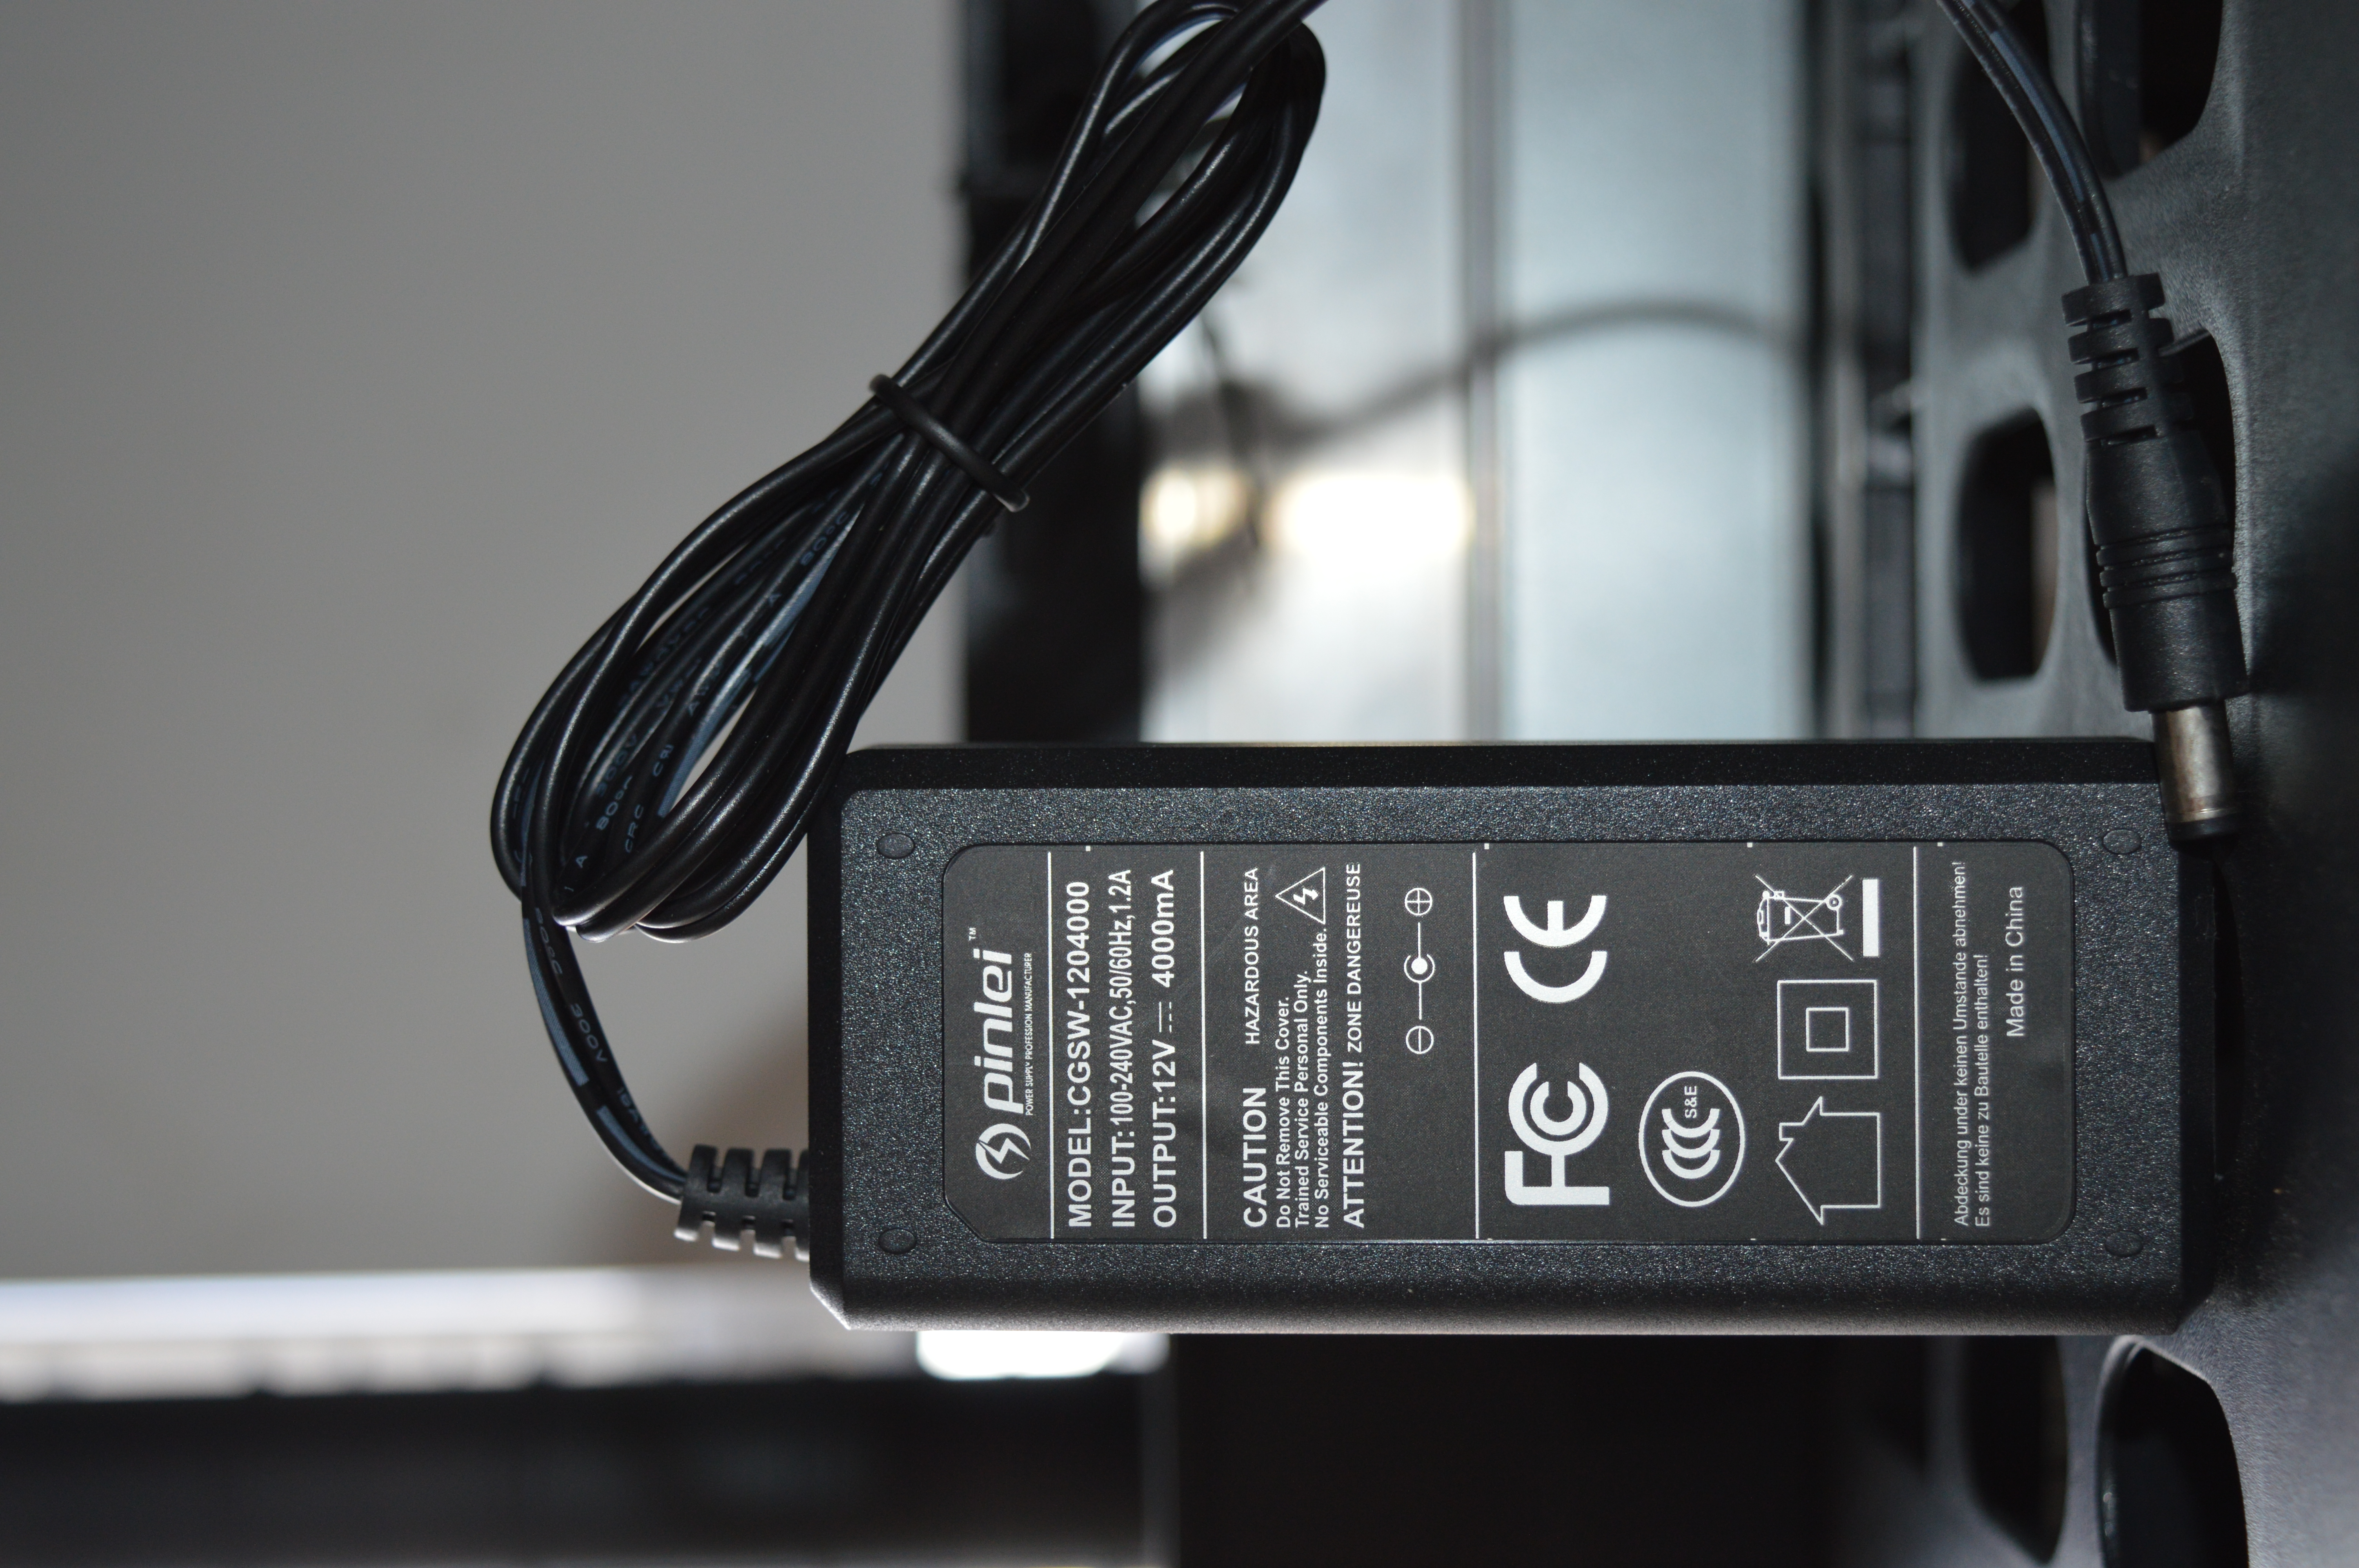
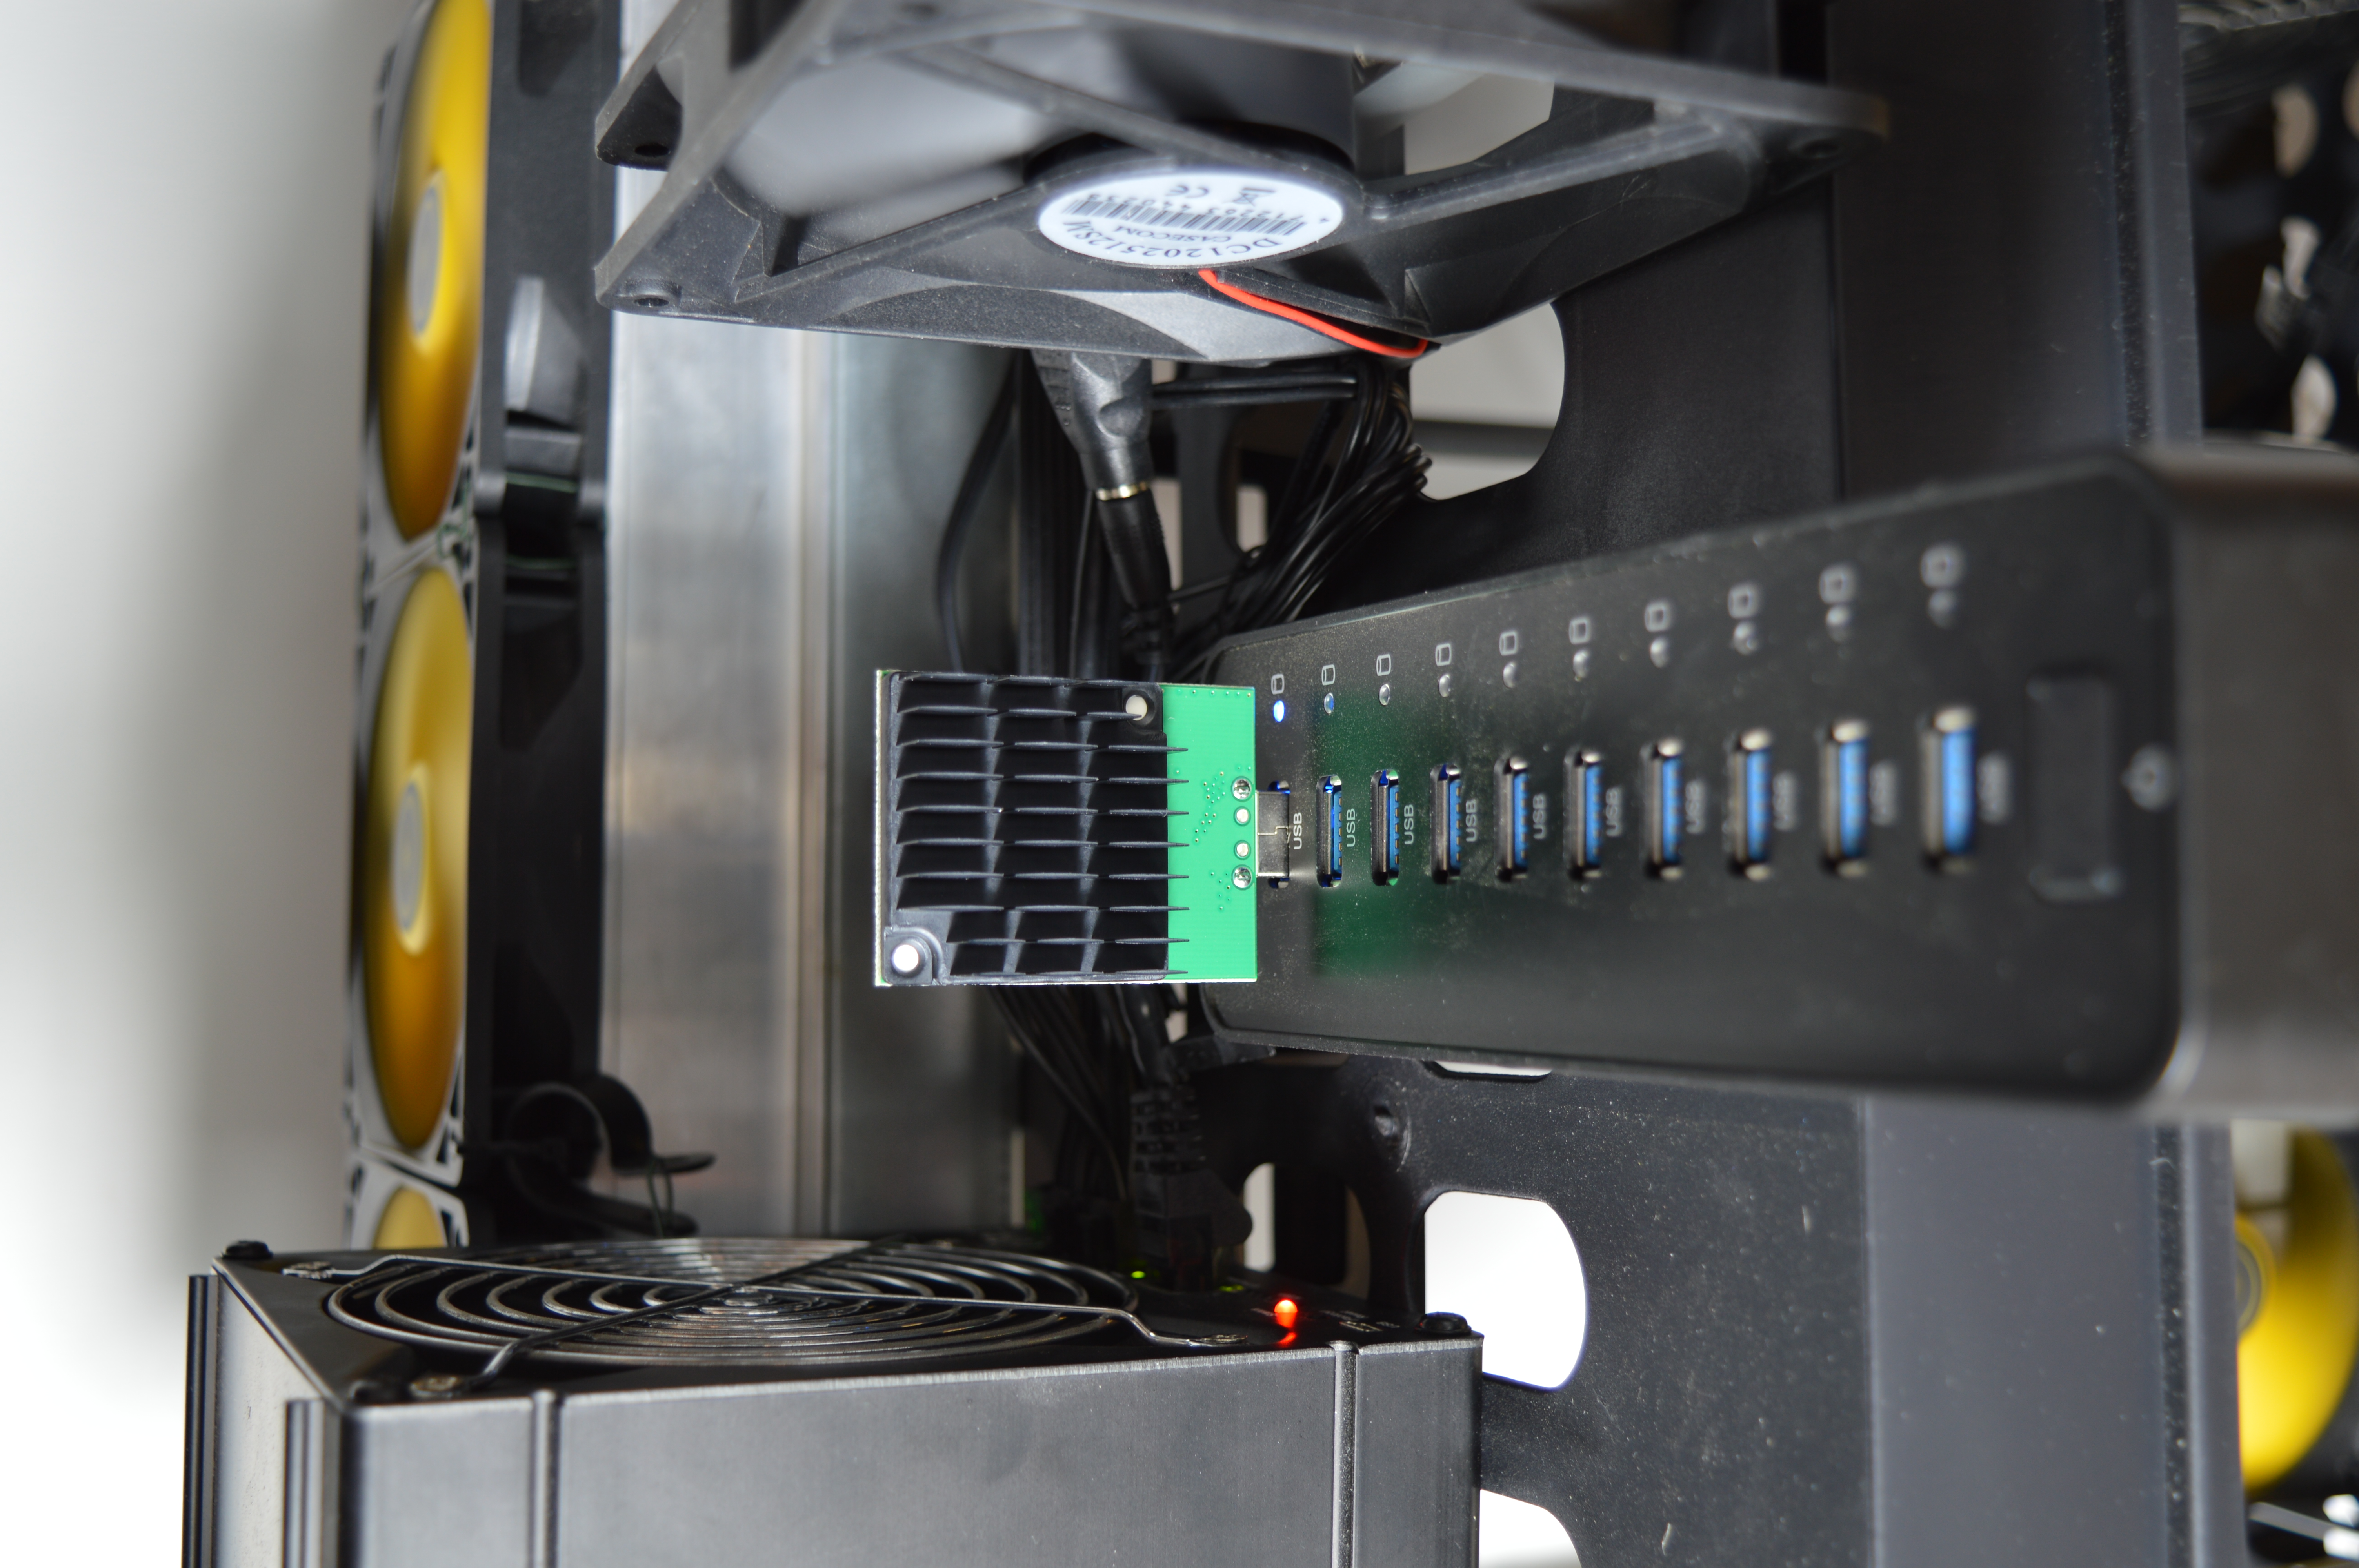
1) Powering
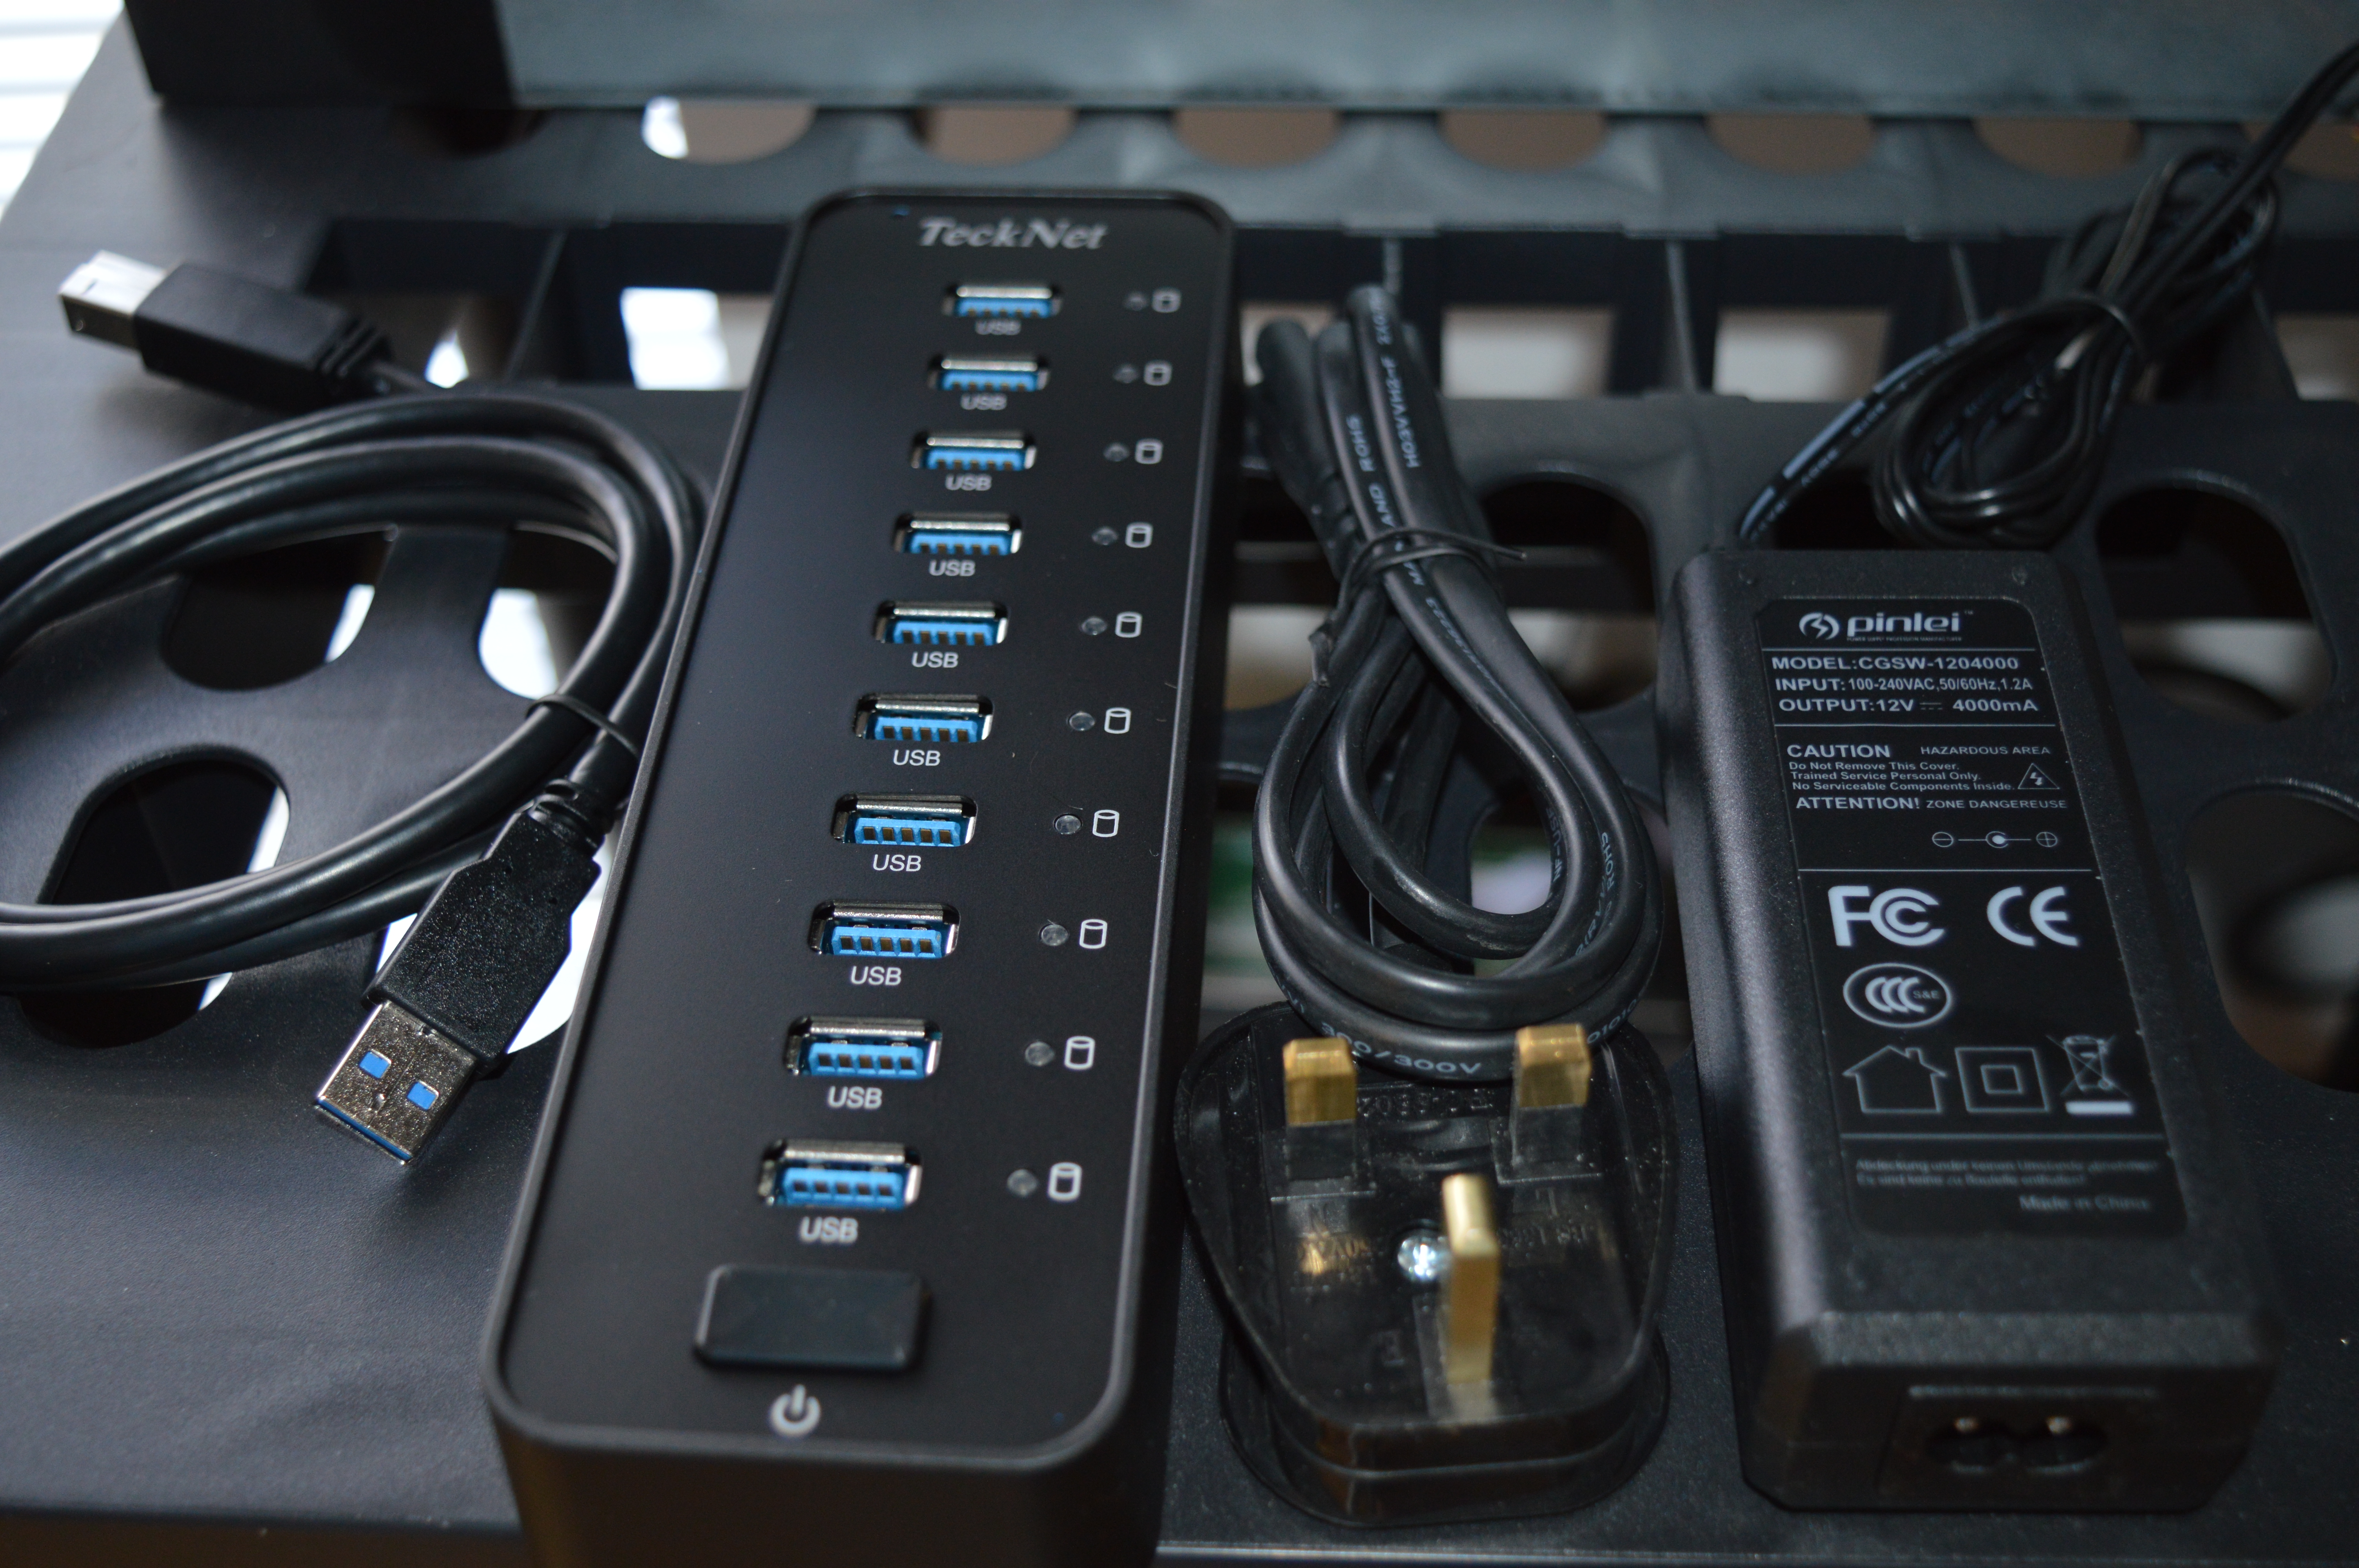
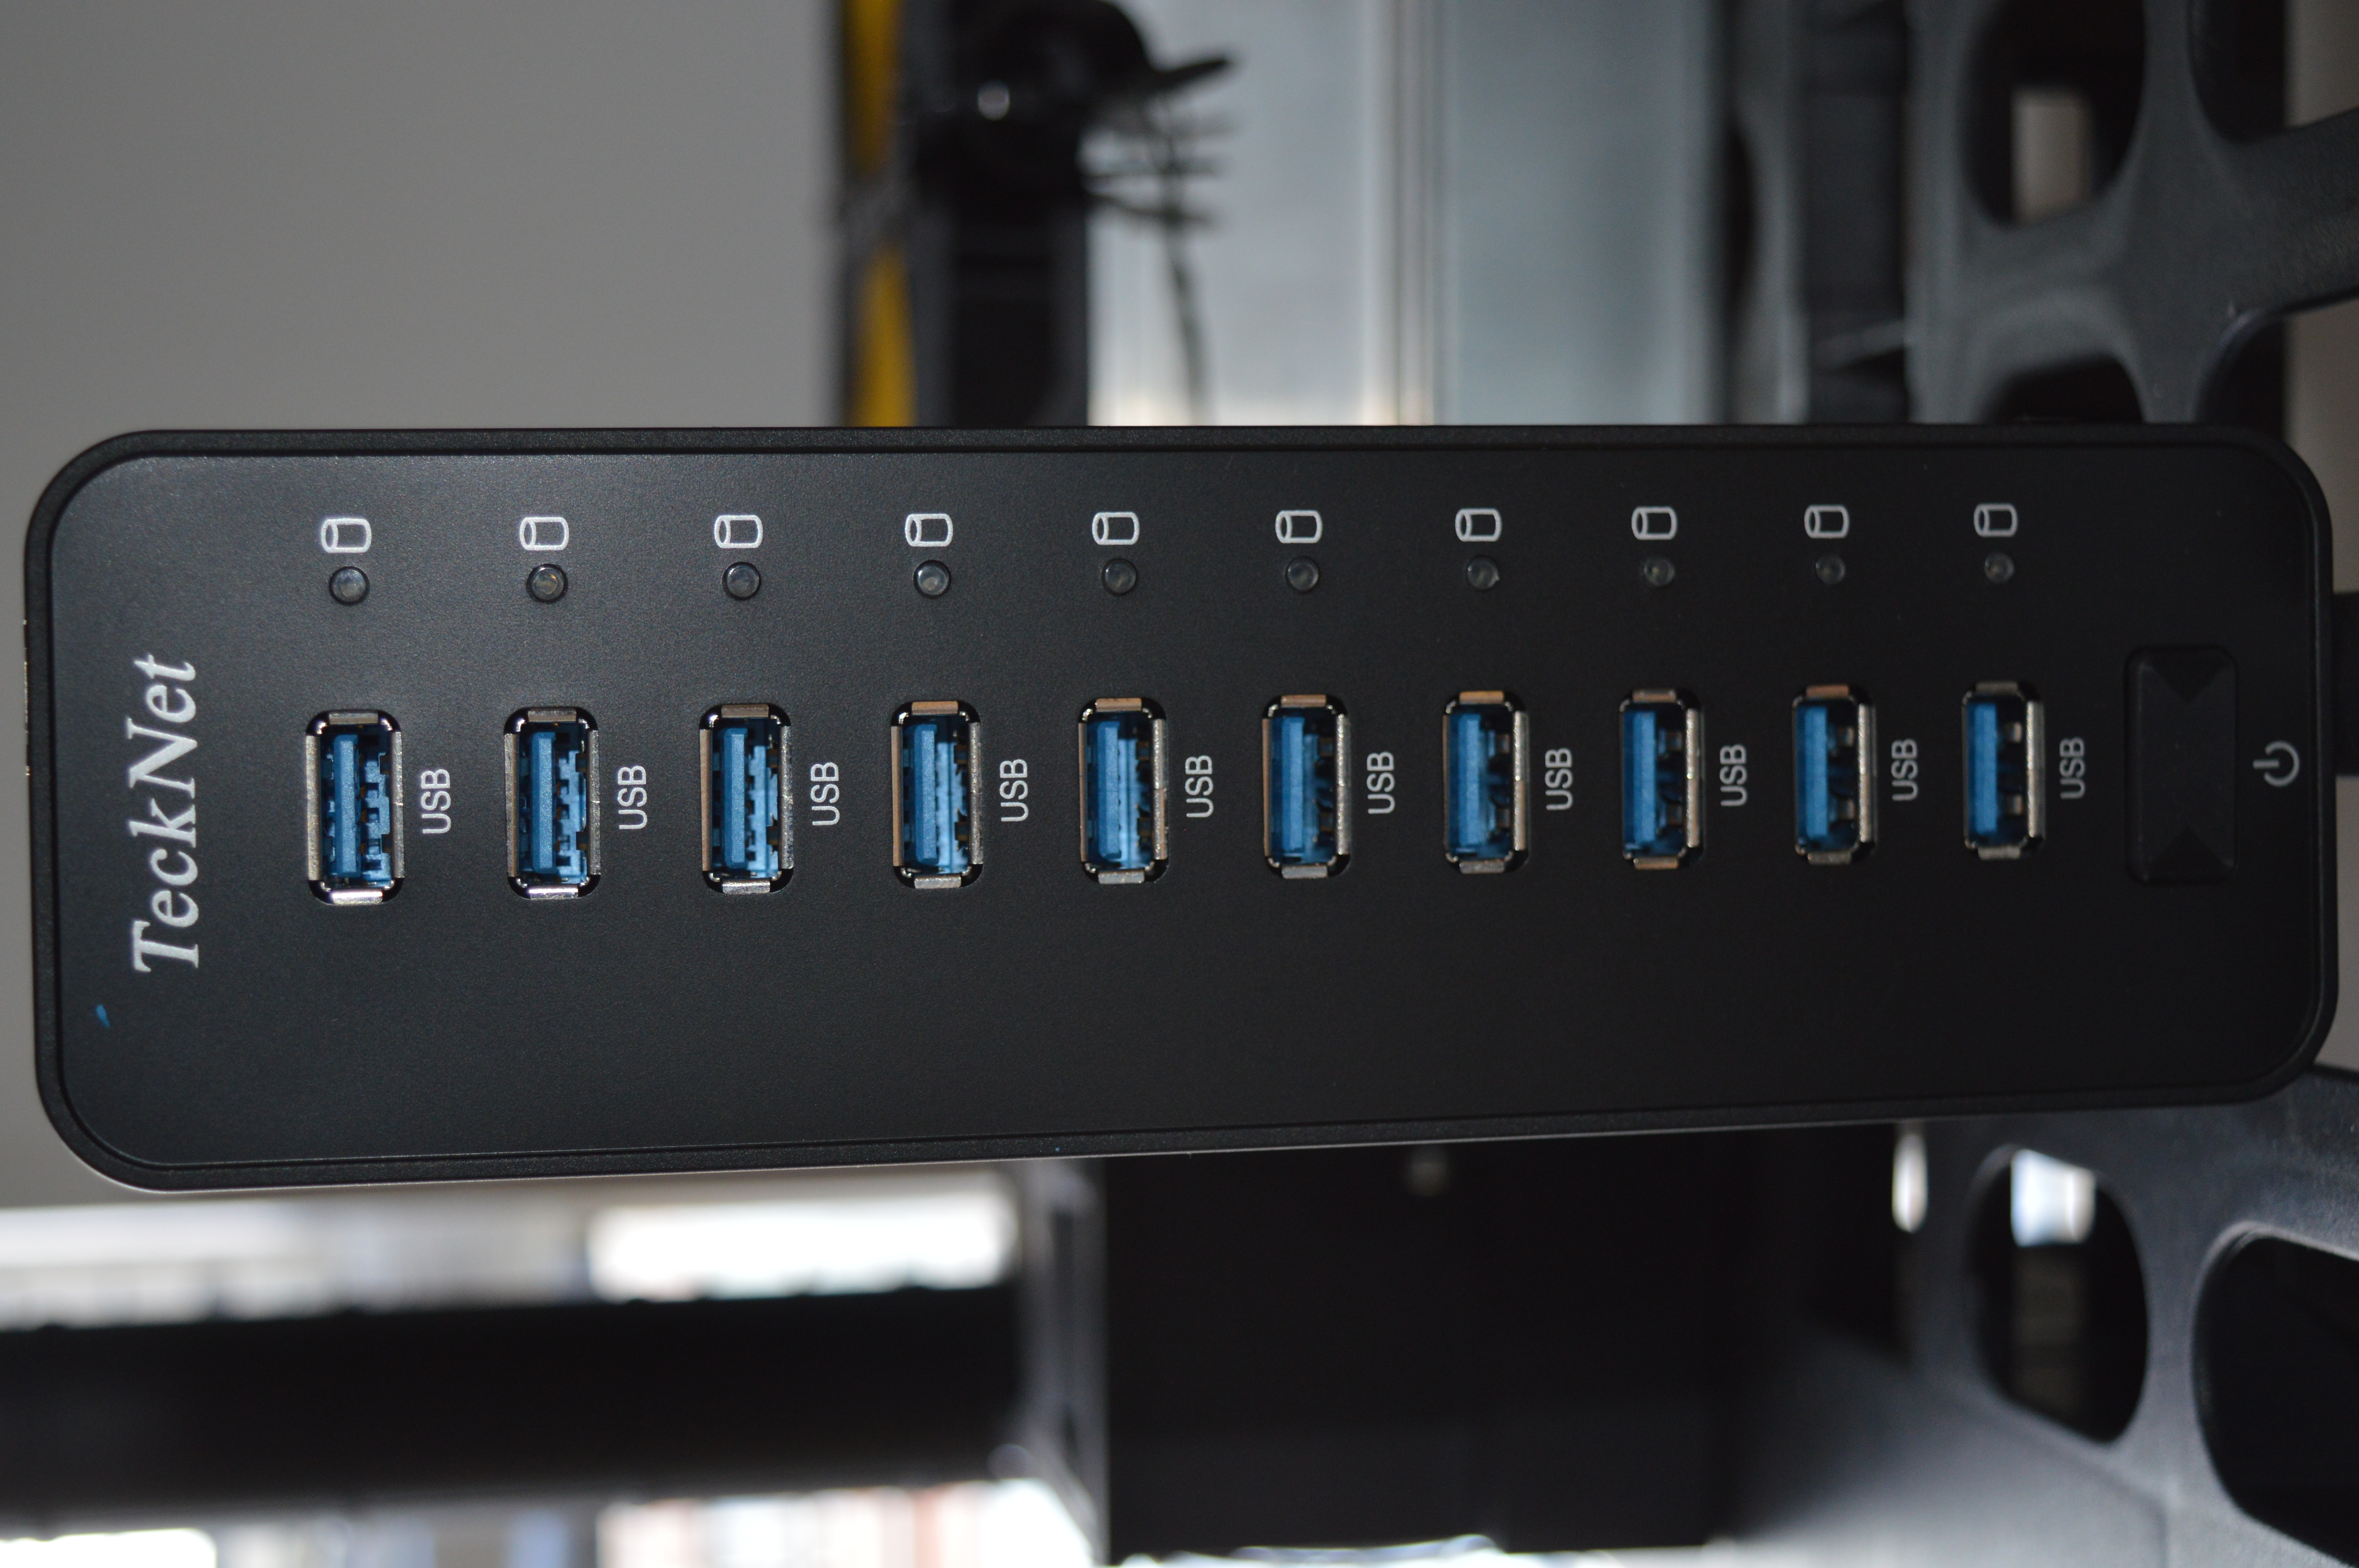
NanoFury IIs are USB based miners, and as such are powered directly from a USB hub. Hub choice is extremely important when running multiple miners, although external power is not required for overclocking. The USB2 specification is designed to provide 0.5A, and USB3 0.9A and so USB3 is strongly recommended.
I would recommend the following USB Hubs:
NanoFury IIs are USB based miners, and as such are powered directly from a USB hub. Hub choice is extremely important when running multiple miners, although external power is not required for overclocking. The USB2 specification is designed to provide 0.5A, and USB3 0.9A and so USB3 is strongly recommended.
- Plug in the USB hub's power adapter into the mains and the USB hub
- Plug the NanoFury II into USB hub
I would recommend the following USB Hubs:
|
USB 3 Hub:
(click your flag) |

|

|

|

2) Cooling
External cooling is not strictly required at stock speeds, but is strongly recommended any higher than 4GH. This can be done with the use of a simple 120mm fan or a USB powered fan. Please be careful when handling this heatsink as the fins are very thin and so extremely sharp.
External cooling is not strictly required at stock speeds, but is strongly recommended any higher than 4GH. This can be done with the use of a simple 120mm fan or a USB powered fan. Please be careful when handling this heatsink as the fins are very thin and so extremely sharp.
|
120mm Fan:
(click your flag) |

|

|

|
|
USB Fan:
(click your flag) |

|

|

|
3a) Configuration
Configuration is straight forward. Both BFG and CGMiner are currently supported and a Windows based PC is therefore recommended.
BFGMiner:
Configuration is straight forward. Both BFG and CGMiner are currently supported and a Windows based PC is therefore recommended.
BFGMiner:
- Plug in a USB cable from your USB hub to your PC.
- Power the NanoFury II as above and turn the hub on.
- No drivers need to be installed.
- Download BFGMiner and run it.
- Create a new text file using notepad, with your pool and miner information in it, as below. Save it as a .bat file in the same directory as BFGMiner.
- Run the bat file to start mining.
- It may take up to 5 minutes for 3.7-4GH to be achieved.
bfgminer.exe -o mint.bitminter.com:3333 -u dogie_hexfury -p 123
bfgminer.exe -o us1.ghash.io:3333 -u dogie_hexfury -p 123
bfgminer.exe -o stratum.mining.eligius.st:3334 -u dogie_hexfury -p 123
3b) Overclocking (optional)
Overclocking is required in order to hit 5GH.
Overclocking is required in order to hit 5GH.
- Press M to manage devices.
- Press O to enter a new oscillator bit rate.
- 50 is default, 53 is standing OCing, 55-56 is tested cap. Do NOT exceed this. Press enter to submit the change.
- Each chip is controlled separately, so press down to see the second chip and repeat.
- Pressing D and then Z clears the stats so you can see the changes quicker.
- If your have set the oscillator too high then hardware % will rise above 5% and the chip will be reset often. If this is the case, lower the rate. Chip 'b' will likely max out 1 bit below chip 'a'.
|
|
4) Troubleshooting
|
TBD as problems arise.
|
Disclaimer: No warranty is provided with this information. It is your own responsibility if you or your property are injured or damaged following the information.
5) Where to buy


|
|
|