
HashCoins Apollo Setup Guide
|
Contents
0) Introduction 0b) What You Need 1) Powering 2) Cooling 3) Case 4) Configuration 5) Troubleshooting 6) Where to buy |
|
0) Introduction
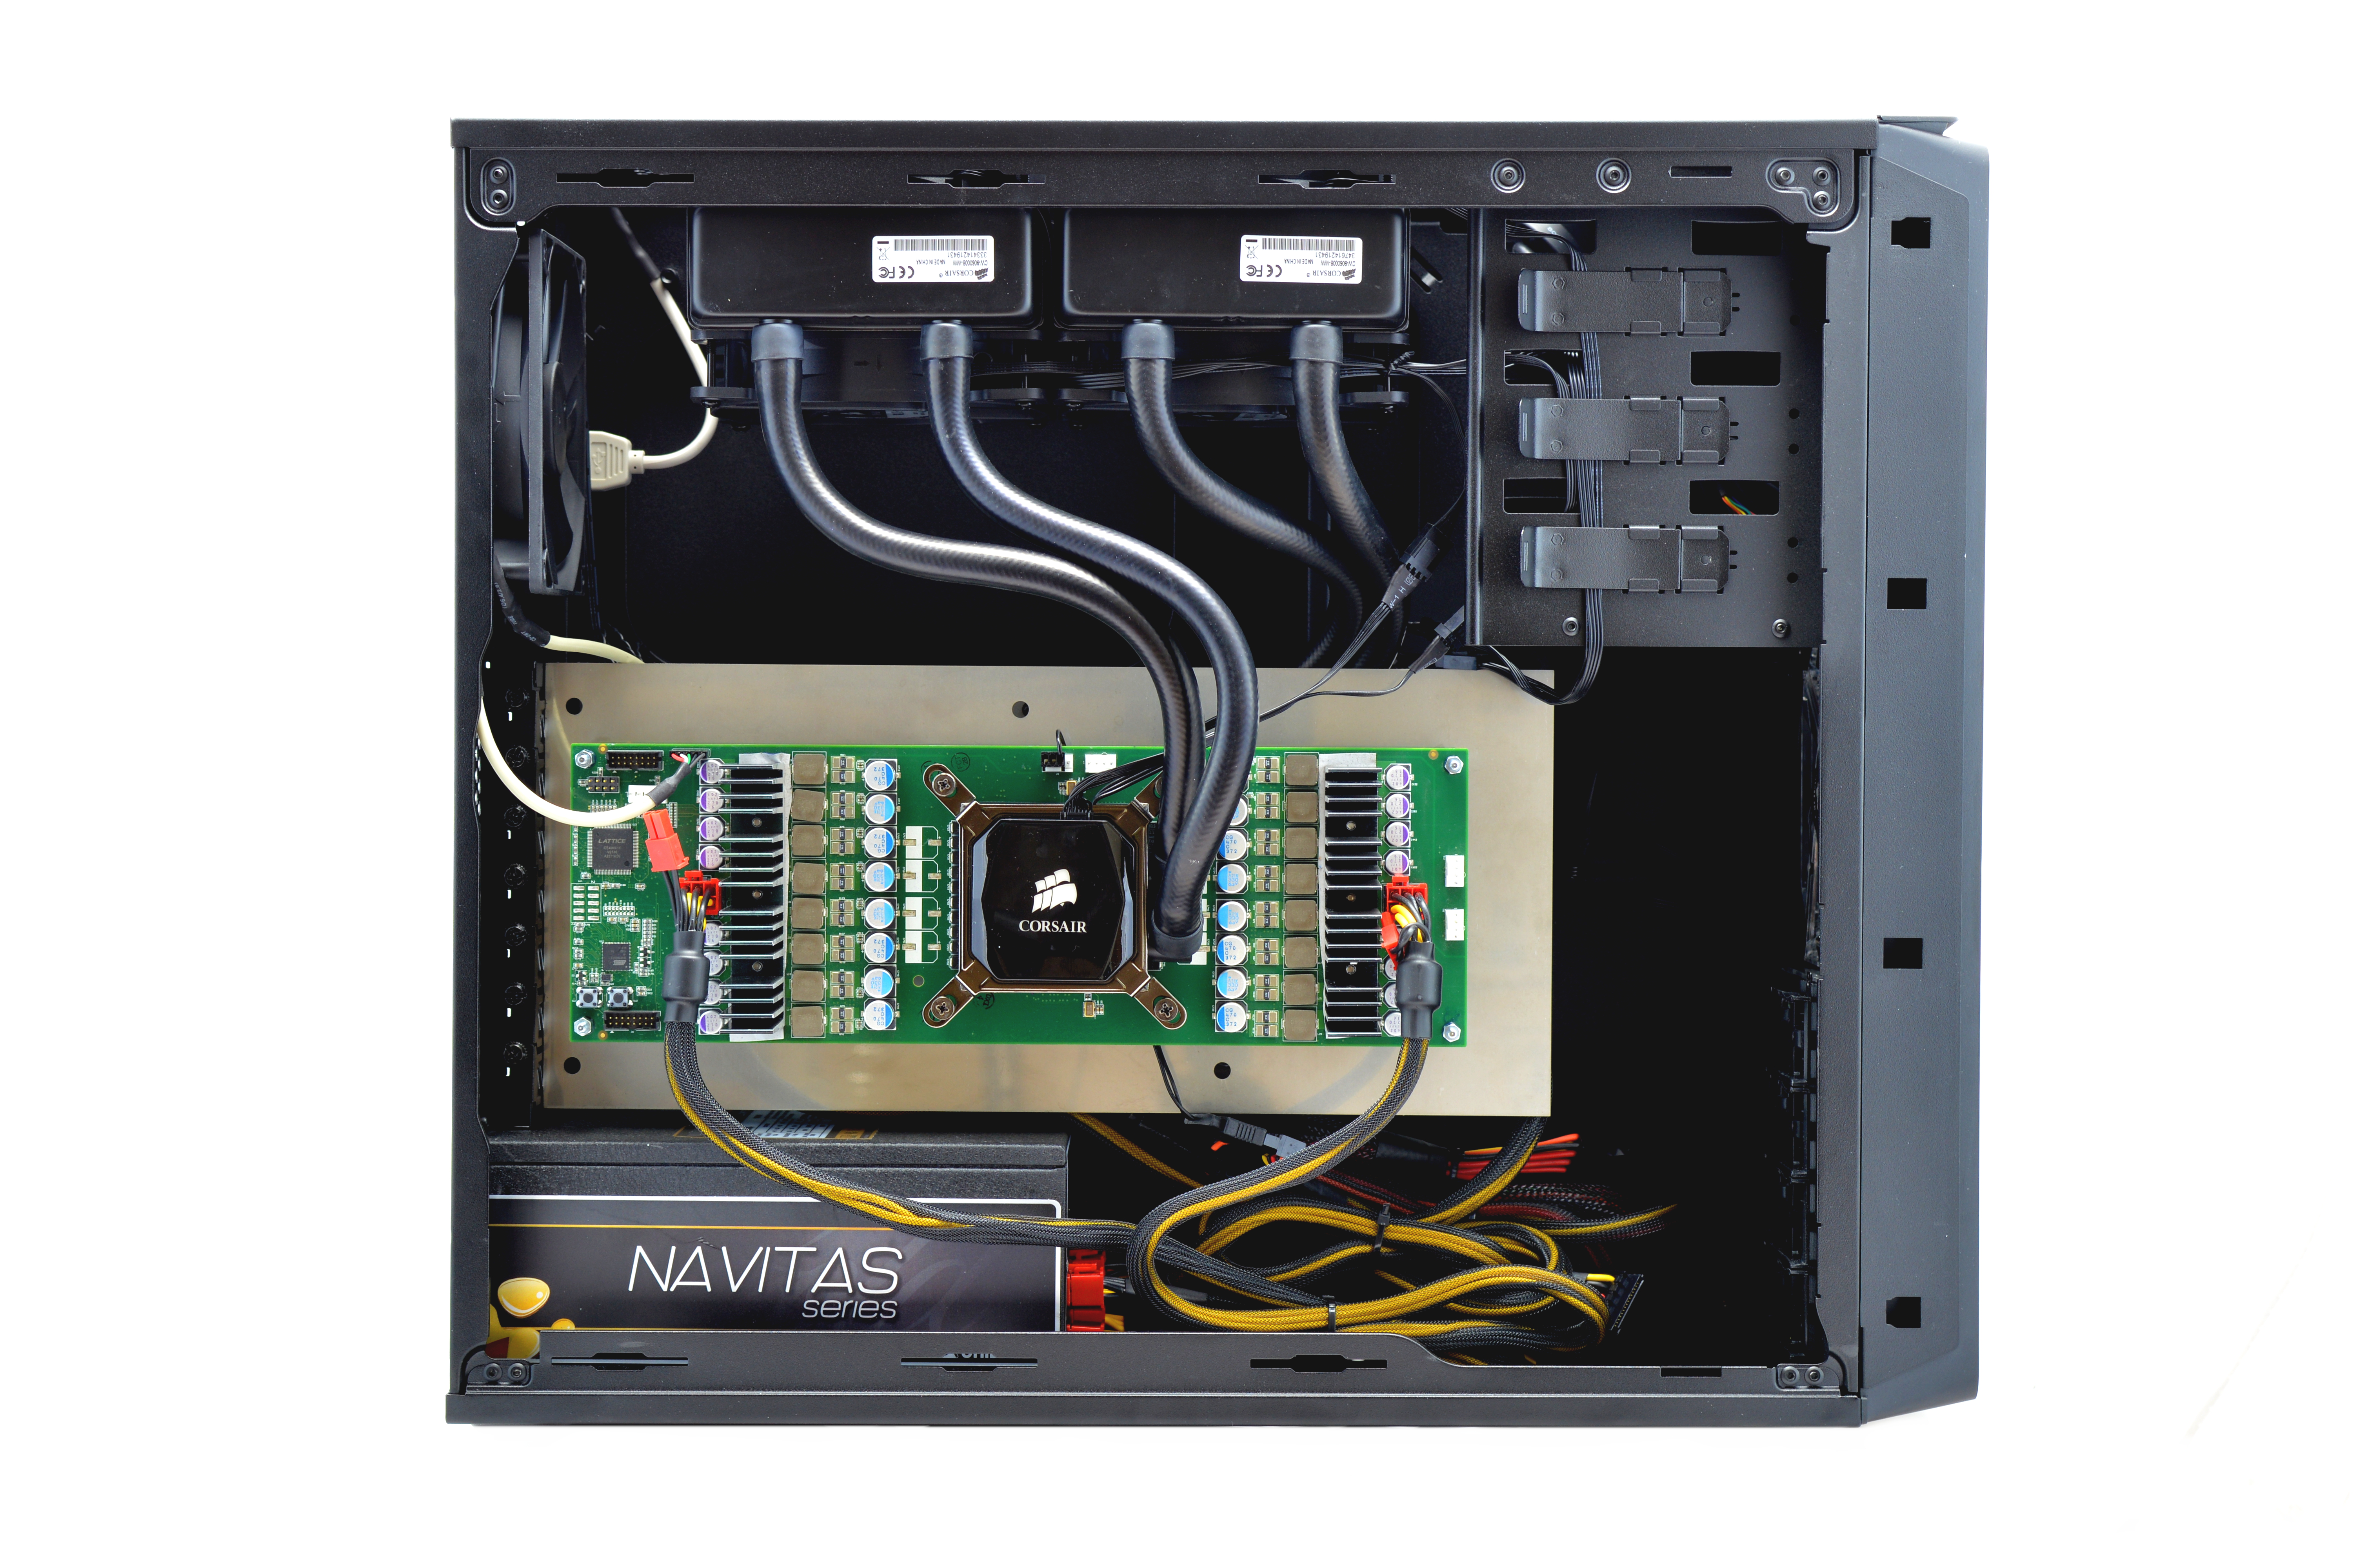
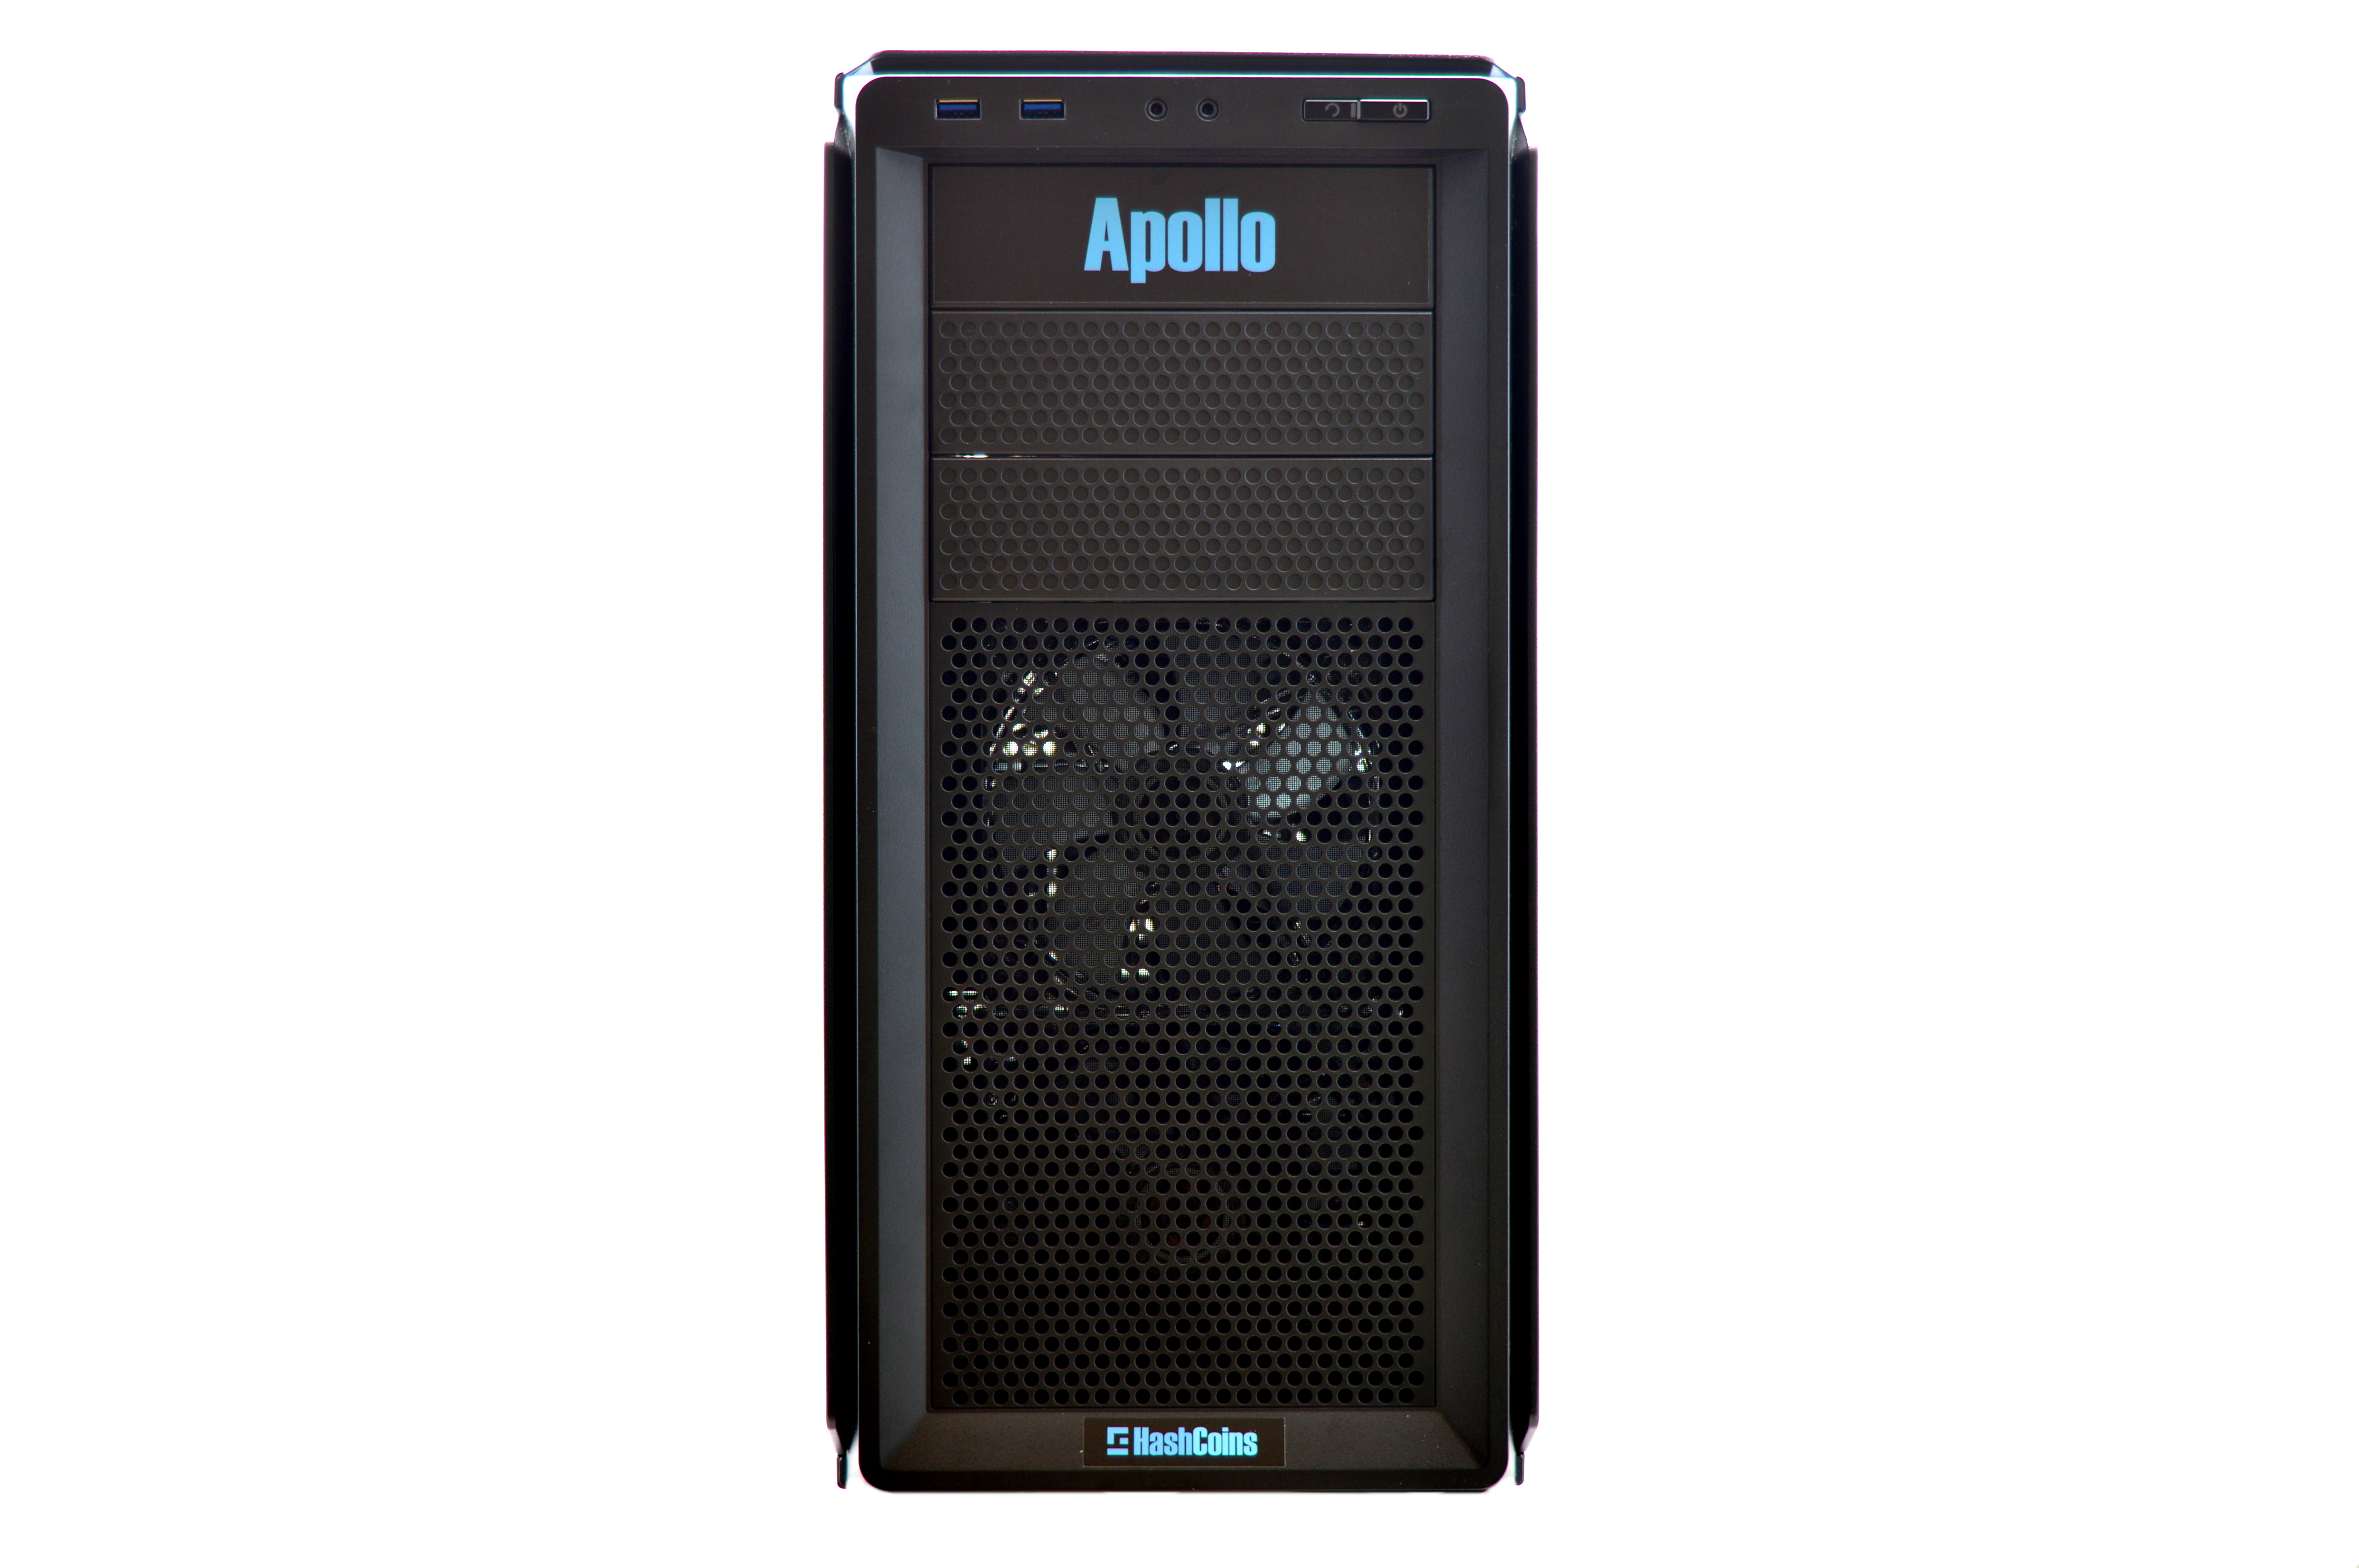
HashCoins' Apollo utilises two Golden Nonce ASICs within a high end PC case. Sealed watercooling loops remove heat to the internal radiators, while a 1250W PSU provides power. No controller is provided.
HashCoins' Apollo utilises two Golden Nonce ASICs within a high end PC case. Sealed watercooling loops remove heat to the internal radiators, while a 1250W PSU provides power. No controller is provided.
|
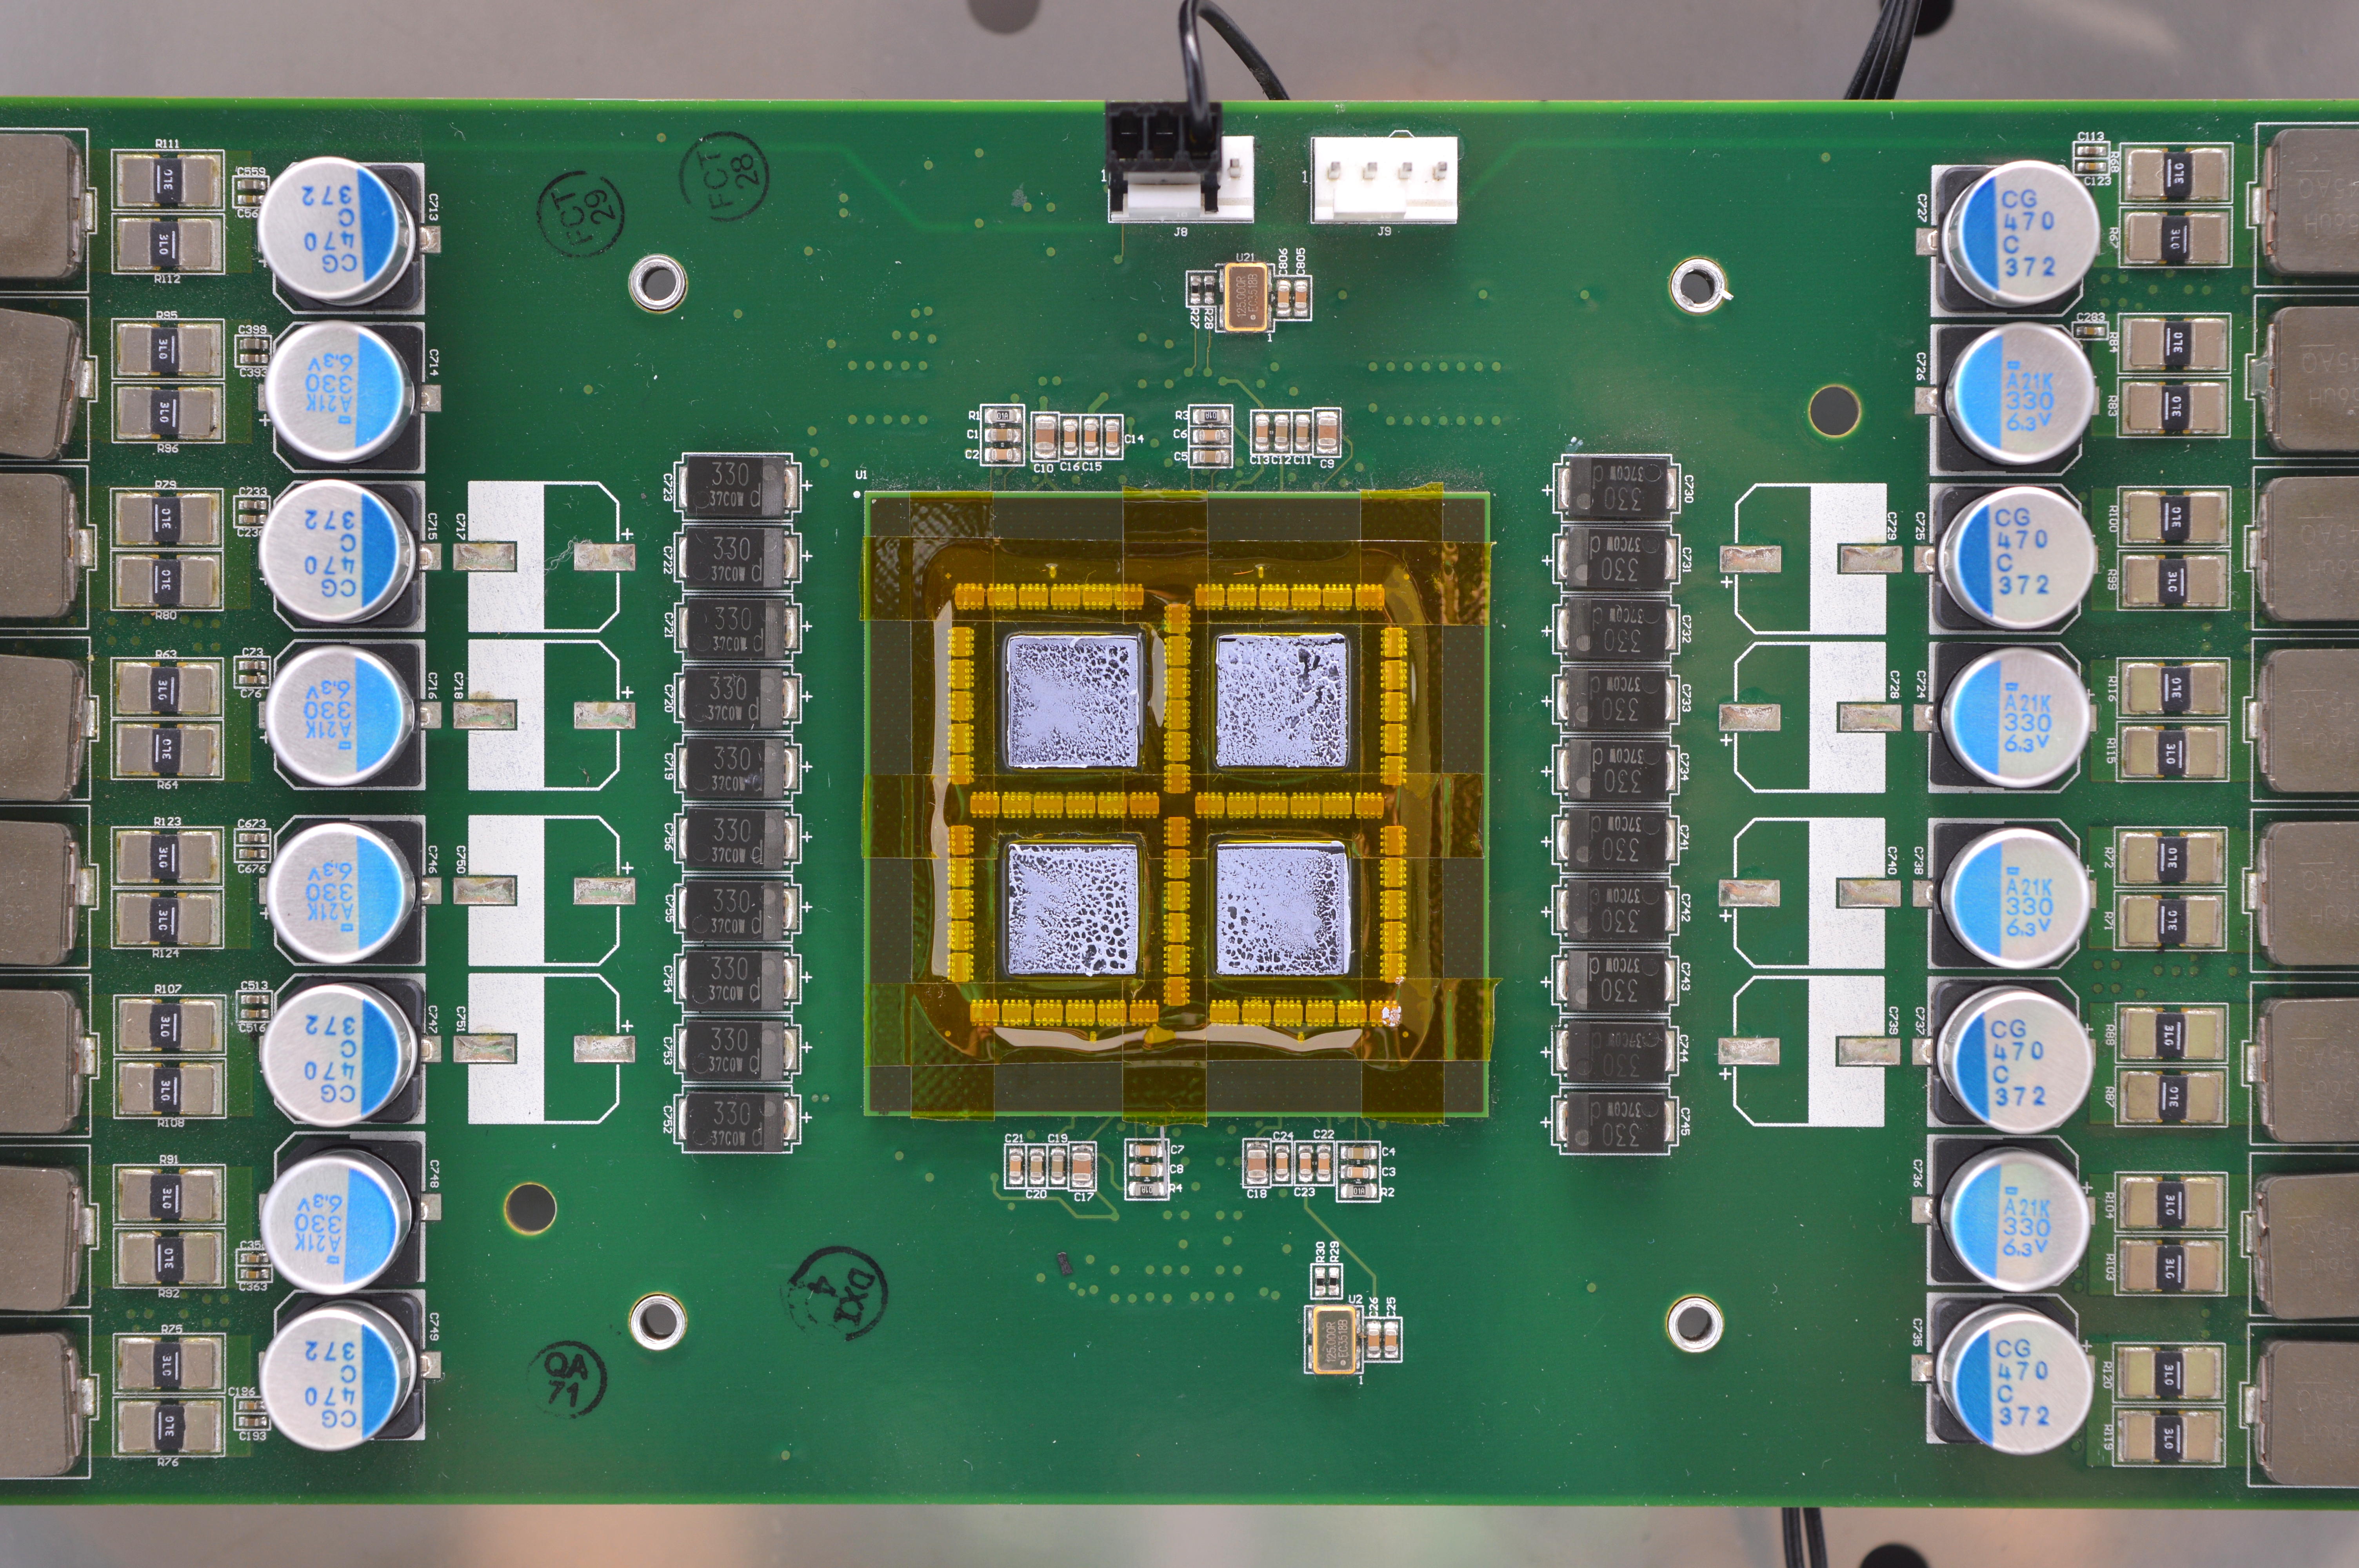
Chips
Rated Hash Rate Rated Voltage Rated Current Power Consumption |
- 2x Golden Nonce
- ~1100GH - 12V - 96A - ~1150W |

|
|
0b) What You Need
You will need a few accessories and a power supply to get started.
You will need a few accessories and a power supply to get started.
Click your flag to find everything you need to get started at Amazon!


|


|


|
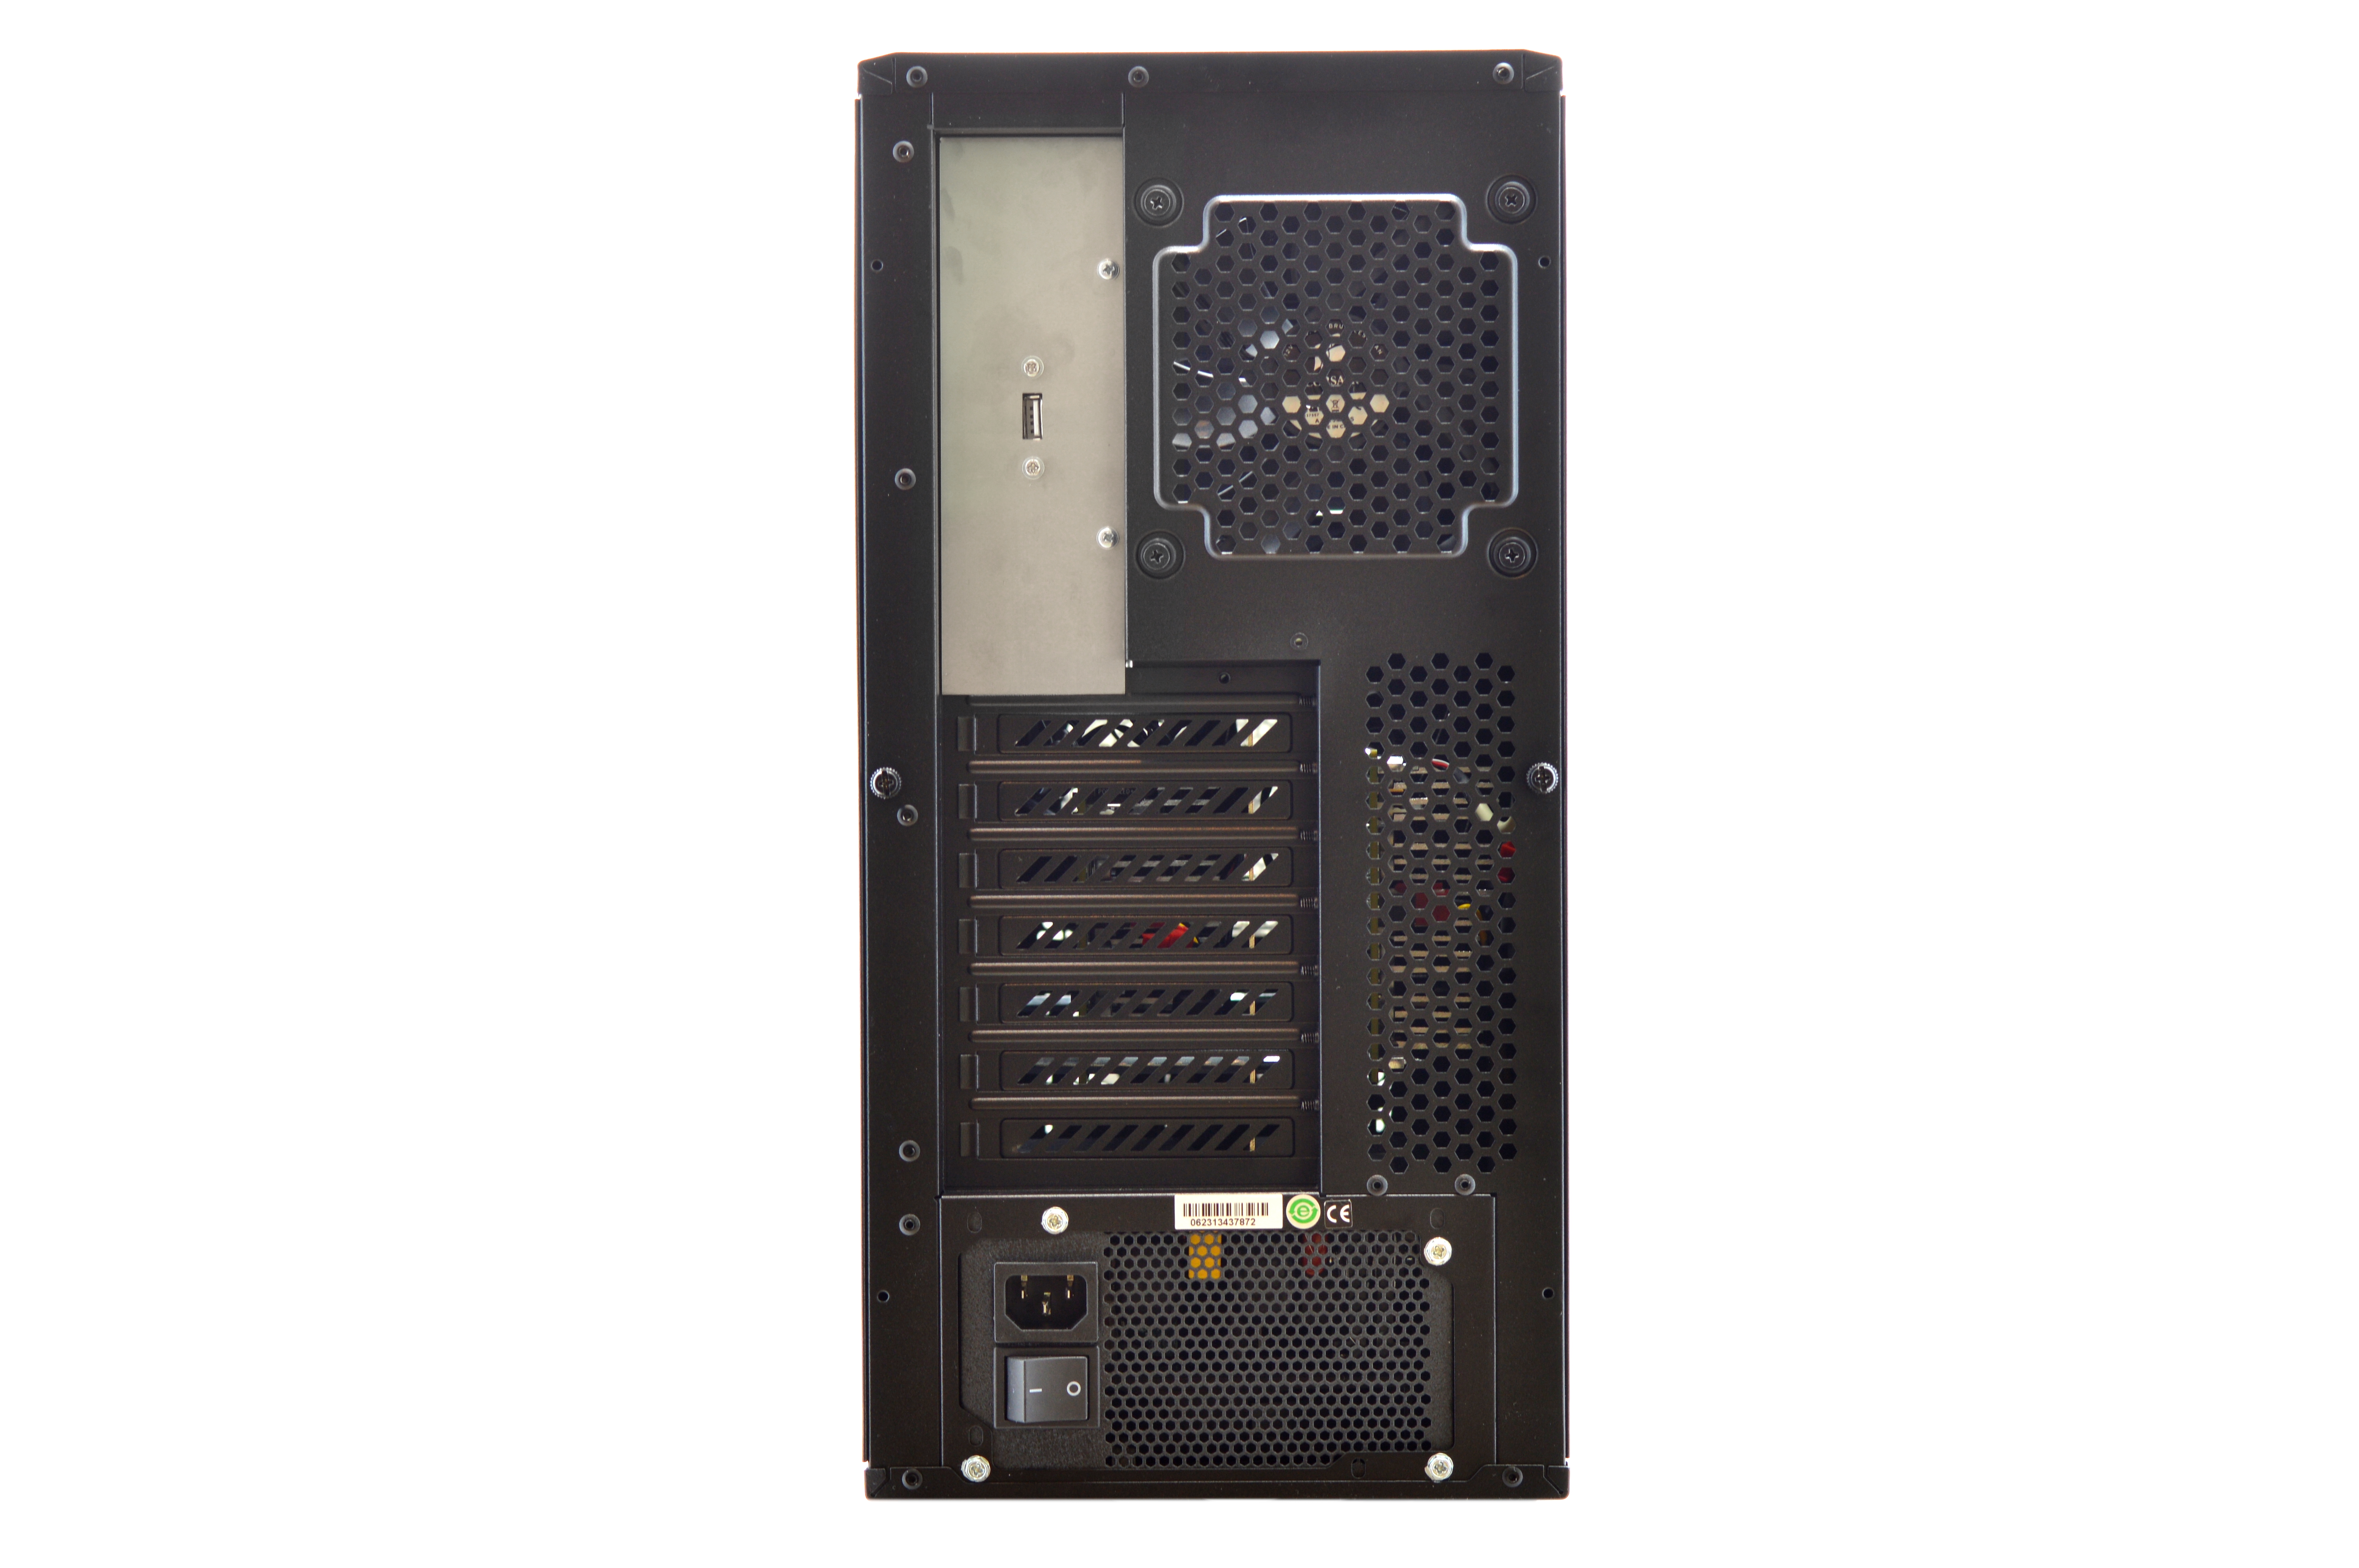
1) Powering
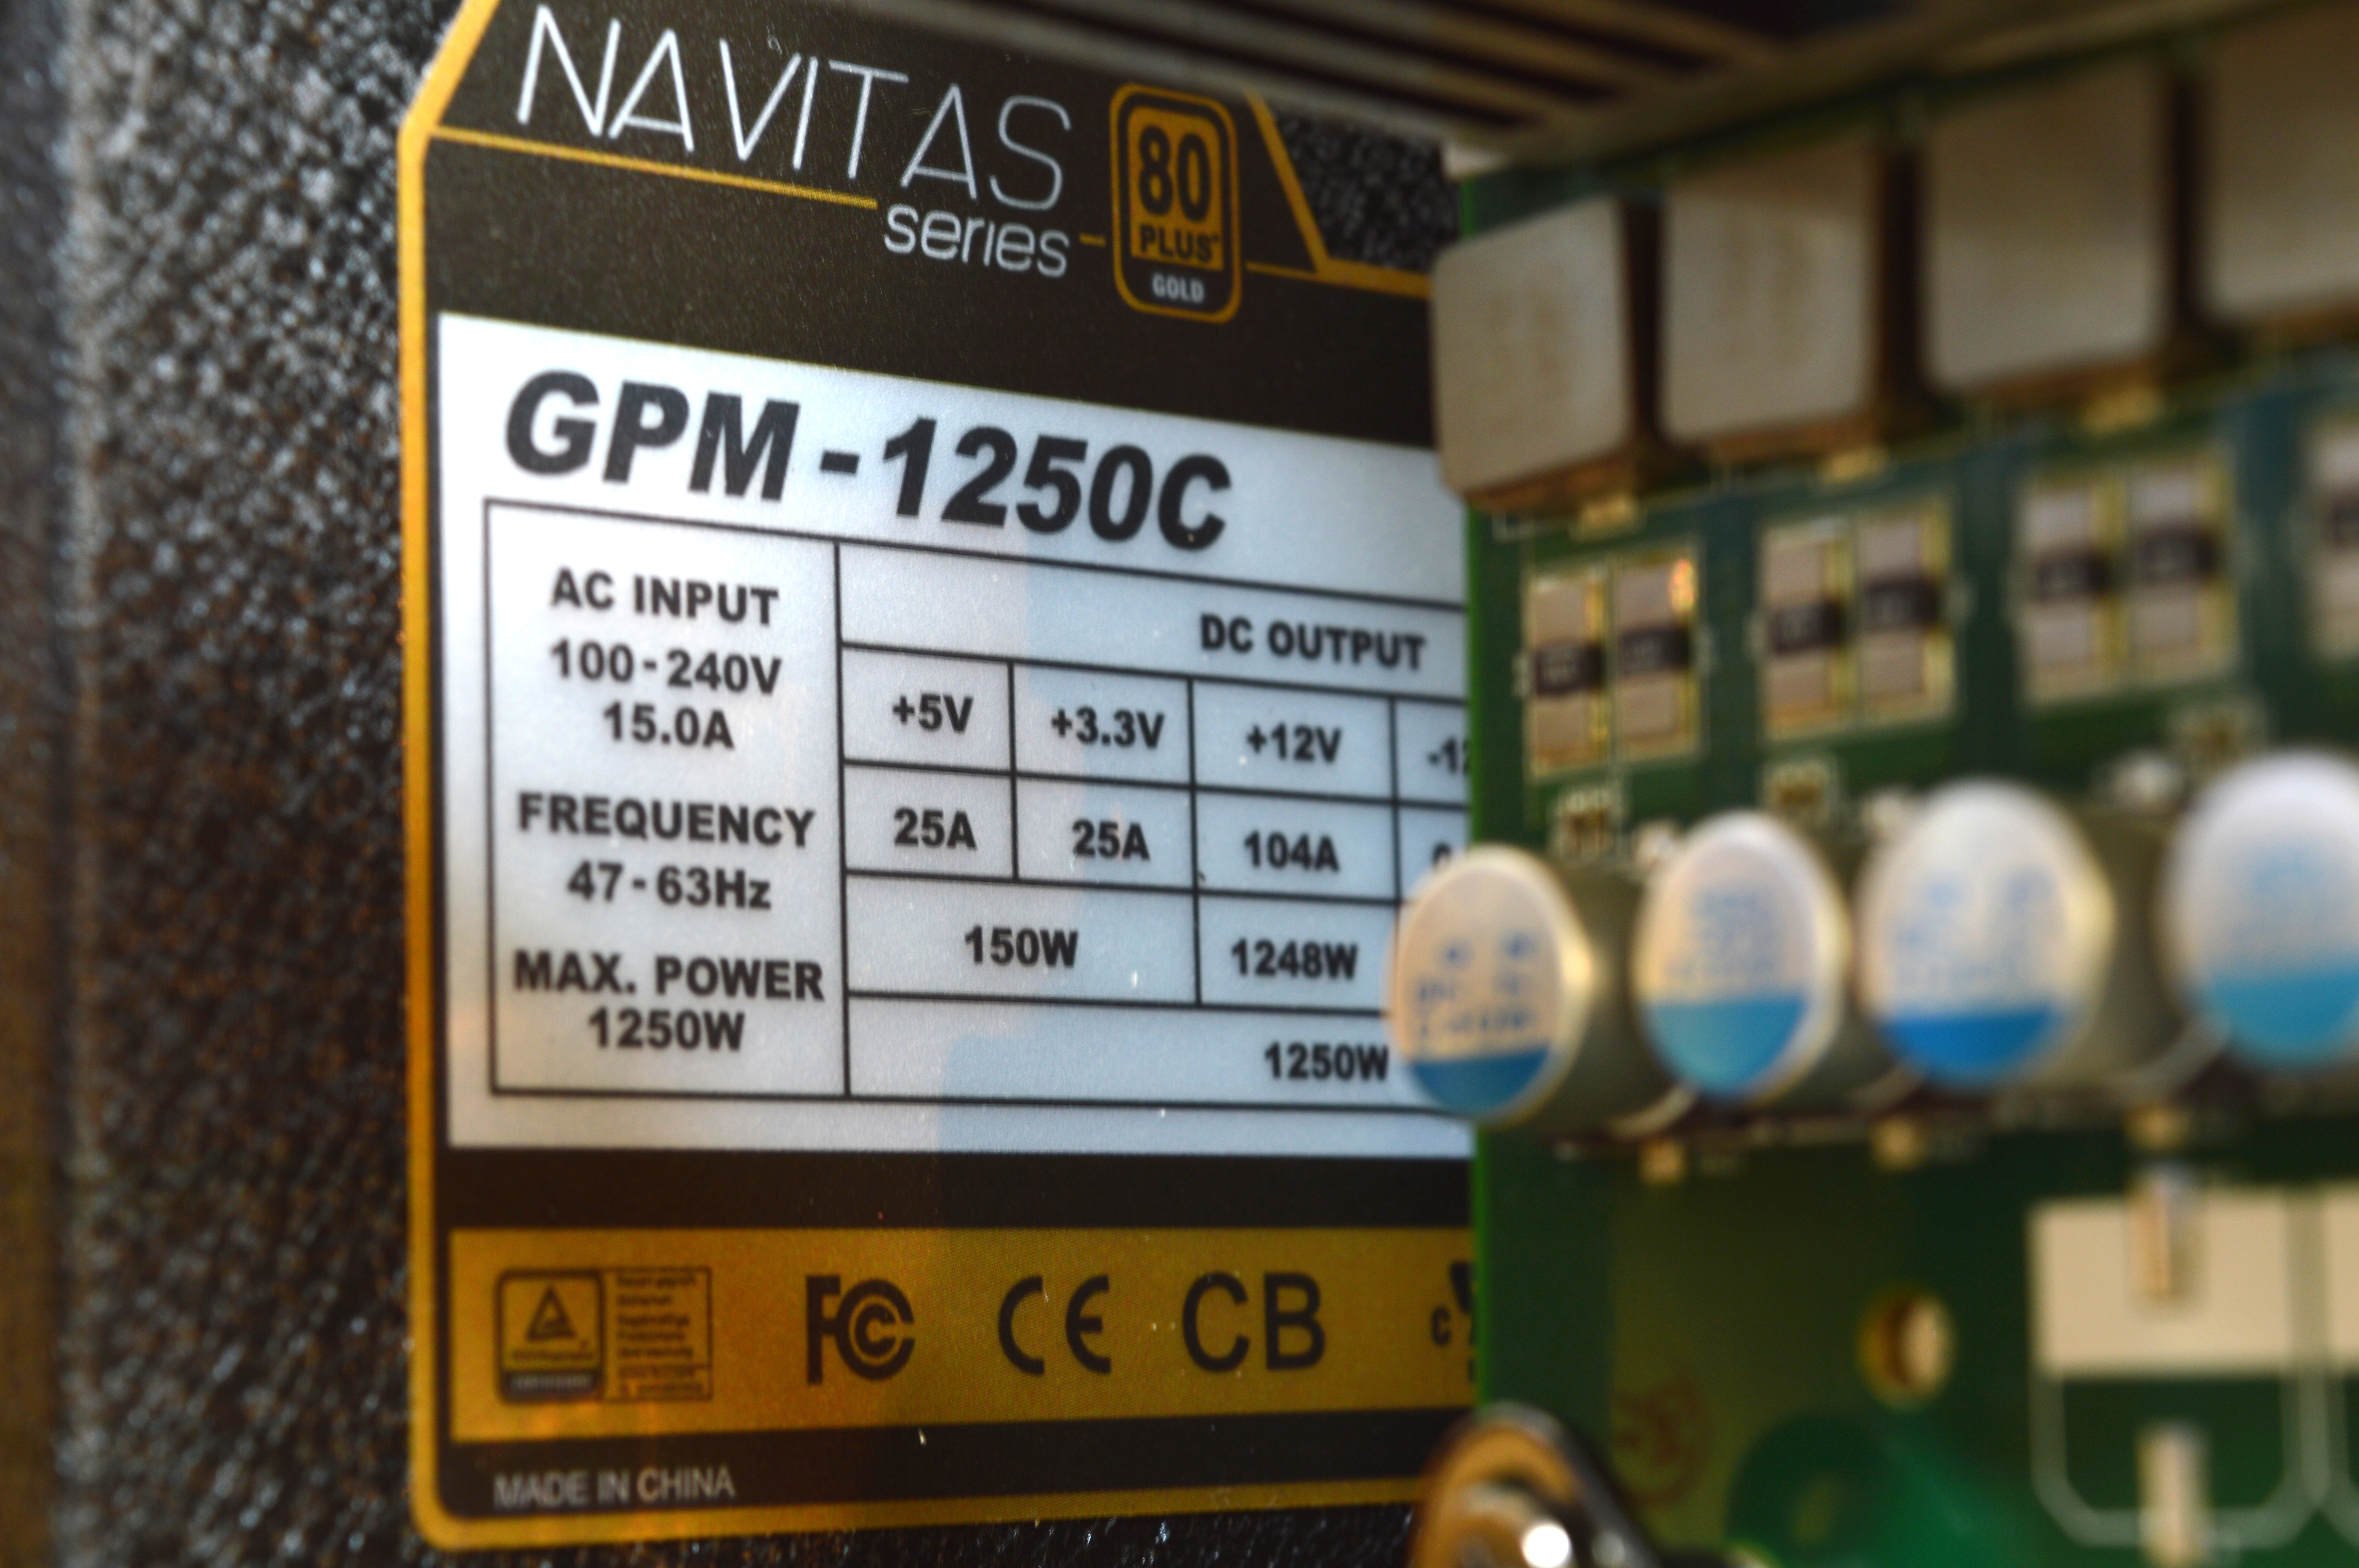
Apollo's come with a 1250W Chieftec Navitas GPM-1250C PSU in a standard ATX formfactor. It features over 90% efficiency and 1250W on its single 12V rail. If you wish to replace it, 6 PCI-E 6 pin connectors are required. Power is controlled with the PSU switch on the back and not the case's power button.
Apollo's come with a 1250W Chieftec Navitas GPM-1250C PSU in a standard ATX formfactor. It features over 90% efficiency and 1250W on its single 12V rail. If you wish to replace it, 6 PCI-E 6 pin connectors are required. Power is controlled with the PSU switch on the back and not the case's power button.

|
|
2) Cooling
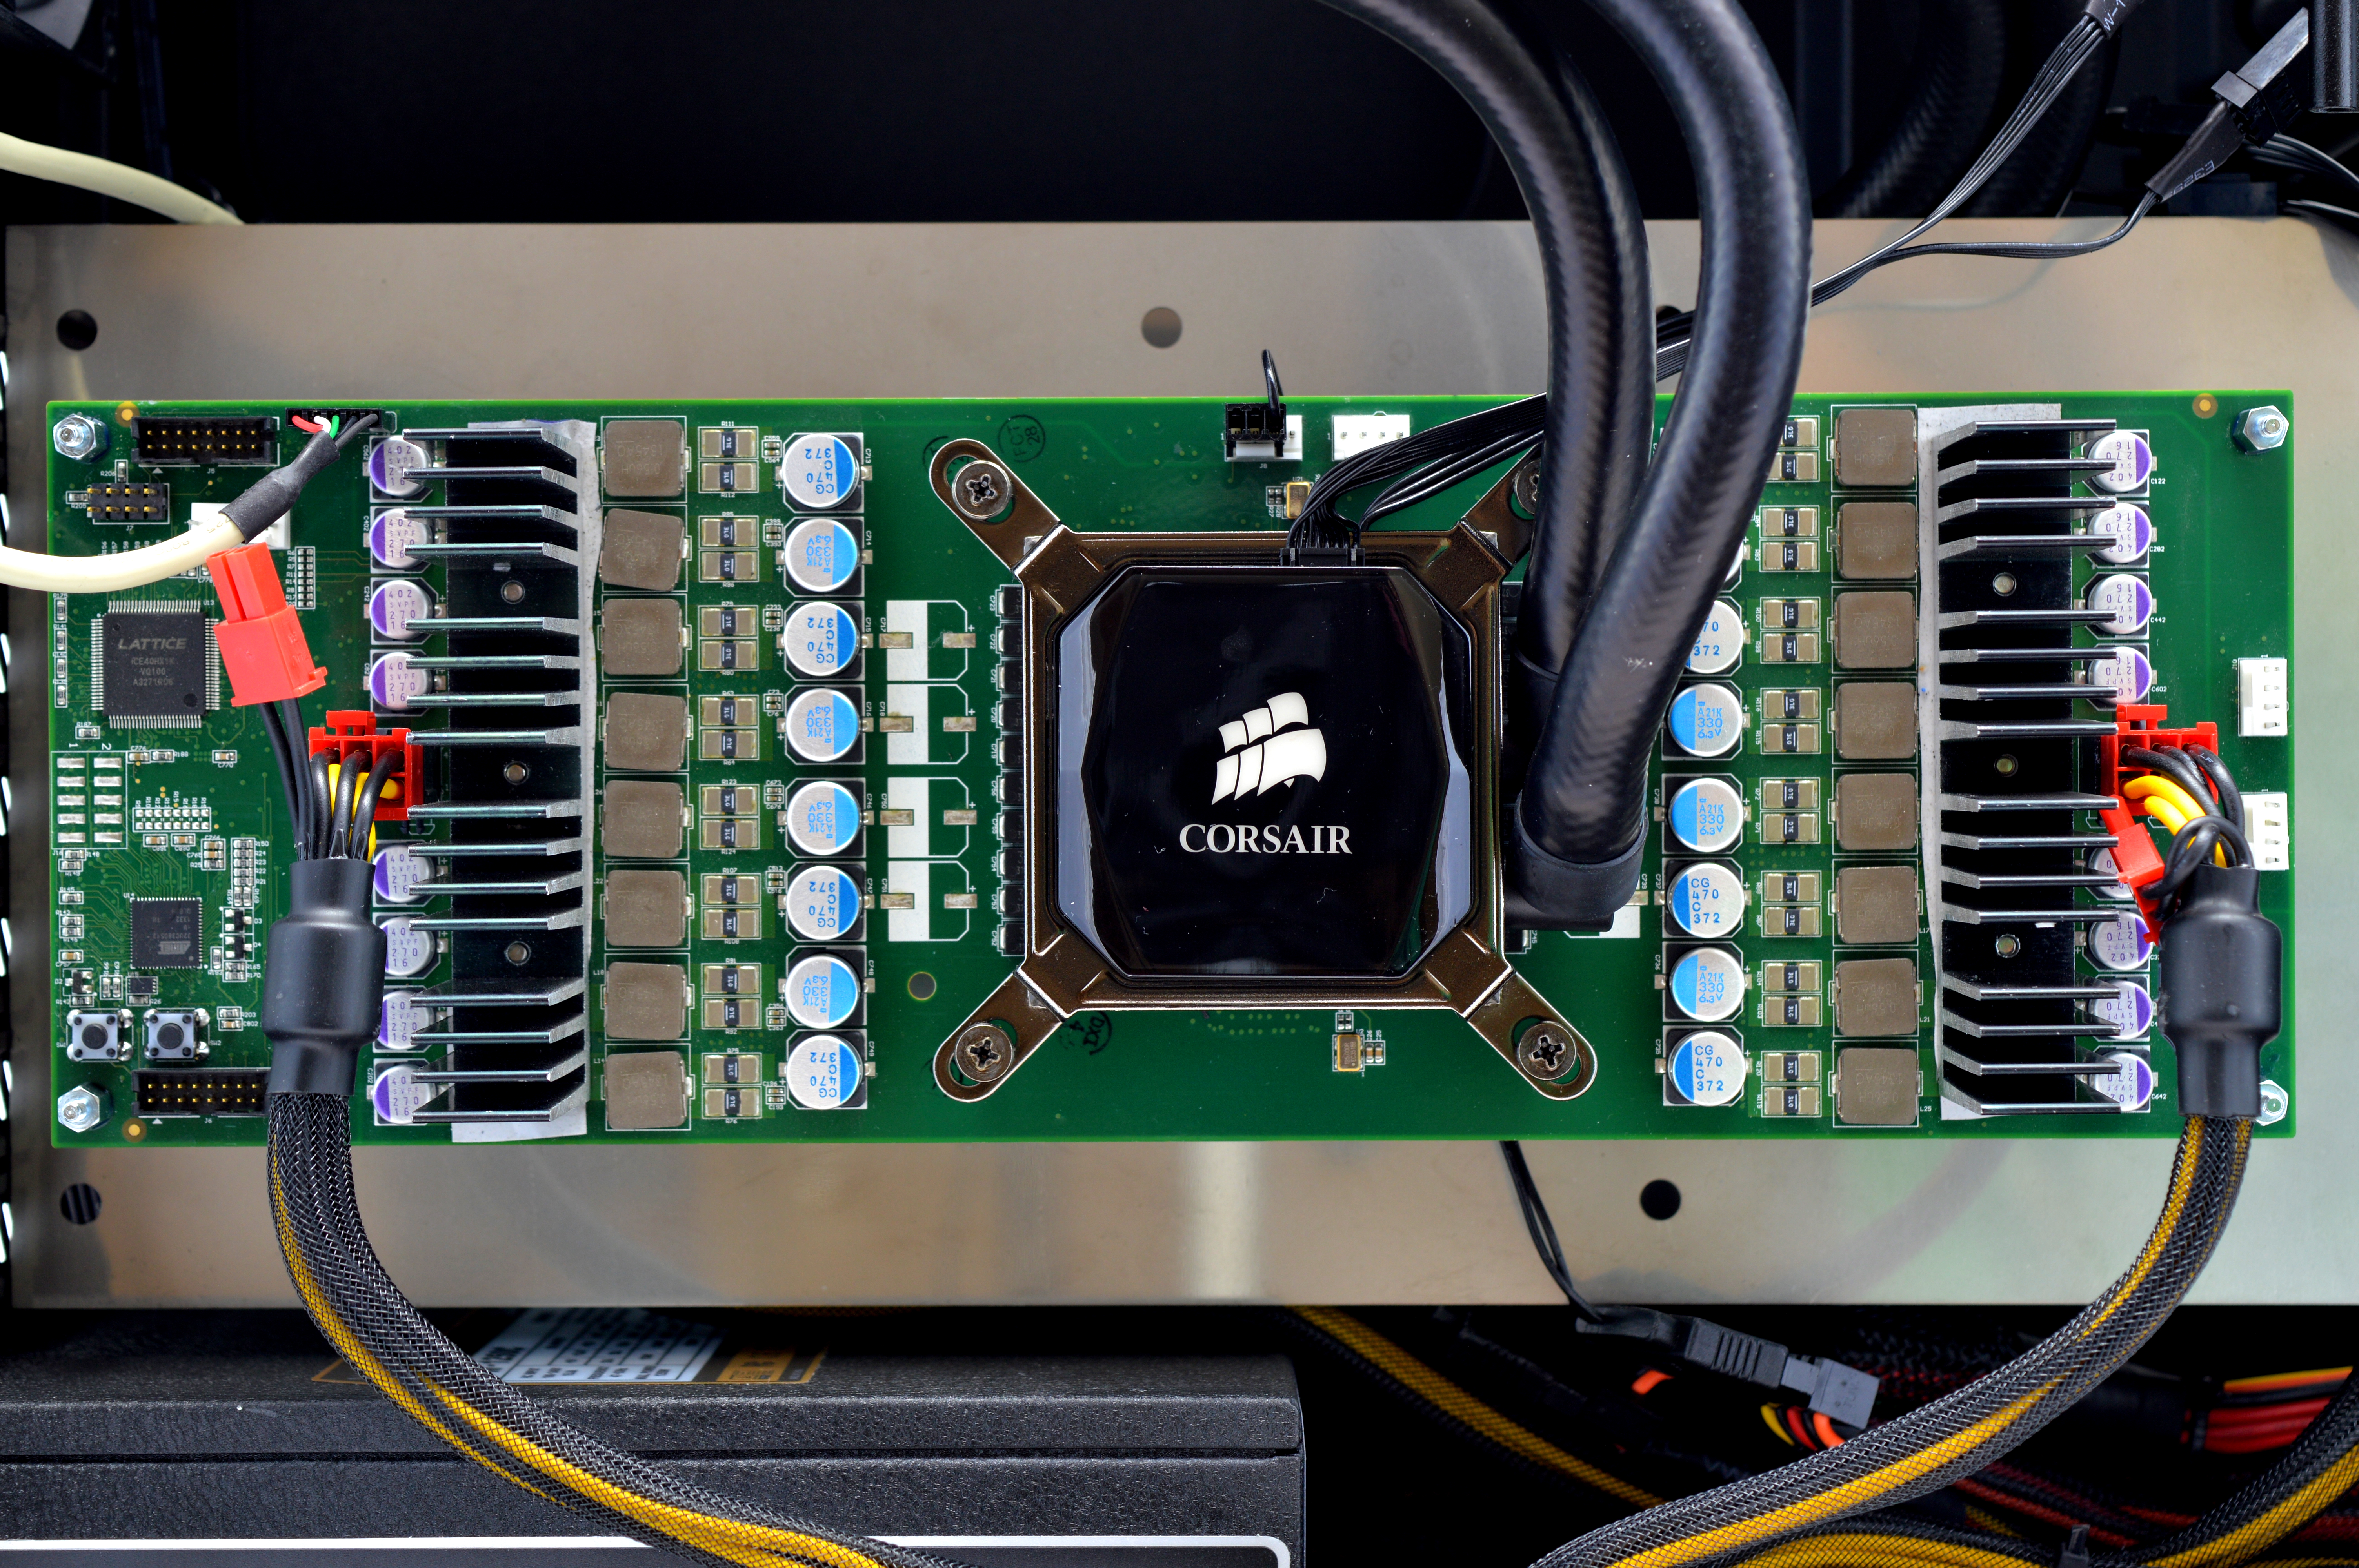
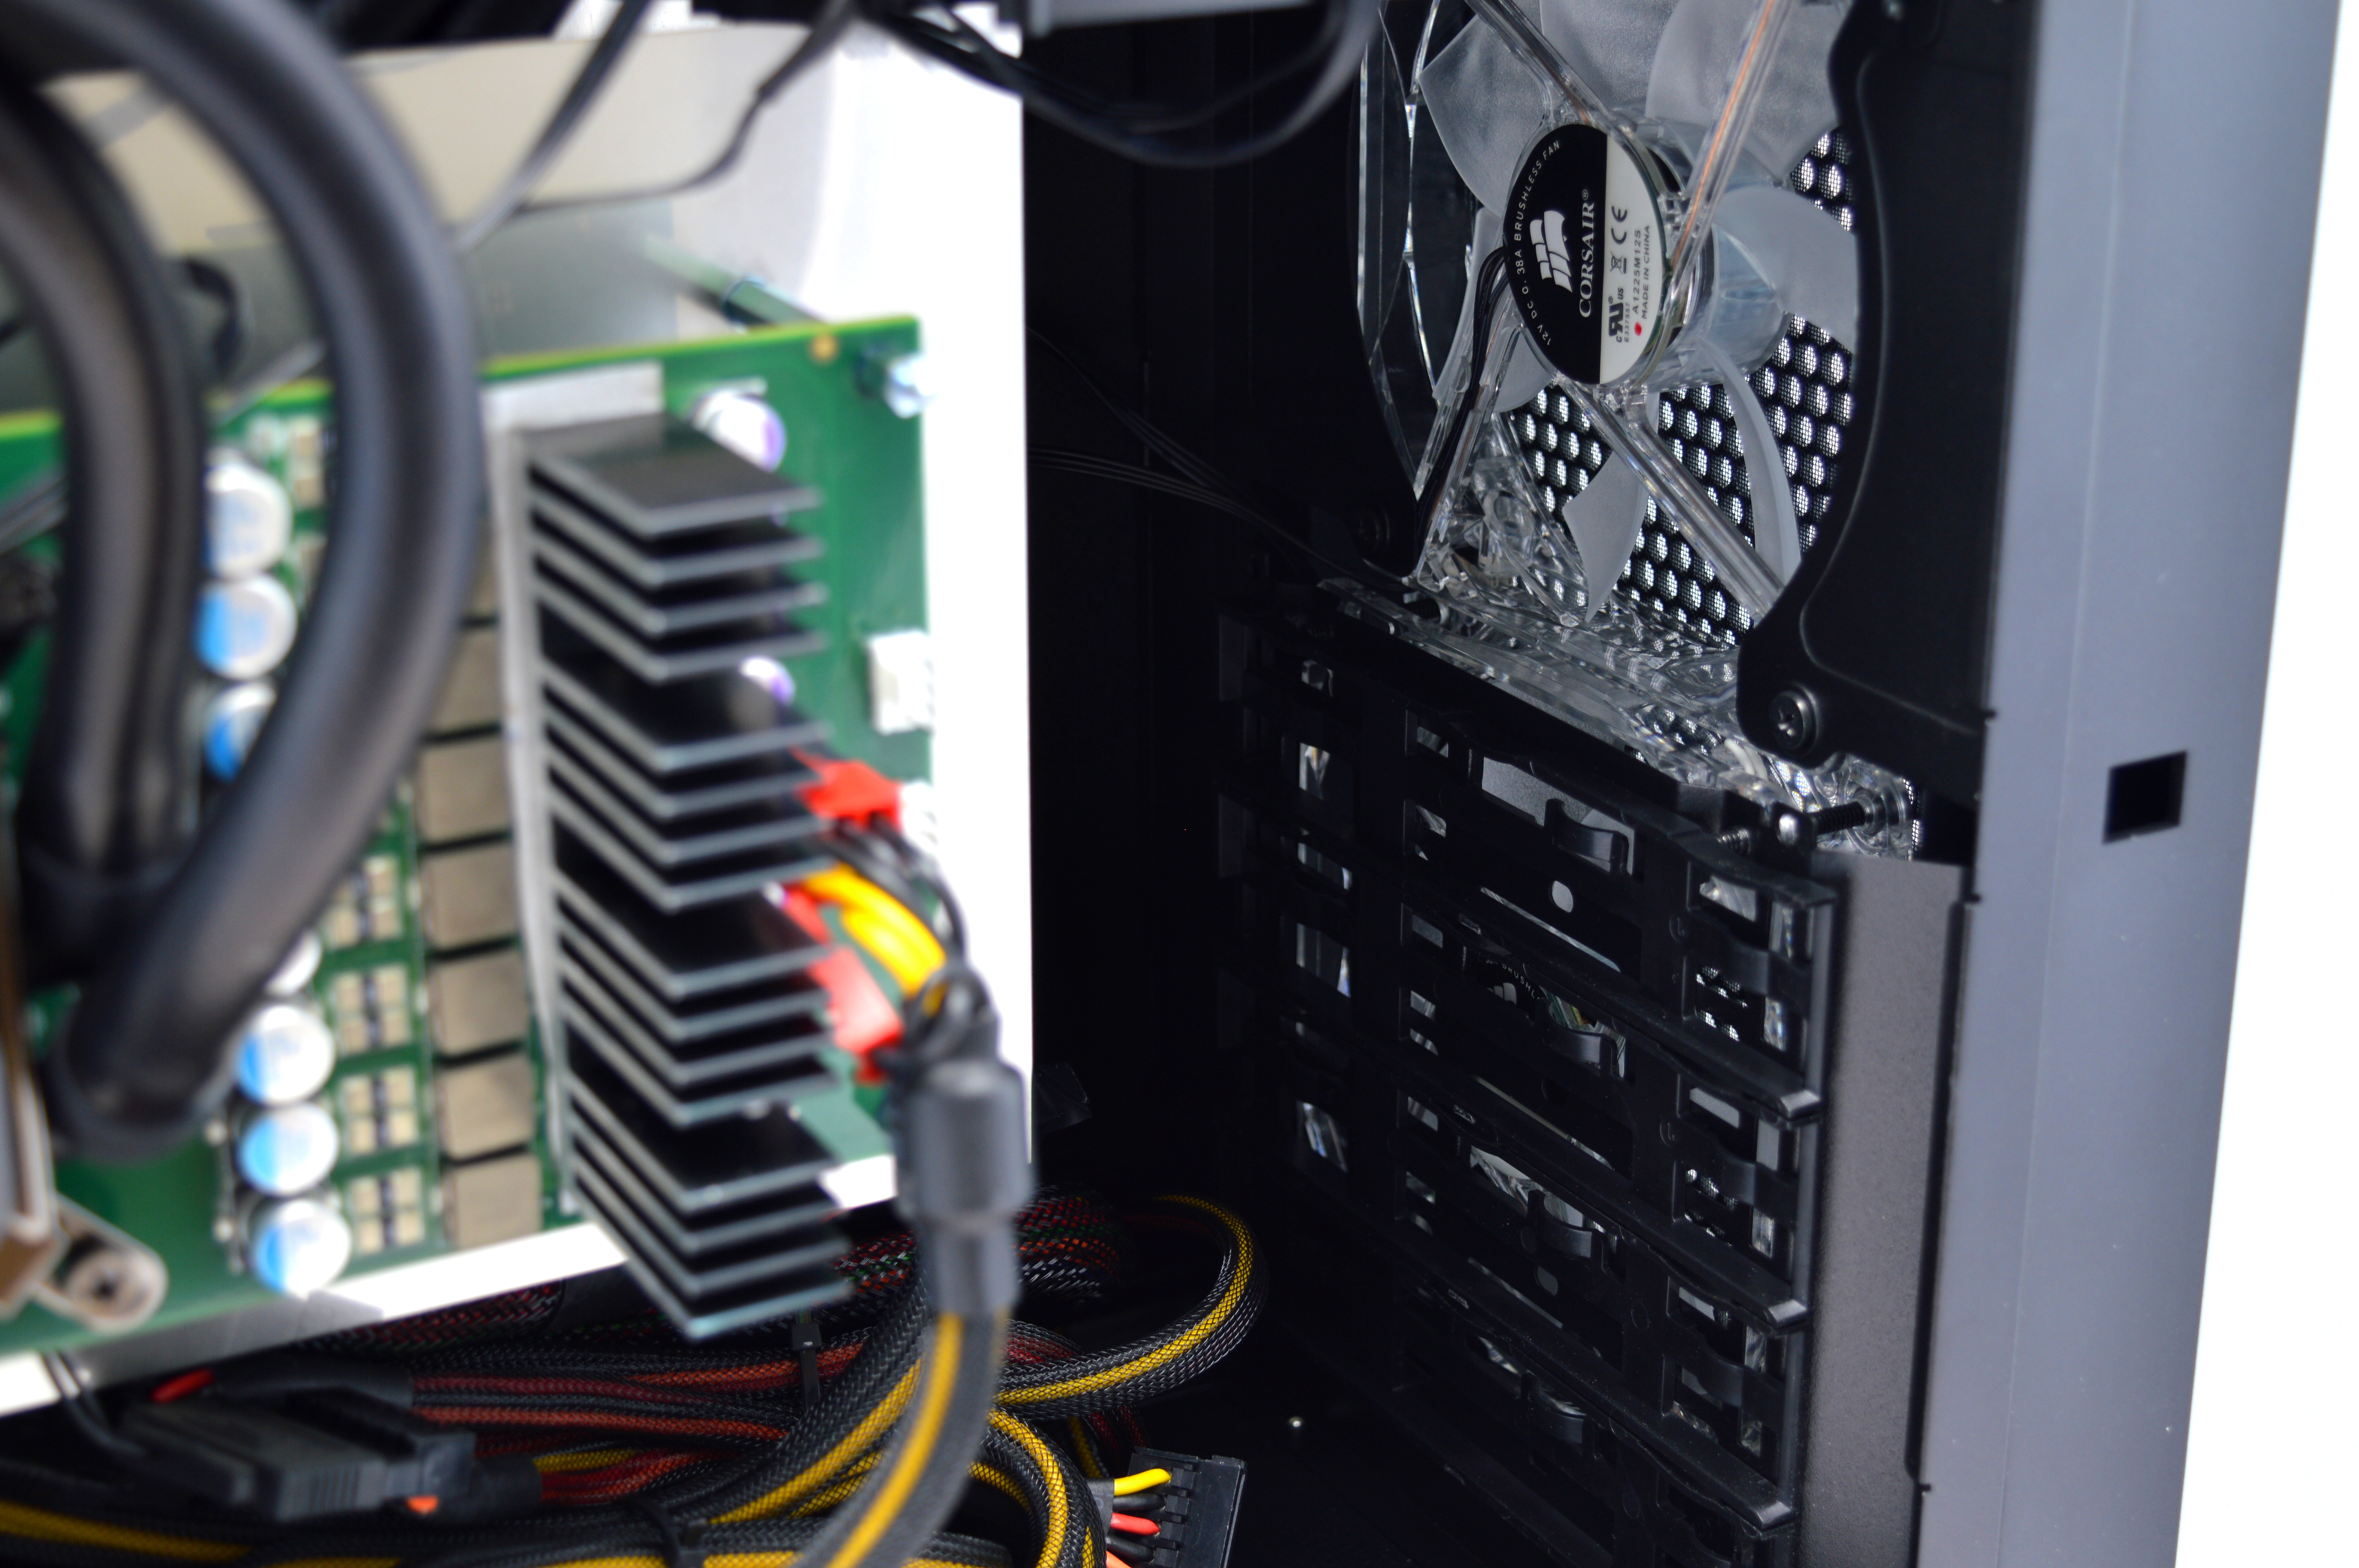
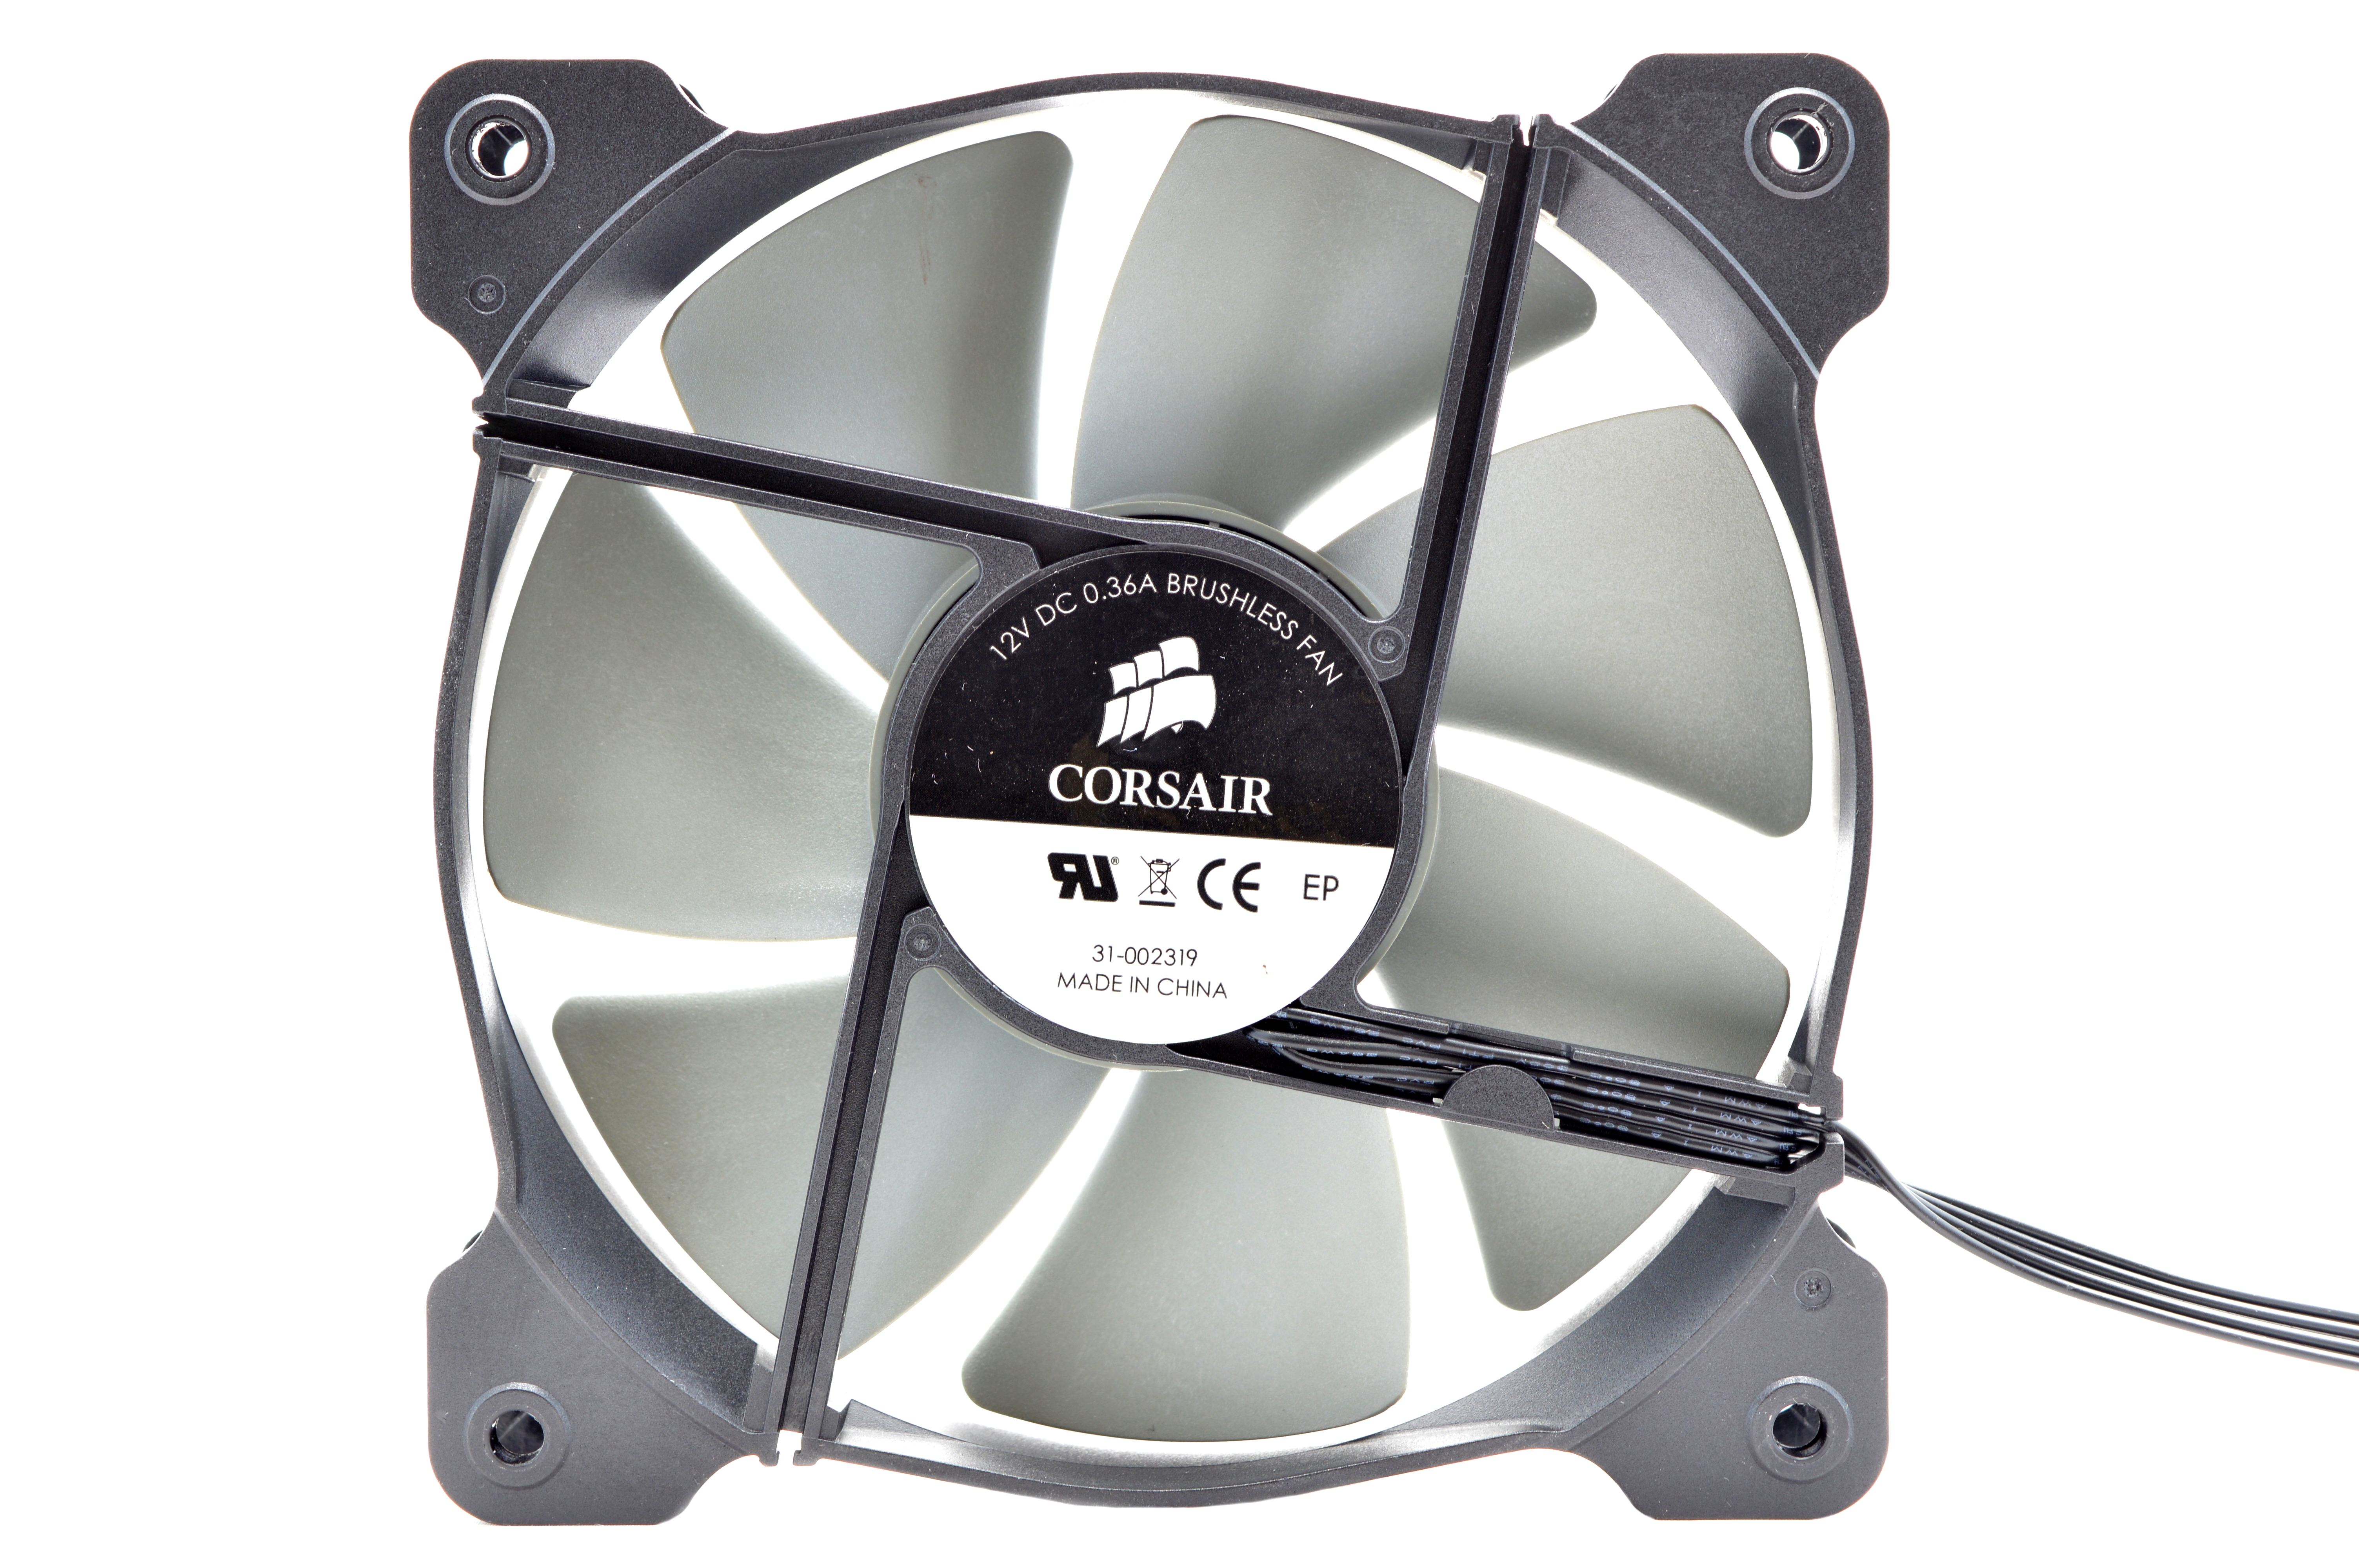
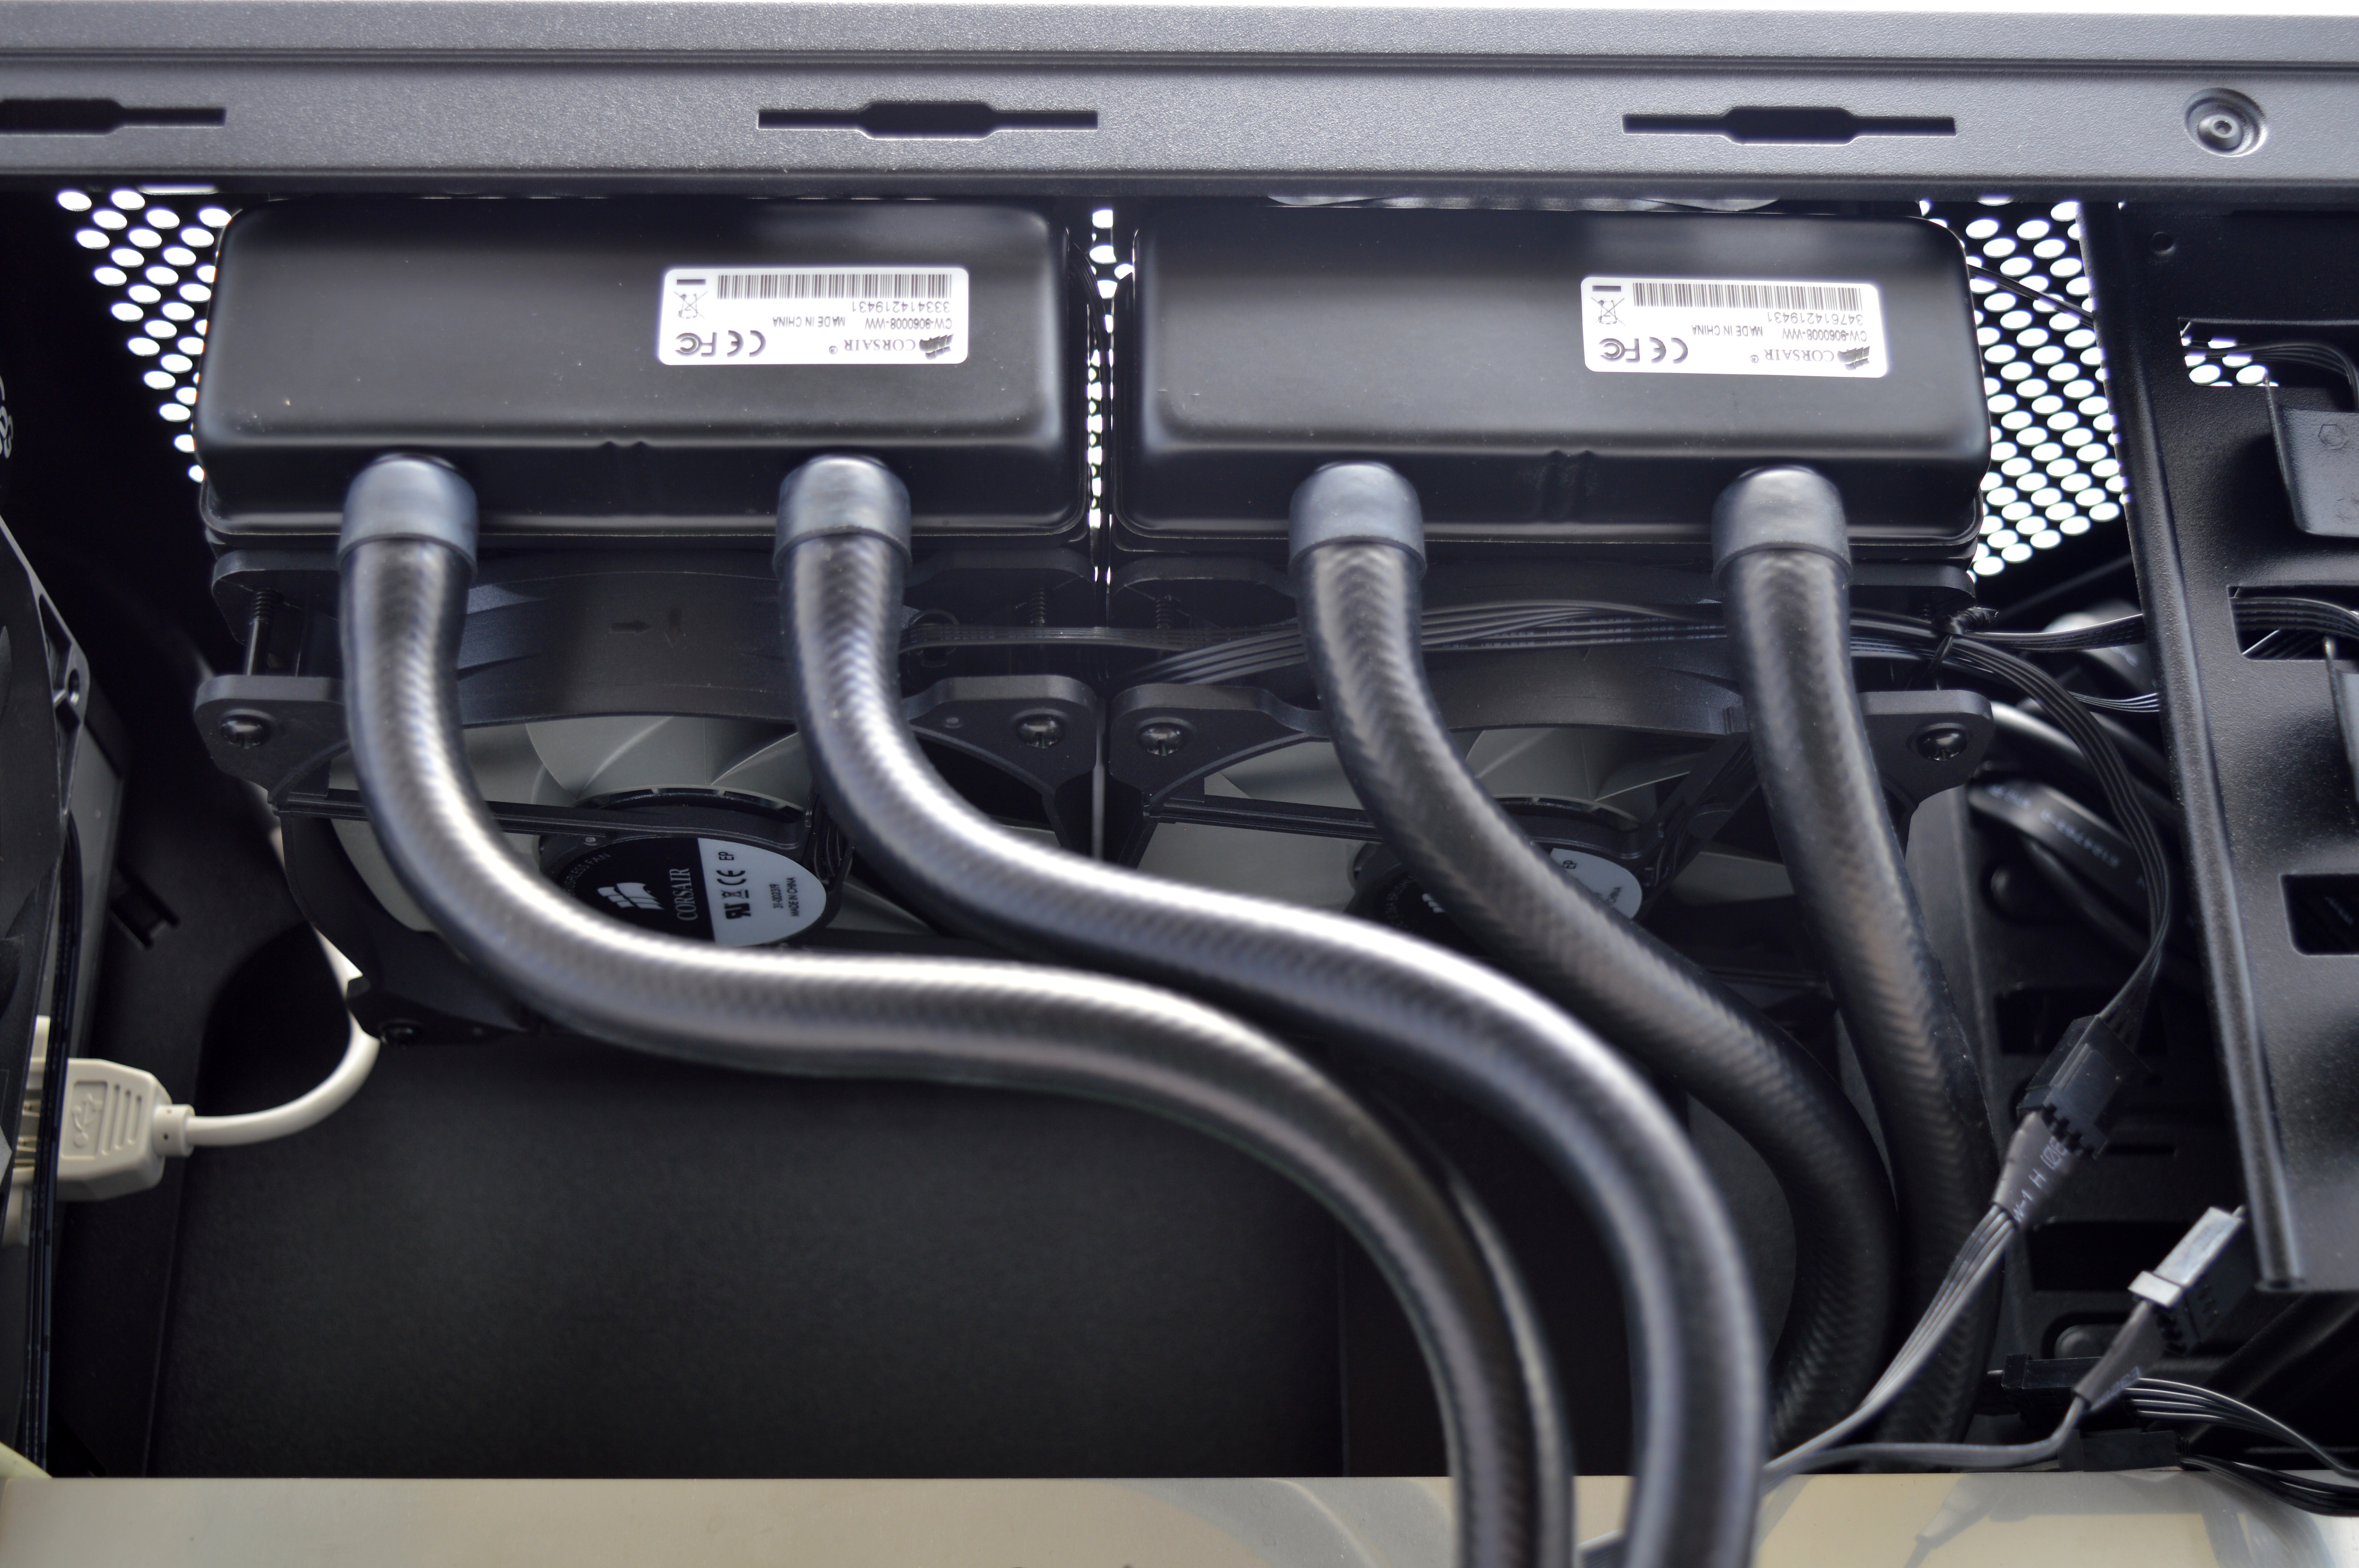
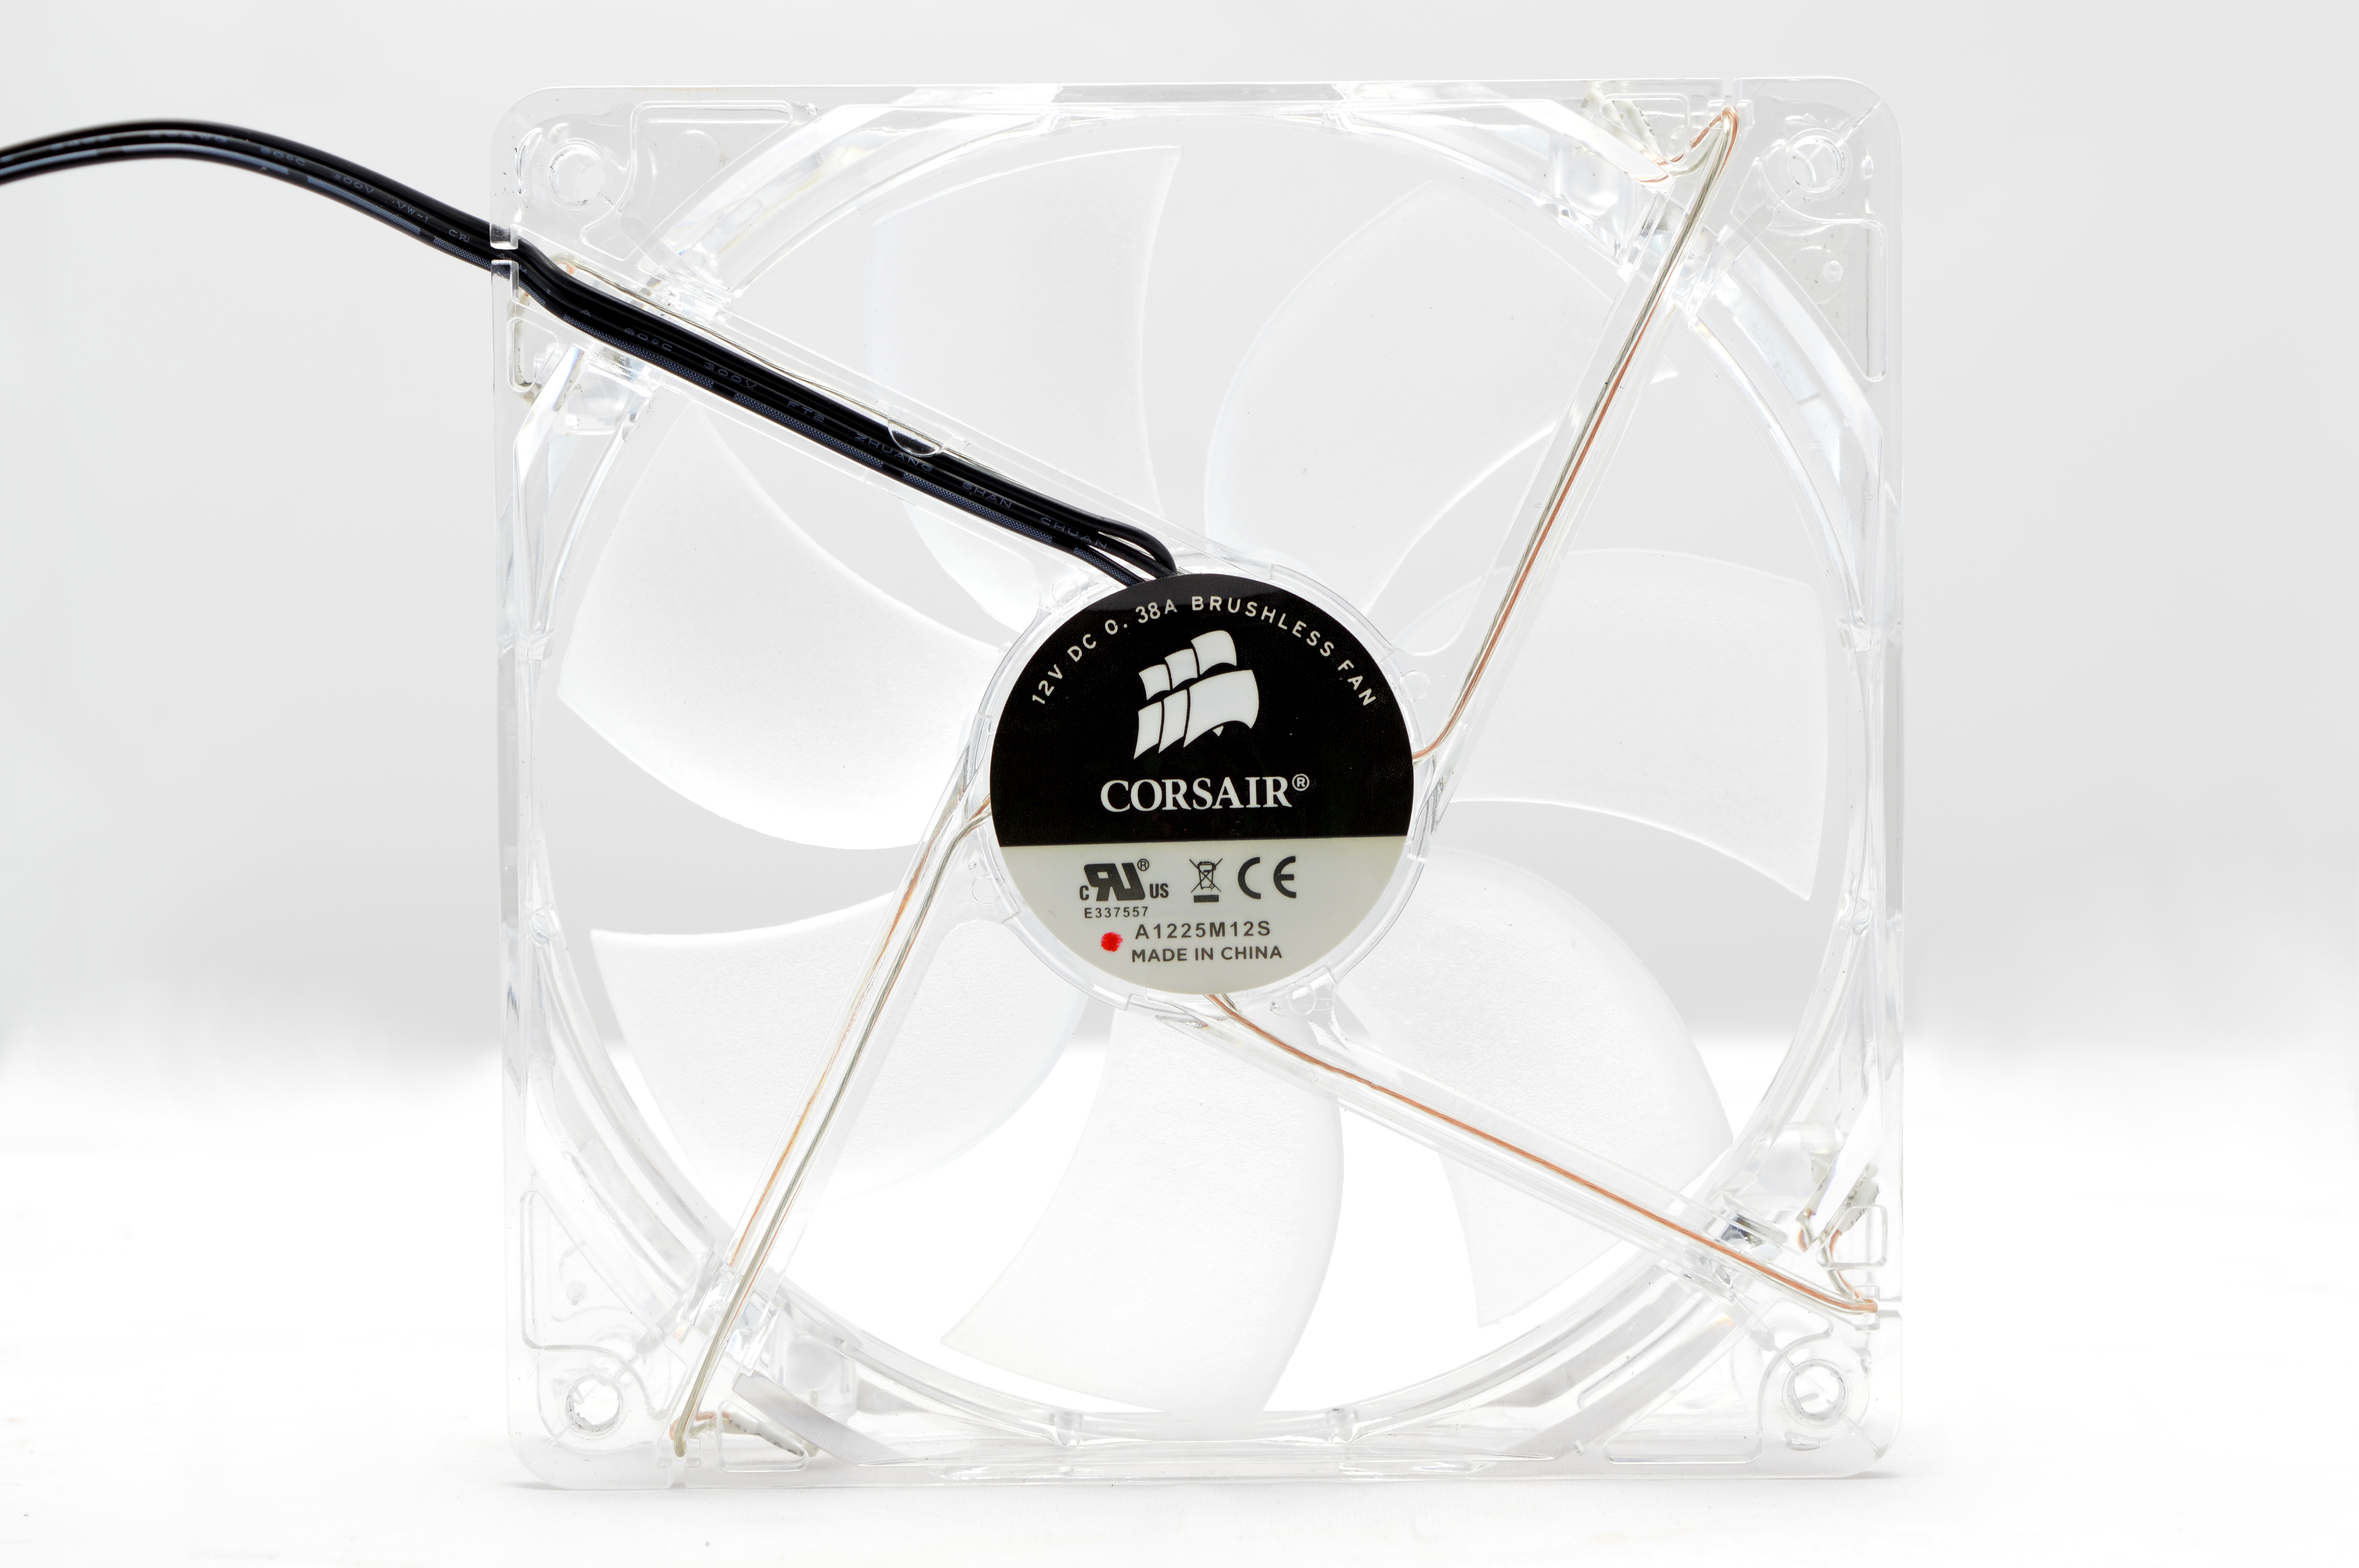
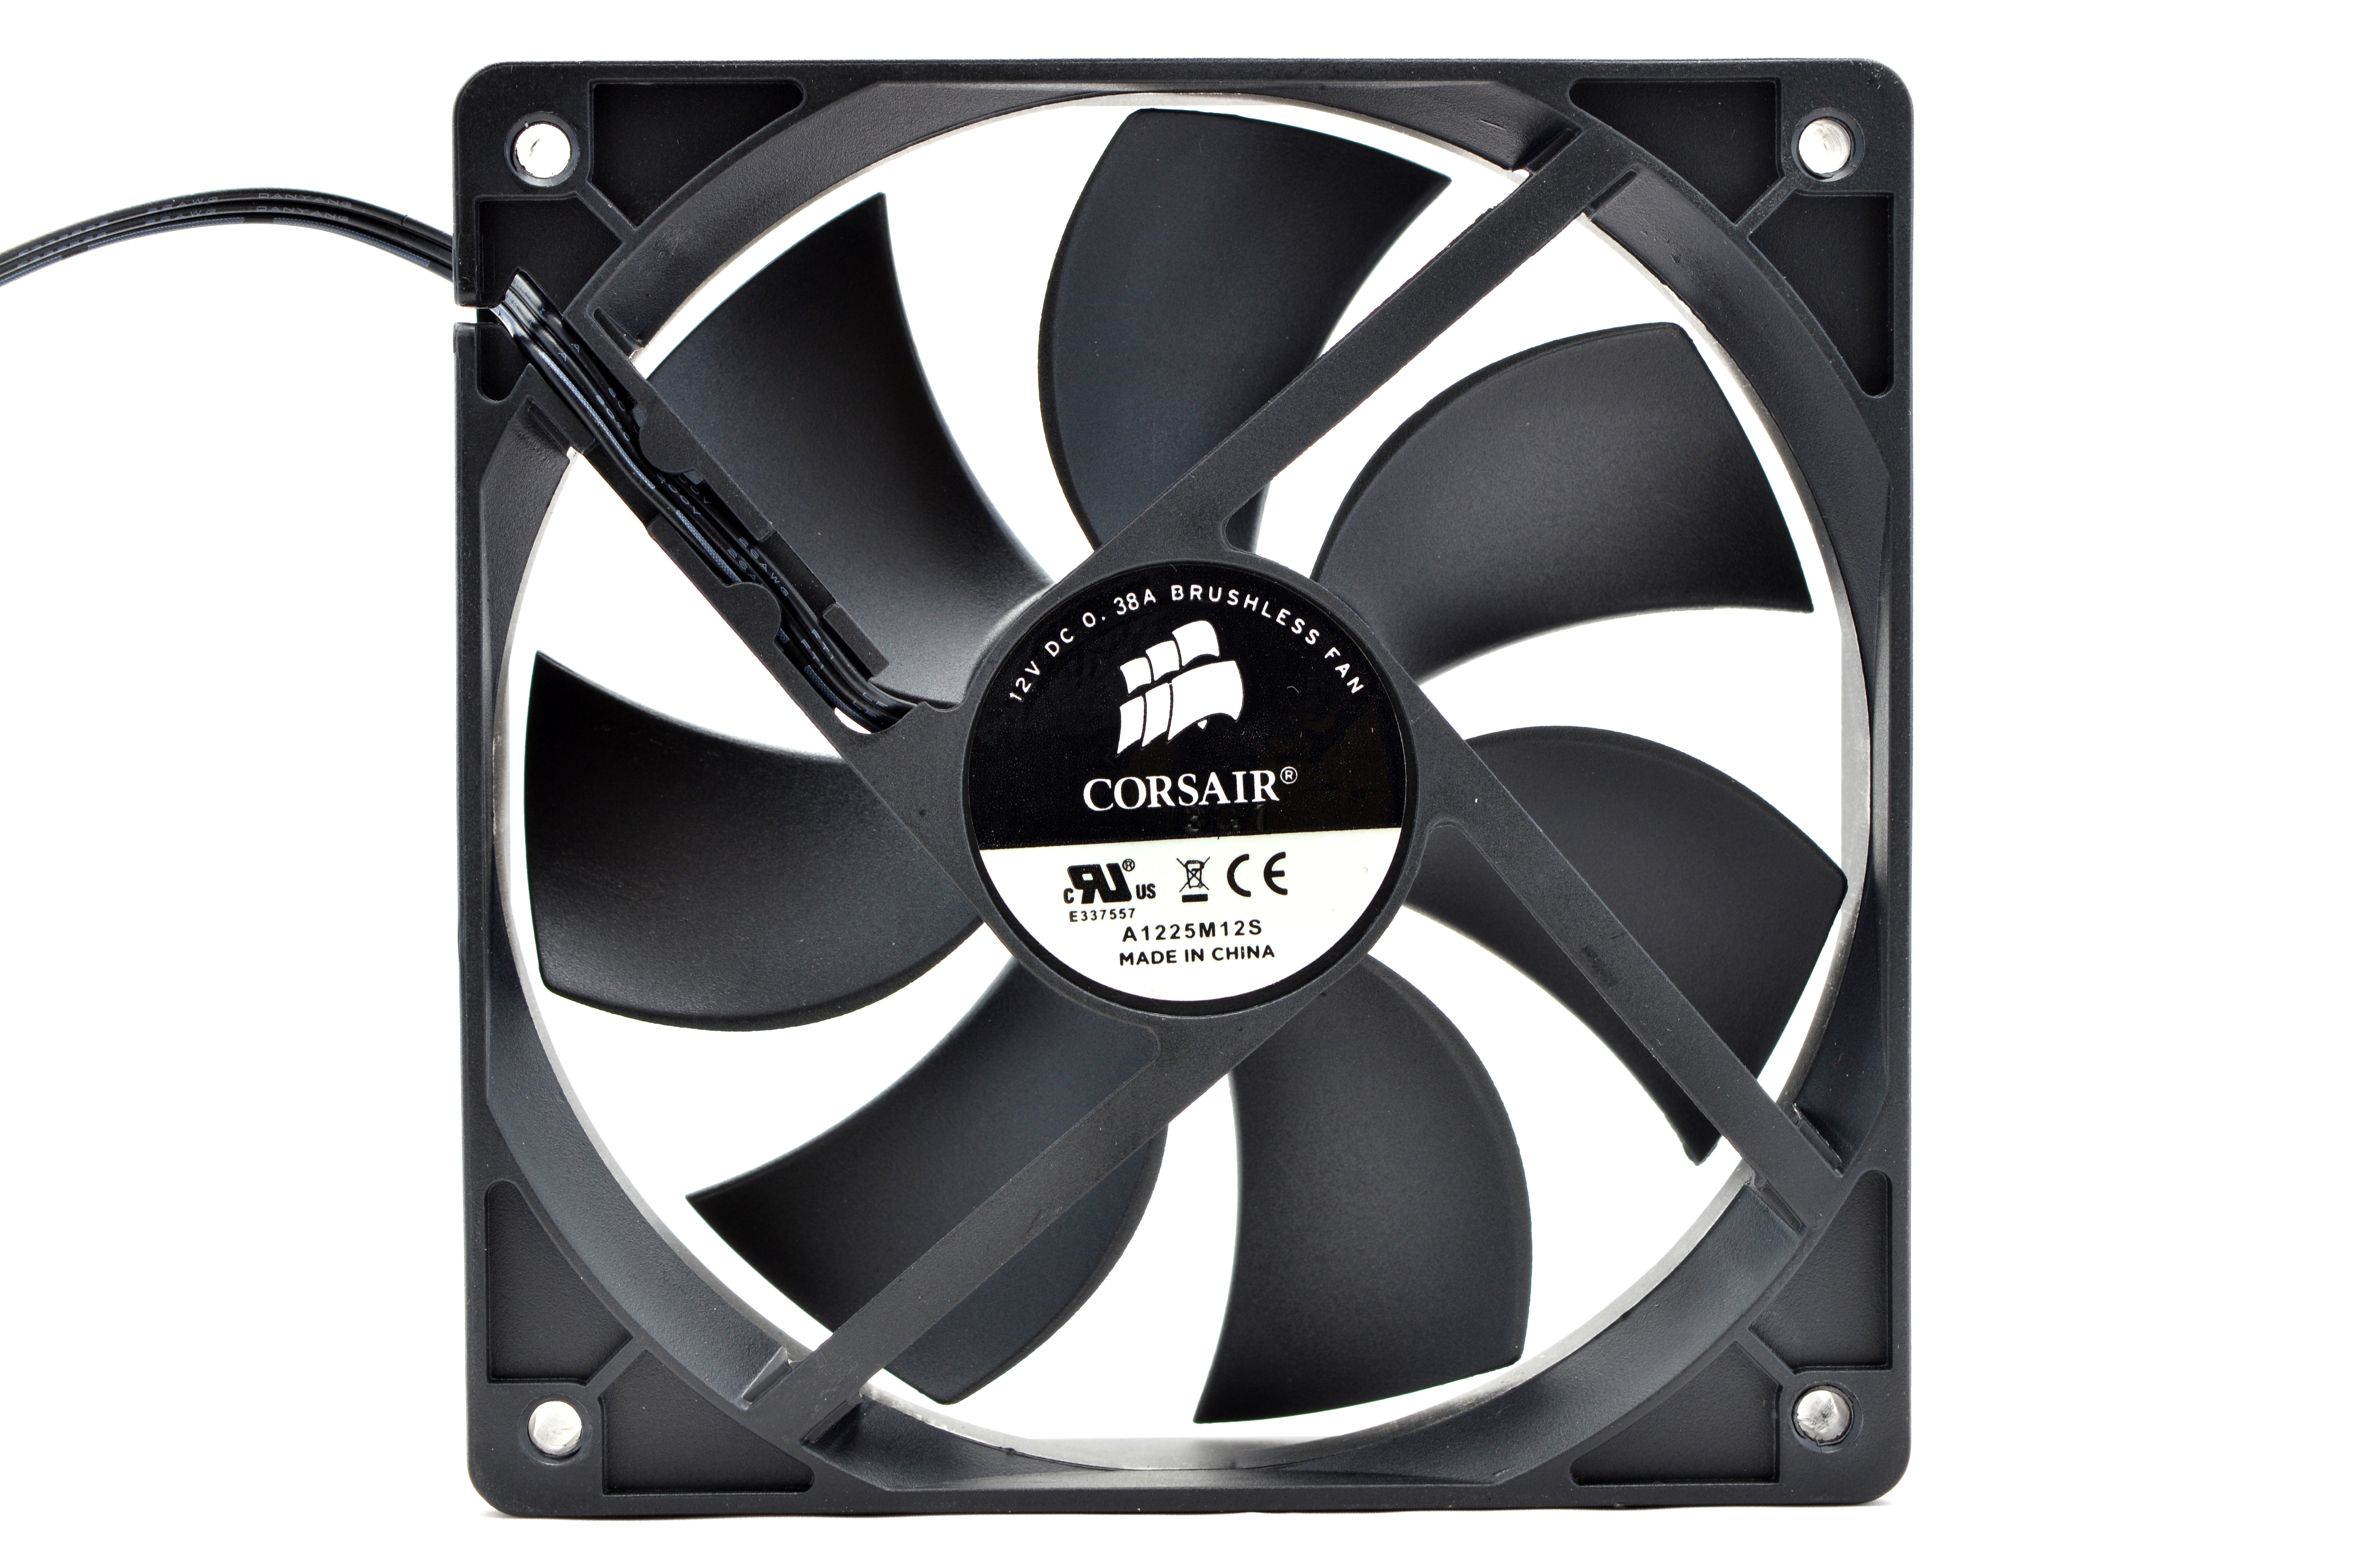
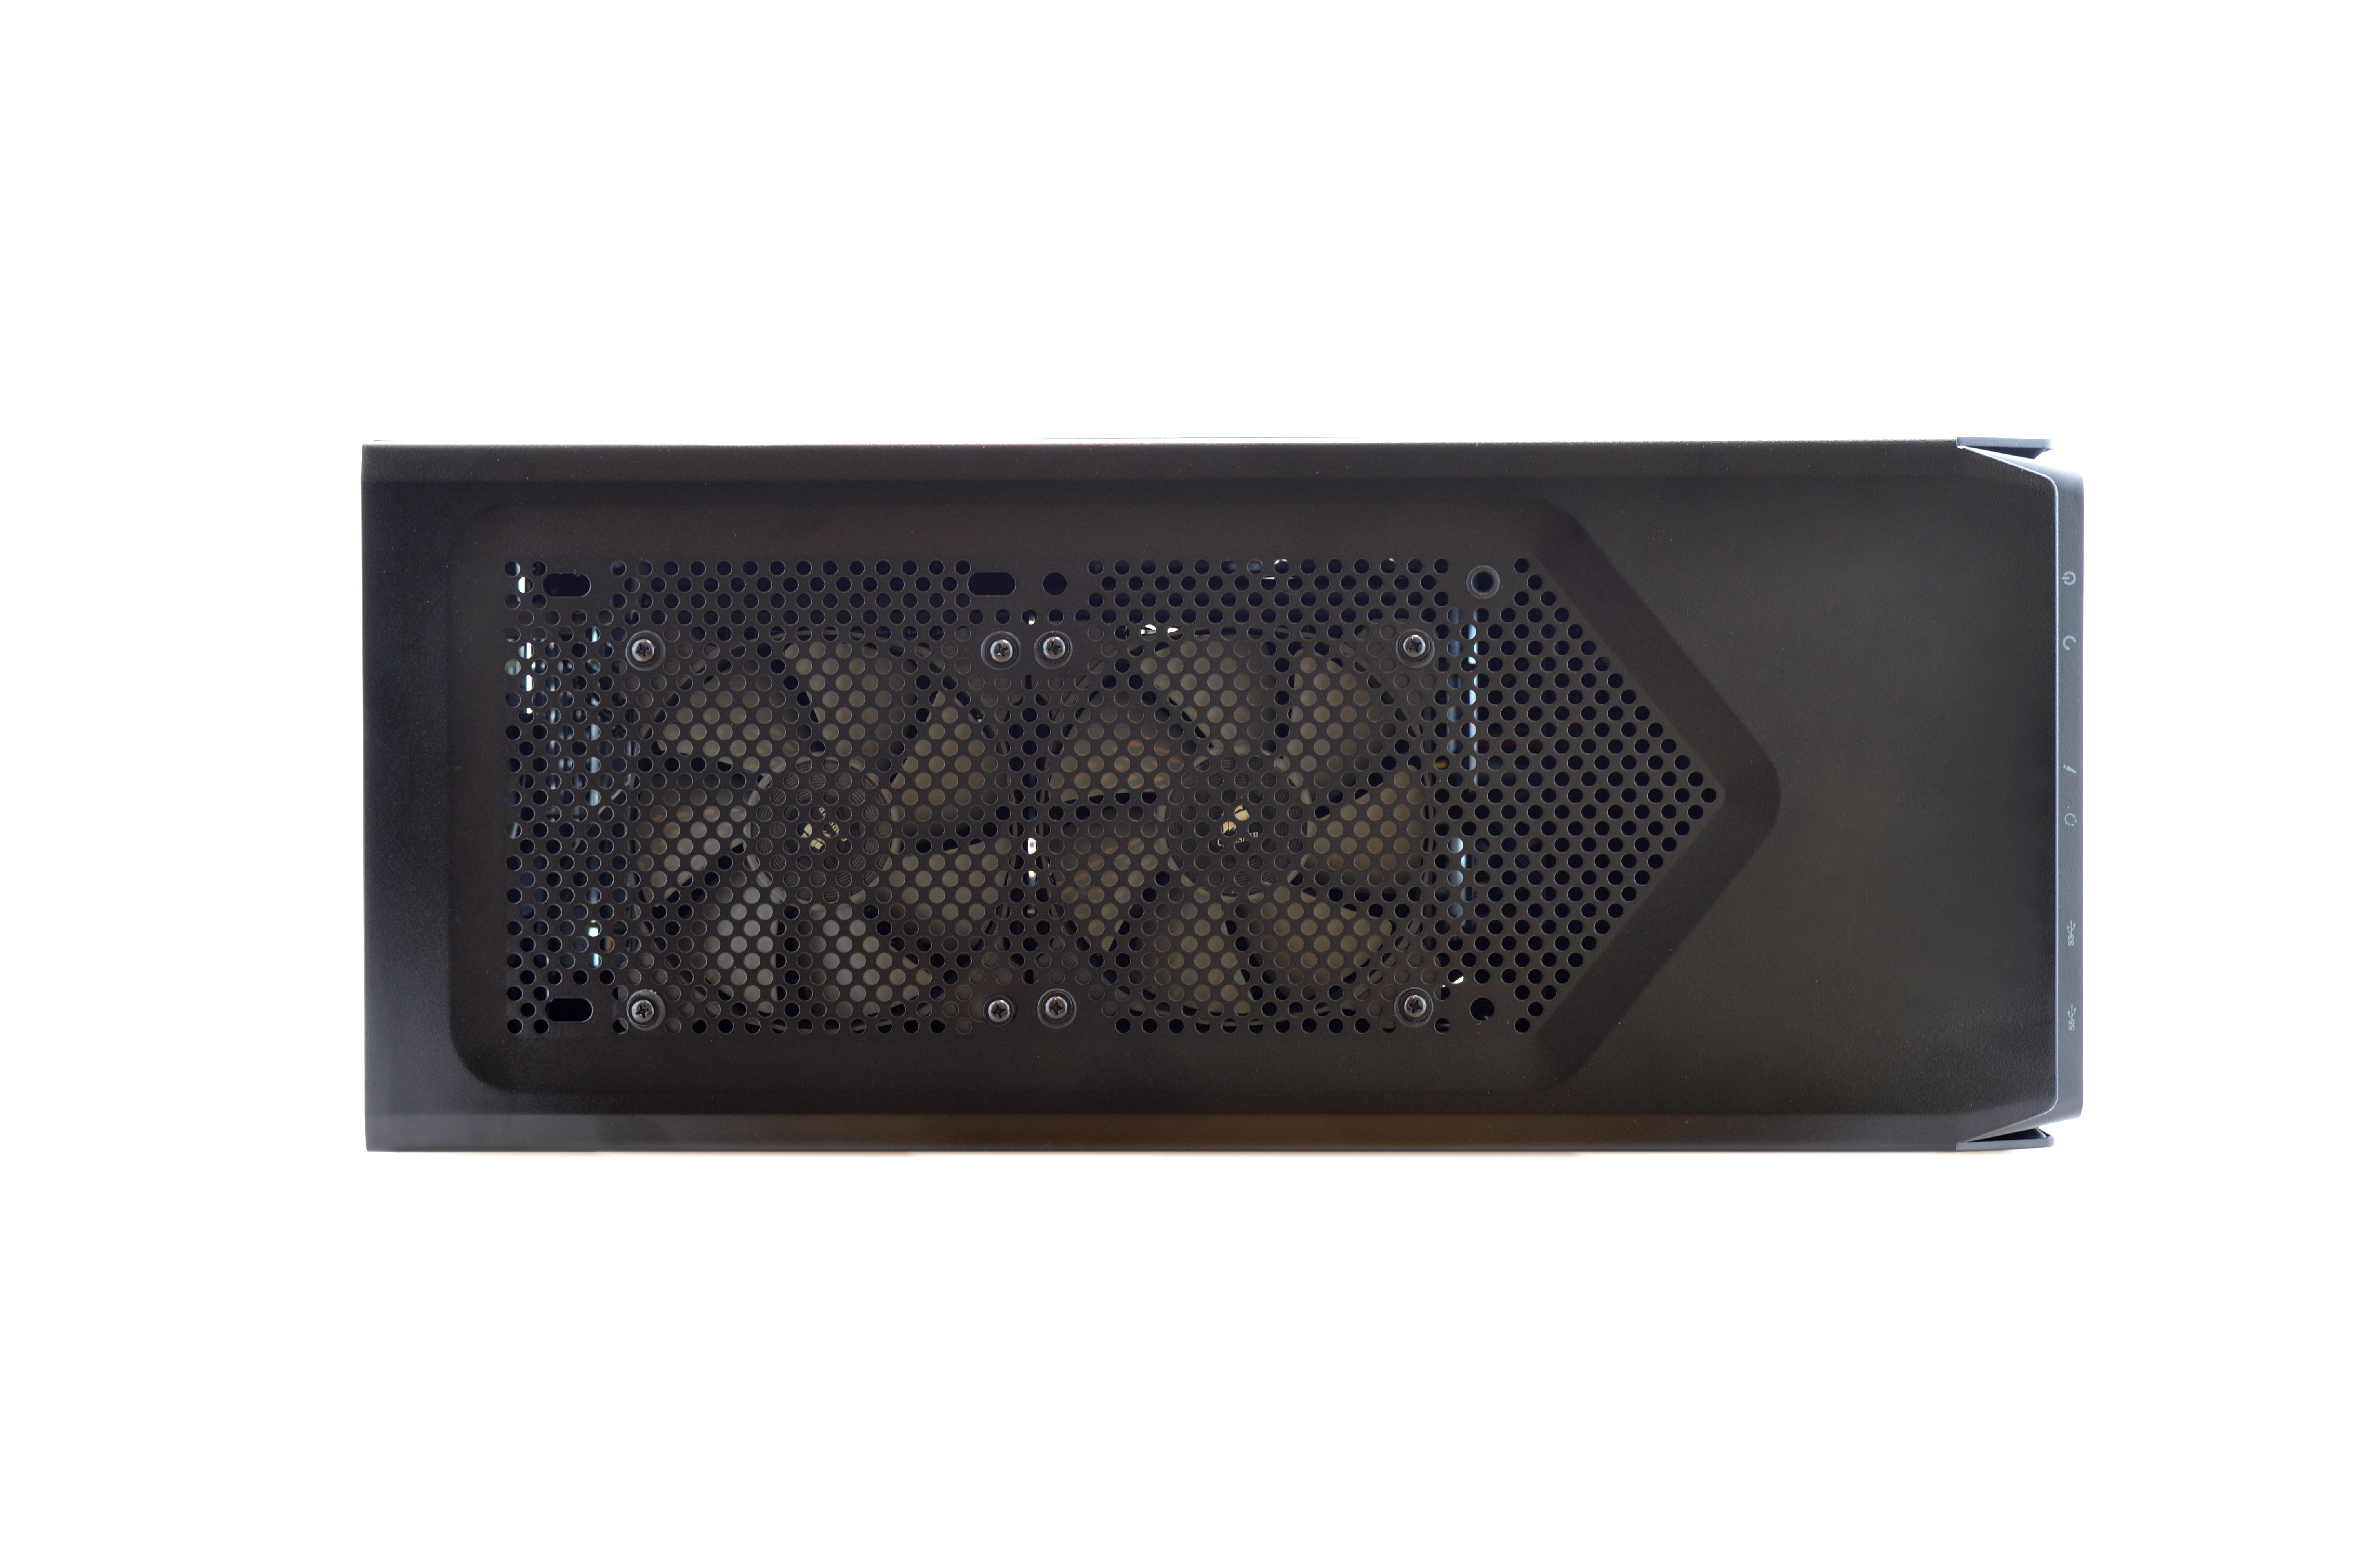
Each ASIC is cooling by a self contained Corsair H80i High Performance watercooling kit. The pump is integrated into the copper waterblock which pumps coolant up to the aluminium finned radiators mounted in the top of the case. Two 120mm Corsair SP120L PWM fans cool each 120mm radiator while blowing air down and over the hashing boards. Two 120mm red LED Corsair fans bring in fresh air from the front of the case while a further 120mm Corsair fan exhausts warm air out the back.
Noise levels are reasonable at normal ambient temperatures as all fans are PWM controlled and react to temperature conditions. It is noteworthy that the unit may struggle to reach 1.1TH in high ambient conditions (30C+).


|
|
|
|
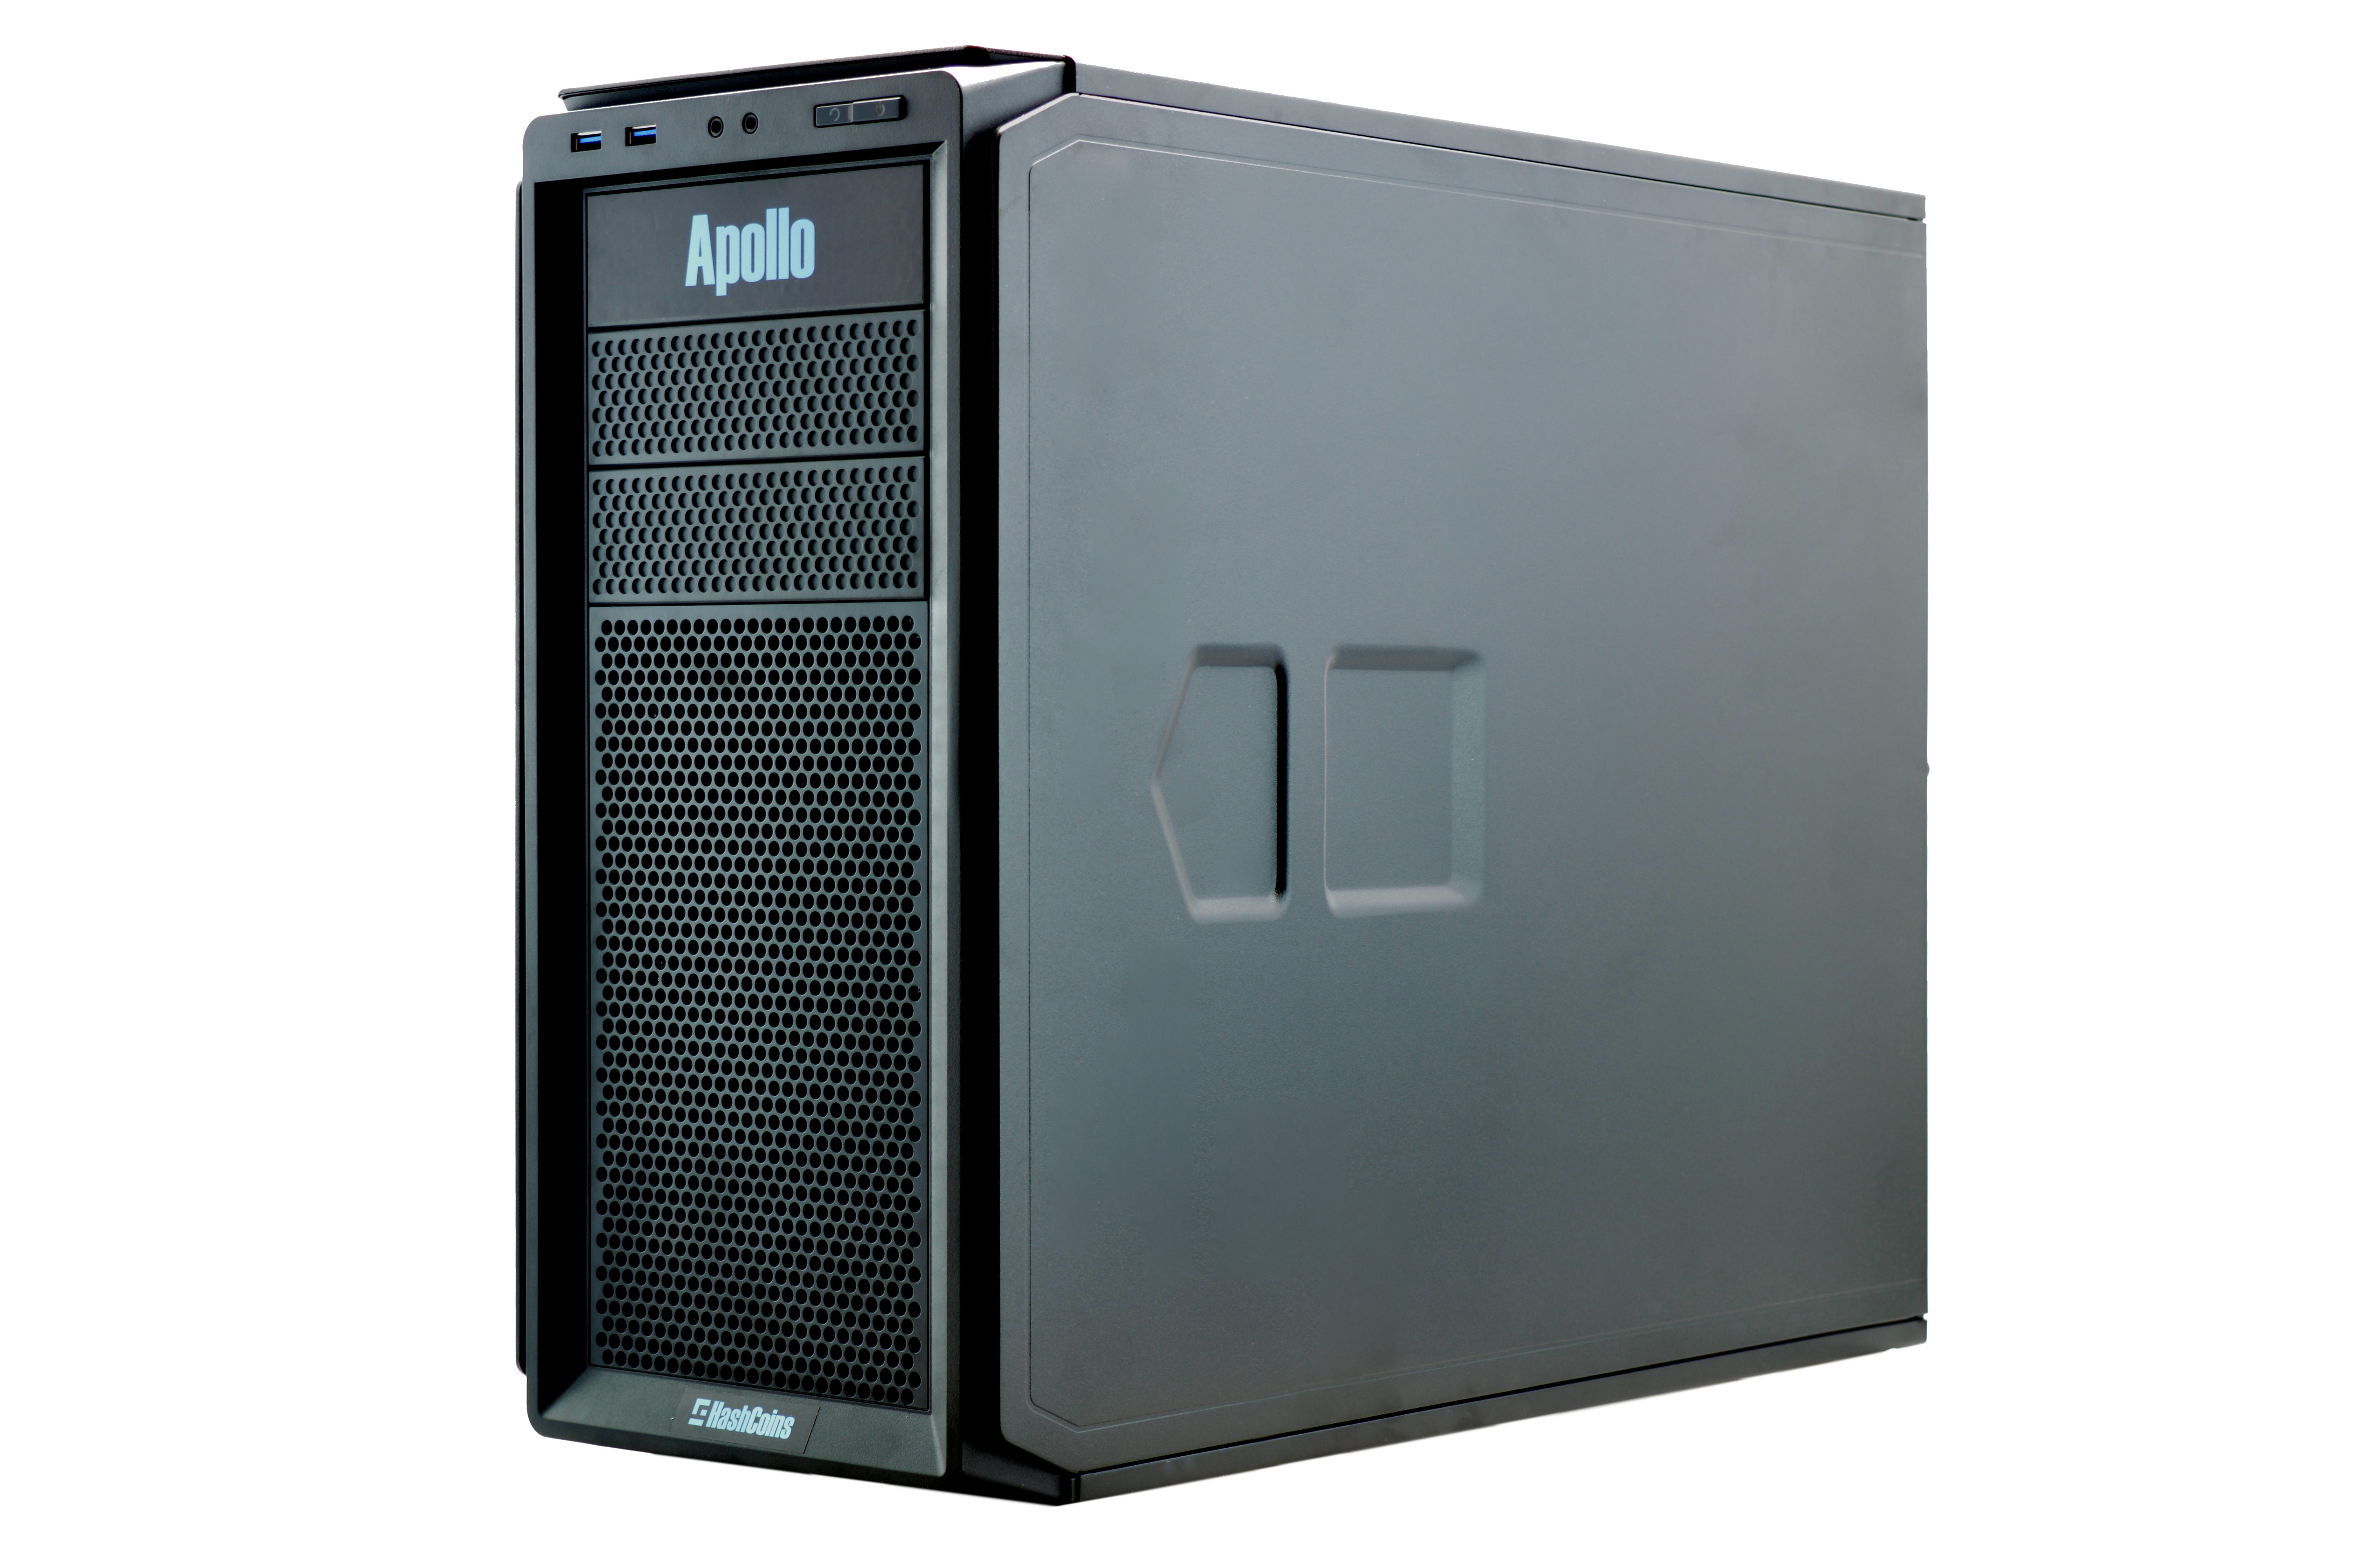
3) Case
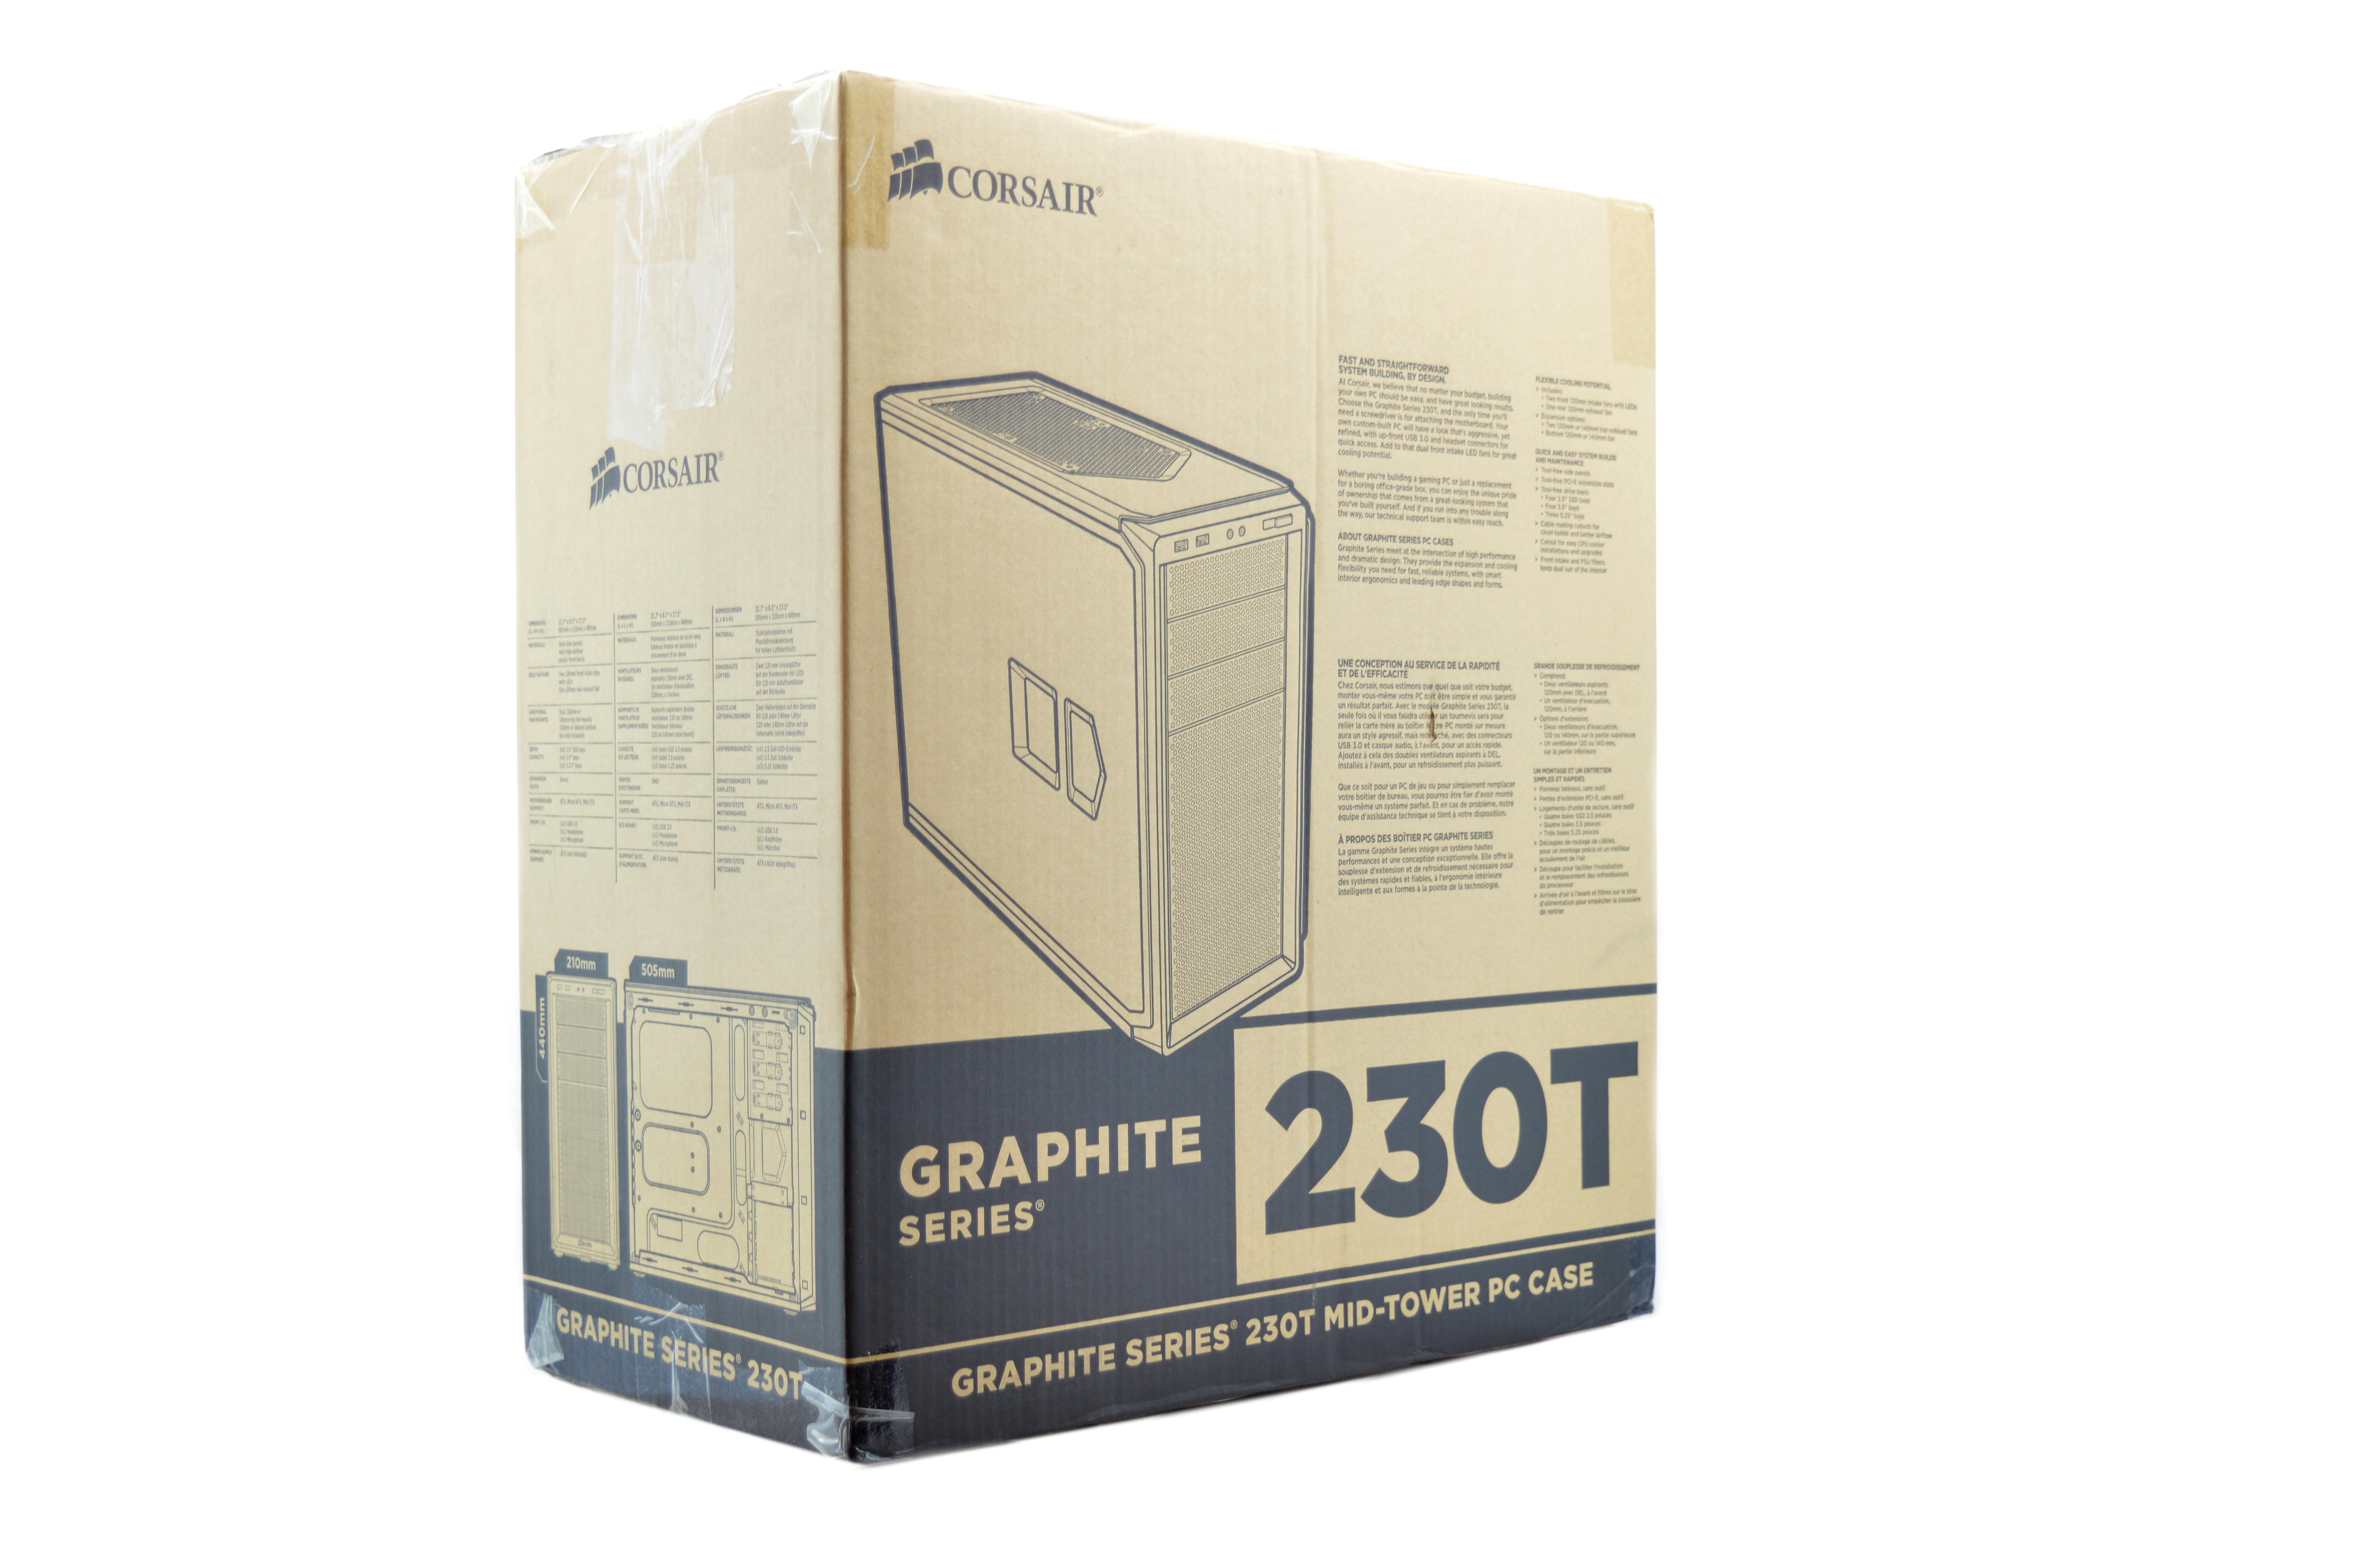
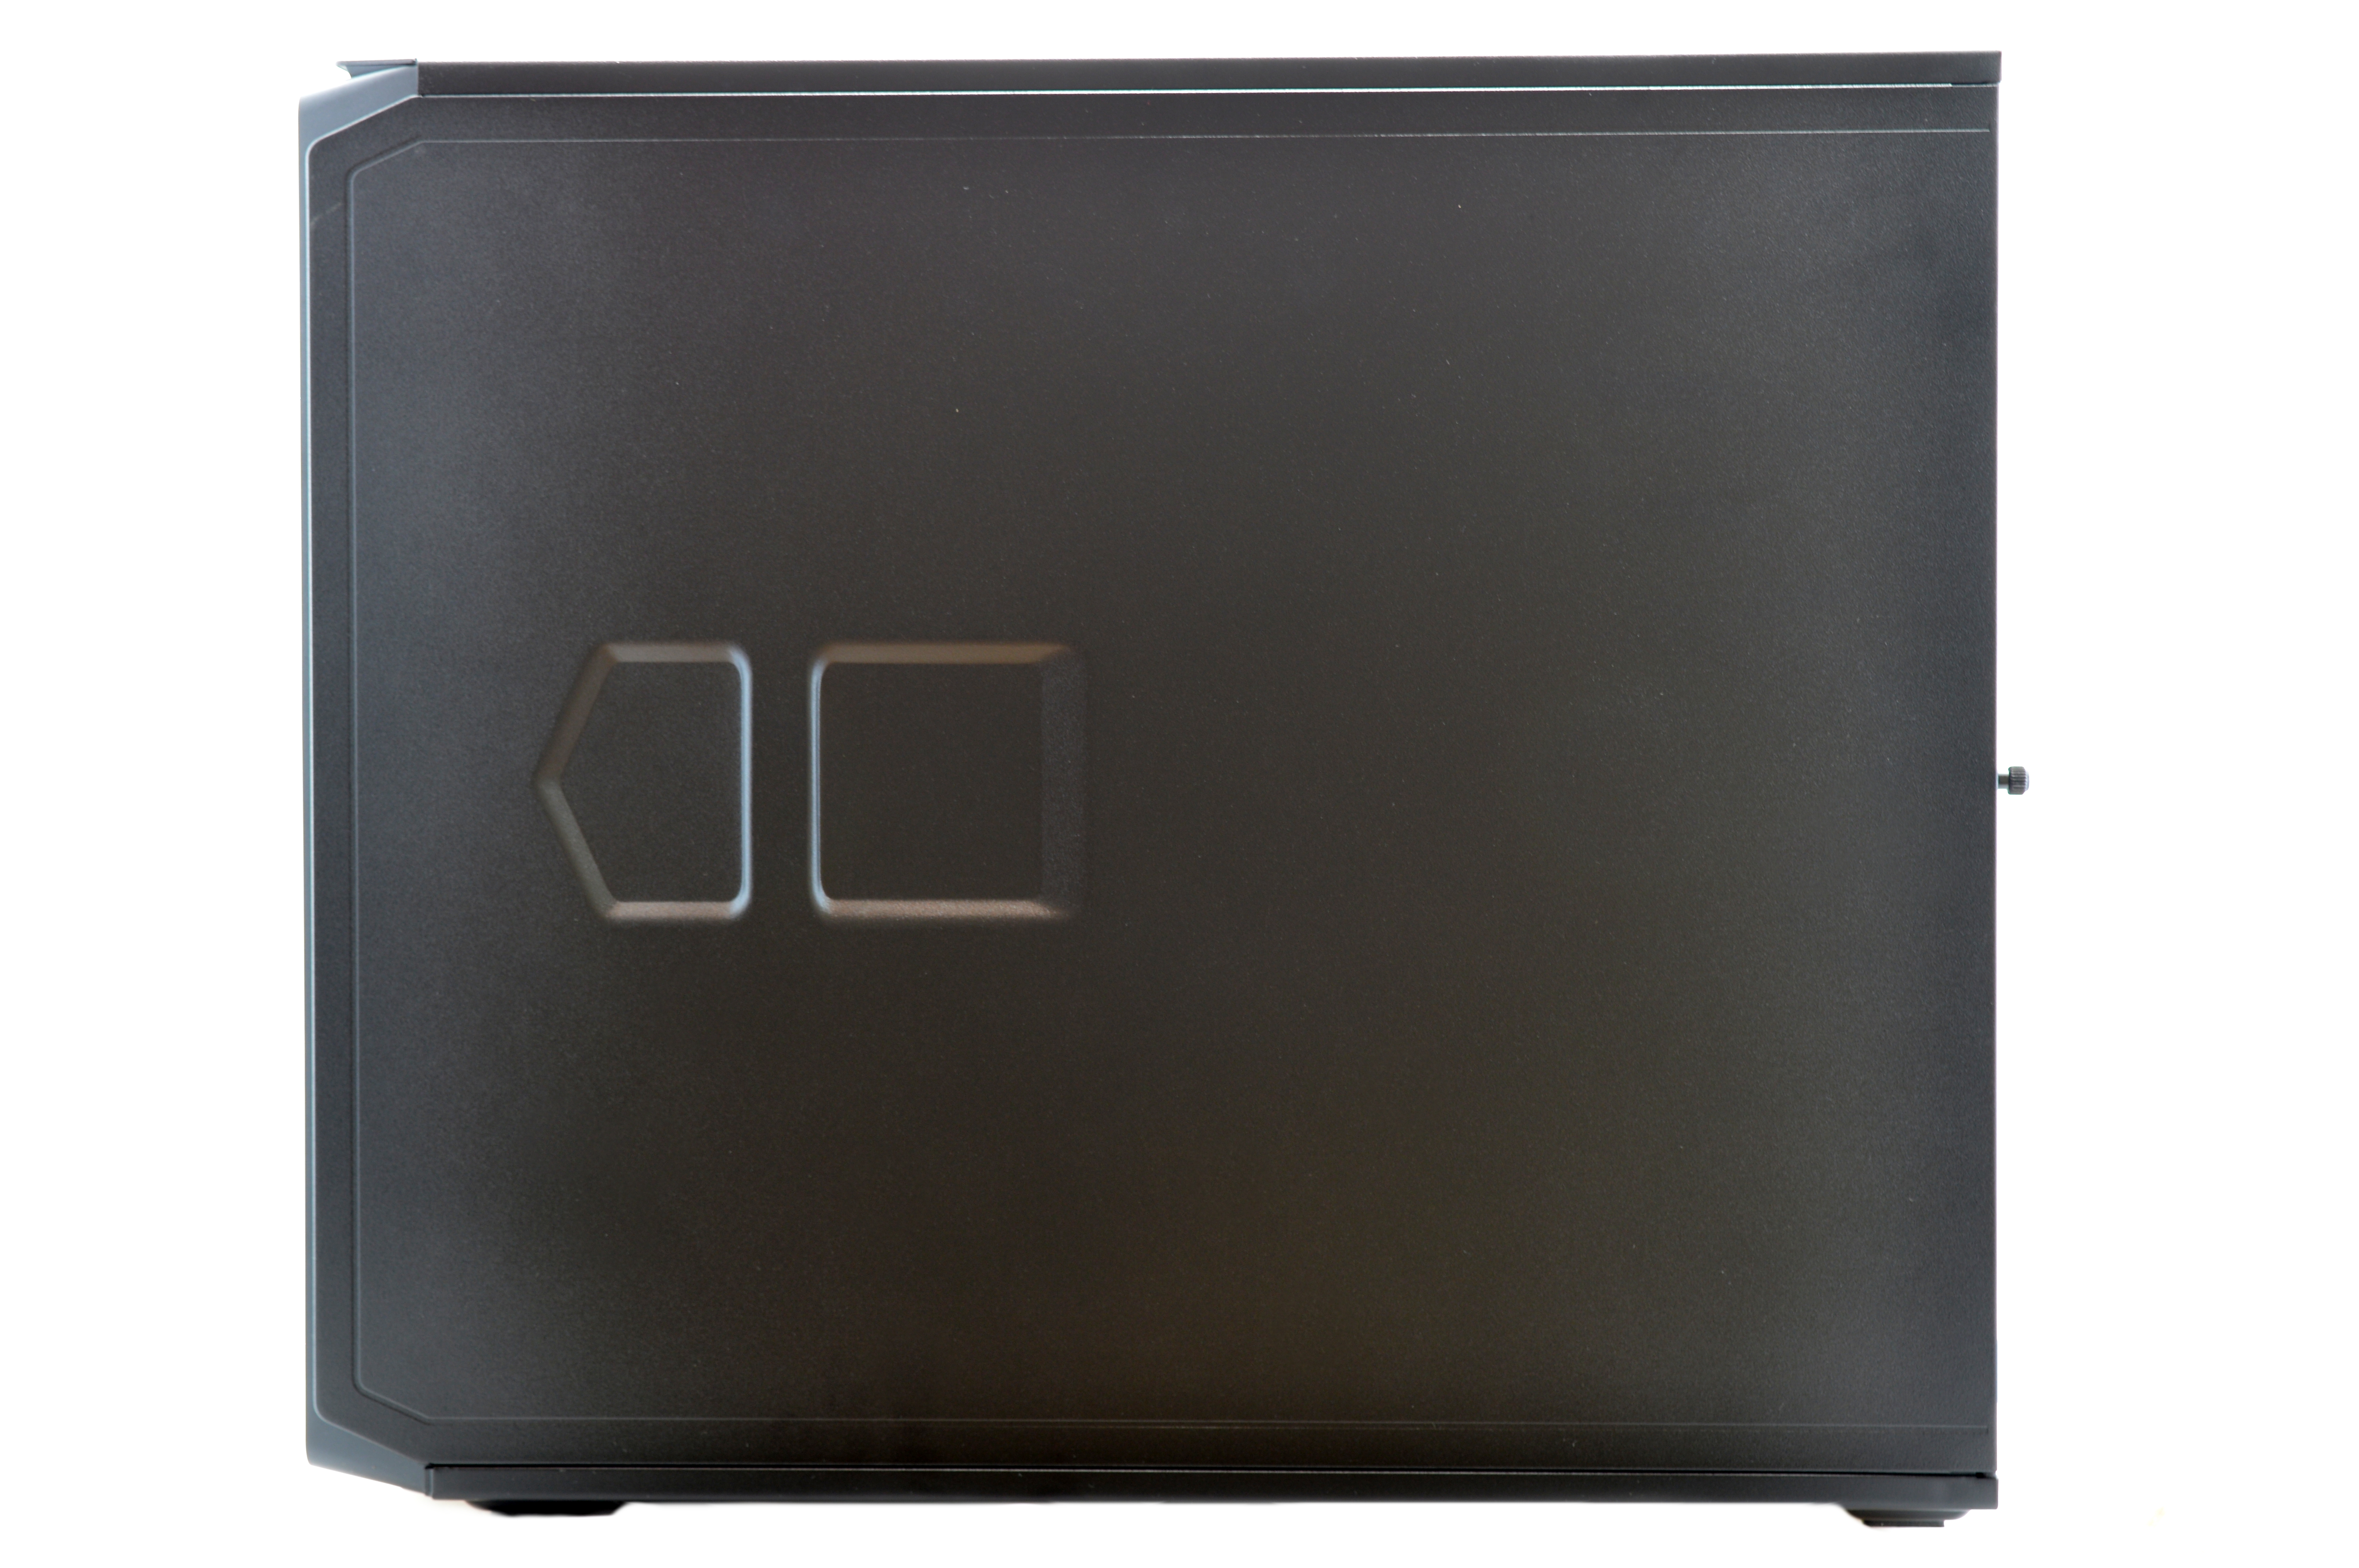
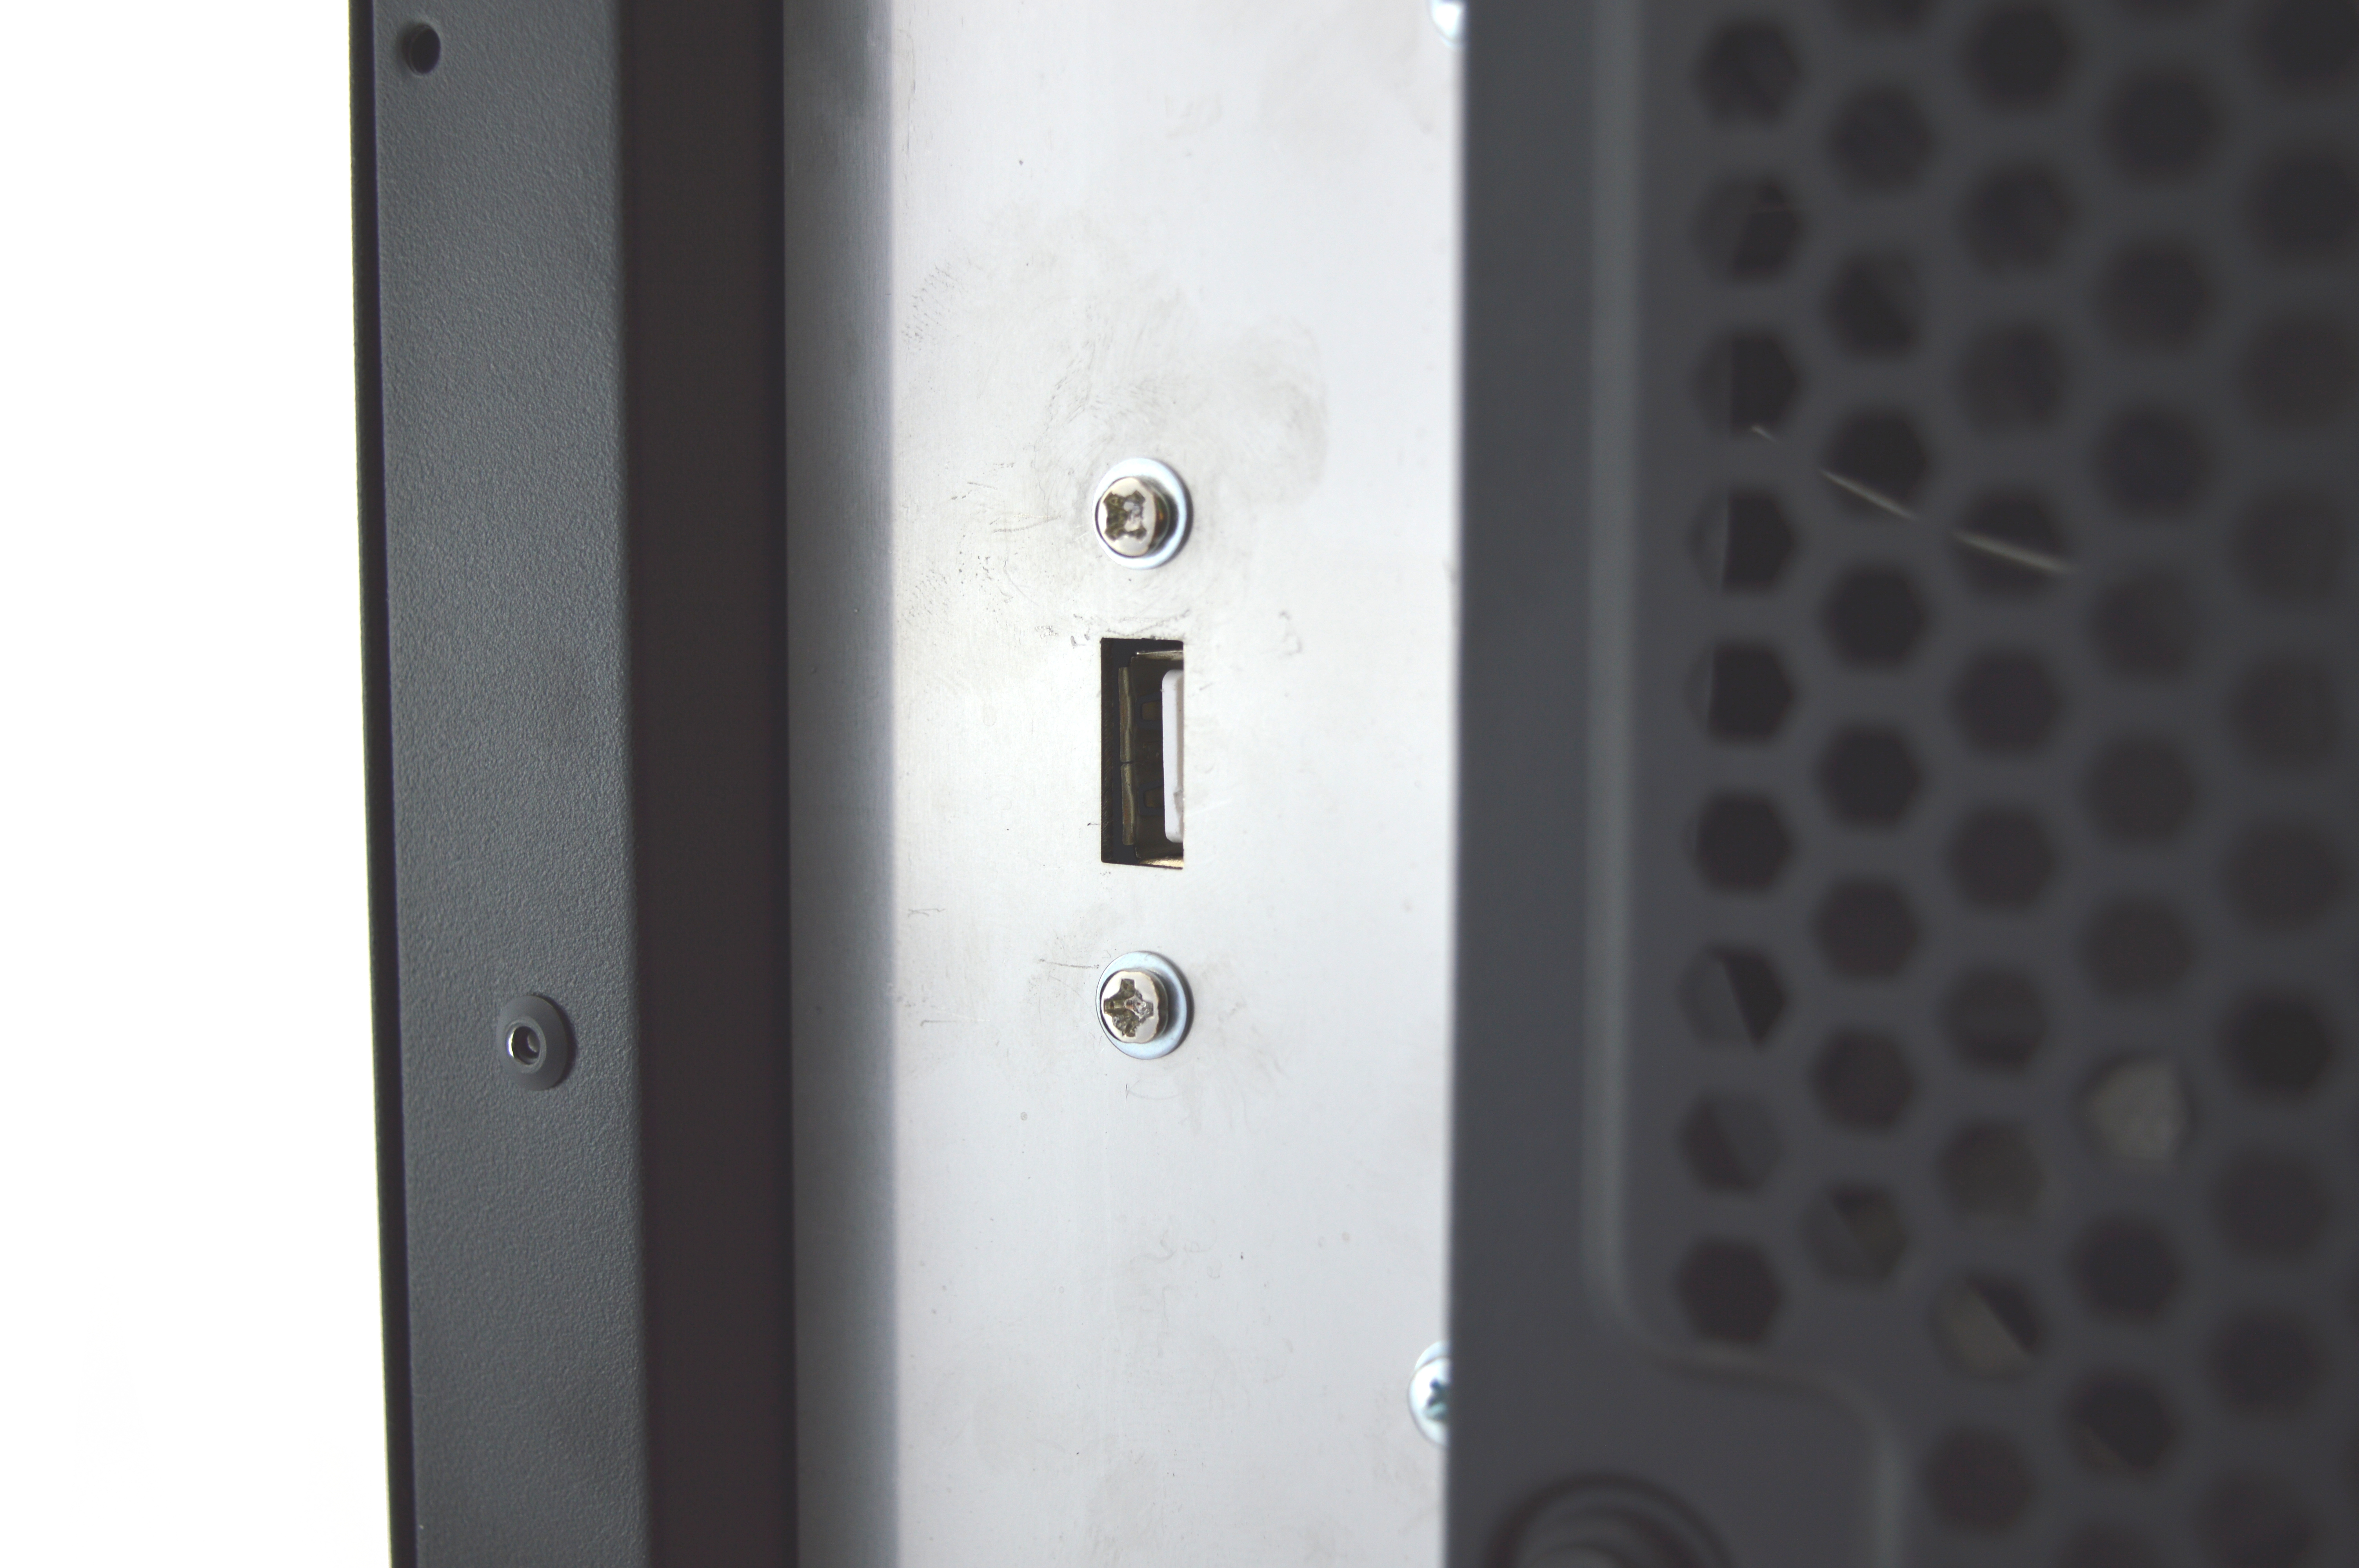
The Apollo's case is a repurposed Corsair 230T, which works remarkably well. A custom metal plate creates mounting points for the PCBs while another board fills the I/O slot with the USB port. External dimensions of the case are 505 x 210 x 440mm.
The Apollo's case is a repurposed Corsair 230T, which works remarkably well. A custom metal plate creates mounting points for the PCBs while another board fills the I/O slot with the USB port. External dimensions of the case are 505 x 210 x 440mm.

|

|
4) Configuration
The Apollo can be run on any CGMiner based device. A Windows based PC is recommended although a similar process can be applied on a Raspberry Pi.
Wiring:
Software:
The Apollo can be run on any CGMiner based device. A Windows based PC is recommended although a similar process can be applied on a Raspberry Pi.
Wiring:
- Plug in the USB cable from the Apollo to your computer.
- Plug in the power supply into the mains.
- Power on the power supply using its switch at the back.
Software:
- Download the latest version of CGMiner and Zadig.
- Extract, and run the zadig application.
- Select "M1 Module" and then click "Replace Driver". You only have to do this once per computer.
- Create a new file in notepad and enter pool information as below. Save it as a .bat in the same folder as CGMiner.
- Run the bat file to start mining.
cgminer.exe -o stratum.antpool.com:3333 -u dogie_Apollo -p 123
cgminer.exe -o stratum.btcguild.com:3333 -u dogie_Apollo -p 123
cgminer.exe -o us1.ghash.io:3333 -u dogie.Apollo -p 123
|
|
5) Troubleshooting
|
Problem
TBD as problems arise |
Solution
|

6) Where to buy


General Safety Tips


|
Do not touch equipment while powered, exposed electrical contacts may shock.
Fans may cause injury or shatter if material is ingested.
|


|
Sharp edges may be cut, especially around any internal casing or heatsinks.
If you are unsure of what to do, STOP and consult an expert.
|
|
|
|
Legal disclaimer: This information is for general guidance and does not constitute expert advice. We are not responsible if you, your property or a third party is injured or damaged as a result of any interaction with this information, and no warranty is provided. All text and images are covered under copyright law, dogiecoin.com.
|